
The Science of Secure Wall Mounting: Understanding Anchors and Materials
Achieving a secure wall mount is not merely about drilling a hole; it’s a precise application of material science, engineering principles, and tool technology. The foundation of any stable installation lies in the symbiotic relationship between the wall anchor, the drill bit, and the wall material itself. Understanding these components is paramount to selecting the correct drill bit size and ensuring the integrity of your mounting project.
Decoding Wall Anchor Types
Wall anchors are engineered solutions designed to provide a secure fastening point in materials that lack the inherent structural rigidity for direct screw insertion, such as drywall or hollow concrete blocks. Each type employs a distinct mechanical principle to achieve purchase within the wall.
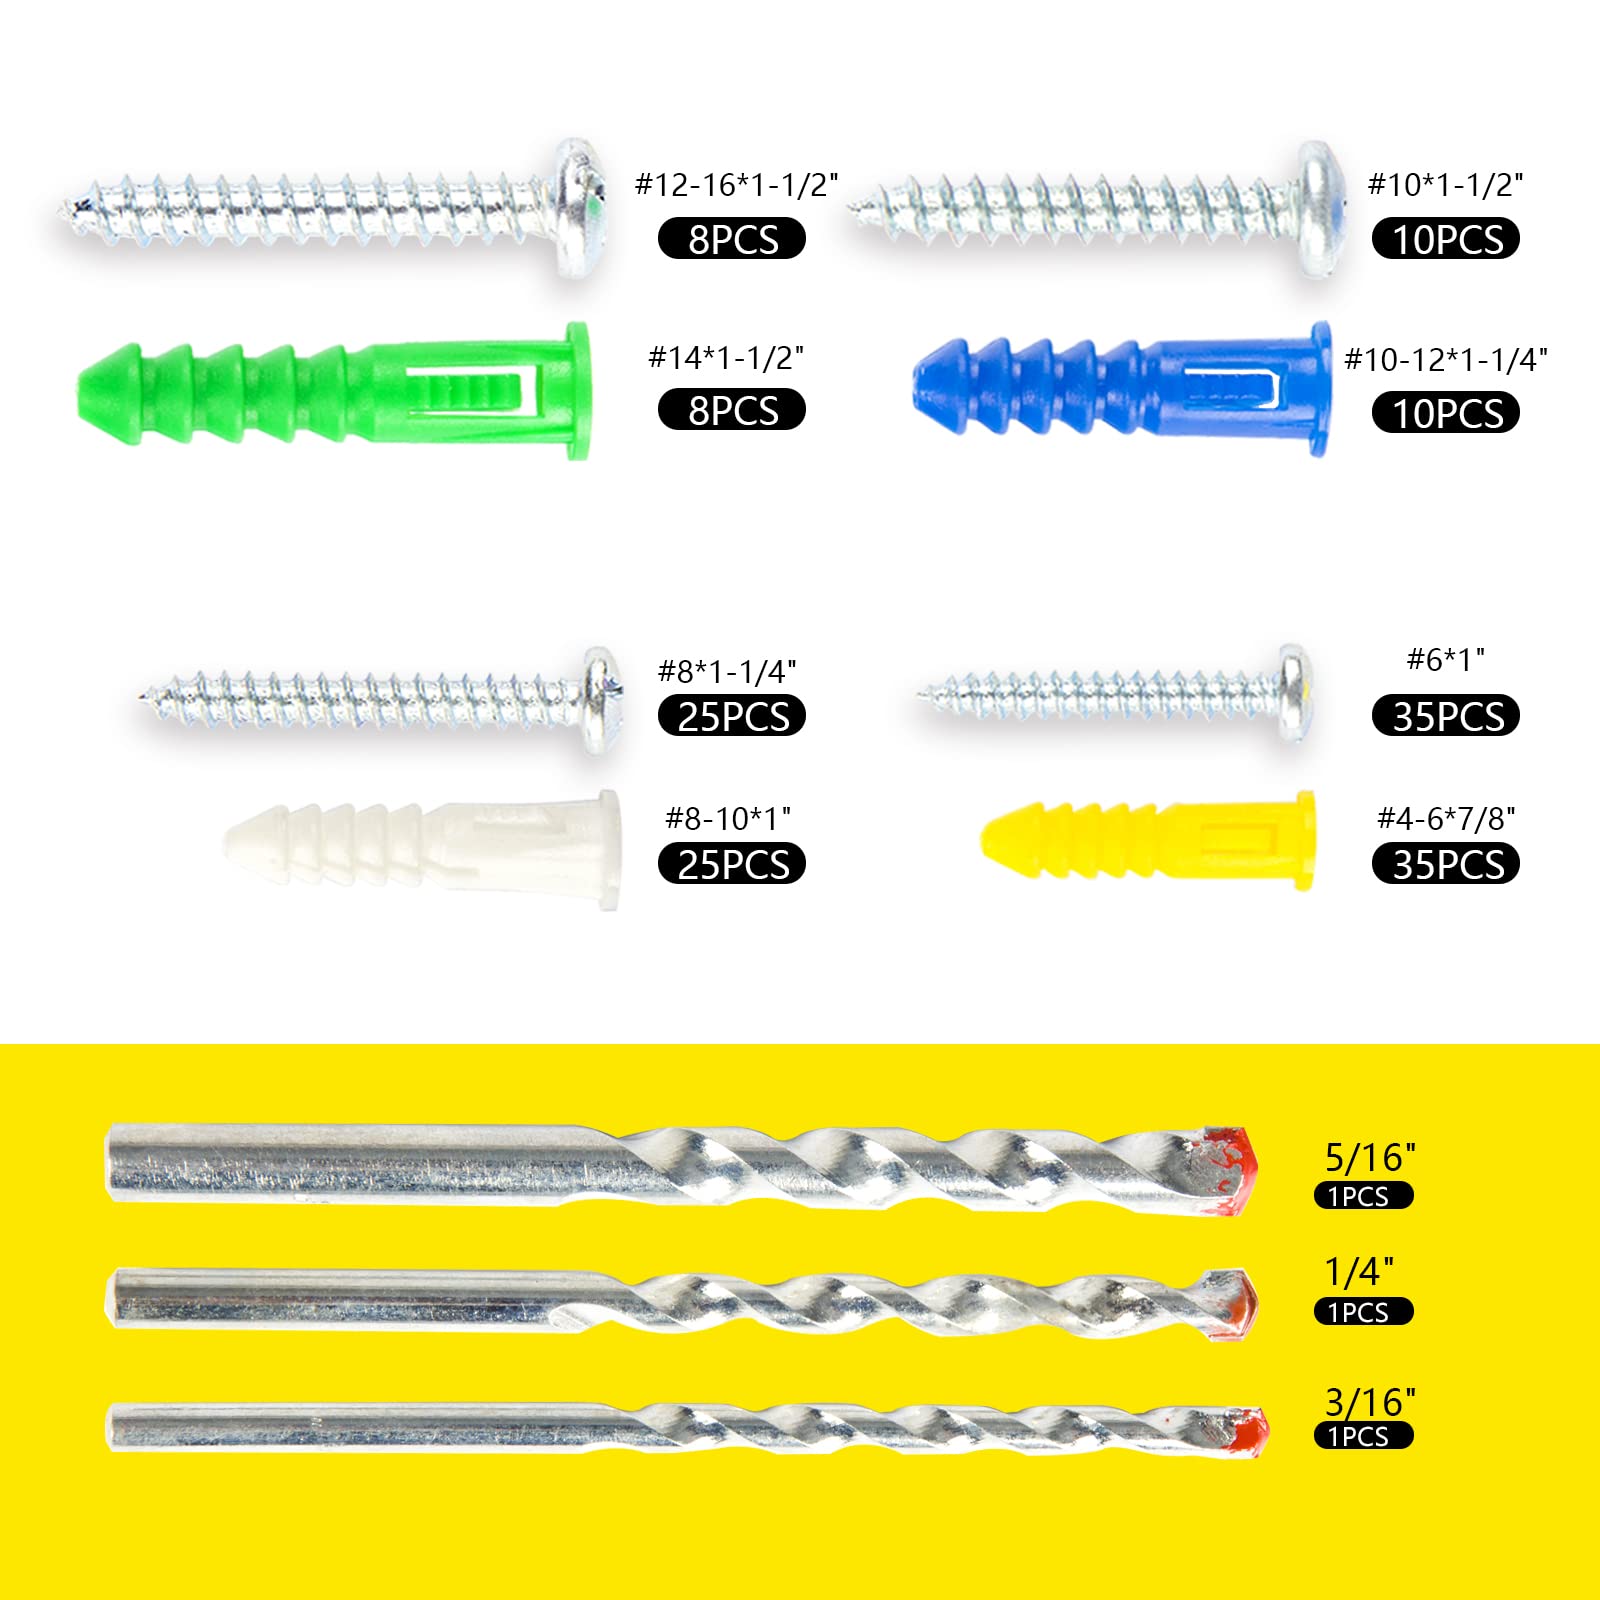
- Expansion Anchors: These are perhaps the most common, typically made from plastic or metal. When a screw is driven into an expansion anchor, the anchor flares outwards, pressing firmly against the inside of the drilled hole. Plastic anchors are often used for lighter loads in drywall, while more robust metal sleeve anchors are deployed for heavier items in drywall or even masonry, utilizing a broader expansion surface. Their effectiveness relies heavily on a precisely sized hole that allows for adequate expansion without material degradation.
- Toggle Anchors: Designed for hollow walls (like drywall), toggle anchors employ a “toggle” mechanism that pivots open once pushed through a pre-drilled hole. The expanded toggle then creates a broad bearing surface against the interior of the wall, distributing the load over a larger area. They come in various forms, including spring-loaded wings (butterfly toggles) or strap-style designs. The drill bit size for these is typically larger, accommodating the collapsed toggle mechanism.
- Self-Drilling Anchors: These innovative anchors eliminate the need for a separate drill bit in many drywall applications. Featuring a sharp, threaded tip, they are screwed directly into the drywall, cutting their own pilot hole. A screw is then driven into the anchor. While convenient for lighter loads and quick installations, their design implicitly defines the “drill bit” (the anchor itself), making the choice less about a separate bit and more about the anchor’s inherent design.
The Anatomy of Your Wall
The material composition of your wall dictates not only the type of anchor but also the specific drill bit technology required. Understanding these substrates is critical for successful drilling and anchor performance.
- Drywall (Gypsum Board): Comprising a gypsum plaster core sandwiched between paper sheets, drywall is relatively soft and brittle. Drilling requires a sharp, clean cut to avoid excessive tearing or crumbling. Standard twist drill bits are usually sufficient, but the critical factor is avoiding over-drilling or creating an oversized hole that compromises the anchor’s grip.
- Plaster and Lath: Common in older homes, this wall type consists of wooden lath strips covered with multiple layers of plaster. It is denser and more abrasive than drywall. Drilling through plaster and lath requires a sharper, more durable bit, often a masonry bit for the plaster, followed by careful drilling through the lath to prevent splitting. Precision is key to avoid cracking the plaster surface.
- Concrete and Masonry: These robust materials, including brick, cinder block, and poured concrete, demand specialized drilling technology. Their high density and abrasive nature necessitate carbide-tipped masonry drill bits and often the use of a hammer drill to chip away at the material while rotating. The drill bit size must precisely match the anchor’s requirements to ensure a snug fit that allows for the anchor’s expansion or mechanical grip.
Precision Drilling: Matching Bit to Anchor Technology
The cornerstone of a successful wall anchor installation is the meticulous selection of the drill bit size. This is a technical requirement, not a suggestion, as even a minor deviation can lead to structural failure or a weakened connection.
The Critical Relationship: Anchor Diameter and Drill Bit Size
The relationship between the wall anchor’s external diameter and the drill bit’s diameter is exceptionally precise. An undersized hole prevents the anchor from fully inserting or expanding correctly, leading to a weak hold or damage to the anchor. An oversized hole, conversely, offers insufficient material for the anchor to grip, resulting in a loose and unstable connection that will eventually fail, potentially causing damage to both the mounted object and the wall itself.
- Why Precision Matters: When an expansion anchor is installed, it relies on the surrounding wall material to resist its outward force. If the hole is too large, there isn’t enough material to provide this resistance, and the anchor will not “bite.” If the hole is too small, the anchor may deform during installation, or the stress on the wall material may cause it to crack or crumble, particularly in brittle materials like drywall or plaster.
- Manufacturer Specifications: Your Primary Guide: Every wall anchor manufacturer provides specific drill bit size recommendations. This information is typically printed on the anchor’s packaging or included in the instructions. Adhering strictly to these specifications is not merely a guideline; it is a critical technical requirement based on the anchor’s design and intended mechanical function. Always consult the packaging for the exact size. For example, a plastic expansion anchor designed for a #8 screw might require a 3/16-inch drill bit, while a heavy-duty toggle anchor might need a 1/2-inch or larger bit to accommodate its collapsed wings.
Drill Bit Types for Different Materials
The material you are drilling into dictates the geometry and composition of the drill bit required. Using the wrong bit can lead to poor hole quality, drill bit damage, or excessive wear on your drilling equipment.
- Masonry Bits: Essential for drilling into concrete, brick, stone, and even hard plaster. These bits feature a carbide tip, which is significantly harder than steel, allowing it to chip away at abrasive materials without dulling quickly. The flutes are designed to efficiently remove dust and debris from the hole. For optimal performance in hard masonry, use a hammer drill, which combines rotation with a rapid hammering action.
- Twist Drill Bits (HSS – High-Speed Steel): While commonly used for wood and metal, HSS twist bits can be used for drywall when a clean cut is desired. Their sharp cutting edges and spiral flutes are efficient for material removal. However, they are not suitable for masonry due to the lack of a hard tip.
- Brad-Point Bits: Specifically designed for wood, these bits have a central point that prevents “walking” and two spurs that score the circumference of the hole, resulting in a very clean entry hole. While excellent for woodworking, they are generally not used for wall anchor installations unless drilling specifically into a wooden stud behind the wall surface.
- Specialized Bits: For highly specific materials like tile or glass, diamond-tipped or spear-point drill bits are necessary. These materials require different cutting actions to prevent cracking or shattering. While less common for anchor installations, they highlight the diverse technological solutions in drill bit design.
Depth Control and Hole Preparation

Beyond diameter, the depth and cleanliness of the drilled hole are equally important.
- Marking Drill Depth: Most anchors require a specific minimum depth. Use a piece of masking tape wrapped around the drill bit at the required depth, or utilize a depth stop collar, to ensure you don’t drill too shallow or too deep.
- Clearing Debris: After drilling, use a vacuum cleaner, compressed air, or a brush to thoroughly clear dust and debris from the hole. Residual dust can reduce the anchor’s grip, particularly with expansion anchors where it can prevent full expansion or fill the space meant for the anchor.
Step-by-Step Technical Application for Optimal Anchorage
The successful installation of a wall anchor requires a methodical approach, integrating planning, precise execution, and an understanding of the mechanical forces at play.
Assessing the Load and Location
Before drilling, a thorough technical assessment is critical to ensure both the safety of the installation and the structural integrity of your wall.
- Weight Capacity and Structural Integrity: Do not exceed the weight rating of the chosen anchor. Different anchors are designed for various load capacities. For very heavy items, locate a wall stud using a stud finder and drill directly into the wood, or use a heavy-duty toggle anchor specifically designed for such loads. Overloading an anchor is a primary cause of failure.
- Avoiding Electrical and Plumbing: Utilize a stud finder equipped with electrical wire detection or a dedicated wire and pipe detector. Always be aware of the potential location of electrical wiring, water pipes, and HVAC ducts within walls. Drilling into these can cause serious damage, injury, or costly repairs. Plan your drilling location carefully, considering standard wiring and plumbing paths (e.g., usually vertically from outlets/switches, or horizontally within certain zones).
Executing the Drill and Installation
The drilling process itself demands precision and proper technique to create an ideal cavity for the anchor.
- Proper Drill Technique:
- Pilot Point: Use an awl or nail to create a small dimple at your marked drilling location. This prevents the drill bit from “walking” or drifting across the surface when you start drilling.
- Angle: Hold the drill perfectly perpendicular to the wall. Any angle will create an elliptical or conical hole, compromising the anchor’s grip.
- Speed and Pressure: For drywall, a moderate to high speed with light, consistent pressure typically works best for a clean hole. For masonry, use a slower speed with firm, steady pressure, engaging the hammer function if using a hammer drill. Allow the drill bit to do the work, avoiding excessive force that can overheat the bit or damage the wall.
- Inserting the Anchor Correctly:
- Flush Insertion: Push the anchor fully into the hole until its lip is flush with the wall surface. Do not force it if it’s too tight; re-check the drill bit size. If it’s too loose, the hole is oversized, and you may need to patch and redrill or use a larger anchor.
- Orientation (for some anchors): Some anchors have specific orientations (e.g., anti-rotation fins). Ensure these are correctly aligned to engage with the wall material.
- Testing the Installation: Before mounting the final object, gently pull on the installed anchor to confirm it feels secure. For expansion anchors, slowly drive in the screw to ensure it engages and expands the anchor properly, then back it out if not immediately mounting.
Advanced Considerations and Common Technical Pitfalls
Even with careful planning, specific wall materials and unforeseen issues can pose technical challenges. Understanding advanced techniques and common pitfalls can enhance success and prevent costly errors.
Material-Specific Drilling Techniques
Refining your drilling approach based on wall composition maximizes efficiency and minimizes damage.
- High-Speed for Drywall, Low-Speed/Hammer for Masonry: The differing material properties demand different drilling strategies. High speed in drywall allows for a clean cut through the gypsum and paper. In contrast, masonry drilling, especially with a hammer drill, requires lower RPMs combined with percussive action to efficiently break apart the dense material without overheating the bit or burning out the drill motor.
- Dust Management Technologies: Drilling, particularly in masonry, generates significant dust. Employing a dust extraction system, either integrated with the drill or a separate vacuum attached to a shroud, not only keeps the workspace clean but also improves visibility and reduces respiratory hazards. In a low-tech scenario, a second person holding a vacuum nozzle below the drilling point can be effective.
Troubleshooting Common Issues
Despite best practices, issues can arise. Knowing how to diagnose and rectify them is crucial.
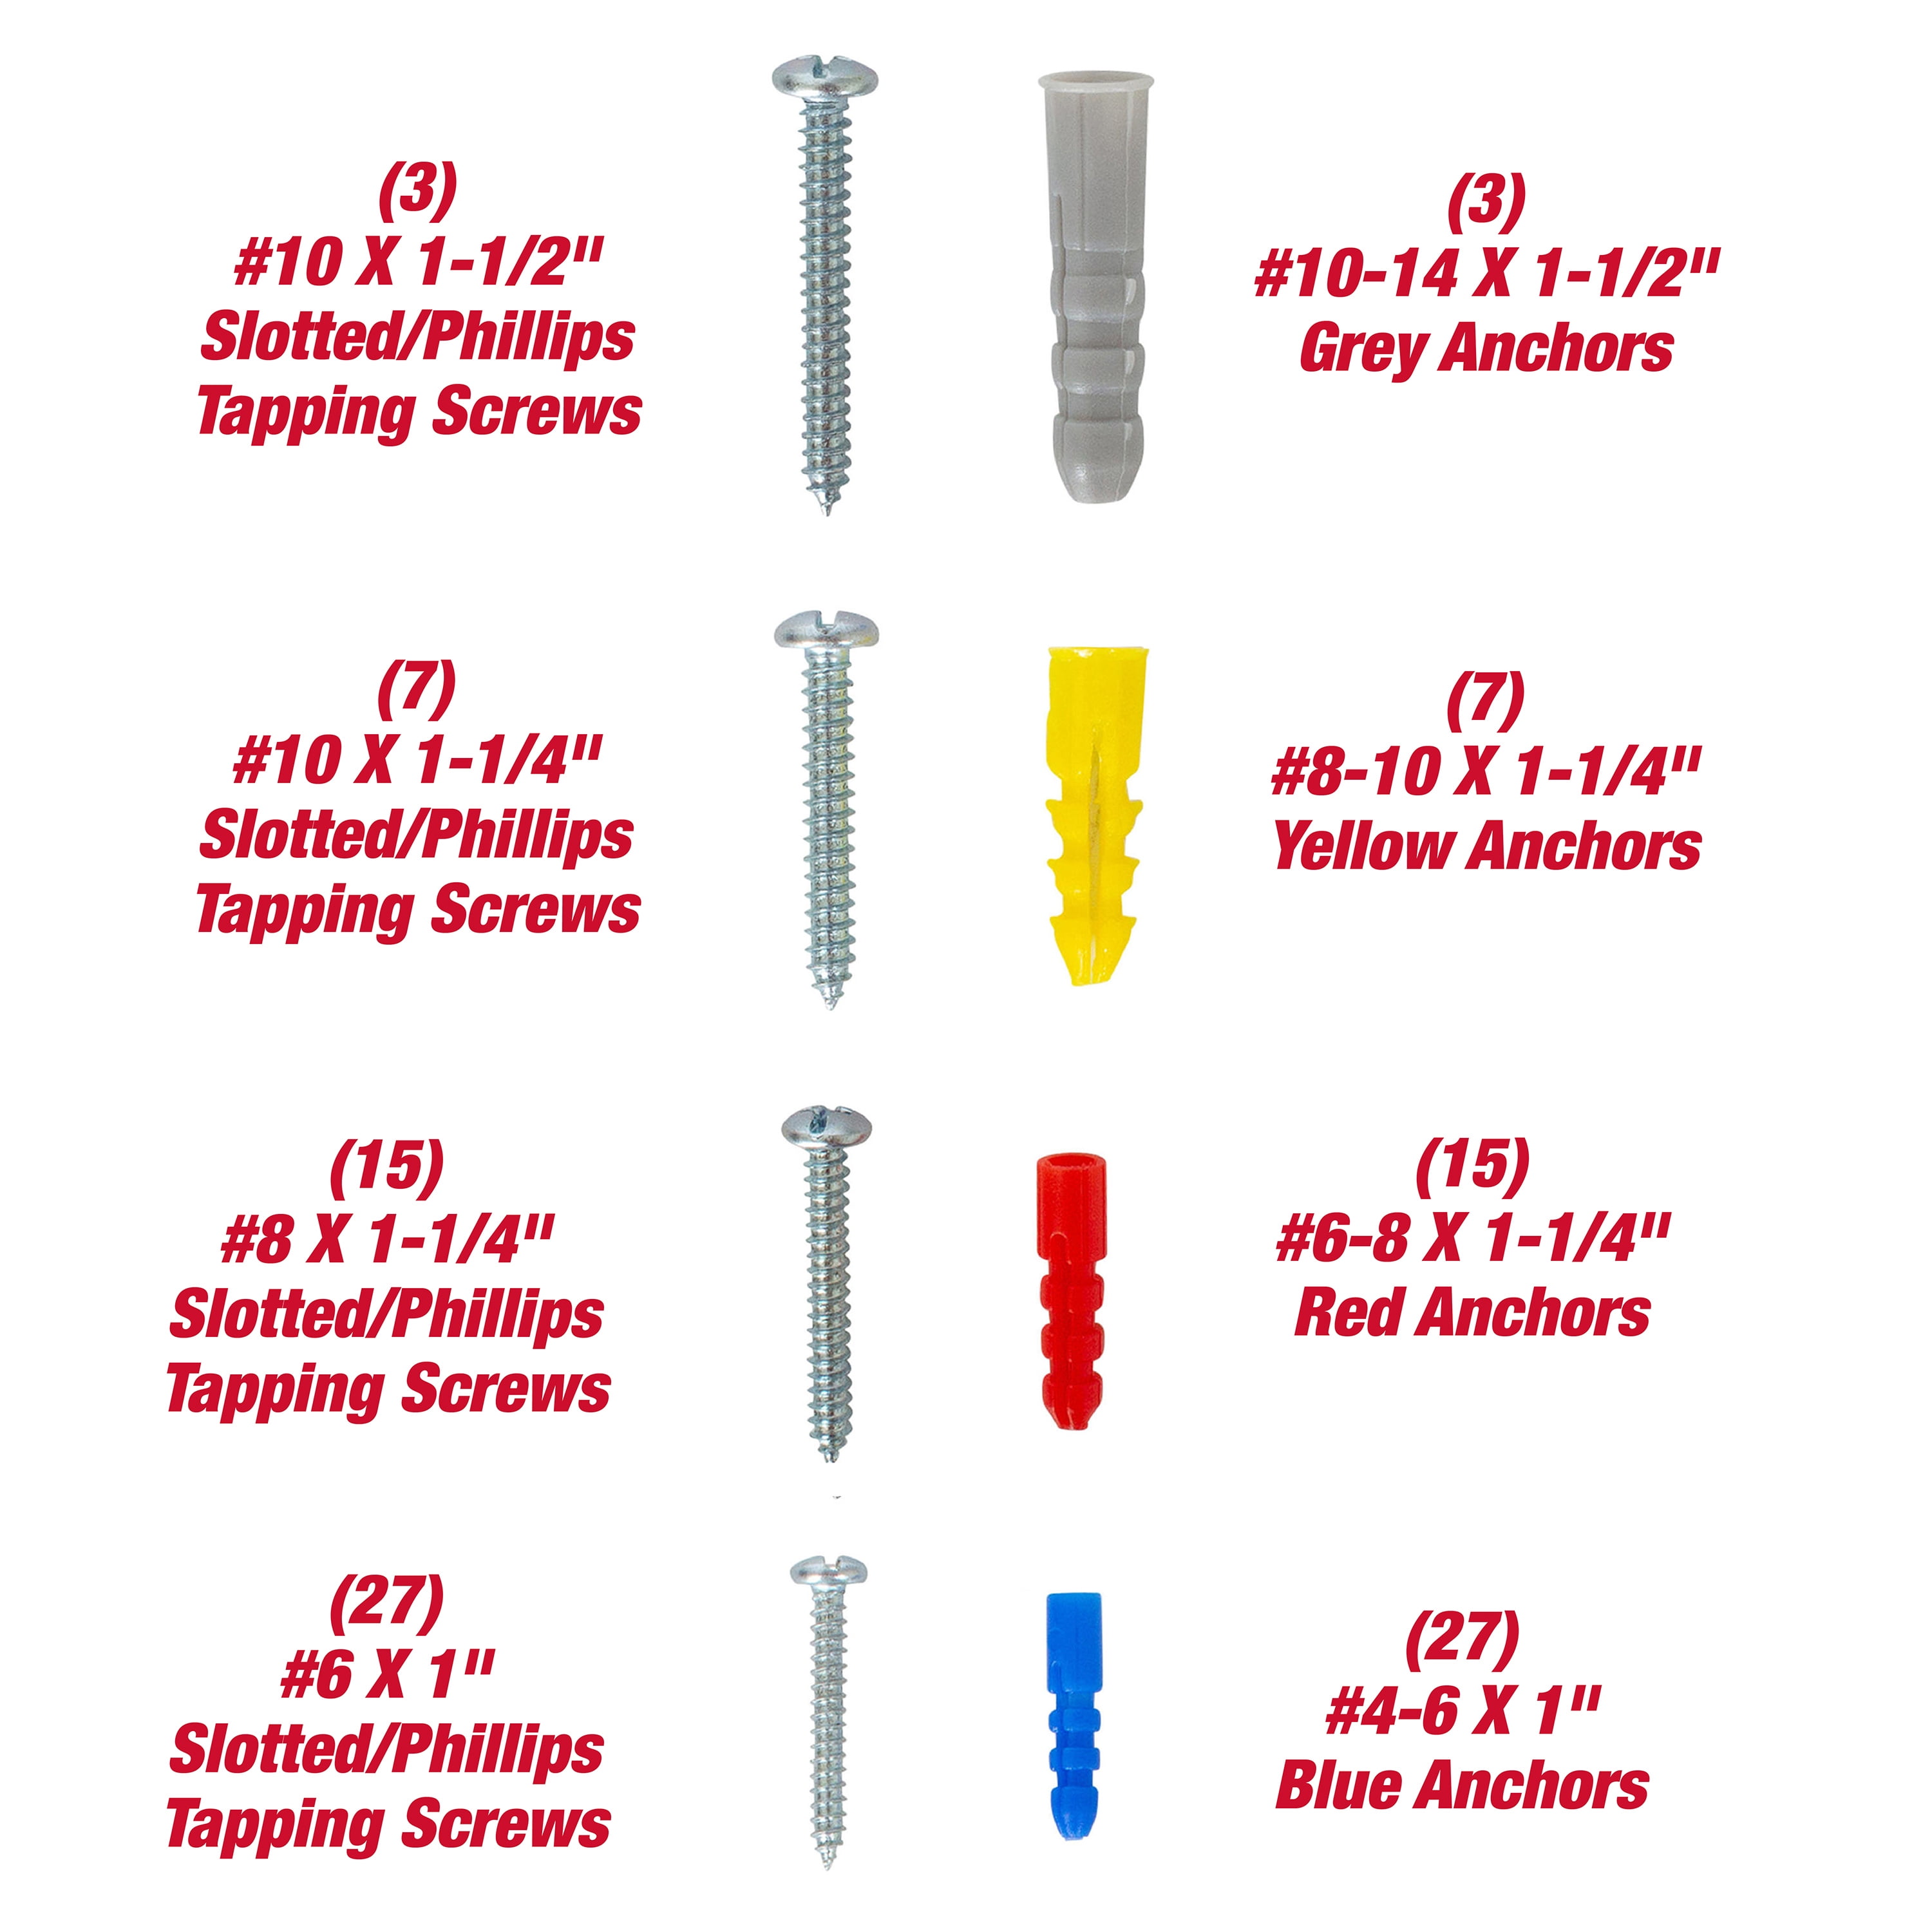
- Oversized Hole: Solutions and Prevention: This is a common and frustrating problem. If the hole is slightly oversized, you might try a larger diameter anchor if available. For significantly oversized holes, the most reliable solution is to patch the hole with drywall compound or plaster repair material, allow it to dry thoroughly, and then redrill a new, correctly sized hole. Prevention involves double-checking manufacturer specifications and using the correct drill bit.
- Damaged Anchor: Recognizing and Rectifying: An anchor might become damaged if the hole is too small, if it’s forced during insertion, or if the screw is over-tightened prematurely. Signs include a visibly crushed or cracked anchor, a screw that spins freely without tightening, or an anchor that pulls out with minimal force. A damaged anchor must be removed and replaced. For plastic anchors, this often means pushing it through into the wall cavity. For metal anchors, careful extraction might be possible, or the hole may need patching and redrilling.
- Bit Walking and Pilot Holes: “Bit walking” occurs when the drill bit skates across the wall surface instead of starting the hole precisely where intended. This is especially prevalent on smooth, hard surfaces like tile or painted plaster. Preventing this involves using an awl to create a small pilot dimple, or for very hard surfaces, starting with a smaller pilot drill bit before moving to the specified larger size. This ensures the main drill bit centers accurately and prevents cosmetic damage to the wall surface.