
Understanding Silicone: A Material Science Perspective
Silicone, a synthetic polymer, has revolutionized kitchenware due to its unique properties. Its composition, primarily silicon, oxygen, carbon, and hydrogen, grants it a remarkable resilience to extreme temperatures, making it ideal for potholders. However, this very robustness necessitates specific cleaning protocols to maintain its performance and aesthetic integrity over time. Unlike porous fabrics, silicone is non-porous, which prevents deep absorption of liquids but allows for surface adhesion of greases, oils, and food particles. Understanding these material characteristics is the first step towards an optimized cleaning regimen.

The Properties of Culinary-Grade Silicone
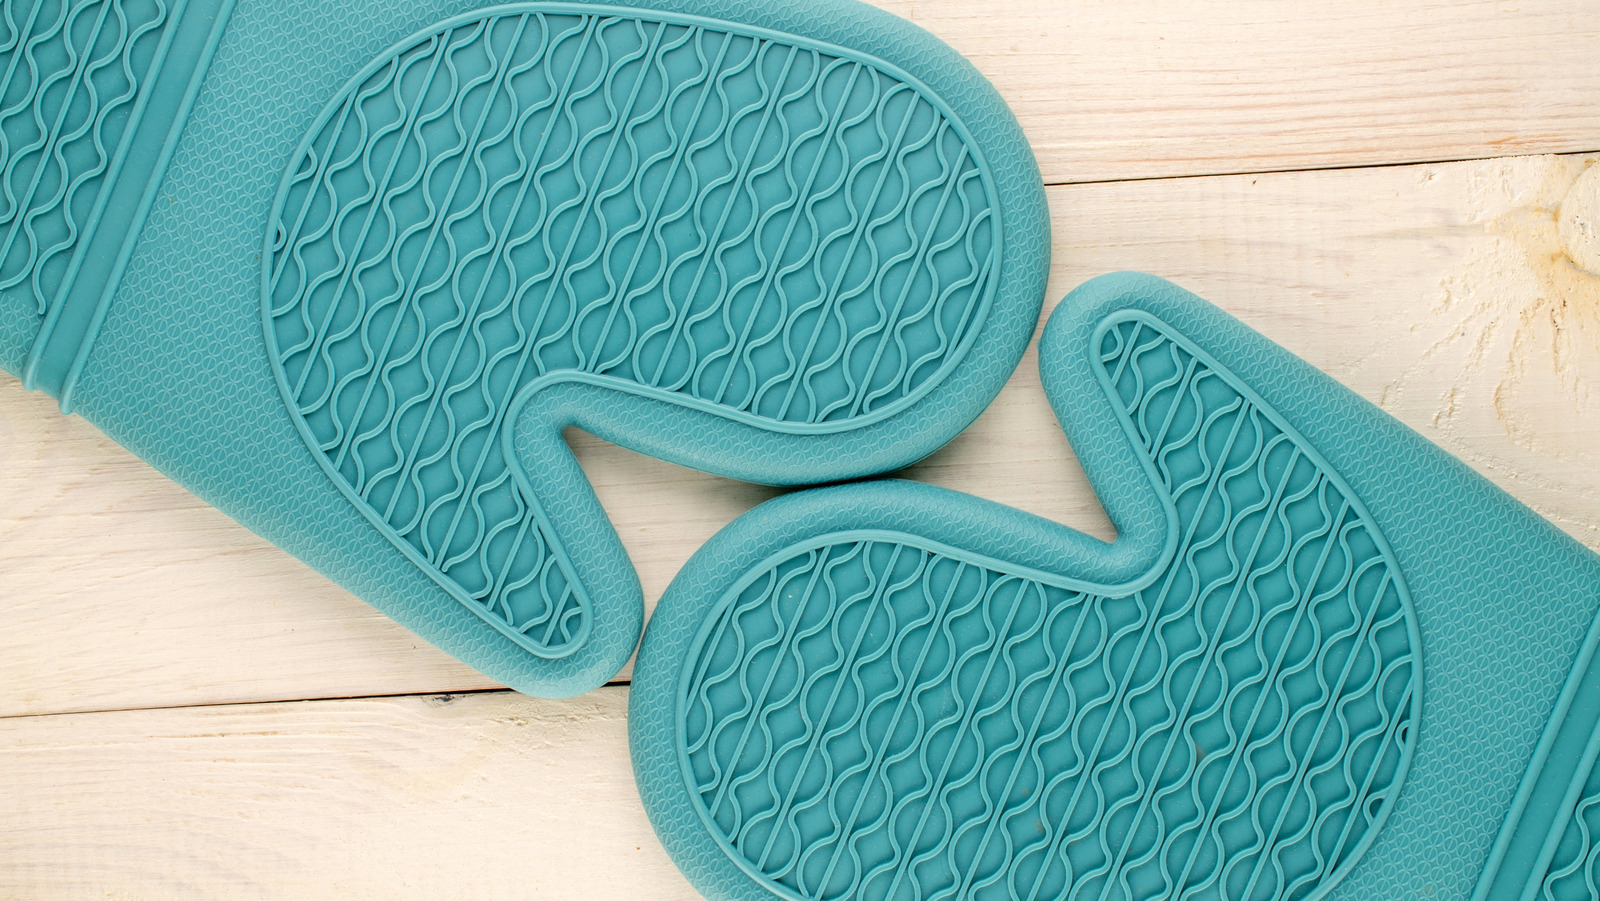
Culinary-grade silicone is lauded for its inertness, flexibility, and heat resistance. It can typically withstand temperatures ranging from -40°F to over 400°F (or -40°C to 204°C), making it highly durable for handling hot items. Its non-stick surface is generally effective, but it is not impervious to residue accumulation. The flexibility allows for easy manipulation and storage, but also means it can deform if exposed to excessive, prolonged stress during cleaning or improper storage. Furthermore, while generally stain-resistant, prolonged contact with highly pigmented foods or certain oils can lead to discoloration, particularly in lighter-colored silicone. The goal of effective cleaning is not just to remove visible grime, but to preserve the material’s original non-stick quality, flexibility, and color, thereby extending its operational lifespan.
Common Contaminants and Their Challenges
Silicone potholders are routinely exposed to a variety of kitchen contaminants. The most prevalent include:
- Grease and Oil: From cooking fats, oils, and buttery hands, these leave a slick, often sticky residue that can attract dust and dirt, making the potholder feel unpleasant and look soiled. The hydrophobic nature of grease means it repels water, requiring emulsifying agents for effective removal.
- Food Particles: Bits of sauces, starchy residues, melted cheese, or dough can adhere to the surface, especially when hot. If left to dry, these can harden and become difficult to dislodge without mechanical action.
- Sugars: Caramelized sugars or syrupy residues can become incredibly tacky and bond strongly to the silicone surface, presenting a challenge for gentle removal.
- Dyes and Pigments: From tomato sauces, turmeric, or food colorings, these can cause staining, particularly on lighter silicone. This is less about surface grime and more about the pigment molecules interacting with the silicone’s surface layer.
- Odor Absorption: While less common than with porous materials, silicone can sometimes absorb odors over time, especially from strong-smelling foods like garlic or curry, requiring specific neutralization techniques.
- Everyday Dust and Grime: Even in a clean kitchen, airborne dust and general hand grime will accumulate on the sticky surface of a greasy potholder, contributing to its overall dirty appearance.
Each contaminant type requires a slightly different approach, moving beyond a simple rinse to a targeted cleaning strategy to ensure thorough decontamination and material preservation.
Manual Cleaning Protocols for Optimal Results
For targeted removal of specific contaminants and detailed cleaning, manual methods offer precision and control. This approach is particularly effective for heavily soiled items or when automated cleaning is not immediately available.
Initial Preparations and Pre-Treatment Techniques
Before initiating a deep clean, it’s crucial to remove any loose debris. Shake the potholders vigorously or use a dry brush to dislodge crumbs and superficial food particles. For dried-on or sticky residues, a pre-soak is highly beneficial. Fill a sink or basin with hot water (as hot as tap water allows, but not boiling) and a few drops of dish soap. Submerge the silicone potholders for 15-30 minutes. The hot water helps to soften stubborn residues and loosen grease, making subsequent cleaning far more efficient. For particularly greasy items, adding a tablespoon of white vinegar to the pre-soak can help to cut through the oil more effectively.
The Dish Soap Method: Precision Cleaning
The classic dish soap method remains one of the most reliable for silicone. Its surfactants are designed to emulsify fats and oils, allowing them to be rinsed away.
- Application: After the pre-soak (or directly if only lightly soiled), apply a small amount of liquid dish soap directly to the surface of the potholder.
- Agitation: Using a soft-bristled brush, sponge, or microfiber cloth, gently scrub the entire surface. Pay close attention to textured areas, crevices, and seams where grime tends to accumulate. For highly stubborn spots, a slightly stiffer nylon brush can be used, but avoid abrasive scrubbers that could scratch the silicone.
- Rinsing: Rinse thoroughly under warm running water. Ensure all soap residue is completely removed, as leftover soap can leave a film and attract more grime.
- Drying: Air-dry by hanging them or laying them flat on a clean towel. Ensure they are completely dry before storage to prevent mildew or stickiness.
Tackling Stubborn Stains and Baked-On Residue
Some stains and residues require more intensive intervention:
- Baked-On Food: For heavily baked-on food, creating a paste of baking soda and a small amount of water can be effective. Apply the paste directly to the affected area, let it sit for 15-30 minutes, then scrub gently with a brush before rinsing. Baking soda acts as a mild abrasive and helps to lift tough grime.
- Oil Stains: If dish soap isn’t fully cutting through deep-set oil stains, consider a degreaser specifically designed for kitchen use. Apply sparingly, follow product instructions, and rinse thoroughly.
- Pigment Stains (e.g., tomato, turmeric): For discoloration, sunlight can be a surprisingly effective natural bleach. After washing, place the silicone potholder outdoors in direct sunlight for several hours or even a full day. The UV rays help to break down pigment molecules. Alternatively, a paste of hydrogen peroxide and baking soda can be applied, left for an hour, then scrubbed and rinsed. Always test this method on an inconspicuous area first.
Odor Neutralization Strategies
To combat absorbed odors:
- Baking Soda Soak: Submerge the potholders in a solution of warm water and a generous amount of baking soda (e.g., 1/4 cup per gallon of water) for several hours or overnight. Baking soda is a natural deodorizer.
- White Vinegar Soak: A soak in a diluted white vinegar solution (1 part vinegar to 4 parts water) for 30-60 minutes can also neutralize odors. Follow with a thorough rinse and dry. The vinegar smell will dissipate as it dries.
Automated Cleaning Solutions: Leveraging Technology in the Kitchen
For convenience and efficiency, dishwashers offer an automated solution for cleaning silicone potholders. However, optimal results depend on correct loading, appropriate settings, and suitable detergents.
Dishwasher Compatibility and Best Practices
Most culinary-grade silicone potholders are dishwasher-safe, offering a significant advantage in terms of time and effort.
- Placement: To ensure thorough cleaning and prevent them from flying around and interfering with spray arms, place silicone potholders on the top rack of the dishwasher. If they are particularly flexible or lightweight, consider securing them under other dishes or within a mesh bag to keep them in place.
- Avoid Overcrowding: Ensure there is adequate space around each potholder for water and detergent to circulate freely. Overcrowding can lead to ineffective cleaning and residue buildup.
- Pre-Rinse for Heavy Soiling: While not always necessary, a quick pre-rinse to remove large food particles can prevent them from redepositing elsewhere in the dishwasher or clogging the filter.
Temperature Settings and Cycle Selection
Modern dishwashers offer various cycles, and selecting the right one is crucial for silicone:
- Standard Wash Cycle: A regular or normal wash cycle with warm water is typically sufficient for most silicone potholders. The water temperature in standard cycles is usually well within the heat resistance limits of culinary silicone.
- High-Heat or Sanitize Cycles: While silicone is heat-resistant, prolonged exposure to extremely high temperatures in sanitize cycles can potentially degrade the material over a very long period, or, more commonly, contribute to cloudiness or residue baking on if not properly rinsed. Use these cycles sparingly or only when true sanitization is required and the manufacturer explicitly approves it.
- No-Heat Dry: Whenever possible, select a “no heat dry” or “air dry” option. The intense heat from heated drying cycles, especially if prolonged, can contribute to a sticky or tacky feel on silicone over time, a phenomenon known as “blooming.” If a heated dry is unavoidable, remove the potholders as soon as the wash cycle finishes and allow them to air dry.
Detergent Considerations for Silicone Longevity
The type of dishwasher detergent can impact the longevity and appearance of silicone:
- Liquid or Gel Detergents: These are generally preferred over abrasive powders, which can potentially scratch or leave a gritty residue on silicone over time.
- Enzyme-Based Detergents: Detergents containing enzymes are highly effective at breaking down food particles, grease, and starches without harsh chemicals, making them ideal for silicone.
- Avoid Harsh Chemicals: Steer clear of detergents with strong bleach components or highly caustic agents, as these can potentially degrade silicone over prolonged exposure, leading to discoloration or a change in texture.
- Rinse Aid: Using a rinse aid can significantly improve drying and prevent water spots, which is particularly beneficial for silicone’s smooth, non-porous surface. This ensures a clean, streak-free finish.
Advanced Maintenance and Longevity Hacks
Beyond regular washing, certain practices can significantly extend the lifespan and maintain the optimal performance of silicone potholders. Proactive care minimizes the need for aggressive cleaning and preserves the material’s integrity.
Preventing Future Buildup and Wear
The best approach to cleaning is often prevention.
- Wipe Immediately: After each use, if possible, give your silicone potholders a quick wipe with a damp cloth or sponge. This removes fresh grease and food particles before they have a chance to dry and bond to the surface.
- Dedicated Use: Consider having separate potholders for different tasks. For instance, designate one set for handling heavily greased bakeware and another for cleaner tasks. This limits exposure to the most challenging contaminants.
- Avoid Abrasive Surfaces: While silicone is durable, dragging it across rough oven racks or sharp edges can cause microscopic abrasions that trap grime and accelerate wear.
- Rotate Usage: If you have multiple sets, rotate their use to distribute wear and tear evenly, allowing each set to “rest” between cleaning cycles.
- Minimize Direct Flame Exposure: While heat resistant, direct and prolonged exposure to open flames can damage silicone, causing charring or degradation. Use them responsibly to avoid accidental exposure.
Storage Solutions for Preserving Material Integrity
Proper storage is critical to prevent damage and maintain cleanliness.
- Dry Storage: Always ensure potholders are completely dry before storing. Storing damp silicone can lead to mildew or a musty odor.
- Clean Environment: Store them in a clean, dust-free environment, away from direct sunlight or extreme temperature fluctuations. A drawer, cabinet, or hanging on a hook are ideal.
- Avoid Compression: While flexible, avoid storing silicone potholders in a way that permanently compresses or deforms them. This can put stress on the material and potentially affect its shape or integrity over time. Hang them freely or lay them flat.
- Separate from Sharp Objects: To prevent accidental cuts or punctures, store silicone potholders away from knives, graters, or other sharp kitchen tools.
When to Retire and Replace: A Lifecycle Analysis
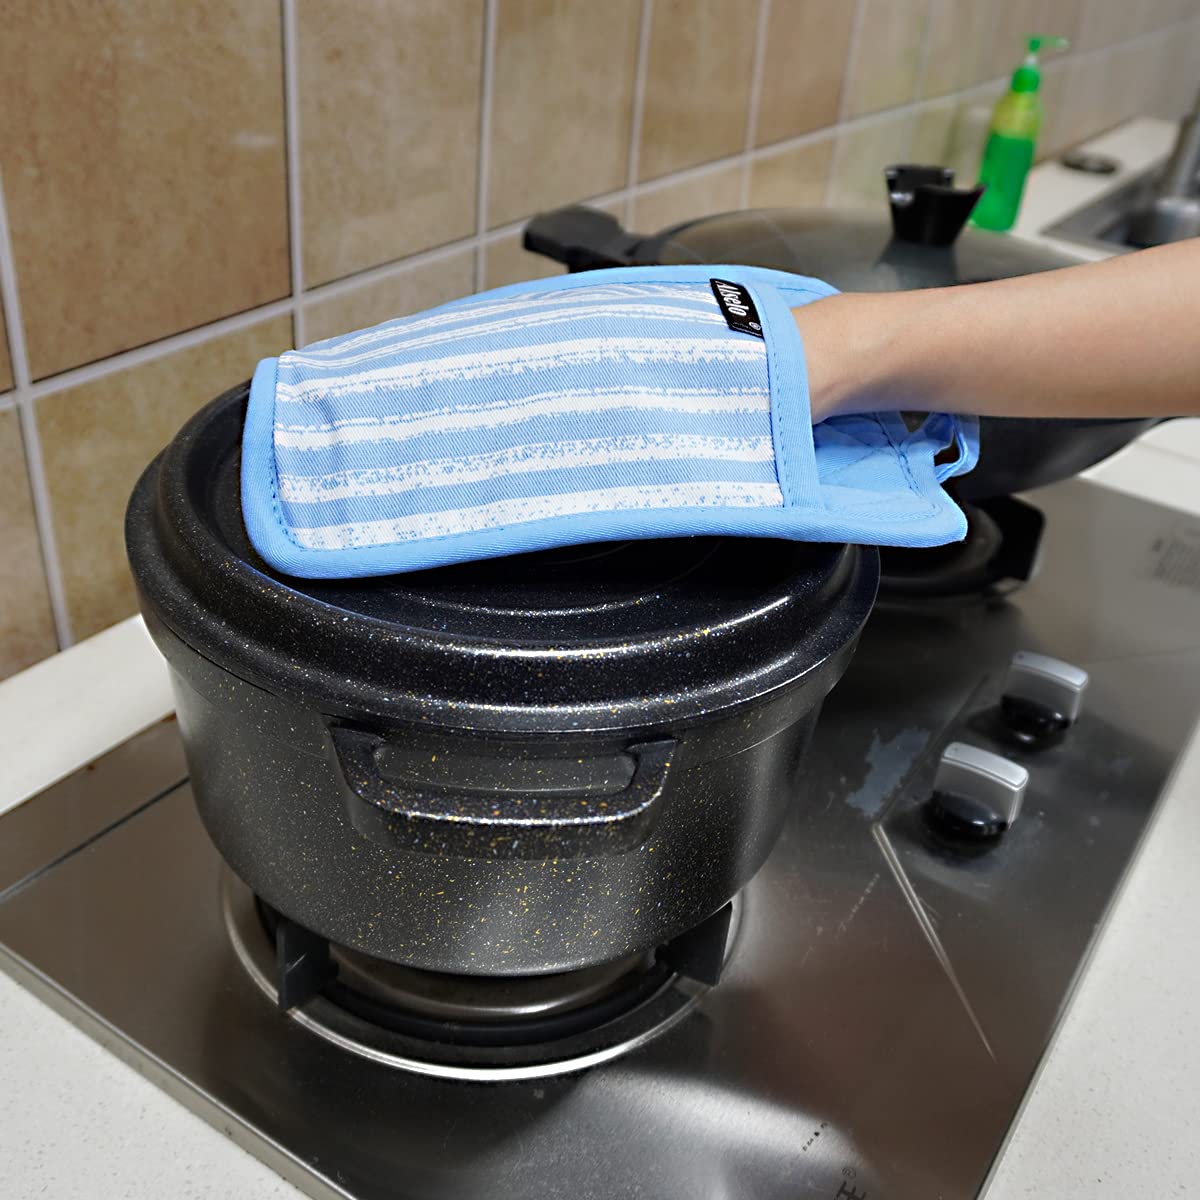
Even with meticulous care, silicone potholders have a finite lifespan. Recognizing when to retire and replace them is important for safety and hygiene.
- Tears or Holes: Any visible tears, holes, or significant thinning of the material compromise their heat protection capabilities and should be a clear indicator for replacement.
- Persistent Stickiness or Tacky Feel: If the silicone consistently feels sticky or tacky even after thorough cleaning, it could indicate material degradation (often called “blooming” or “leaching” of silicone oils), which can affect hygiene and handling.
- Permanent Discoloration: While minor staining is often cosmetic, severe, permanent discoloration that doesn’t respond to cleaning or sunlight might indicate deeper material changes, especially if accompanied by a change in texture.
- Loss of Flexibility or Brittleness: If the silicone becomes noticeably stiff, brittle, or loses its characteristic flexibility, it’s a sign that the polymer structure is breaking down, reducing its effectiveness and durability.
- Persistent Odors: If strong odors persist even after extensive deodorizing treatments, the material might have absorbed too much over time, making it unhygienic for kitchen use.
By understanding the science behind silicone, implementing precise cleaning protocols, leveraging automated solutions wisely, and practicing proactive maintenance, users can significantly extend the life and utility of their silicone potholders, ensuring they remain safe and effective tools in the modern kitchen.
aViewFromTheCave is a participant in the Amazon Services LLC Associates Program, an affiliate advertising program designed to provide a means for sites to earn advertising fees by advertising and linking to Amazon.com. Amazon, the Amazon logo, AmazonSupply, and the AmazonSupply logo are trademarks of Amazon.com, Inc. or its affiliates. As an Amazon Associate we earn affiliate commissions from qualifying purchases.