
In the ever-evolving landscape of technology, maintaining a peak-performing computer is paramount, whether you’re a tech enthusiast, a brand strategist, or a finance wizard managing your investments. Over time, even the most robust Windows 10 systems can succumb to digital clutter, performance degradation, and the occasional stubborn software glitch. This is where the powerful, often underestimated, solution of a Windows 10 fresh install comes into play. Far from being a daunting task reserved for IT professionals, performing a clean installation of Windows 10 is a remarkably straightforward process that can breathe new life into your machine, offering a snappier, more secure, and ultimately, more enjoyable computing experience.

This comprehensive guide will walk you through every step of the process, from the initial preparation to the final touches, ensuring you can execute a flawless fresh install with confidence. We’ll delve into why this procedure is so beneficial, outline all the essential prerequisites, detail the installation steps, and guide you through the crucial post-installation setup. By the end of this article, you’ll not only have a freshly installed Windows 10 but also a deeper understanding of your system’s backbone.
Why a Fresh Install is Your System’s Best Friend
Before we dive into the “how,” let’s explore the compelling “why.” Understanding the benefits of a fresh install can motivate you to undertake this valuable maintenance task and appreciate its impact on your digital life.
Rejuvenating Performance and Speed
Imagine buying a brand-new car. It runs smoothly, efficiently, and responds instantly to your commands. Over years of use, however, accumulated wear and tear, minor dings, and forgotten items in the trunk can subtly diminish its performance. Your computer is no different. Every application you install, every file you download, and every system update leaves a digital footprint. Over time, these accumulate as residual files, registry entries, and unnecessary background processes that can weigh down your operating system. A fresh install wipes the slate clean, removing all this digital baggage. The result is a system that boots faster, launches applications quicker, and generally feels far more responsive, akin to that brand-new computer experience. This performance boost is particularly noticeable on older hardware that might be struggling under the weight of years of accumulated software. For those involved in productivity-intensive tasks, such as video editing, data analysis, or running complex financial models, this speed can translate directly into improved efficiency and reduced frustration.
Eradicating Stubborn Issues and Malware
One of the most powerful reasons to perform a fresh install is its ability to resolve persistent software issues. If your Windows 10 system is plagued by frequent crashes, inexplicable errors, corrupted files, or strange slowdowns that no amount of troubleshooting seems to fix, a fresh install is often the ultimate cure. It eliminates any deep-seated software conflicts, corrupted system files, or driver incompatibilities that might be causing instability.
Beyond general glitches, a fresh install is also your strongest defense against stubborn malware and viruses. While antivirus software is essential, some particularly insidious infections can embed themselves deep within the system, making them incredibly difficult to remove completely. A fresh install acts as a digital exorcism, completely wiping the infected operating system and replacing it with a pristine, uncompromised version. This ensures your system is clean from the ground up, providing a renewed sense of security for your personal data, business operations, and financial transactions.
Embracing a Clean Digital Slate
Beyond practical benefits, there’s a certain psychological advantage to starting with a clean digital slate. Much like decluttering your physical workspace can improve focus and productivity, a fresh Windows installation allows you to redefine your digital environment. You can meticulously choose which applications to reinstall, avoiding the accumulation of unnecessary software (bloatware) that often comes with pre-built systems or impulse downloads. This minimalist approach can lead to a more organized desktop, a more streamlined Start menu, and an overall more efficient workflow. It’s an opportunity to consciously curate your digital tools, ensuring that every piece of software serves a purpose and contributes positively to your productivity and security posture. For those managing brand identity or financial data, this controlled environment can be invaluable for maintaining focus and minimizing digital distractions.
Essential Pre-Installation Checklist: Don’t Skip These Steps!
Preparation is the cornerstone of a successful fresh install. Rushing this phase can lead to lost data or avoidable headaches. Take your time to go through each item on this checklist.
Back Up Your Precious Data (The Golden Rule)
This is, without a doubt, the single most critical step. A fresh install will completely erase everything on your primary drive (C: drive), including your documents, photos, videos, music, applications, and settings.
What to back up:
- Personal Files: Documents, pictures, videos, music, downloads, desktop files.
- Browser Bookmarks/Favorites: Export these from your browser (Chrome, Firefox, Edge, etc.).
- Email Data: If you use a desktop email client (like Outlook), back up your PST/OST files.
- Application Data: Some applications store important data in their own folders (e.g., game saves, project files).
- Drivers (Optional but Recommended): While Windows 10 often finds drivers automatically, having critical drivers (like Wi-Fi, graphics card, chipset) on hand can save time, especially if you lose internet access after the install. You can use tools like Double Driver or simply download them from your PC manufacturer’s website or the component manufacturer’s website.
How to back up:
- External Hard Drive: The simplest and most reliable method. Copy and paste all important folders.
- Cloud Storage: Services like OneDrive, Google Drive, Dropbox, or iCloud allow you to sync files to the cloud. Ensure everything you need is synced before proceeding.
- Network Attached Storage (NAS): If you have one, this is an excellent option for large backups.
Double-check your backup. Disconnect the backup drive once complete to prevent accidental data loss during the installation.
Secure Your Windows 10 Product Key
While Windows 10 often reactivates automatically if it was previously activated on the same hardware and you’re installing the same edition, it’s always prudent to have your product key ready.
Where to find your product key:
- Digital License: If your Windows 10 was an upgrade from a genuine Windows 7/8/8.1 or purchased digitally, you likely have a digital license tied to your Microsoft account. In this case, you don’t typically need a product key during installation; it will activate automatically once you sign in.
- Sticker on PC/Laptop: Older PCs might have a sticker with the key on the chassis.
- Email Confirmation: If you purchased Windows 10 online, check your email.
- Command Prompt: Open Command Prompt as administrator and type
wmic path softwarelicensingservice get OA3xOriginalProductKeyand press Enter. This might reveal an OEM key. - Third-Party Tools: Tools like ProduKey can sometimes retrieve keys from an active system.
Gathering Necessary Drivers and Software
While we backed up data, it’s good practice to also consider software.
- Essential Drivers: Download the latest drivers for your network adapter (Ethernet and Wi-Fi), graphics card, and chipset from your computer manufacturer’s website or the component manufacturers (NVIDIA, AMD, Intel). Having these on a separate USB drive is crucial, especially if Windows doesn’t automatically detect your Wi-Fi card after installation.
- Software Installers: Make a list of all the essential applications you use (e.g., Microsoft Office, Adobe Creative Suite, web browsers, security software, specialized tools for finance or design) and download their latest installers. Store them on your backup drive or a separate USB stick. This saves you time post-installation.
Preparing Your Bootable USB Drive (or DVD)
You’ll need a way to boot into the Windows 10 installer. A USB flash drive is the most common and convenient method.
- USB Drive Requirements: A USB flash drive with at least 8 GB of free space. Ensure it’s empty or contains data you don’t mind losing, as the process will format it.
- Internet Connection: You’ll need a stable internet connection to download the Windows 10 Media Creation Tool and the Windows 10 ISO file.
Step-by-Step: Creating Your Windows 10 Installation Media
This section guides you through transforming a simple USB drive into a powerful Windows 10 installer.
Downloading the Windows 10 Media Creation Tool
The easiest and most reliable way to create bootable Windows 10 media is using Microsoft’s official Media Creation Tool.
- Visit Microsoft’s Website: Go to the official Windows 10 download page on Microsoft’s website.
- Download the Tool: Look for the section “Create Windows 10 installation media” and click “Download tool now.”
- Run the Tool: Once downloaded, run the
MediaCreationTool.exefile. Accept the license terms.
Crafting Your Bootable USB Drive
Follow these steps once the Media Creation Tool is running:
- Choose “Create installation media (USB flash drive, DVD, or ISO file) for another PC” and click “Next.”
- Select Language, Architecture, and Edition: The tool will usually recommend settings based on your current PC. You can uncheck “Use recommended options for this PC” if you need to create media for a different architecture (32-bit vs. 64-bit) or edition (though generally, the default “Windows 10” option includes both Home and Pro). Click “Next.”
- Choose Media Type: Select “USB flash drive” and click “Next.”
- Select Your USB Drive: From the list of available drives, choose the correct USB flash drive. Be absolutely certain you pick the right one, as all data on the selected drive will be erased. Click “Next.”
- Download and Creation: The tool will now download the Windows 10 ISO file and then write it to your USB drive, making it bootable. This process can take some time, depending on your internet speed and the speed of your USB drive.
- Finish: Once complete, you’ll see a confirmation message. Click “Finish.” Your bootable USB drive is now ready.
The Installation Process: From Boot to Desktop
With your bootable media ready and your data backed up, you’re prepared for the main event: the installation itself.

Configuring BIOS/UEFI for Boot Priority
Your computer needs to know to start from the USB drive instead of its internal hard drive. This is done through your system’s BIOS or UEFI settings.
- Insert the USB: Plug your bootable Windows 10 USB drive into an available USB port.
- Restart Your PC: Reboot your computer.
- Access BIOS/UEFI: As your computer starts up, you’ll need to repeatedly press a specific key to enter the BIOS/UEFI setup. Common keys include
Del,F2,F10,F12, orEsc. The exact key often flashes on the screen during startup. If you miss it, restart and try again. - Change Boot Order: Once in BIOS/UEFI, navigate to the “Boot” tab or “Boot Order” section. You’ll need to move your USB drive (it might be listed by its brand name, or as “USB HDD,” “Removable Device,” etc.) to the top of the boot priority list.
- Save and Exit: Save your changes (often
F10) and exit BIOS/UEFI. Your computer should now restart and boot from the USB drive. If not, recheck your boot order or try a different USB port.
Initiating the Windows 10 Setup
After booting from the USB, you’ll see the Windows 10 setup screen.
- Language and Keyboard: Select your preferred language, time and currency format, and keyboard layout. Click “Next.”
- Install Now: Click the “Install now” button.
Navigating Product Key and License Terms
- Enter Product Key: The setup will ask for a product key.
- If you have a digital license tied to your Microsoft account and are reinstalling on the same hardware, you can click “I don’t have a product key.” Windows will activate automatically after installation once you connect to the internet and sign in with your Microsoft account.
- If you have a product key, enter it now.
- If you are installing a different edition than your digital license (e.g., Pro instead of Home), you must enter the correct product key for that edition.
- Accept License Terms: Read through the Microsoft Software License Terms and check the “I accept the license terms” box. Click “Next.”
Custom Installation: Partitioning Your Drive
This is a critical step where you decide where Windows 10 will be installed.
- Choose Installation Type: Select “Custom: Install Windows only (advanced).” This is crucial for a fresh install. Do not choose “Upgrade.”
- Select Drive/Partition: You’ll see a list of drives and partitions.
- For a truly fresh install: You want to delete all partitions related to your old Windows installation. Identify your main drive (usually
Drive 0). Select each partition on this drive (e.g., “Recovery,” “System,” “Primary”) and click “Delete.” Be absolutely sure you are deleting partitions on the correct drive, especially if you have multiple internal drives or partitions you wish to keep! - Once all related partitions are deleted, you’ll be left with “Drive 0 Unallocated Space.” Select this unallocated space.
- Click “Next.” Windows will automatically create the necessary partitions (system reserved, primary) and begin installation.
- Alternatively: If you want to create custom partition sizes (e.g., a small C: drive for Windows and a larger D: drive for data), select “New” after deleting old partitions, specify the size for your first partition, then select the remaining unallocated space and create another “New” partition. For most users, simply letting Windows handle it by selecting the “Unallocated Space” and clicking “Next” is sufficient.
- For a truly fresh install: You want to delete all partitions related to your old Windows installation. Identify your main drive (usually
- Installation Begins: Windows will now copy files, install features, and perform multiple reboots. This process can take anywhere from 15 minutes to an hour or more, depending on your system’s speed.
- Initial Setup: After the reboots, you’ll be prompted to go through the initial setup, including region, keyboard layout, network connection, and Microsoft account sign-in.
User Account Creation and Initial Setup
- Region and Keyboard: Select your country/region and confirm your keyboard layout.
- Connect to a Network: Connect to your Wi-Fi or plug in an Ethernet cable. This is vital for automatic activation and updates.
- Sign in with Microsoft Account: It’s highly recommended to sign in with your Microsoft account. This links your digital license, syncs settings, and provides access to services like OneDrive. If you prefer a local account, there’s usually an option for “Offline account” or “Domain join instead” (though this option might be hidden behind “Sign-in options” or require disconnecting from the internet during setup).
- PIN Creation: Create a PIN for faster login.
- Privacy Settings: Review and adjust your privacy settings (location, diagnostic data, tailored experiences, etc.).
- Cortana Setup: Decide whether you want to enable Cortana.
- Choose Your Experience: Select how you plan to use your device (gaming, school, creativity, etc.) to get tailored suggestions.
- Finalizing: Windows will take a few more minutes to finalize settings, and then you’ll be greeted by your pristine Windows 10 desktop!
Post-Installation Essentials: Optimizing Your Fresh System
Your new Windows 10 installation is ready, but a few crucial steps remain to get it fully optimized and functional.
Running Windows Updates Immediately
This is paramount. A newly installed Windows 10 usually comes with an older build. Connecting to the internet and running Windows Update will download all the latest security patches, bug fixes, and feature updates, bringing your system up to date and significantly improving its security and stability.
- Go to
Settings > Update & Security > Windows Update. - Click “Check for updates” and install all available updates. Be prepared for multiple reboots. Continue checking for updates until no more are found.
Installing Device Drivers
While Windows Update often installs many generic drivers, it’s always best to install the latest, manufacturer-specific drivers for critical components.
- Graphics Card: Install the latest drivers from NVIDIA, AMD, or Intel.
- Chipset: Install the latest chipset drivers from Intel or AMD (or your motherboard manufacturer).
- Network Adapters: If your Wi-Fi or Ethernet isn’t working at full potential, install the specific drivers from your motherboard or laptop manufacturer.
- Other Peripherals: Install drivers for any specialized hardware like printers, external sound cards, or gaming peripherals.
- Use Device Manager: You can check for any missing drivers in Device Manager (
Right-click Start button > Device Manager). Any devices with a yellow exclamation mark need attention.
Reinstalling Your Essential Software
Now is the time to carefully reinstall the applications you need.
- Start with your web browser of choice.
- Install your antivirus/security software.
- Proceed with productivity suites (Office), creative tools (Adobe), and any specialized software you use for your tech, brand, or money-related tasks.
- Be selective! Avoid installing software you rarely use, to maintain a lean and fast system.
Restoring Your Data from Backup
Carefully copy your backed-up personal files (documents, photos, videos, etc.) back to your computer. Organize them into appropriate folders. Do not simply dump everything back into the C: drive’s root; use your Libraries (Documents, Pictures, Videos) or dedicated data drives/partitions if you created them.
Personalization and Security Measures
- Personalize: Set your desktop background, theme, and start menu layout to your liking.
- Create System Restore Point: Once your system is fully updated, drivers are installed, and essential software is set up, create a system restore point. This acts as a snapshot, allowing you to easily roll back your system to this stable state if future installations or updates cause issues. Search for “Create a restore point” in the Start menu.
- Review Security Settings: Reconfigure Windows Defender Firewall, set up Windows Hello (if available), and ensure your passwords are strong and unique. Consider enabling two-factor authentication for your Microsoft account and other critical services.
Troubleshooting Common Issues and Pro Tips
Even with careful planning, occasional hiccups can occur. Here are some common issues and advice:
“Missing Driver” Errors
If you can’t connect to the internet after installation, it’s likely a missing network adapter driver. This is why having drivers on a separate USB drive is crucial. Use another computer to download the necessary driver and transfer it.
Boot Loop Problems
If your computer gets stuck in a boot loop after installation, it could be a corrupted installation, bad driver, or incorrect BIOS settings.
- Try booting into Safe Mode (you might need to use your installation media to access repair options).
- Recheck your BIOS/UEFI boot order.
- If all else fails, you may need to restart the installation process.
Activation Difficulties
If Windows doesn’t activate automatically:
- Ensure you’re connected to the internet.
- Sign in with the Microsoft account associated with your digital license.
- Go to
Settings > Update & Security > Activationand run the troubleshooter. - If you entered a product key, double-check it.
- Sometimes, it just takes a little time for Microsoft’s servers to register the activation.
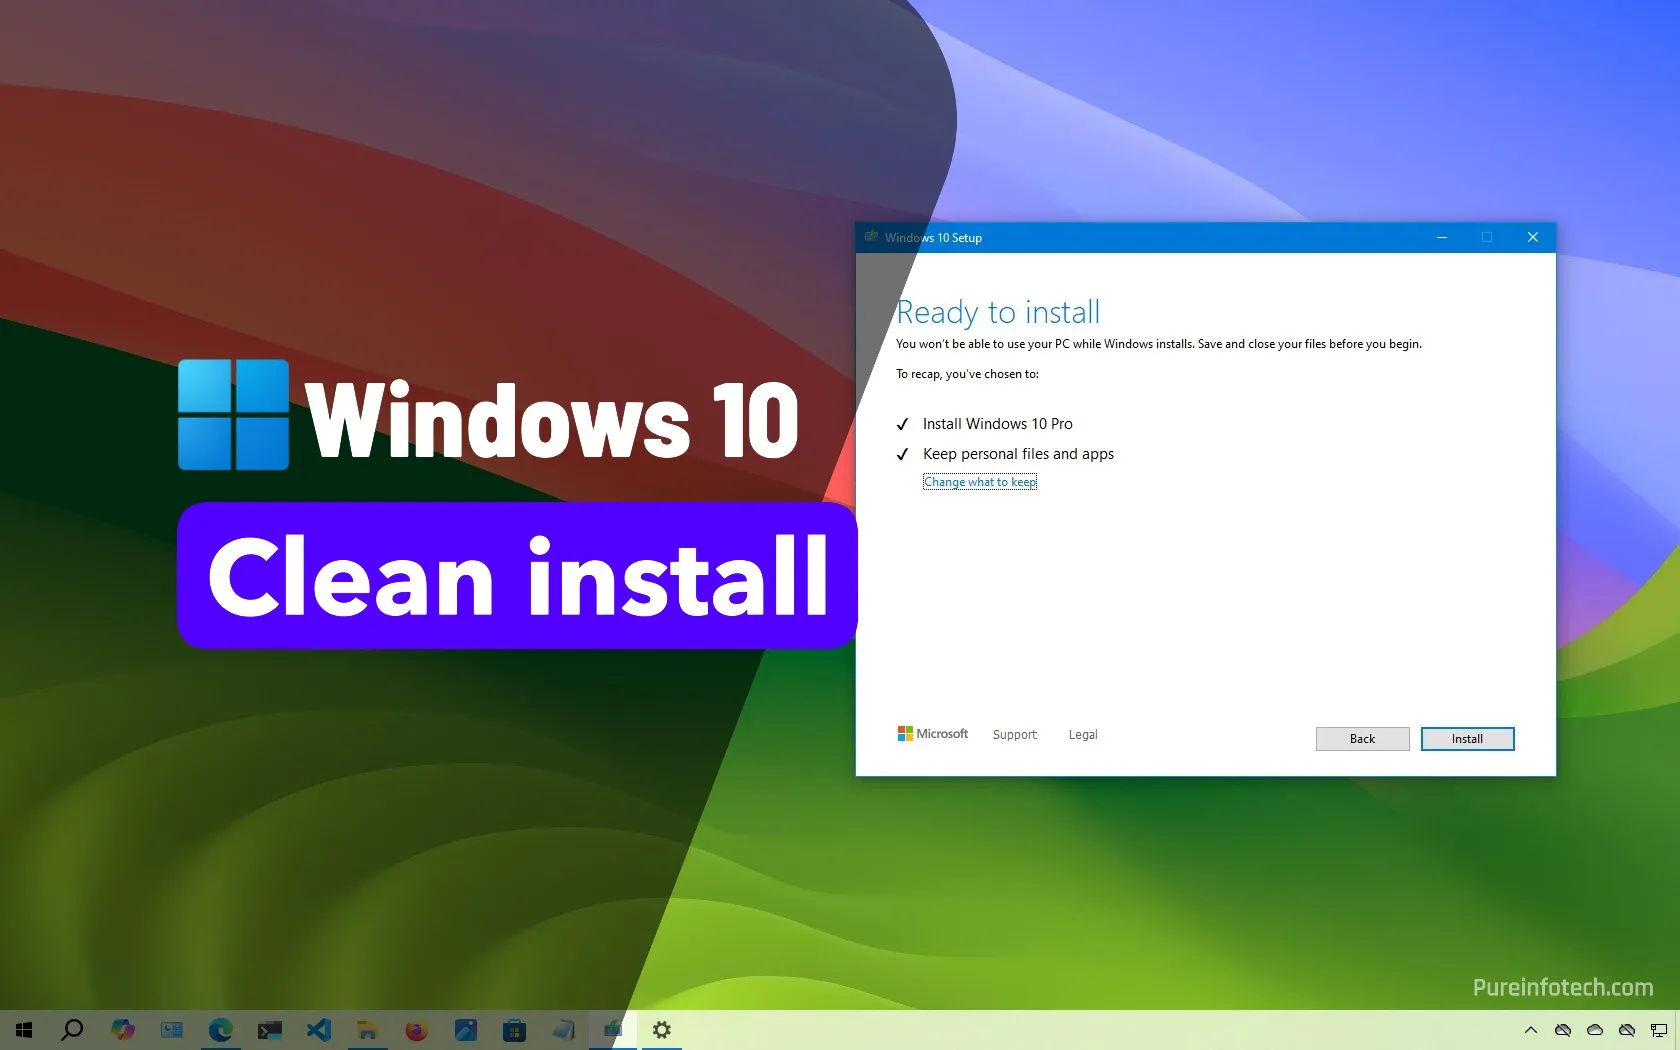
Pro Tip: Create a System Restore Point
After you’ve done all your post-installation setup – drivers, updates, essential software – create a system restore point. Think of it as a snapshot of your perfect, clean system. If you ever install something that breaks your PC, you can roll back to this restore point, saving you from having to do another fresh install.
By following these steps, you will not only successfully perform a Windows 10 fresh install but also gain a deeper understanding of your computer’s operating system. Enjoy the benefits of a faster, cleaner, and more secure computing experience, allowing you to focus on what truly matters, whether it’s navigating technology trends, building your brand, or optimizing your finances.
aViewFromTheCave is a participant in the Amazon Services LLC Associates Program, an affiliate advertising program designed to provide a means for sites to earn advertising fees by advertising and linking to Amazon.com. Amazon, the Amazon logo, AmazonSupply, and the AmazonSupply logo are trademarks of Amazon.com, Inc. or its affiliates. As an Amazon Associate we earn affiliate commissions from qualifying purchases.