
In an increasingly digital world, the convenience of mobile payments has become an indispensable part of daily life. While Apple Pay is the native and primary mobile payment solution for iPhone users, Google Pay offers a compelling alternative, especially for those who navigate a multi-device ecosystem or simply prefer Google’s comprehensive suite of services. Setting up Google Pay on an iPhone unlocks a world of seamless transactions, robust security, and cross-platform utility. This guide will walk you through the entire process, ensuring you can leverage the power of Google Pay directly from your iOS device.
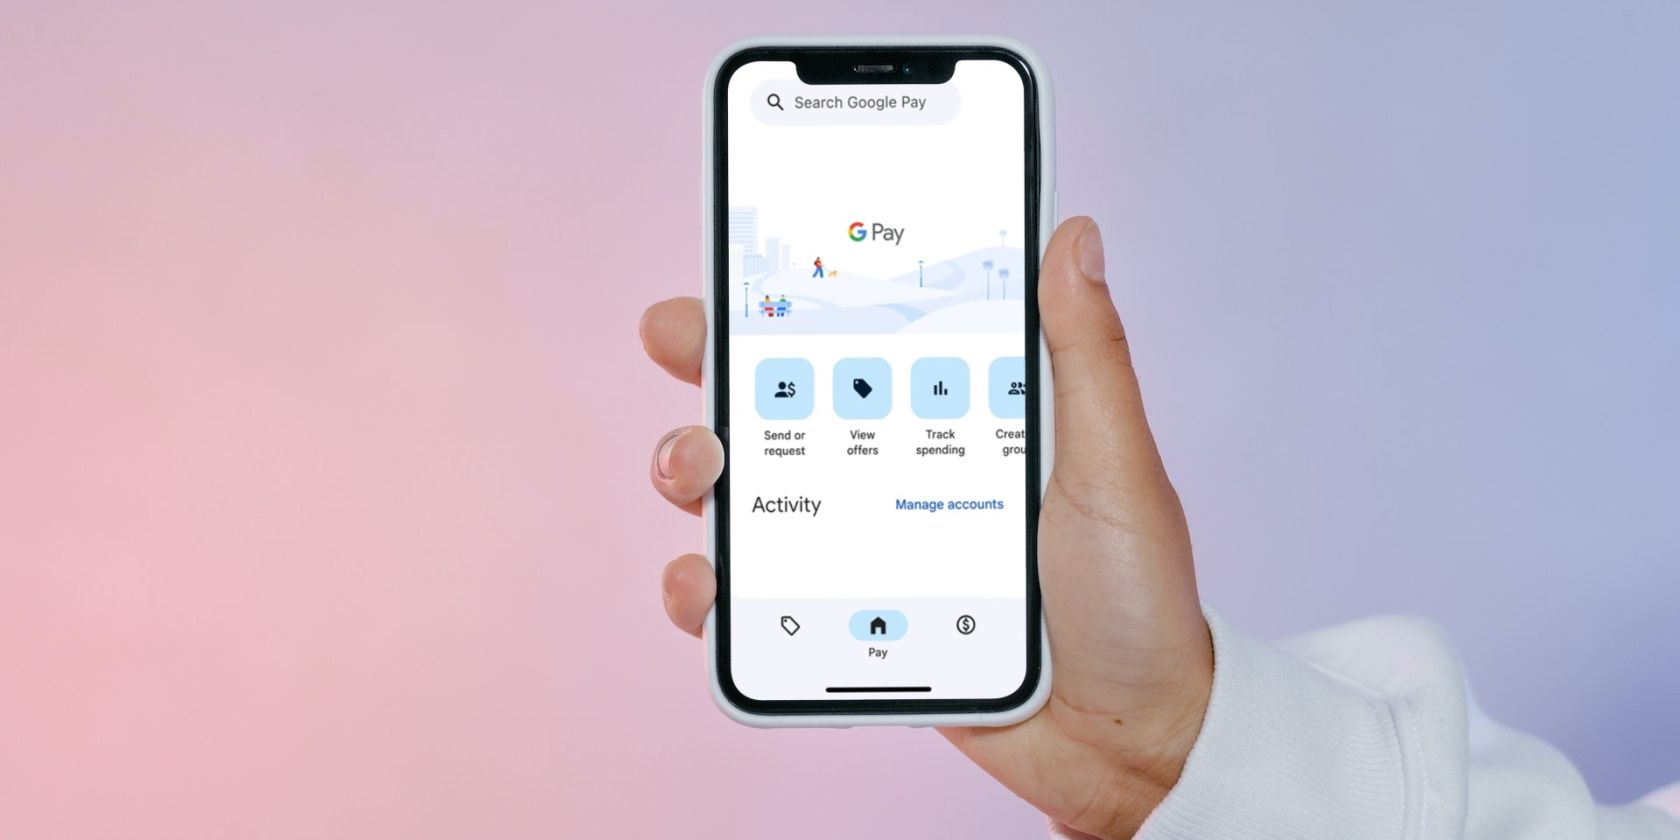
Google Pay, formerly known as Google Wallet and Android Pay, has evolved into a unified platform for payments, loyalty cards, and even peer-to-peer transfers. Its integration across various Google services and its widespread acceptance make it a formidable player in the digital wallet space. For iPhone users, while it doesn’t replace Apple Pay for NFC-based tap-to-pay at physical terminals (due to Apple’s restricted NFC access for third-party payment apps), Google Pay shines in online transactions, in-app purchases, and QR code payments where supported. This guide focuses on equipping you with the knowledge to seamlessly integrate Google Pay into your iPhone experience, broadening your digital payment horizons.
Understanding Google Pay’s Role and Benefits on iPhone
Before diving into the setup, it’s crucial to understand what Google Pay is, how it functions specifically on an iPhone, and the unique advantages it brings to the table for iOS users. This clarity will help you appreciate its utility and integrate it effectively into your digital lifestyle.
What is Google Pay? A Brief Overview
Google Pay is a digital wallet and online payment system developed by Google to power in-app, online, and in-person contactless purchases on mobile devices. It allows users to store credit cards, debit cards, loyalty cards, boarding passes, and more in a secure digital format. At its core, Google Pay aims to simplify and secure transactions by eliminating the need to carry physical cards and repeatedly enter payment information. It leverages advanced security features like tokenization to protect your financial data, making it a safer alternative to traditional card payments in many scenarios. For Android users, Google Pay is deeply integrated for NFC tap-to-pay functionality, a feature that operates differently on iOS.
Why Use Google Pay on an iPhone? Unique Advantages for iOS Users
While Apple Pay is the default and deeply integrated solution for iPhone, Google Pay offers distinct benefits that make it a valuable addition for many iOS users:
-
Cross-Platform Consistency: If you use Android devices alongside your iPhone (e.g., an Android tablet or work phone), Google Pay provides a unified payment experience. Your stored cards and transaction history remain consistent across all devices logged into your Google account, simplifying management and tracking.
-
Online and In-App Versatility: Google Pay excels in online environments. Many e-commerce websites and mobile applications offer Google Pay as a checkout option. Setting it up on your iPhone means you can quickly complete purchases in Safari, Chrome, or various apps without manually entering card details, even if Apple Pay isn’t an option.
-
QR Code Payments and Specific Merchant Integrations: In certain regions or with specific merchants, Google Pay facilitates payments via QR codes or through merchant-specific integrations where NFC isn’t involved. This expands your payment options beyond the traditional tap-to-pay system.
-
Sending and Receiving Money: Google Pay often includes peer-to-peer payment capabilities, allowing you to easily send or receive money from friends and family, regardless of whether they use an iPhone or Android device, as long as they have a Google account.
-
Loyalty and Gift Cards: Google Pay often has robust support for storing loyalty cards, gift cards, and even event tickets. Consolidating these in one app can de-clutter your physical wallet and ensure you never miss out on rewards.
It’s important to reiterate that on an iPhone, Google Pay cannot use the NFC chip for tap-to-pay at retail terminals. Apple restricts NFC access to its own Apple Pay service for security and integration reasons. Therefore, for physical store payments, you’ll still primarily rely on Apple Pay or your physical card. Google Pay on iPhone primarily enhances your online, in-app, and specific merchant payment experiences.
Compatibility Requirements: Ensuring Your iPhone is Ready
Before proceeding with the setup, ensure your iPhone meets the necessary requirements for Google Pay:
-
iOS Version: Google Pay requires a relatively recent version of iOS. While specific minimum versions can change, generally iOS 11 or later is recommended to ensure full functionality and security updates.
-
Google Account: A valid Google account (Gmail address) is essential to use Google Pay. If you don’t have one, you’ll need to create one.
-
Payment Method: You’ll need an eligible credit or debit card from a supported bank. Most major banks and card networks (Visa, Mastercard, American Express, Discover) are supported, but it’s always good to check Google Pay’s official support pages if you encounter issues.
-
Internet Connection: A stable internet connection (Wi-Fi or cellular data) is required for downloading the app, adding cards, and for some verification processes.
Pre-Setup Checklist: What You Need Before You Start
A smooth setup experience begins with a little preparation. Gathering all the necessary information and ensuring you have the right tools at hand will streamline the process of getting Google Pay up and running on your iPhone.
Essential Components: A Quick Overview
-
Your iPhone: Obviously, you’ll need the device itself, updated to a recent iOS version.
-
A Valid Google Account: This is your primary identity for Google Pay. Ensure you know your login credentials.
-
Your Payment Card Details: Have your physical credit or debit card(s) ready. You’ll need the card number, expiration date, and CVV/CVC code.
-
Internet Connectivity: Ensure you have a strong and reliable internet connection.
-
Access to Verification Methods: Your bank may require verification (e.g., a one-time passcode sent to your registered phone number or email, or verification through your bank’s mobile app). Ensure you have access to these.
Downloading the Google Pay App: Your Gateway to Digital Payments
Unlike Apple Pay, which is integrated directly into iOS via Apple Wallet, Google Pay is a standalone application that you need to download from the Apple App Store.
-
Open the App Store: On your iPhone, tap the blue App Store icon.
-
Search for “Google Pay”: Use the search bar at the bottom right and type in “Google Pay.”
-
Identify the Official App: Look for the app published by “Google LLC.” It typically has a distinctive colorful logo.
-
Download and Install: Tap “Get” or the cloud icon with a down arrow (if you’ve downloaded it before) to download and install the app. You may need to authenticate with Face ID, Touch ID, or your Apple ID password.
-
Locate the App: Once installed, the Google Pay icon will appear on your home screen.
Having the app downloaded and ready is the first tangible step toward configuring your digital wallet.
Step-by-Step Guide: Adding Cards to Google Pay on iPhone
Now that you have the Google Pay app installed and your prerequisites met, it’s time to add your payment methods. This is the core process that enables you to use Google Pay for transactions.
1. Launching Google Pay and Signing In
-
Open the Google Pay App: Tap the Google Pay icon on your iPhone’s home screen.
-
Sign In with Your Google Account: The app will prompt you to sign in with your Google account. Enter your Gmail address and password. If you have multiple Google accounts on your iPhone, you might be asked to select which one to use. If you don’t have a Google account, you’ll be guided to create one.
-
Grant Permissions: Google Pay may request certain permissions (e.g., notifications, location access). Granting these can enhance the app’s functionality and your user experience.
2. Adding Your Credit or Debit Card
This is the most crucial step. Google Pay makes this process intuitive, offering a couple of methods.

-
Navigate to the Payment Methods Section: Once signed in, you’ll typically see an option to “Add a card” or navigate to a “Payments” or “Wallet” tab within the app. Tap this option.
-
Choose “Credit or Debit Card”: Select the option to add a credit or debit card.
-
Scan Your Card (Recommended): The app will likely open your camera and prompt you to position your card within the frame. Google Pay’s OCR (Optical Character Recognition) technology is quite good at automatically detecting and populating the card number and expiration date. Ensure good lighting and a steady hand.
-
Manual Entry (Alternative): If scanning isn’t working or you prefer to, you can choose to “Enter details manually.” You will then type in:
-
Your card number
-
The expiration month and year
-
The CVV/CVC code (the 3 or 4-digit security code, usually on the back of the card)
-
Your name (as it appears on the card)
-
Your billing address (associated with the card)
-
-
Review and Accept Terms: After entering the card details, review them carefully. You’ll then be prompted to read and accept your bank’s terms and conditions for using the card with Google Pay.
3. Card Verification Process
For security purposes, your bank needs to verify that you are the legitimate cardholder. This is a standard procedure across all digital wallet services.
-
Select a Verification Method: Your bank will offer one or more ways to verify your card. Common methods include:
-
One-Time Passcode (OTP): A code sent via SMS to your phone number or email address registered with your bank. You’ll enter this code into Google Pay.
-
Bank App Verification: You might be prompted to open your bank’s mobile app to approve the addition of the card.
-
Phone Call: Some banks may require a brief phone call to their customer service to verify your identity.
-
Temporary Charge: Less common now, but some services might place a small temporary charge on your card, and you’d verify the amount.
-
-
Complete Verification: Follow the instructions provided by your bank. Once verified, your card will be successfully added to Google Pay.
-
Set as Default (Optional): If you’re adding multiple cards, you can choose one to be your default payment method for quicker transactions. You can always change this later.
Repeat this process for any additional credit or debit cards you wish to add to your Google Pay wallet.
Using Google Pay on Your iPhone: Payments and Beyond
With your cards successfully added, you’re now ready to leverage Google Pay for various transactions on your iPhone. Understanding where and how to use it will maximize its convenience.
Making Online and In-App Payments
This is where Google Pay on iPhone truly shines, providing a fast and secure checkout experience across a vast network of merchants.
-
Online Shopping: When shopping on websites from your iPhone’s browser (Safari, Chrome, etc.), look for the “Buy with Google Pay” button at checkout. Clicking this will prompt Google Pay to handle the transaction using your stored cards, often without needing to re-enter payment or shipping details.
-
In-App Purchases: Many iOS apps that offer goods or services will feature Google Pay as a payment option. Just select Google Pay during checkout within the app, and it will securely process your payment.
-
How it Works: When you choose Google Pay, your payment information is transmitted using a unique, encrypted token instead of your actual card number. This tokenization enhances security by preventing your actual card details from being exposed to the merchant.
Sending and Receiving Money (Peer-to-Peer)
Google Pay often incorporates a peer-to-peer payment functionality, allowing you to easily transfer money to friends and family.
-
Sending Money:
-
Open the Google Pay app and navigate to the “Send or request” section (the exact wording might vary slightly).
-
Select the contact you wish to send money to, or enter their phone number/email address.
-
Enter the amount you wish to send.
-
Choose the card you want to pay with (or link a bank account if available for P2P transfers).
-
Review and confirm the transaction.
-
-
Receiving Money: When someone sends you money via Google Pay, you’ll typically receive a notification. The funds will usually be added to your Google Pay balance (if you have one) or deposited directly into a linked bank account, depending on your setup and regional rules.
Managing Your Payment Methods and Transaction History
Google Pay also serves as a robust tool for managing your digital wallet.
-
Viewing Transaction History: Within the Google Pay app, you can typically find a “Transactions” or “Activity” section. This provides a detailed list of all your Google Pay purchases, helping you track your spending.
-
Editing Card Details: If a card’s billing address changes, or if you need to update any information, you can usually tap on the specific card within the “Payments” section and edit its details.
-
Removing a Card: If a card expires, is lost, or you simply no longer wish to use it with Google Pay, you can easily remove it. Navigate to the card in the “Payments” section, tap on it, and look for an option to “Remove card” or “Delete payment method.”
-
Setting a Default Card: If you have multiple cards, you can designate one as your default, making it the primary choice for transactions unless you manually select another.
Security and Troubleshooting for Google Pay on iPhone
Security is paramount when dealing with financial transactions, and even with robust systems, occasional issues can arise. Understanding Google Pay’s security features and knowing how to troubleshoot common problems will enhance your confidence and ensure a smooth experience.
Robust Security Features Protecting Your Data
Google Pay incorporates multiple layers of security to protect your financial information and transactions:
-
Tokenization: When you add a card, Google Pay doesn’t store your actual card number on your device or share it with merchants. Instead, it creates a unique encrypted number called a “token” or “virtual account number.” This token is used for transactions, making it virtually impossible for fraudsters to steal your actual card details from a merchant’s system.
-
Encryption: All your payment data is encrypted, both when stored and when transmitted. This means that even if data were intercepted, it would be unreadable without the proper decryption keys.
-
Screen Lock Requirement: To use Google Pay, your iPhone typically needs to be unlocked with Face ID, Touch ID, or a passcode. This ensures that even if your device falls into the wrong hands, unauthorized individuals cannot make payments.
-
Fraud Monitoring: Google employs sophisticated fraud detection systems that continuously monitor transactions for suspicious activity. If unusual patterns are detected, transactions may be flagged for verification or blocked.
-
Remote Card Removal: If your iPhone is lost or stolen, you can remotely remove your cards from Google Pay (and indeed from all your Google services) by signing into your Google account on a computer or another device.
Troubleshooting Common Google Pay Issues on iPhone
While Google Pay is generally reliable, you might occasionally encounter problems. Here’s how to address some common issues:
-
Card Not Adding/Verification Failure:
-
Check Card Details: Double-check that all card details (number, expiration, CVV, billing address) are entered correctly.
-
Contact Your Bank: Most verification issues originate with the bank. Call your bank’s customer service and explain that you’re trying to add your card to Google Pay. They can often manually approve it or provide specific instructions.
-
Internet Connection: Ensure you have a stable internet connection.
-
App Update: Make sure your Google Pay app is updated to the latest version.
-
-
Transaction Declined/Payment Failure:
-
Check Card Status: Ensure the card is active and not expired within Google Pay.
-
Sufficient Funds: Verify that your card has sufficient funds or credit limit for the transaction.
-
Bank Restrictions: Some banks might have daily limits or fraud prevention triggers for digital wallet transactions. Contact your bank.
-
Merchant Acceptance: Confirm that the merchant accepts Google Pay for that specific transaction type (e.g., some don’t support it for recurring payments).
-
Google Pay Balance (if applicable): If you’re drawing from a Google Pay balance, ensure it’s sufficiently funded.
-
-
App Crashing or Freezing:
-
Force Quit and Relaunch: Swipe up from the bottom of your screen (or double-tap the Home button on older iPhones) to open the app switcher, then swipe the Google Pay app upwards to close it. Relaunch the app.
-
Restart iPhone: A simple device restart can resolve many temporary software glitches.
-
Reinstall App: If issues persist, try deleting the Google Pay app and reinstalling it from the App Store. Your payment data is tied to your Google account, so it will reappear after you sign back in.
-
-
Notifications Not Working:
-
Check iPhone Settings: Go to iPhone Settings > Notifications > Google Pay and ensure “Allow Notifications” is toggled on.
-
Check In-App Settings: Some apps have their own notification settings within the app itself.
-

Contacting Google Pay Support
If you’ve exhausted basic troubleshooting and are still facing issues, Google provides robust support resources:
-
Google Pay Help Center: Access the extensive online help center directly from the Google Pay app (usually in Settings > Help & Feedback) or by searching “Google Pay help” online. It contains articles, FAQs, and troubleshooting guides.
-
Community Forums: Google often has community forums where users and experts share solutions to common problems.
-
Direct Support: For more complex or account-specific issues, the help center usually provides options to contact Google Pay support directly via chat, email, or phone.
By understanding these security protocols and troubleshooting tips, you can confidently use Google Pay on your iPhone, knowing your financial information is protected and that help is available if needed. The integration of Google Pay into your iPhone broadens your digital payment capabilities, offering a versatile and secure method for your online and in-app transactions.
aViewFromTheCave is a participant in the Amazon Services LLC Associates Program, an affiliate advertising program designed to provide a means for sites to earn advertising fees by advertising and linking to Amazon.com. Amazon, the Amazon logo, AmazonSupply, and the AmazonSupply logo are trademarks of Amazon.com, Inc. or its affiliates. As an Amazon Associate we earn affiliate commissions from qualifying purchases.