
The Graphics Processing Unit (GPU) is arguably the most transformative component of a modern computer. Whether you are a dedicated gamer seeking high frame rates, a creative professional rendering 4K video, or a researcher training complex AI models, the GPU is the powerhouse that drives your visual and computational experience. However, the prospect of opening a PC case and handling expensive silicon can be daunting for many.
Installing a GPU is a foundational skill in the world of technology. Beyond the physical act of plugging in hardware, it involves understanding system architecture, power management, and software optimization. This guide provides a comprehensive, professional walkthrough of the entire process, ensuring that your transition to high-end graphics is seamless and safe.
Preparing Your System for a Hardware Upgrade
Before you even touch your screwdriver, the most critical phase of GPU installation begins: the preparation. A common mistake among enthusiasts is purchasing a top-tier card only to realize it doesn’t fit the case or that the power supply cannot handle the load.
Evaluating Power Supply Compatibility
The power supply unit (PSU) is the unsung hero of your PC. Modern high-end GPUs, such as the NVIDIA RTX 40-series or AMD’s RX 7000-series, are incredibly power-hungry. Before installation, you must verify two things: wattage and connectors.
Most mid-to-high-end GPUs require at least a 650W to 850W PSU. If you are moving to a flagship card, you may even need a 1000W unit. Beyond raw wattage, you must ensure your PSU has the correct PCIe power cables. Older cards used simple 6-pin or 8-pin connectors, but newer high-performance cards often use the 12VHPWR (16-pin) connector. Using “daisy-chained” cables—where one cable splits into two connectors—is generally discouraged for high-wattage cards, as it can lead to instability or even hardware damage.
Measuring Physical Space and Clearance
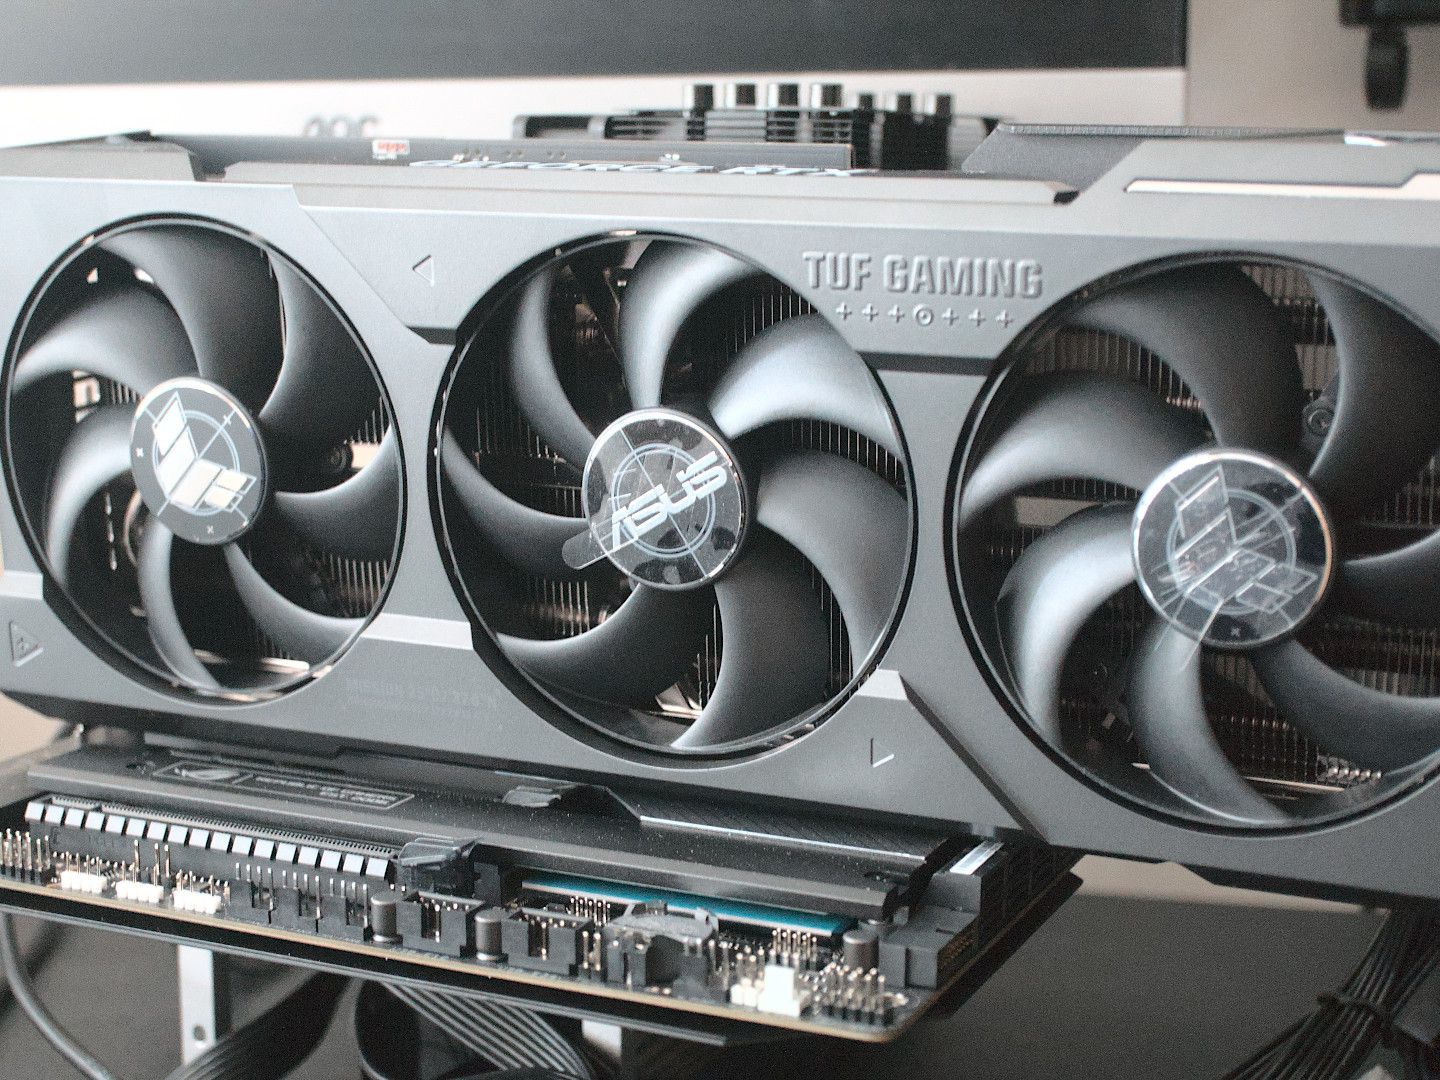
As GPUs have become more powerful, they have also grown significantly in size. “Triple-slot” designs are now common, meaning the card is thick enough to block three expansion slots on your motherboard.
You must measure the length of your internal case space. Many modern GPUs exceed 300mm in length, which can collide with front-mounted fans or liquid cooling radiators. Additionally, check for “GPU sag” potential. Large cards are heavy and can put stress on the PCIe slot; many manufacturers now include a support bracket in the box. Ensure you have the vertical and horizontal clearance necessary to accommodate both the card and its cooling solution.
The Physical Installation Process
Once you have verified compatibility and cleared your workspace, it is time for the physical installation. This process requires a delicate touch and a focus on static safety.
Preparing the Workspace and Static Safety
Static electricity is the silent killer of computer components. While modern hardware is more resilient than the components of a decade ago, an Electrostatic Discharge (ESD) can still cause “latent defects”—damage that doesn’t kill the part immediately but leads to crashes and a shortened lifespan later.
Work on a flat, non-conductive surface like a wooden table. Avoid working on carpet. It is highly recommended to use an anti-static wrist strap clipped to the metal chassis of your PC case. If you don’t have one, frequently touch a grounded metal object (like the unpainted part of your computer case while it is plugged in but turned off) to discharge any static buildup from your body. Finally, ensure the PC is completely powered down, the PSU switch is in the “O” (off) position, and the power cable is removed.
Removing the Old Card and Seating the New GPU
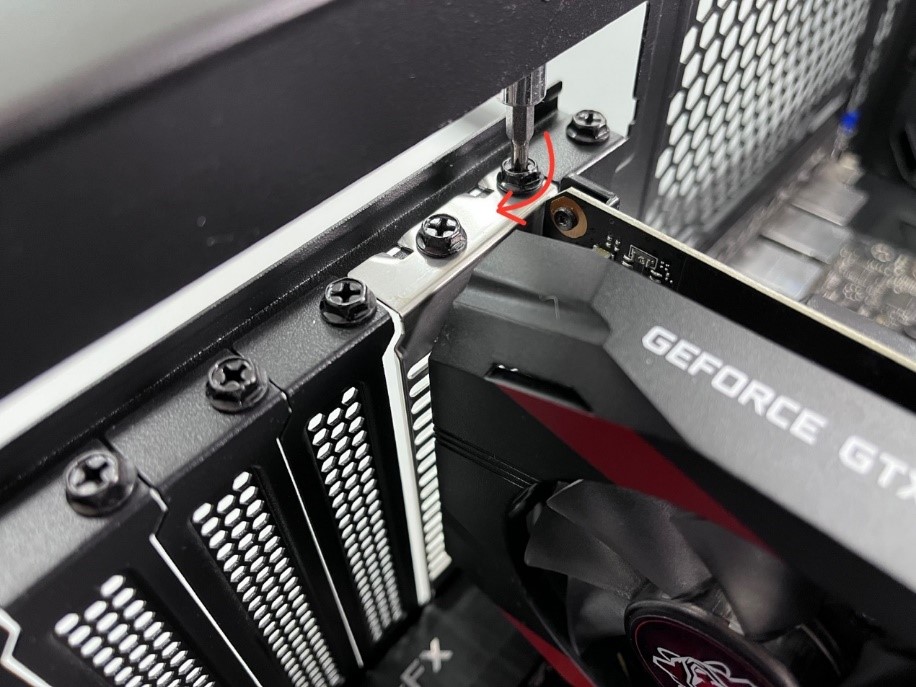
If you are replacing an existing card, start by unscrewing the bracket screws that hold the GPU to the case’s expansion slots. Next, look for the small plastic PCIe release latch at the end of the motherboard slot. Press this latch down (or pull it back, depending on the motherboard design) to unlock the card. Gently pull the old GPU straight out.
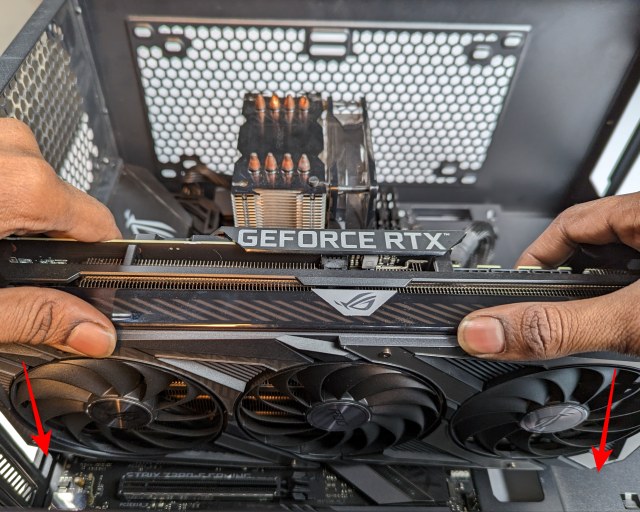
To install the new card, align its gold pins with the primary PCIe x16 slot—usually the topmost slot closest to the CPU, as this typically offers the highest bandwidth. Push the card down firmly but evenly until you hear a “click” from the plastic latch locking into place. Once seated, secure the card to the case using the screws you removed earlier. This prevents the card from moving and ensures the heavy cooling shroud doesn’t put undue leverage on the motherboard.
Managing Power Cables and Connectors
With the card physically mounted, you must provide it with power. Take the PCIe power cables from your PSU and plug them into the ports on the top or side of the GPU. Ensure the connectors are pushed in all the way; a loose connection is a fire hazard, particularly with the newer 16-pin connectors which require a very secure fit to prevent melting.
This is also the best time for “cable management.” Use zip ties or velcro straps to keep cables away from the GPU fans. Proper airflow is essential for maintaining the boost clocks of modern hardware, and cluttered cables can create pockets of hot air that throttle your performance.
Software Setup and Driver Management
A GPU is only as good as the software that controls it. Installing the physical hardware is only half the battle; the next step is ensuring the operating system knows how to communicate with the new silicon efficiently.
Cleaning the Slate with Display Driver Uninstaller (DDU)
If you are switching from an AMD card to an NVIDIA card (or vice versa), or even moving between different generations of the same brand, leftover driver files can cause significant issues. These “ghost” files can lead to lower-than-expected benchmarks, stuttering, or the dreaded Blue Screen of Death (BSOD).
The gold standard for tech enthusiasts is a utility called Display Driver Uninstaller (DDU). Before installing your new card’s software, run DDU in Windows Safe Mode. This tool wipes every trace of previous graphics drivers from the Windows Registry and system folders. Once the cleanup is complete, your system will restart using a generic Windows display driver, providing a “clean slate” for your new hardware.
Installing Manufacturer-Specific Drivers
With the old drivers gone, visit the official website of your GPU manufacturer (NVIDIA, AMD, or Intel). Avoid using the “automatic update” features built into Windows, as these often provide outdated versions.
Download the latest driver package—for NVIDIA users, this is usually the Game Ready Driver or Studio Driver; for AMD, it is the Adrenalin software. During installation, you will often be given the choice of a “Full Install” or “Driver Only.” While the full suites offer great features like recording, overlay metrics, and AI noise cancellation, some users prefer the “Driver Only” option to keep their system lean. Once the installation finishes, restart your computer one final time to finalize the changes.
Optimization, Benchmarking, and Maintenance
After the drivers are installed, the final phase involves verifying that the hardware is performing as expected and setting up a maintenance routine.
Stress Testing and Thermal Monitoring
How do you know if your installation was successful? You test it under load. Use benchmarking software such as 3DMark, Unigine Superposition, or built-in game benchmarks (like those in Cyberpunk 2077 or Forza Horizon 5) to push the GPU to 100% utilization.
During these tests, use a monitoring tool like MSI Afterburner or HWInfo64 to keep an eye on temperatures. A healthy GPU should generally stay between 65°C and 85°C under heavy load. If you see temperatures spiking above 90°C immediately, you may have an airflow issue in your case, or the card may be defective. Stress testing for at least 30 minutes will also reveal if your Power Supply is up to the task; if the PC suddenly shuts down during a heavy benchmark, your PSU likely cannot handle the “transient spikes” in power draw.
Long-term Maintenance and Dust Management
A GPU is a long-term investment. To ensure it lasts for several years, periodic maintenance is required. Dust is the primary enemy of cooling efficiency. Every 3–6 months, use a can of compressed air to blow out the dust from the GPU’s heatsink fins and fans. When doing this, hold the fans in place with your finger so they don’t spin at excessive speeds, which can damage the bearings.
Understanding Modern GPU Technologies
To truly get the most out of your new installation, you should understand the cutting-edge tech features that define modern computing.
Ray Tracing and AI-Driven Upscaling
Modern GPUs are no longer just about raw rasterization; they are about “smart” rendering. Features like NVIDIA’s DLSS (Deep Learning Super Sampling), AMD’s FSR (FidelityFX Super Resolution), and Intel’s XeSS use AI to upscale lower-resolution images, providing a massive boost in frame rates without a significant loss in visual quality.
Furthermore, Hardware-Accelerated Ray Tracing allows for realistic lighting, shadows, and reflections. These features often require specific settings to be toggled within your software or game menus. Knowing how to balance these settings—choosing between “Quality” and “Performance” modes—is key to tailoring your tech experience to your specific monitor resolution and refresh rate.
The Impact of PCIe 4.0 and 5.0 Standards
Finally, be aware of the bandwidth standards. Most modern GPUs utilize the PCIe 4.0 or 5.0 interface. While these cards are “backward compatible” with PCIe 3.0 motherboards, using a high-end card on an older motherboard may result in a minor performance bottleneck in specific bandwidth-heavy tasks. Understanding the synergy between your motherboard’s chipset and your GPU ensures that no part of your technological ecosystem is holding the other back.
By following this comprehensive guide, you have moved beyond simply “plugging in a card.” You have curated a high-performance environment, managed power and thermal variables, and optimized software for peak efficiency. Your system is now ready to tackle the most demanding tasks in the digital world.
aViewFromTheCave is a participant in the Amazon Services LLC Associates Program, an affiliate advertising program designed to provide a means for sites to earn advertising fees by advertising and linking to Amazon.com. Amazon, the Amazon logo, AmazonSupply, and the AmazonSupply logo are trademarks of Amazon.com, Inc. or its affiliates. As an Amazon Associate we earn affiliate commissions from qualifying purchases.