
In the rapidly evolving landscape of artificial intelligence and machine learning, computer vision stands as one of the most transformative pillars. From the facial recognition software on your smartphone to the complex obstacle-detection systems in autonomous vehicles, the ability of machines to “see” and interpret visual data is reshaping our world. At the heart of this revolution lies OpenCV (Open Source Computer Vision Library), a powerhouse of coding resources that simplifies complex image processing tasks. For Python developers, the gateway to this library is the cv2 module.

While installing a Python library might seem like a trivial task, the cv2 module often presents unique challenges due to its extensive dependencies and the various versions available for different hardware architectures. This guide provides a deep dive into the technical nuances of installing OpenCV, ensuring that your development environment is optimized for high-performance computer vision tasks.
Understanding OpenCV and the Importance of the CV2 Module
Before diving into the technical installation steps, it is essential to understand what you are installing. OpenCV is an open-source library that includes several hundred computer vision algorithms. Originally developed by Intel, it is now supported by a massive community and used globally for everything from medical image analysis to factory automation.
What is OpenCV?
OpenCV is written natively in C++, which allows it to run highly efficient computations. However, its popularity skyrocketed when it introduced wrappers for Python. This allows developers to write code in a high-level, readable language like Python while leveraging the lightning-fast execution of C++ under the hood. It supports a wide array of functionalities, including image filtering, geometric transformations, object detection, and even deep learning integration through its DNN module.
Why CV2? The Python Interface
When you look for tutorials on OpenCV, you will consistently see the command import cv2. The name “cv2” does not necessarily refer to OpenCV version 2.0; rather, it refers to the “computer vision” interface designed for the second generation of the library’s API, which utilizes the cv namespace in a more structured, object-oriented way compared to the older cv module. Today, even if you are using OpenCV 4.x, you still import it as cv2. Understanding this distinction is vital for debugging and ensuring that you are utilizing the modern, optimized API.
Preparing Your Development Environment
A successful installation starts with a clean and organized environment. Python development can quickly become cluttered if multiple projects share the same global space, leading to “dependency hell” where different versions of libraries conflict with one another.
Installing Python and Pip
OpenCV requires Python. While it supports older versions, the industry standard has shifted toward Python 3.8 and above for better performance and security. Along with Python, you must have pip (Python’s package installer) updated to the latest version. You can check your version and upgrade it using:
python -m pip install --upgrade pip
The Role of Virtual Environments
In professional software development, it is a best practice to use virtual environments. Tools like venv or virtualenv create an isolated directory for your project. This ensures that when you install cv2, it doesn’t interfere with other projects on your machine. To create a virtual environment, navigate to your project folder and run:
python -m venv opencv-env
source opencv-env/bin/activate  # On Windows: opencv-envScriptsactivate
By isolating your workspace, you minimize the risk of library version mismatches, which is a frequent cause of installation errors in data science workflows.
Step-by-Step Installation Methods
There are several ways to install OpenCV, depending on your operating system, your hardware (such as GPU support), and your specific project requirements.
Method 1: Using Pip (The Standard Approach)
For most users, the pre-built binaries available on PyPI (Python Package Index) are the most efficient choice. There are four main packages you should be aware of:
- opencv-python: This is the main package containing only the core modules.
- opencv-contrib-python: This contains both the main modules and the “contrib” modules, which include experimental or non-free algorithms (like SIFT or SURF). Most developers prefer this version for research and development.
- opencv-python-headless: This is the same as
opencv-pythonbut does not include GUI dependencies. It is ideal for server-side applications, Docker containers, or cloud environments where you don’t need to display images in a window. - opencv-contrib-python-headless: The headless version of the contrib package.
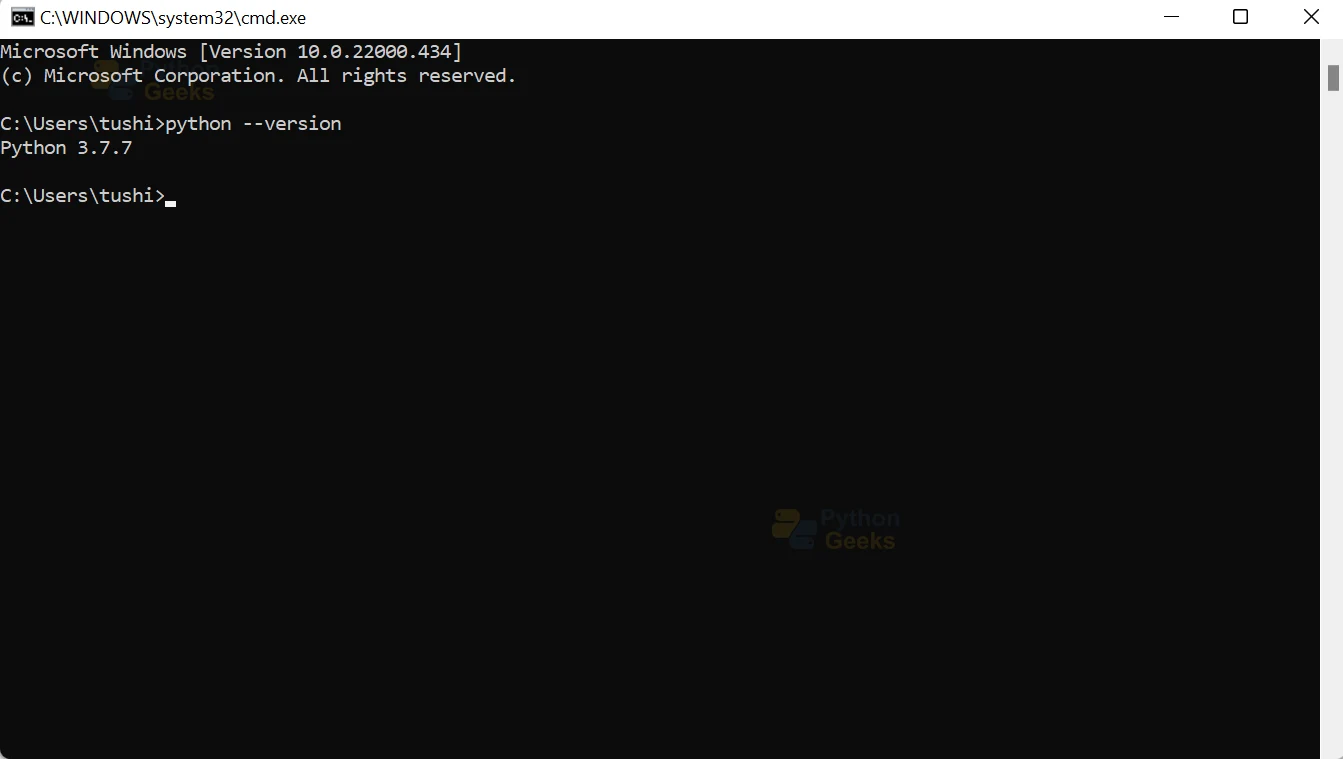
To install the most common version, execute:
pip install opencv-contrib-python
Method 2: Installing with Anaconda or Miniconda
Data scientists often prefer the Conda package management system because it handles non-Python dependencies (like specialized hardware drivers or C++ libraries) more gracefully than pip. If you are using Anaconda, you can install OpenCV with:
conda install -c conda-forge opencv
Conda-forge is a community-led repository that often contains more up-to-date versions of OpenCV than the default Anaconda channels.
Method 3: Headless Installation for Servers and Docker
When deploying a computer vision model to a Linux server or a Docker container, you may encounter errors related to missing X11 or GUI libraries (like libGL.so.1). This happens because the standard OpenCV package expects a graphical interface to be available for functions like cv2.imshow(). To avoid these errors on a server, always use the headless version:
pip install opencv-python-headless
Advanced Configuration and Building from Source
For performance-critical applications, simply installing a pre-built binary may not be enough. If you need to utilize specific hardware features, you might need to build OpenCV from the source code.
When to Build from Source
Building from source is necessary if you want to enable:
- CUDA Support: If you have an NVIDIA GPU and want to use it to accelerate your image processing or deep learning tasks.
- OpenVINO: For optimizing performance on Intel hardware.
- Specific Video Codecs: If you need to work with niche video formats that aren’t supported in the standard binary.
The Build Process
Building from source requires a C++ compiler (like GCC or MSVC) and CMake. The process involves cloning the OpenCV and OpenCV_contrib repositories from GitHub, configuring the build with CMake to point to your Python interpreter, and then compiling the code. While time-consuming, this results in a version of cv2 that is perfectly tuned to your machine’s architecture.
Verifying Installation and Troubleshooting Common Issues
Once the installation command finishes, you must verify that the library is working correctly before starting your project.
How to Verify Your Installation
The quickest way to verify your installation is to check the version number from within a Python shell. Open your terminal or IDE and run:
import cv2
print(cv2.__version__)
If this prints a version number (e.g., 4.8.0), the installation was successful. If it returns an error, you need to troubleshoot.
Solving “ImportError: No module named ‘cv2′”
This is the most common error and usually indicates that OpenCV was installed in a different Python environment than the one you are currently using. Ensure that your virtual environment is activated and that your IDE (like VS Code or PyCharm) is set to use the correct Python interpreter.
Resolving DLL Load Failures on Windows
Windows users sometimes see an error stating “DLL load failed: The specified module could not be found.” This often happens on “N” versions of Windows that lack the “Media Feature Pack.” To fix this, you may need to install the Windows Media Feature Pack through the Windows Optional Features settings. Additionally, ensure that the Visual C++ Redistributable is up to date, as OpenCV relies on these C++ libraries to function.
Addressing Linux Dependency Issues
On Linux (specifically Ubuntu or Debian), you might encounter missing shared libraries. You can usually resolve these by installing the following system packages:
sudo apt-get update
sudo apt-get install libgl1-mesa-glx libglib2.0-0

Conclusion: Next Steps in Your Tech Journey
Installing cv2 is the first technical hurdle in a journey toward mastering computer vision. By selecting the right installation method—whether it be the standard pip install for quick prototyping, the headless version for cloud deployment, or a custom build for GPU acceleration—you set a solid foundation for your software.
With OpenCV correctly configured, you can now explore the vast landscape of visual computing. Whether you are building a simple motion detector, a sophisticated facial recognition system, or an AI-driven medical diagnostic tool, the cv2 module provides the robust, high-performance toolkit required to turn pixels into actionable data. As you move forward, remember that the tech community is vast; documentation and forums are invaluable resources as you begin to apply OpenCV to solve real-world problems.