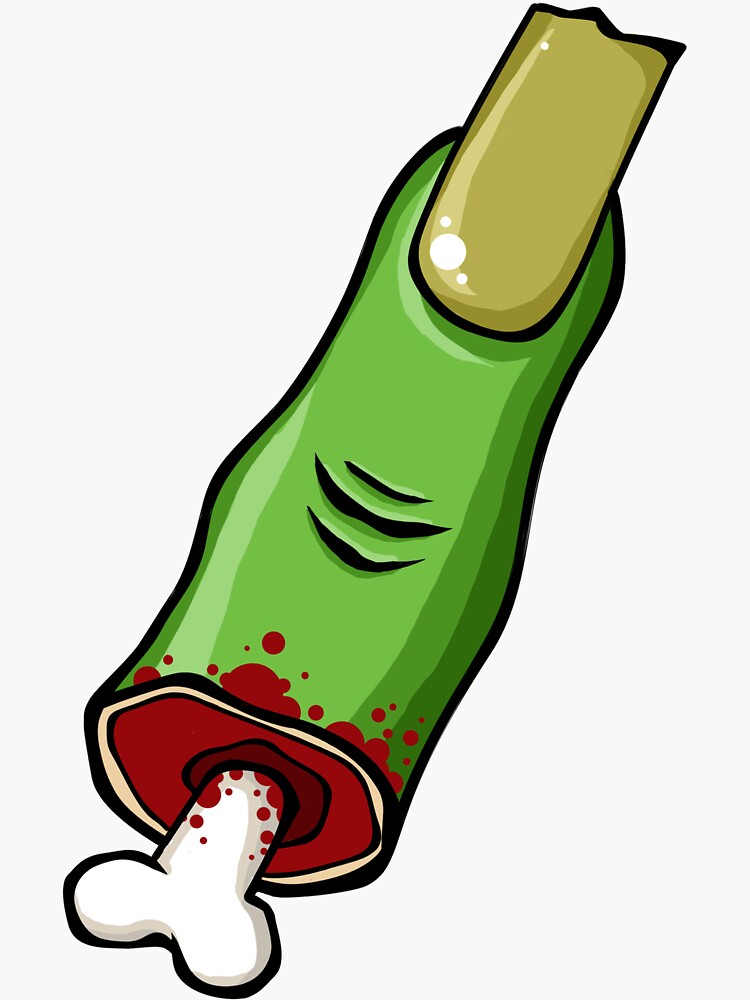
The internet is a boundless landscape, constantly evolving and presenting us with moments that capture collective attention. Sometimes, these moments are fleeting trends, and other times, they are deeply resonant pieces of digital art that spark curiosity and discussion. The “zombie fingers” animated short, a recent viral phenomenon, falls squarely into the latter category. While its narrative might have been abstract and its visuals striking, the underlying technological prowess is what truly merits exploration. This article delves into the technical underpinnings of this animated short, dissecting the software, hardware, and creative processes that likely converged to bring such a unique vision to life, focusing exclusively on the Tech niche.

The Algorithmic Symphony: Crafting the “Zombie Fingers” Aesthetic
The distinctive look and feel of the “zombie fingers” animated short, with its unsettling yet captivating visual style, are a testament to the power of modern digital animation tools. The creation of such a piece is not merely about drawing; it involves a sophisticated interplay of software designed for modeling, texturing, rigging, animation, and rendering.
3D Modeling and Sculpting: Bringing the Uncanny to Life
The foundation of any compelling 3D animation lies in its digital models. For a piece as stylized as “zombie fingers,” the modeling process would have likely involved a combination of polygonal modeling and digital sculpting. Software like Autodesk Maya, Blender, or ZBrush are industry-standard for these tasks.
- Polygonal Modeling: This technique involves manipulating vertices, edges, and faces to build the basic shape of the zombie fingers. The artist would meticulously construct each digit, considering its form, length, and the subtle imperfections that contribute to a “decayed” or unnatural appearance. The level of detail at this stage is crucial, as it forms the base mesh that will be further refined.
- Digital Sculpting: This is where the true artistry of bringing the “zombie” aspect to life would have taken place. Tools like ZBrush allow for highly intuitive, almost organic manipulation of the 3D model, akin to working with digital clay. Artists can sculpt in details such as decaying flesh, exposed bone fragments, veins, or a general sense of necrosis. The ability to add fine surface details like pores, wrinkles, and subtle textures is paramount in creating a visceral and believable, albeit monstrous, aesthetic. The choice of sculpting software often comes down to artist preference and the specific type of detail required, but the outcome is a high-polygon model rich in texture and character.
Texturing and Shading: The Palette of Decay
Once the 3D models are sculpted, they need to be given a realistic (or intentionally unrealistic) surface appearance. This is the domain of texturing and shading, where colors, materials, and surface properties are defined.
- UV Unwrapping: Before texturing can begin, the 3D model needs to be “unwrapped.” This process flattens the 3D surface into a 2D map, known as a UV map. This map acts as a blueprint, allowing artists to paint or apply textures onto the model. Software like Adobe Substance Painter or Mari are invaluable here, enabling artists to paint directly onto the 3D model or onto its 2D UV layout.
- PBR (Physically Based Rendering) Workflows: Modern animation heavily relies on PBR workflows. This means that textures are created to simulate how light interacts with real-world materials. For “zombie fingers,” this would involve creating textures for:
- Albedo/Base Color: The raw color of the material, perhaps a sickly grey-green or bruised purple.
- Roughness: How much the surface reflects light. Decaying flesh might be wet and shiny in some areas, while dry and rough in others.
- Metallic: While not strictly metallic, this channel can simulate the sheen of dampness or a certain greasy quality.
- Normal Maps: These simulate surface detail without adding extra geometry, creating the illusion of bumps, wrinkles, and pores.
- Subsurface Scattering (SSS): This is particularly important for organic materials like flesh. SSS allows light to penetrate the surface and scatter within, giving materials a softer, more translucent look. This is crucial for achieving the unsettlingly organic feel of animated flesh, especially in areas where it might be thinner or more decayed.
- Shader Creation: The combination of these textures and the underlying shader within the rendering engine determines how the final material looks. Artists would have meticulously crafted shaders to achieve the desired level of grime, decay, and unsettling texture on the zombie fingers.
The Art of Motion: Bringing the “Zombie Fingers” to Life Through Animation and Simulation
A static model, no matter how well-textured, doesn’t tell a story. The “zombie fingers” animated short’s impact stems from its movement, its unsettling fluidity or jerky awkwardness. This is where the magic of animation and simulation software takes over.
Rigging: The Skeletal Framework of Movement

For any animated character or object to move realistically, it needs an internal structure. This is achieved through rigging.
- Skeletal Rigging: The 3D model of the zombie fingers would have been given a digital skeleton, or “bones.” These bones are hierarchical, meaning they are parented to each other, allowing for controlled movement. For fingers, this would involve creating bones for each segment of each digit, including the knuckles.
- Skinning/Weight Painting: Once the skeleton is in place, the 3D mesh needs to be “skinned” to it. This process, also known as weight painting, assigns influence values to each vertex of the mesh, determining how much it is affected by the movement of a particular bone. This is a painstaking process, especially for organic forms, as incorrect weighting can lead to unnatural stretching, collapsing, or tearing of the mesh during animation. The goal is to ensure smooth and believable deformation as the fingers bend and contort.
- Control Rigging: To make the animation process efficient, animators often create a “control rig.” This is a layer of intuitive controls (like curves or null objects) that are linked to the underlying bones. Instead of directly manipulating individual bones, animators manipulate these controls, which then drive the skeleton and, in turn, the mesh. This allows for quicker posing and animation.
Keyframe Animation and Procedural Techniques
The actual motion of the zombie fingers would have been achieved through a combination of keyframe animation and potentially procedural techniques.
- Keyframe Animation: This is the traditional animation method where animators define the start and end points of a movement (keyframes) for specific poses. The animation software then interpolates the frames in between, creating the illusion of smooth motion. For the “zombie fingers,” animators would have painstakingly posed the rig at key moments to achieve the desired gestures – whether it was a slow, creeping crawl, a sudden twitch, or a more fluid, unnatural undulation. The timing and spacing of these keyframes are critical in conveying personality and emotion, even in a non-humanoid subject.
- Motion Capture (Less Likely for Stylized Short, but Possible): While less likely for a highly stylized short, if the aim was to capture a specific type of organic, albeit unnatural, movement, motion capture could have been employed. This involves recording the movement of real actors (or even objects) and applying that data to the digital rig. However, given the likely abstract nature of “zombie fingers,” hand-keyed animation offers greater control over the unnatural and stylized aspects.
- Procedural Animation: For certain repetitive or complex movements, procedural animation might have been used. This involves using algorithms or rules to generate animation automatically. For example, a procedural system could be used to create a subtle, unsettling tremor or a slight organic jiggle to the flesh. This can add an extra layer of realism and unpredictability.
- Simulation (Cloth, Soft Body): Depending on the visual execution, simulations might have played a role. If the “flesh” of the zombie fingers was depicted as decaying or loose, a soft-body physics simulation could have been used to generate realistic sagging, jiggling, or tearing effects. Similarly, if there were any tattered remnants of clothing or bandages, cloth simulation would be employed to make them move naturally. Software like Houdini is a powerhouse for complex simulations, often integrated with other 3D packages.
The Final Polish: Rendering, Compositing, and the Digital Canvas
The journey from animated scene to a watchable video involves rendering and compositing – the final stages where the digital creation is brought to visual fruition.
Rendering Engines: Bringing Pixels to Life
Rendering is the computationally intensive process of generating the final images from the 3D scene. The choice of rendering engine significantly impacts the visual quality and realism.
- Path Tracing and Ray Tracing: Modern rendering engines like Arnold, V-Ray, OctaneRender, or Cycles (Blender’s renderer) employ advanced techniques like path tracing and ray tracing. These algorithms simulate how light bounces around the scene, creating realistic reflections, refractions, shadows, and ambient occlusion. For the “zombie fingers,” the renderer would be crucial in capturing the interplay of light on the decaying flesh, the subtle sheen of moisture, and the deep, unsettling shadows that contribute to the horror aesthetic.
- GPU vs. CPU Rendering: The decision between GPU (Graphics Processing Unit) and CPU (Central Processing Unit) rendering depends on the project’s scale and the desired speed. GPU rendering is generally much faster for complex scenes, leveraging the parallel processing power of modern graphics cards. Large-scale productions often utilize render farms – clusters of computers dedicated to rendering – to meet tight deadlines.
- Render Passes/AOVs (Arbitrary Output Variables): Professional workflows involve rendering out various “passes” or AOVs. These are separate images that isolate specific elements of the render, such as diffuse color, specular reflections, shadows, ambient occlusion, depth, and motion vectors. This provides immense flexibility in the compositing stage. For instance, the shadow pass could be adjusted independently to enhance the feeling of dread.
Compositing and Post-Production: The Artist’s Final Brushstrokes
Compositing is where all the rendered elements are brought together, and final visual enhancements are applied. Software like Adobe After Effects or Nuke are industry-standard for this phase.
- Layering and Blending: The various render passes are layered and blended together. For the “zombie fingers,” this might involve carefully layering the diffuse color with subtle specular highlights to create a wet, decaying look, or blending in a separate pass for subsurface scattering to enhance the fleshy quality.
- Color Grading and Correction: This is where the mood and atmosphere of the short are truly solidified. Color grading involves applying a specific color palette to evoke a desired emotion. For a zombie-themed piece, this might mean desaturating colors, leaning towards sickly greens and grays, or adding deep blues and reds to suggest decay and unease. Color correction ensures consistency across different shots.
- Visual Effects (VFX) Additions: While the core animation is 3D, compositors might add subtle 2D visual effects. This could include adding digital grain to give a cinematic feel, subtle atmospheric elements like dust or mist, or even subtle digital glitches to enhance the unsettling nature of the animation.
- Motion Graphics and Text: If any text or graphic elements were part of the short, they would be integrated at this stage. The placement, timing, and style of any textual information would be carefully considered to complement the overall aesthetic.
- Sound Design Integration: While not strictly visual tech, the seamless integration of sound design with the visuals is a critical part of the final output. The audio would be synchronized with the animation, and the overall mix would be balanced to enhance the viewer’s experience.
In conclusion, the “zombie fingers” animated short, seemingly simple in its viral presentation, is a sophisticated product of advanced technology. From the meticulous sculpting of unsettling forms to the nuanced interplay of light and shadow during rendering, each stage of its creation demands a high level of technical skill and artistic vision. Understanding these technological underpinnings allows us to appreciate not just the visceral impact of the animation, but the intricate digital craftsmanship that brought this peculiar vision to our screens. The continued innovation in animation software and hardware promises even more extraordinary digital experiences in the future, pushing the boundaries of what we can create and consume.
aViewFromTheCave is a participant in the Amazon Services LLC Associates Program, an affiliate advertising program designed to provide a means for sites to earn advertising fees by advertising and linking to Amazon.com. Amazon, the Amazon logo, AmazonSupply, and the AmazonSupply logo are trademarks of Amazon.com, Inc. or its affiliates. As an Amazon Associate we earn affiliate commissions from qualifying purchases.