
In the vast digital landscape of online video, YouTube stands as an undisputed titan, a platform where billions of hours of content are consumed daily. For creators, businesses, and individuals looking to share their stories, products, or expertise, understanding the technical underpinnings of YouTube uploads is not just helpful—it’s essential for success. While the creative vision and content quality are paramount, the technical specifications of your video file can significantly impact how your content is perceived, processed, and ultimately enjoyed by your audience. Choosing the right video file type and optimizing its technical parameters ensures your hard work translates into a crisp, clear, and engaging viewing experience.

This guide delves into the specifics of video file types and related technical considerations for YouTube, empowering you to make informed decisions that elevate your channel’s professional appeal and reach. From the preferred file formats to crucial encoding settings, we’ll navigate the technical landscape to ensure your videos look their best from the moment they hit the upload button.
The Core Requirements: YouTube’s Recommended File Formats
YouTube is remarkably versatile when it comes to accepting various video file formats. However, merely accepting a format doesn’t mean it’s the optimal choice. YouTube performs a significant amount of re-encoding on uploaded videos to ensure compatibility across a multitude of devices and network conditions. Providing a file that is already close to YouTube’s preferred specifications can minimize this re-encoding, preserving your video’s quality and speeding up processing times.
MP4: The Undisputed King
When it comes to uploading videos to YouTube, the MP4 (.mp4) file format is overwhelmingly recommended and used by professional creators. There are several compelling reasons for its dominance:
- Efficiency and Quality: MP4, particularly when encoded with the H.264 video codec and AAC-LC audio codec, strikes an excellent balance between file size and visual/audio quality. This means you can achieve high-definition results without excessively large files that take ages to upload.
- Widespread Compatibility: MP4 is a universal standard, supported by virtually all modern devices, operating systems, and video editing software. This makes it a reliable choice throughout your production workflow.
- Optimal for YouTube’s Processing: YouTube’s internal processing is heavily optimized for H.264-encoded MP4 files. Uploading in this format means less strenuous re-encoding by YouTube, often resulting in a quicker processing time and a closer rendition of your original quality.
For most creators, sticking to MP4 with H.264/AAC-LC is the simplest and most effective strategy.
Other Compatible Formats
While MP4 is the go-to, YouTube supports a wide array of other container formats. It’s important to understand that while these are accepted, they might not always be ideal due to larger file sizes, less efficient compression, or specific niche uses. These include:
- MOV (.mov): Primarily associated with Apple’s QuickTime, MOV is a high-quality container often used in professional video editing workflows, especially on macOS. While acceptable, it can sometimes result in larger file sizes than an equivalent MP4.
- MPEG-1 (.mpg, .mpeg, .mpe, .mp, .m4v), MPEG-2 (.mpeg, .mpg): Older standards, less efficient than MPEG-4 (H.264). You might encounter these with legacy cameras or older editing software.
- MPEG-4 (.mp4): This is the broader standard, with H.264 being the most popular codec within this standard. So, when we say MP4, we’re usually referring to MPEG-4 Part 14, commonly using H.264.
- AVI (.avi): A long-standing Microsoft format, AVI files are generally uncompressed or lightly compressed, leading to very large file sizes. They are rarely optimal for direct YouTube uploads unless heavily compressed internally.
- WMV (.wmv): Windows Media Video, another Microsoft format, can be efficient but less universally compatible than MP4.
- MPEGPS (.mpegps): (Program Stream) Similar to MPEG-1/2, often used for DVD video.
- FLV (.flv): Flash Video, largely deprecated since Flash player is no longer widely supported.
- 3GPP (.3gp): A format historically used for mobile phones, very low quality and small file sizes.
- WebM (.webm): An open-source, royalty-free format developed by Google, often used for web streaming. While supported by YouTube, MP4/H.264 remains more prevalent for uploads.
- DNxHR, ProRes, CineForm, HEVC (H.265): These are high-quality, often intermediate or mezzanine codecs used in professional post-production for maximum quality retention during editing. While YouTube accepts them, they result in extremely large files, and YouTube will still re-encode them to H.264/VP9 for serving. They are best used as source files, not final upload files.
For the vast majority of creators, focusing on MP4 with H.264 is the most practical and efficient choice.
Codecs and Containers: A Quick Clarification
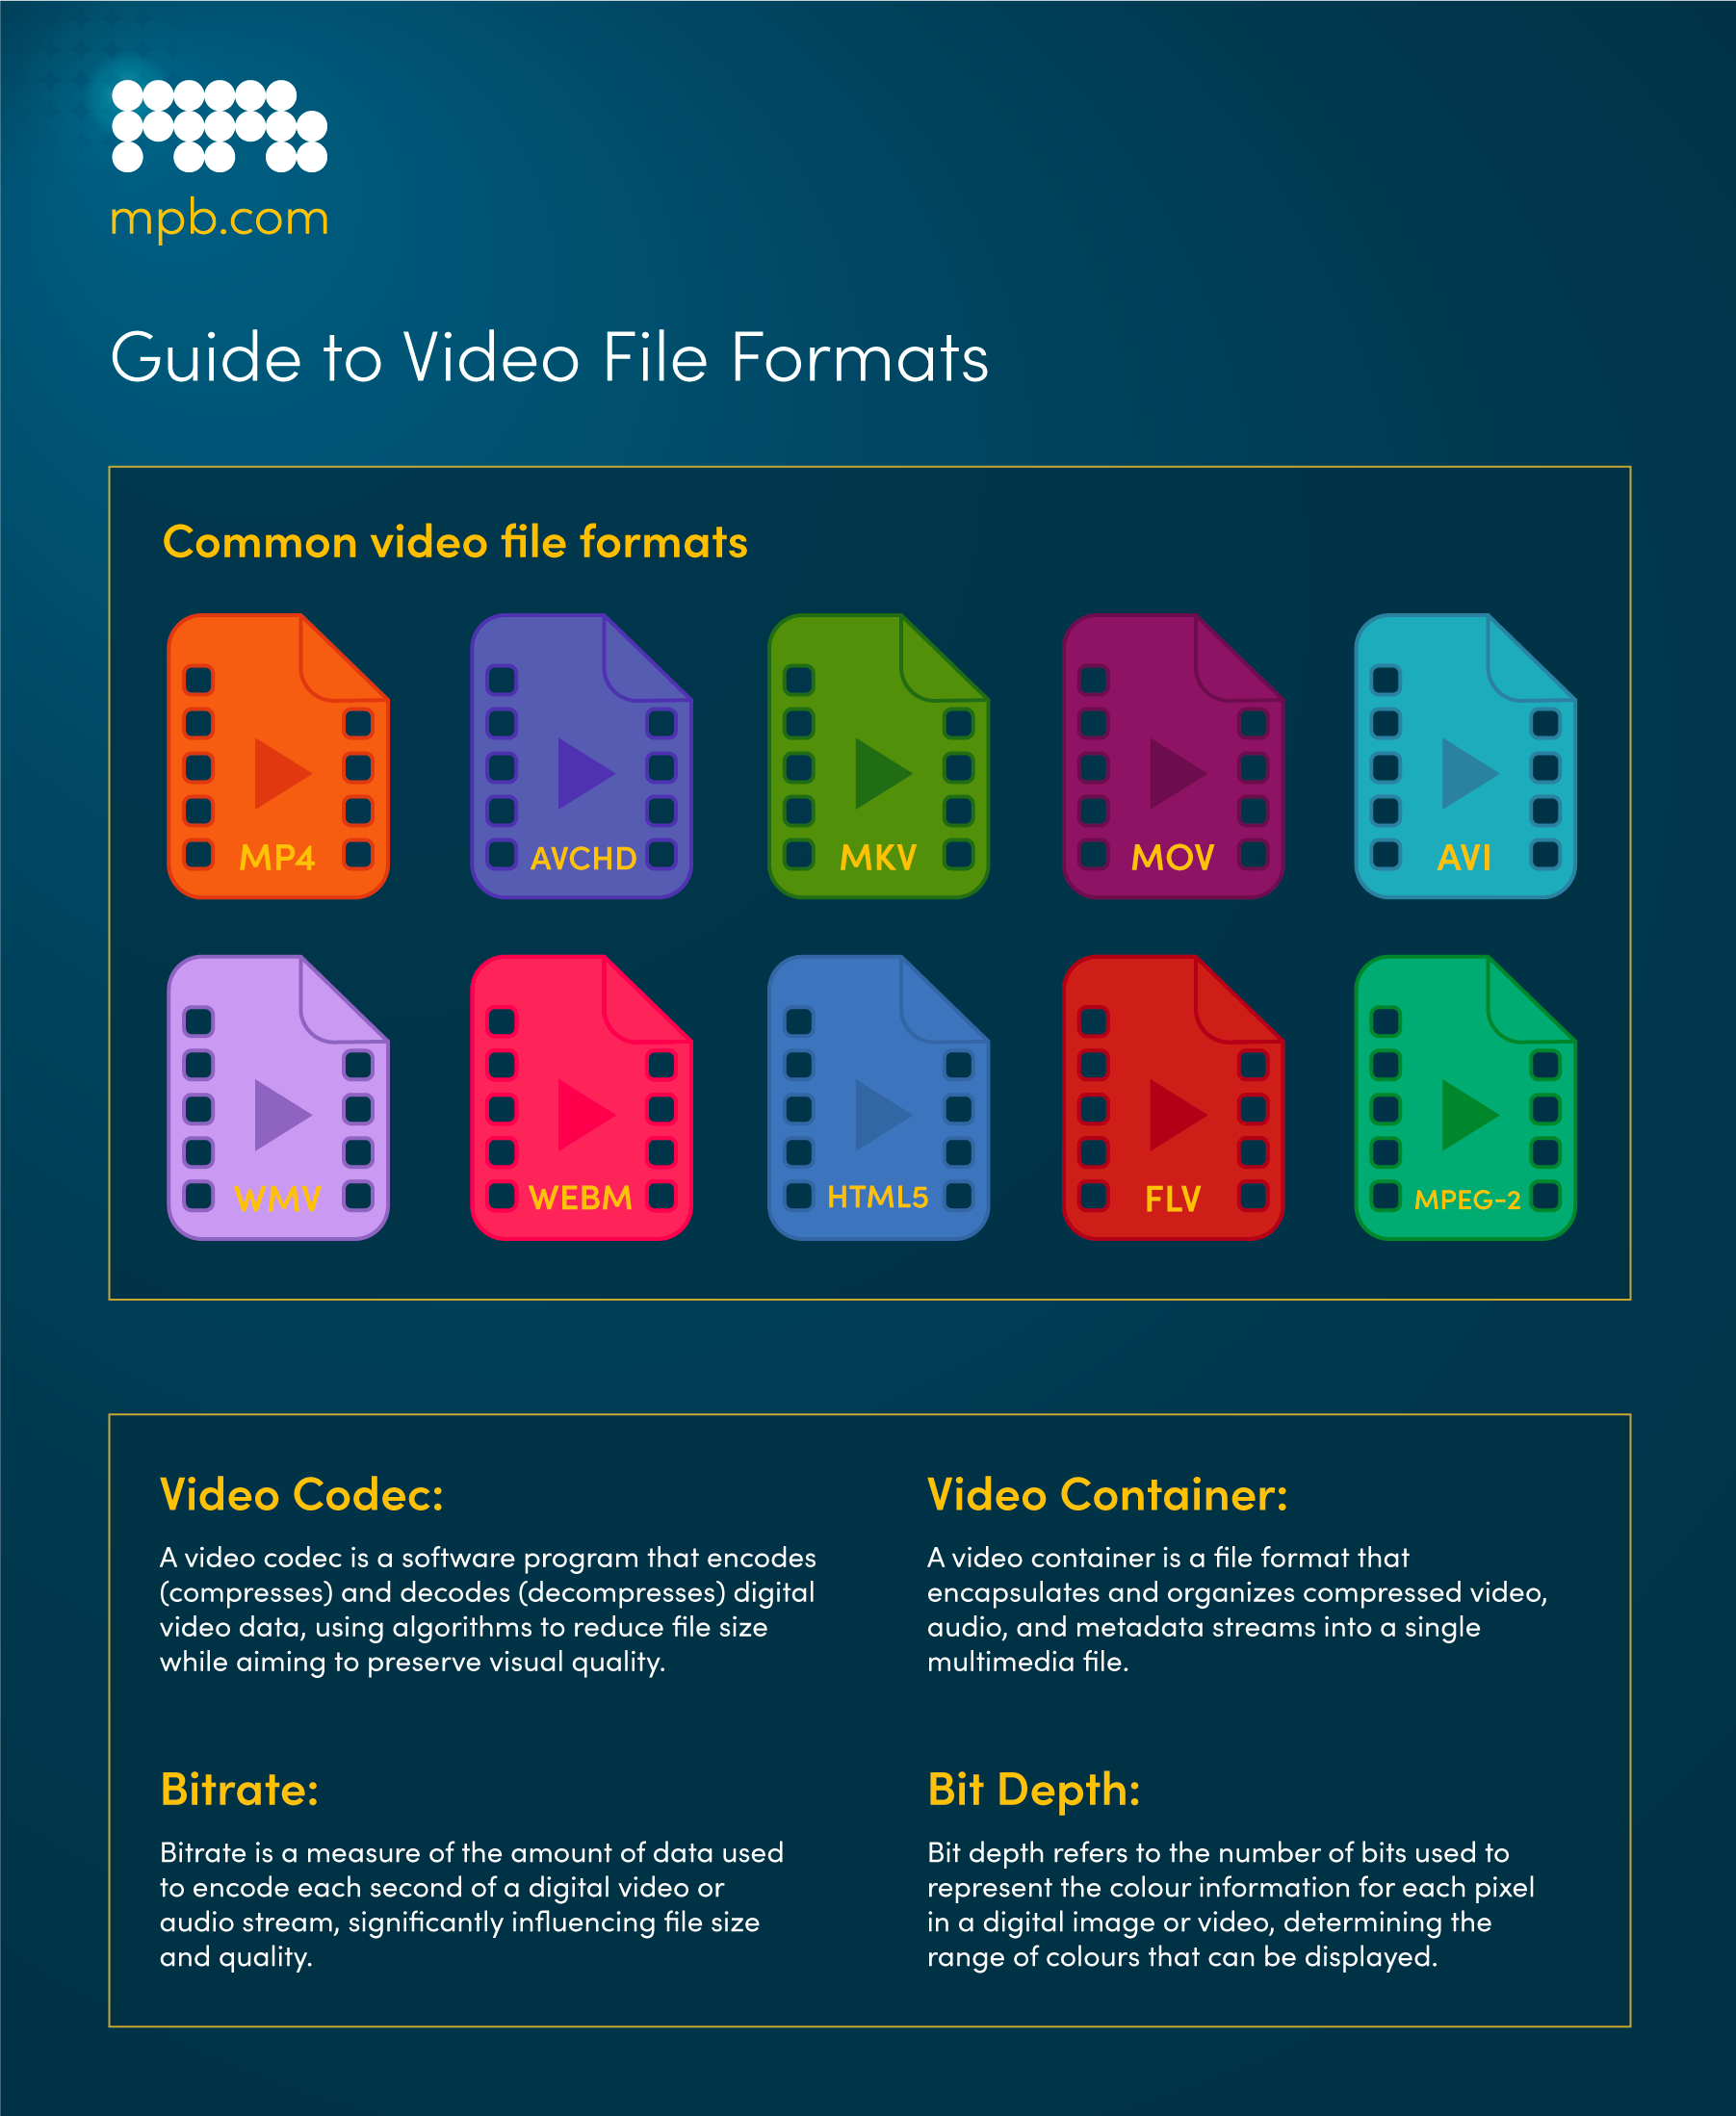
It’s crucial to distinguish between a container format (like MP4, MOV, AVI) and a codec (like H.264, VP9, MPEG-2).
- Container Format: This is essentially a digital wrapper, a file structure that holds all the different components of your video (video stream, audio stream, metadata, subtitles) together. Think of it like a box.
- Codec (Coder-Decoder): This is the algorithm used to compress and decompress the audio and video data inside the container. It’s what actually encodes the raw video and audio into a smaller, manageable size for storage and transmission.
So, when you choose an MP4 file, you’re choosing the “box.” Inside that box, you’ll almost always want the “packaging material” to be the H.264 codec for the video and the AAC-LC codec for the audio, as these are YouTube’s preferred codecs within the MP4 container.
Beyond Format: Key Technical Specifications for YouTube
Beyond just the file type, several other technical specifications play a critical role in how your video is processed and displayed on YouTube. Understanding and optimizing these settings will ensure your videos retain their intended quality and perform well across various devices.
Resolution and Aspect Ratio
These two go hand-in-hand to define the visual dimensions of your video:
- Resolution: Refers to the number of pixels in each frame, typically expressed as width x height (e.g., 1920×1080 for 1080p Full HD). Higher resolutions mean more detail and clarity.
- Standard Definition (SD): 480p (854×480)
- High Definition (HD): 720p (1280×720), 1080p (1920×1080)
- Ultra High Definition (UHD/4K): 2160p (3840×2160)
- 8K: 4320p (7680×4320)
YouTube recommends uploading at the highest resolution possible, as it provides more data for YouTube’s encoding process and future-proofs your content. Even if your audience primarily watches in lower resolutions, uploading in 4K or 1080p ensures the best possible downscaled versions.
- Aspect Ratio: Describes the proportional relationship between the width and height of the video frame. YouTube’s standard aspect ratio is 16:9. Videos uploaded in other aspect ratios (e.g., 4:3 for older content, or vertical video for mobile) will typically have black bars added to the sides or top/bottom to fit the 16:9 player, unless specifically designed for vertical playback (like YouTube Shorts). Always aim for 16:9 for landscape videos to fill the player without awkward letterboxing or pillarboxing.
Frame Rate
Frame rate (frames per second, or FPS) dictates how many still images (frames) are displayed per second, creating the illusion of motion.
- Common Frame Rates: 24, 25, 30, 48, 50, and 60 frames per second.
- Consistency is Key: Upload your video at the same frame rate it was recorded and edited in. Don’t convert frame rates unless absolutely necessary, as this can introduce motion artifacts.
- Smoothness: Higher frame rates (like 50fps or 60fps) offer smoother motion, often preferred for gaming content, sports, or fast-action sequences. Cinematic content often uses 24fps for a traditional film look.
YouTube will process videos at these common frame rates.
Bitrate: The Quality-Filesize Balance
Bitrate (measured in kilobits per second, kbps, or megabits per second, Mbps) refers to the amount of data encoded per second of video or audio. It’s a critical factor in determining both file size and visual quality.
- Higher Bitrate = Higher Quality (and larger file size): More data per second means more detail, less compression artifacts, and a clearer image. However, it also means a significantly larger file.
- Lower Bitrate = Lower Quality (and smaller file size): Less data means more aggressive compression, which can lead to blockiness, pixelation, and less detail, especially in fast-moving scenes.
- YouTube’s Recommendations: YouTube provides recommended bitrates for various resolutions and frame rates. For instance, for a 1080p 30fps video, a recommended video bitrate is 8-12 Mbps. For 4K 60fps, it jumps to 53-68 Mbps. Uploading at or above these recommendations gives YouTube ample data to work with, even if it eventually re-encodes to a lower bitrate for streaming.
- Variable Bitrate (VBR): Most modern encoders use VBR, which dynamically adjusts the bitrate based on the complexity of the scene, allocating more data to complex shots and less to static ones, optimizing file size while maintaining quality. This is generally preferred over Constant Bitrate (CBR).
Audio Specifications
Often overlooked, clear and well-processed audio is just as important as good video quality. YouTube’s recommendations for audio are:
- Codec: AAC-LC (Advanced Audio Coding – Low Complexity)
- Sample Rate: 48 kHz (kilohertz)
- Channels: Stereo (though mono is supported, stereo is preferred for a fuller sound experience)
- Bit Depth: 16-bit or 24-bit
- Audio Bitrate: YouTube recommends 384 kbps for stereo audio.
Ensure your audio is properly mixed, mastered, and encoded to these specifications for the best auditory experience.
Preparing Your Video for YouTube: Best Practices and Tools
Optimizing your video for YouTube isn’t just about picking the right format; it’s also about how you encode and prepare it.
Encoding for YouTube: H.264 is Your Friend
As reiterated, the H.264 (AVC) video codec within an MP4 container is the gold standard for YouTube uploads. This codec offers exceptional compression efficiency without significant loss of visual quality. When exporting from your video editing software:
- Select H.264 as the video codec.
- Choose AAC-LC as the audio codec.
- Target a bitrate that meets or exceeds YouTube’s recommendations for your resolution and frame rate.
- Set the GOP (Group of Pictures) structure for “open” or “closed” GOPs of half the frame rate. Many editing software presets handle this automatically.
- Use progressive scan (not interlaced).
- Maintain pixel aspect ratio of 1:1 (square pixels).
Leveraging Video Editing Software
All professional and semi-professional video editing software (e.g., Adobe Premiere Pro, DaVinci Resolve, Final Cut Pro, Vegas Pro) come with robust export settings that allow you to fine-tune your output for YouTube.
- Presets: Most software offers specific “YouTube” or “H.264” presets that get you very close to the optimal settings. Start with these and then customize if needed.
- Custom Settings: Dive into the advanced export settings to manually set resolution, frame rate, bitrate, and audio parameters based on the guidelines above.
- Two-Pass Encoding: If available, two-pass encoding can offer better quality for a given bitrate, as the encoder analyzes the video content twice before finalizing the compression. It takes longer but can be worth it for critical projects.
File Size Considerations
While YouTube has a generous maximum file size limit (256 GB or 12 hours, whichever is less), practical considerations often dictate aiming for smaller, manageable files.
- Upload Speed: Larger files take significantly longer to upload, especially on slower internet connections.
- Storage: Storing large uncompressed or lightly compressed master files requires substantial storage space.
- Efficiency: An efficiently encoded file maintains quality while minimizing its footprint, which is beneficial for both upload and YouTube’s processing.
Always strive for the best quality within a reasonable file size, typically achieved through optimized H.264 encoding.
Common Pitfalls and Troubleshooting
Even with the right knowledge, creators can sometimes encounter issues. Here are a few common problems and their solutions:
“Unsupported File Type” Errors
This usually happens when you upload a video in a format YouTube doesn’t recognize or that’s poorly encoded.
- Solution: Convert your video to MP4 with H.264 video and AAC-LC audio codecs. Many free and paid converters (like HandBrake, Shutter Encoder) can do this. Double-check your export settings in your editing software. Ensure the file extension is correct (.mp4).
Quality Degradation After Upload
You uploaded a beautiful 4K video, but it looks soft or blocky on YouTube.
- Reasons:
- YouTube Re-encoding: YouTube re-encodes all videos. While inevitable, providing a high-quality source file minimizes the impact.
- Low Source Bitrate: If your original file’s bitrate was too low, YouTube has less quality to work with.
- VP9 Encoding Time: YouTube processes videos first in H.264 (quicker for lower resolutions), then in VP9 (higher quality, used for 1080p and above, but takes longer). Sometimes, higher resolution videos might initially look poor because the VP9 version hasn’t finished processing yet.
- Solution:
- Always upload at the highest possible resolution (1080p or 4K preferred).
- Use YouTube’s recommended bitrates or slightly higher for your source file.
- Upload your video and give it time. High-resolution videos (1080p, 4K) often take hours or even a full day to process into their highest quality (VP9) versions. Check back later.
- Consider adding a small amount of artificial “noise” or grain to your video. Counter-intuitively, this can sometimes help YouTube’s encoder preserve detail by giving it more information to encode, rather than smoothing out areas that might otherwise be aggressively compressed.
Long Upload/Processing Times
Your video is taking forever to upload or process.
- Reasons:
- Large File Size: High resolution, high bitrate, and long duration all contribute to large file sizes.
- Slow Internet Connection: Your internet upload speed is a major factor.
- YouTube Server Load: Sometimes, YouTube’s servers are just busy.
- Solution:
- Ensure your file is efficiently encoded (MP4, H.264). While don’t compromise quality too much, avoid unnecessarily high bitrates.
- Upload during off-peak hours if your internet connection is shared.
- Consider an internet plan with faster upload speeds if this is a recurring issue.
- For 4K and 8K videos, expect longer processing times. This is normal.

Conclusion
Navigating the technical requirements for YouTube uploads might seem daunting at first, but a foundational understanding can significantly enhance the quality and reach of your content. By consistently uploading videos in the MP4 container with H.264 video and AAC-LC audio codecs, adhering to YouTube’s recommended resolutions, frame rates, and bitrates, you lay a solid technical groundwork for your channel’s success.
Remember, YouTube’s primary goal is to deliver content efficiently across a global audience and diverse device ecosystem. By providing them with an optimized source file, you minimize the amount of re-encoding they need to do, thus preserving your video’s original integrity and ensuring your viewers experience your content exactly as you intended—crisp, clear, and compelling. Invest a little time in understanding these technical nuances, and your audience, and your content, will thank you for it.
aViewFromTheCave is a participant in the Amazon Services LLC Associates Program, an affiliate advertising program designed to provide a means for sites to earn advertising fees by advertising and linking to Amazon.com. Amazon, the Amazon logo, AmazonSupply, and the AmazonSupply logo are trademarks of Amazon.com, Inc. or its affiliates. As an Amazon Associate we earn affiliate commissions from qualifying purchases.