
In the modern era of the paperless office, the irony remains that the physical printer is still a cornerstone of productivity. However, the way we interact with these devices has undergone a radical transformation. Gone are the days of tangled USB cables and parallel ports; today’s HP printers are sophisticated network nodes. One of the most common technical hurdles users encounter during the initial setup of these devices is the request for a “WPS PIN.” While it may seem like another layer of digital bureaucracy, the WPS PIN is a critical component of Wi-Fi Protected Setup (WPS), a protocol designed to simplify the connection process between wireless devices and routers.
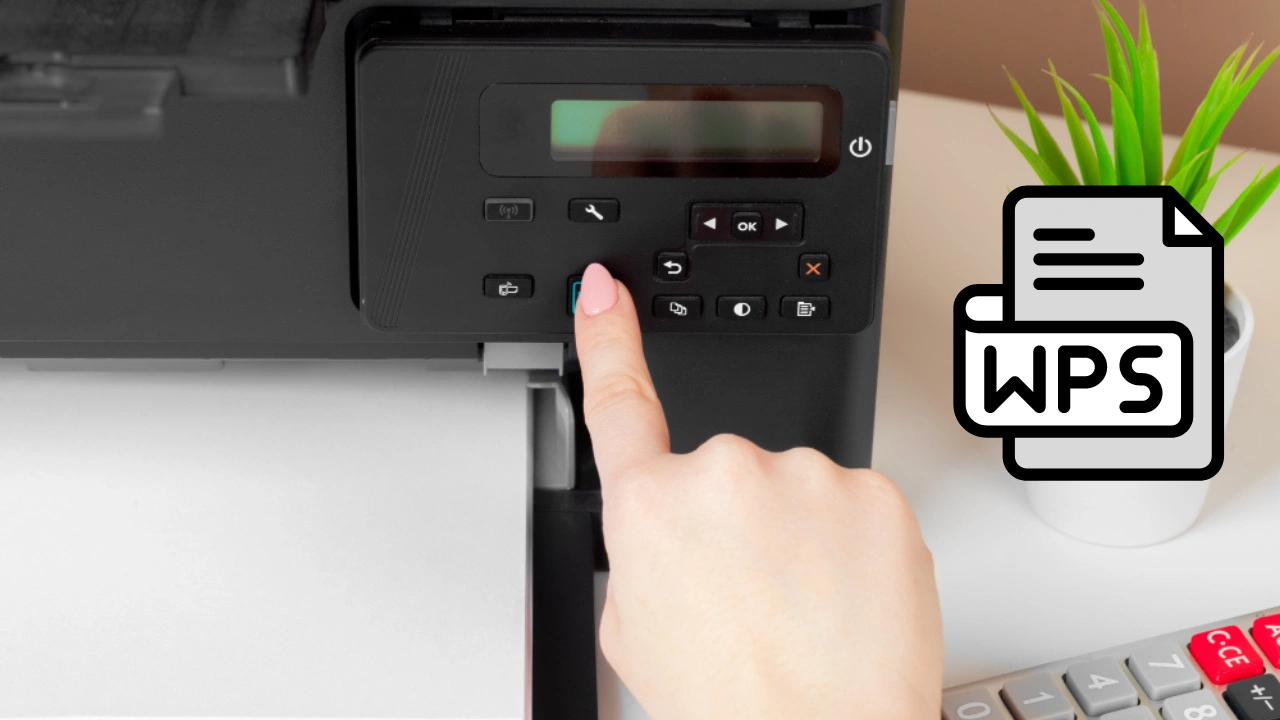
Understanding what this PIN is, how it functions, and where to find it is essential for anyone looking to integrate an HP printer into their local area network (LAN). This guide explores the technical architecture of WPS, the security implications of using PIN-based authentication, and the specific steps required to get your HP hardware online.
Understanding the Fundamentals: What is WPS and How Does It Work?
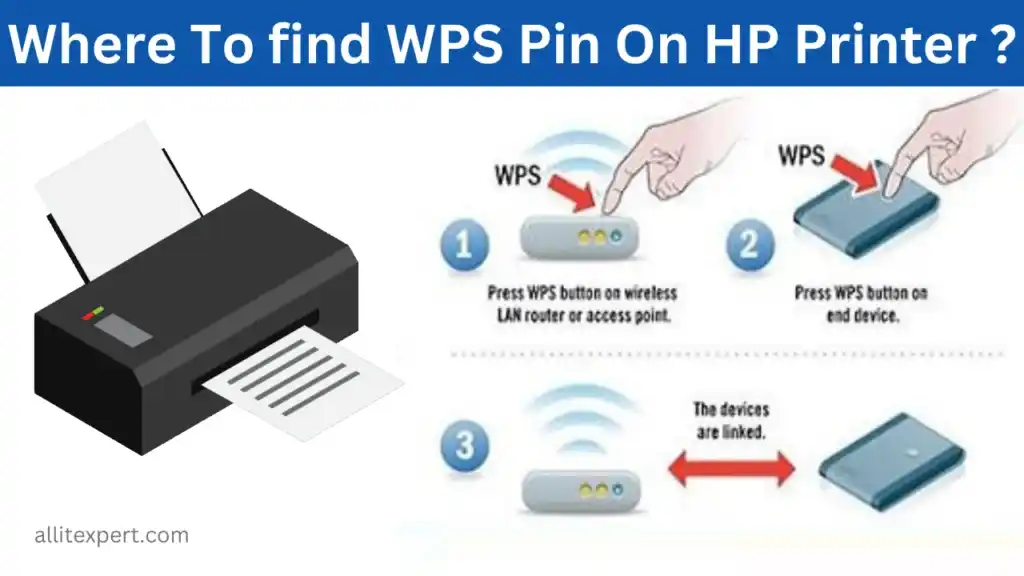
Wi-Fi Protected Setup (WPS) is a network security standard created by the Wi-Fi Alliance in 2006. Its primary objective was to allow home users, who might not be well-versed in network administration or WPA2/WPA3 encryption keys, to connect gadgets to their Wi-Fi networks with ease. Instead of typing in a long, complex alphanumeric password, WPS offers two primary methods of connection: the Push Button Configuration (PBC) and the PIN (Personal Identification Number) method.
The Concept of Wi-Fi Protected Setup
When you initiate a WPS request, the printer and the router engage in a digital “handshake.” In the PBC method, you simply press a button on both devices within a specific timeframe (usually two minutes). However, many modern HP printers—especially those without a full touchscreen interface or those operating on more secure enterprise-grade routers—require the PIN method. This adds a layer of verification, ensuring that the device attempting to join the network is physically present and authorized by the user.
The Role of the PIN in the Wireless Handshake
The WPS PIN is an eight-digit code generated by the HP printer. This code acts as a temporary password. When you enter this PIN into your router’s internal software settings, the router recognizes the printer as a trusted device. The technical elegance of this system lies in its ability to bypass the manual entry of the SSID (network name) and the WPA2/WPA3 passphrase. Once the PIN is verified, the router automatically sends the necessary network credentials to the printer in an encrypted format, allowing the printer to save the profile and maintain a persistent connection.
Locating Your HP Printer’s WPS PIN
One of the most frequent sources of frustration for users is the transient nature of the WPS PIN. Unlike a MAC address or a serial number, the WPS PIN is often generated on-demand and expires after a short period (typically 90 seconds to five minutes). This is a security feature designed to prevent unauthorized devices from hijacking the connection window.
Finding the PIN via the Control Panel Display
For HP printers equipped with an LCD or LED screen (such as the HP Envy, OfficeJet, or higher-end LaserJet Pro series), locating the PIN is relatively straightforward. You generally navigate to the “Wireless” or “Network Setup” menu.
- On the printer control panel, press the Wireless button or icon.
- Navigate to Settings (often represented by a gear icon).
- Select Wi-Fi Protected Setup or WPS.
- Choose the PIN option.
- The printer will then display an eight-digit code on the screen. This is the code you must enter into your router or computer setup utility immediately.
Printing the Network Configuration Page
If your printer lacks a sophisticated display—common in the HP DeskJet or LaserJet M15w series—you may need to print the PIN. This is achieved by using a specific combination of physical buttons. Typically, you press and hold the Wireless button and the Information (i) button simultaneously for a few seconds. The printer will churn out a “Network Configuration Page” or a “WPS PIN Status Page.” The code will be clearly labeled at the top or within the wireless summary section of the printout.
Using the HP Smart App to Retrieve Connectivity Data
In the ecosystem of modern HP gadgets, the HP Smart App serves as a bridge between your mobile device and your hardware. If you are setting up the printer via a smartphone or tablet, the app may prompt you for the WPS PIN during the “Add Printer” workflow. In some instances, the app can facilitate the generation of the PIN remotely, or provide instructions tailored specifically to the model it detects via Bluetooth Low Energy (BLE) during the discovery phase.
Step-by-Step: How to Connect Your HP Printer Using a WPS PIN
Once you have successfully generated the PIN from your printer, the “clock is ticking” to input it into your network infrastructure. This process typically happens on the router’s administrative interface or through the Windows “Add a Device” wizard.
Accessing the Router’s Web Interface
To use the PIN, you must log into your router. This is usually done by entering the router’s IP address (commonly 192.168.1.1 or 192.168.0.1) into a web browser. Once logged in, you must navigate to the Wireless or Advanced Setup section and look for the WPS tab.
Within this menu, there will be an option labeled “Enter Client PIN” or “Add WPS Device.” This is where the printer’s 8-digit code is required. After clicking “Connect” or “Register,” the router will search for the printer broadcasting that specific PIN.
Entering the PIN for Device Authentication
In a Windows environment, the operating system may detect the printer as a “new device found on the network.” When you click on the notification to install the device, Windows might pop up a box asking for the “WPS PIN found on your printer.” Entering the code here allows Windows to act as the intermediary, fetching the network credentials from the router and passing them to the printer automatically.
Verifying a Successful Connection
Success is usually signaled by the printer’s wireless light changing from a blinking state to a solid blue. Additionally, the printer may print a “Success” report or display a confirmation message on its screen. At this point, the WPS PIN has served its purpose and is no longer needed; the printer is now a fully authenticated member of your network.
Security Considerations and Best Practices for WPS
While WPS offers undeniable convenience, it has been the subject of scrutiny within the digital security community. For a tech-savvy user, it is important to weigh the ease of setup against potential vulnerabilities.
The Vulnerability Factor: Why PINs Can Be Risky
The primary technical weakness of the WPS PIN method is that the eight-digit code is checked by the router in two halves (four digits each). This significantly reduces the number of possible combinations a malicious actor would need to “brute force.” Instead of 100 million possibilities, the complexity drops to a much lower number, which can be cracked by specialized software in a matter of hours.
Because of this, many security experts recommend disabling WPS on the router once all devices have been successfully connected. High-security environments may prefer manual WPA3 configuration, which requires typing the full passphrase into the printer but eliminates the WPS backdoor.
Modern Alternatives: WPS Push Button and HP Smart
If your router and printer both support the WPS Push Button method, it is generally considered safer than the PIN method because it requires physical proximity to both devices and leaves a much smaller window of opportunity for an attacker.
Alternatively, the HP Smart App setup uses a “SoftAP” (Software-enabled Access Point) method. During setup, the printer creates its own temporary Wi-Fi network. Your phone connects to that network, sends your home Wi-Fi credentials to the printer, and then both devices reconnect to your home network. This method avoids WPS entirely and is the preferred standard for modern HP deployments.
Protecting Your Local Area Network (LAN)
To ensure your tech stack remains secure, always ensure your HP printer firmware is up to date. HP frequently releases security patches that harden the WPS implementation and fix known bugs in the networking stack. Furthermore, changing your router’s administrative password from the factory default is the single most effective way to prevent unauthorized access via WPS settings.
Troubleshooting Common WPS PIN Issues
Technology rarely works perfectly the first time. If you find yourself stuck in a loop where the PIN is not accepted or the printer refuses to generate one, several factors could be at play.
Why Your WPS PIN Might Expire
As mentioned earlier, the PIN is time-sensitive. If you generate the PIN on the printer but spend ten minutes trying to remember your router password, the PIN will have expired. If the router returns a “Connection Unsuccessful” error, the first step is to go back to the printer and generate a brand-new PIN. Each request creates a unique, one-time-use code.
Dealing with “Connection Failed” Errors
Connection failures are often caused by signal interference or frequency mismatch. Most HP printers operate on the 2.4GHz Wi-Fi band. If your router is set to a “5GHz Only” mode, the printer will fail to connect regardless of how many times you enter the correct PIN. Ensure your router is broadcasting in “Dual-Band” or “2.4GHz” mode. Additionally, ensure the printer is within a reasonable range (at least two rooms) of the router during the initial handshake.
When to Reset Network Settings
If the printer is “remembering” an old, defunct network and refuses to enter WPS mode, a network reset is required. On most HP printers, this involves navigating to Network Setup > Restore Network Settings. This clears the internal cache and allows the printer to broadcast a fresh WPS request.
By mastering the WPS PIN process, you transition from a frustrated user to a proficient manager of your home or office technology. While the PIN is a small piece of data, it represents the bridge between physical hardware and the digital network, enabling the seamless flow of information that defines the modern tech experience.
aViewFromTheCave is a participant in the Amazon Services LLC Associates Program, an affiliate advertising program designed to provide a means for sites to earn advertising fees by advertising and linking to Amazon.com. Amazon, the Amazon logo, AmazonSupply, and the AmazonSupply logo are trademarks of Amazon.com, Inc. or its affiliates. As an Amazon Associate we earn affiliate commissions from qualifying purchases.