The phrase “cut in butter” is a culinary term, referring to the technique of incorporating a solid fat, typically butter, into a dry ingredient mixture. The goal is to break down the fat into small pieces that are then evenly distributed throughout the flour or other dry ingredients, creating pockets of fat. This method is fundamental in creating tender and flaky baked goods. When butter is “cut in,” it doesn’t melt into the flour; instead, it coats the flour particles, inhibiting gluten development. This results in a crumbly texture, ideal for pastries like biscuits, pie crusts, scones, and some cakes. The process involves using tools like a pastry blender, two knives, or even your fingertips to rub or chop the cold butter into the flour until it resembles coarse meal or small peas. The size of the butter pieces directly influences the final texture. Smaller pieces lead to a finer, more cake-like crumb, while larger pieces create distinct layers and a flakier result. Temperature is paramount; the butter must be cold, ideally chilled or even slightly frozen, to maintain its solid state and prevent it from melting prematurely into the flour. This controlled incorporation of fat is the secret to achieving that desirable tender and flaky texture that is the hallmark of many beloved baked goods.
The Science Behind Tender Pastries: Why “Cutting In” Matters
The magical transformation that occurs when you “cut in butter” is deeply rooted in the science of baking. It’s not just about mixing ingredients; it’s about controlling their interaction to achieve a specific texture. At its core, the process is about creating a barrier between flour particles and moisture, thereby limiting gluten development.
Gluten: The Double-Edged Sword of Baking
Flour, when combined with liquid and agitated, develops gluten. Gluten is a network of proteins that gives dough its elasticity and structure. For bread, a strong gluten network is essential to trap gases produced by yeast, allowing the bread to rise and achieve its characteristic chewy texture. However, for many pastries and baked goods, an excessive amount of gluten development leads to a tough, rubbery, and unappealing outcome. This is where the technique of “cutting in butter” becomes critical.
When cold butter is cut into flour, it coats the flour particles. Butter is composed of fat, and fat is hydrophobic, meaning it repels water. As a result, when liquid is added to the mixture, the butter-coated flour particles are less able to absorb water and form gluten strands. The fat acts as a physical barrier, essentially “shortening” the gluten strands. This is why the technique is often referred to as “shortening” in baking, and why fats like butter and lard are called “shortening agents.” The more effectively the butter is distributed in small, discrete pieces, the more the flour is protected from hydration, and the less gluten will develop.
The Role of Temperature: A Cold Affair for Flakiness
The temperature of the butter is not a mere suggestion; it’s a critical determinant of success. For effective “cutting in,” the butter must be cold, preferably straight from the refrigerator or even lightly frozen. This is because cold butter maintains its solid form during the mixing process. As it’s worked into the flour, it breaks down into small pieces, some larger than others. When the dough is then exposed to heat in the oven, these pockets of solid butter begin to melt. As the butter melts, it releases steam, which creates tiny air pockets and expands the dough around these pockets. This expansion, combined with the separation of flour particles by the melted fat, is what creates the distinct layers and flaky texture characteristic of pastries like croissants, pie crusts, and biscuits.
If the butter is too warm or begins to melt during the cutting-in process, it will be fully absorbed into the flour. This would result in a dough that is more cake-like or cookie-like, lacking the desired flakiness and tenderness that comes from distinct fat pockets. The goal is to have pieces of butter dispersed throughout the flour that will melt and create steam during baking, rather than a uniform, greasy dough. This is why many recipes emphasize using cold ingredients and working quickly when cutting in butter.
Techniques for Achieving the Perfect “Cut In” Texture
Mastering the art of “cutting in butter” involves understanding the different tools and methods available, each offering slightly different results and levels of ease. The choice of technique often depends on personal preference, the recipe, and the desired texture of the final baked good.
The Pastry Blender: A Baker’s Best Friend
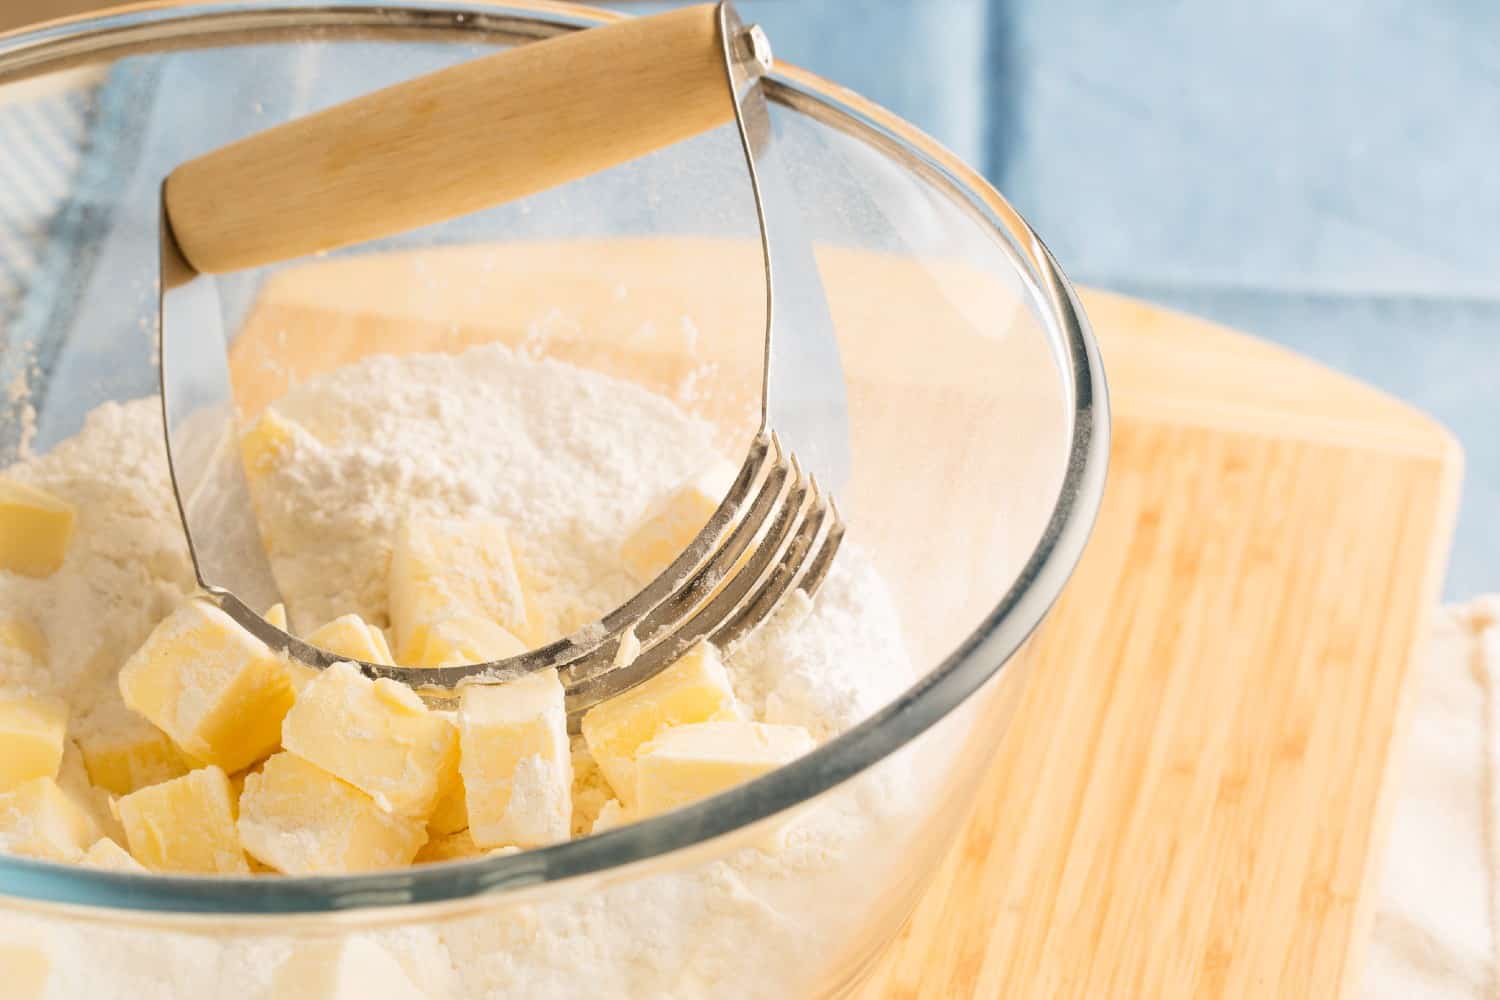
The pastry blender is arguably the most efficient and popular tool for cutting in butter. It consists of several thin metal wires or blades attached to a handle. When pressed and twisted into the cold butter and flour mixture, the wires slice through the fat, breaking it into smaller pieces. The ergonomic design allows for relatively quick incorporation of the butter, minimizing the time the butter spends warming up from the heat of your hands.
To use a pastry blender effectively, start by placing your cold butter and flour mixture in a bowl. Hold the pastry blender at an angle and press down into the mixture, using a rocking motion. Continue this process, moving the blender around the bowl, until the butter is cut into pieces ranging from coarse meal to small peas, as specified by your recipe. The key is to achieve a relatively uniform distribution of these butter pieces throughout the flour. Some bakers prefer to scrape down the sides of the bowl periodically to ensure all the flour is incorporated.
The Two-Knife Method: A Classic and Accessible Approach

For those without a pastry blender, the classic two-knife method offers a perfectly viable alternative. This technique relies on the sharp edges of knives to cut through the cold butter. It requires a bit more dexterity and patience than using a pastry blender, but the results can be just as impressive.
To employ the two-knife method, hold one knife in each hand, with the blades facing each other and angled slightly inward. Place the knives into the butter and flour mixture and use a crisscrossing, chopping motion. Imagine you are dicing the butter into the flour. You’ll need to reposition the knives frequently to ensure you’re cutting fresh pieces of butter and not just mashing it. Similar to the pastry blender, continue this process until the butter is incorporated to the desired size. It’s important to use quick, decisive cuts to avoid excessive friction and heat that could melt the butter. This method can be particularly effective for recipes where slightly larger pieces of butter are desired for extra flakiness.
Fingertips: The Intuitive, Yet Sensitive, Method
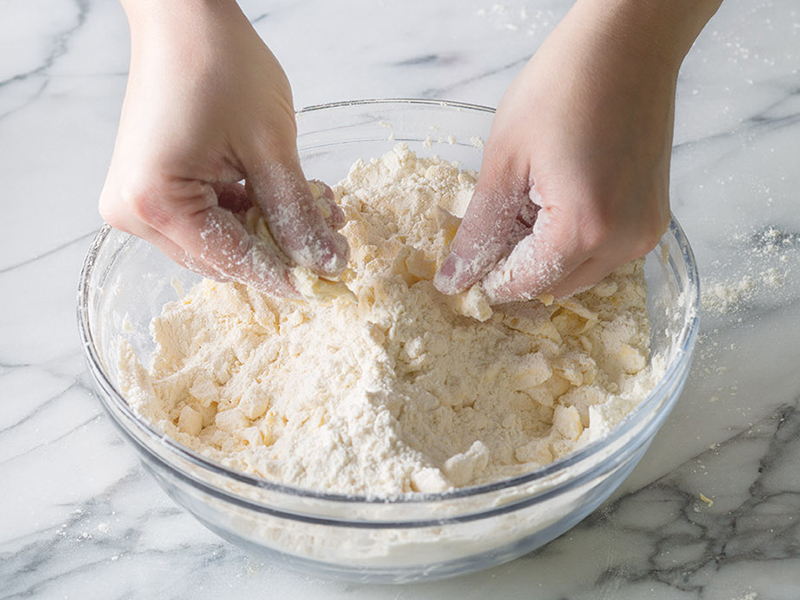
Using your fingertips is the most intuitive method for cutting in butter, as it allows for a direct tactile feel of the butter and flour mixture. However, it also presents the greatest risk of warming the butter too much due to the heat from your hands. This method is best suited for bakers who are experienced and can work very quickly.
When using your fingertips, start by rubbing your thumbs and forefingers together, as if you are trying to create fine breadcrumbs. Pick up small portions of the butter and flour mixture and gently rub them between your fingertips, allowing the butter to break down into small pieces and coat the flour. Avoid squeezing or compressing the mixture too much, as this can lead to a tough dough. The goal is to achieve a texture that resembles coarse meal. Some bakers recommend chilling your hands in cold water before starting this method to minimize heat transfer. While this method offers a hands-on approach and a good sense of control over the texture, it requires a mindful approach to temperature management.
Enhancing Texture and Flavor: Beyond the Basic “Cut In”
While the primary function of cutting in butter is to achieve a tender and flaky texture, it also plays a significant role in enhancing the overall flavor and richness of baked goods. The quality of the butter itself, along with how it’s incorporated, can elevate a simple pastry into something truly special.
The Impact of Butter Quality on Flavor and Texture
The type of butter used can have a noticeable impact on the final product. Unsalted butter is generally preferred in baking because it allows the baker to control the exact amount of salt in the recipe. Salt is a flavor enhancer, and too much can overpower the delicate flavors of the pastry. However, the fat content of butter also varies by type and region. European-style butters, often with a higher fat content (around 82-84%), tend to be richer and can contribute to a more tender and flavorful result. Their higher fat content means there’s less water, which can further aid in preventing gluten development.
The inherent flavor of the butter itself is also a key contributor to the taste of the baked good. A high-quality butter will impart a richer, creamier, and more nuanced flavor than a lower-quality or margarine-based spread. This is particularly important in recipes where butter is a dominant flavor component, such as shortbread or pound cake. The way the butter is cut in also influences how its flavor is perceived. Evenly distributed small pieces of butter will melt and distribute their flavor throughout the pastry more uniformly, while larger pieces might create pockets of intense butteriness.
Beyond Butter: Exploring Other Fat Options
While butter is the quintessential fat for “cutting in,” other fats can be used to achieve similar textural outcomes, each with its own unique characteristics. Understanding these alternatives can open up new possibilities for experimentation and cater to different dietary needs or flavor preferences.
Lard: Rendered pork fat, or lard, has long been a traditional fat for pie crusts and biscuits. It has a high melting point and creates exceptionally flaky pastries. Its flavor is milder than butter, allowing the other ingredients to shine. However, due to its animal origin, it’s not suitable for vegetarian or vegan diets.
Shortening: Vegetable shortening is a solid fat that is stable at room temperature and has a very neutral flavor. It’s highly effective at preventing gluten development and creating tender baked goods. Because it doesn’t melt as readily as butter at room temperature, it can be easier to work with for beginners. However, its lack of flavor means it doesn’t contribute to the richness and complexity that butter does. Many bakers opt for a combination of butter and shortening to achieve both flakiness and flavor.
Coconut Oil: For vegan and dairy-free baking, solid coconut oil can be used as a substitute for butter. It needs to be well-chilled to maintain its solid form. When cut in, it can contribute to a tender crumb. However, it can impart a slight coconut flavor, which may or may not be desirable depending on the recipe.
Margarine: While some margarines can be used, their water content and emulsifiers can vary significantly, affecting their performance. It’s generally best to use margarines specifically formulated for baking, which often have a fat content closer to butter. The flavor profile of margarine is also typically less desirable than that of butter.
Ultimately, the choice of fat and the technique used to incorporate it will significantly influence the texture, flavor, and overall success of your baked goods. Mastering the art of “cutting in” butter, or its alternatives, is a fundamental skill that unlocks a world of delicious possibilities in the kitchen.
aViewFromTheCave is a participant in the Amazon Services LLC Associates Program, an affiliate advertising program designed to provide a means for sites to earn advertising fees by advertising and linking to Amazon.com. Amazon, the Amazon logo, AmazonSupply, and the AmazonSupply logo are trademarks of Amazon.com, Inc. or its affiliates. As an Amazon Associate we earn affiliate commissions from qualifying purchases.