In the modern computing landscape, your Graphics Processing Unit (GPU) is more than just a component that puts images on a screen. It is the powerhouse behind high-end gaming, professional video editing, 3D rendering, and the burgeoning field of local Artificial Intelligence. However, even the most expensive hardware is only as good as the software that instructs it. This software—the video driver—acts as the essential translator between your operating system and your hardware.
Understanding how to update video drivers is a fundamental skill for any PC user. Whether you are troubleshooting a flickering screen, trying to squeeze more frames per second (FPS) out of a new game, or ensuring your workstation remains stable during intensive rendering tasks, keeping your drivers current is the first line of defense. This guide provides an exhaustive look at the “how” and “why” of driver management, tailored for the modern tech landscape.
Understanding the Critical Role of Video Drivers
Before diving into the technical steps, it is vital to understand what a video driver actually does. In the simplest terms, a driver is a piece of software that allows the operating system (like Windows or Linux) and various applications to communicate with the specific hardware of your graphics card. Without a functional driver, your computer would not be able to utilize the advanced features of your GPU, often falling back to a “Basic Display Adapter” mode with limited resolution and zero acceleration.
What is a Video Driver?
A video driver is a complex set of instructions that manages the GPU’s resources. It tells the hardware how to render textures, how to handle lighting through APIs like DirectX or Vulkan, and how to manage power consumption. Over time, software developers find more efficient ways to execute these tasks. When you “update” a driver, you are essentially providing your hardware with a more efficient set of instructions, allowing it to perform the same tasks faster and with fewer errors.
Why Regular Updates Matter for Stability and Security
The tech industry moves at a blistering pace. New software releases—whether it is a blockbuster game or a new version of Adobe Premiere Pro—are often optimized for the latest driver architectures.
- Performance Gains: It is common to see performance increases of 5% to 20% in specific applications following a driver update.
- Bug Fixes: Modern drivers include “hotfixes” for known issues, such as crashing in specific games or graphical artifacts in creative software.
- Security: Occasionally, vulnerabilities are found in driver code that could allow malicious software to gain kernel-level access to your system. Patching these via updates is critical for digital security.
- New Features: Manufacturers frequently add features through drivers, such as AI-driven upscaling (NVIDIA DLSS or AMD FSR), which can dramatically improve visual quality without requiring new hardware.
How to Identify Your Graphics Card (GPU) Information
Before you can update your drivers, you must know exactly what hardware you are running. Using the wrong driver can lead to installation failures or, in rare cases, system instability. There are two primary ways to identify your hardware without opening your computer case.
Using Windows Device Manager
The most direct way to see your hardware is through the Windows Device Manager.
- Right-click the Start button and select Device Manager.
- Locate the section labeled Display adapters and click the arrow to expand it.
- Here, you will see the name of your GPU. It will typically be from one of the “Big Three”: NVIDIA, AMD, or Intel.
Using Diagnostic Tools and Third-Party Software
For a more detailed look at your hardware, including the specific driver version currently installed and the date it was released, you can use the DirectX Diagnostic Tool.
- Press Windows Key + R, type
dxdiag, and hit Enter. - Navigate to the Display tab (or “Render” tab if you have a laptop with dual graphics).
- This window provides the manufacturer, the chip type, and the exact driver version number.
If you prefer a more modern interface, third-party tools like GPU-Z or Speccy provide deep-dive analytics into your card’s clock speeds, memory type, and temperature, which can be useful for benchmarking before and after an update.
Step-by-Step Guide to Updating Drivers Automatically

For the majority of users, the automated route is the safest and most convenient. Modern hardware manufacturers have developed robust software suites that monitor your system and notify you the moment a new driver becomes available.
Updating via Windows Update
Windows Update is the “set it and forget it” method. Microsoft works with hardware vendors to distribute certified drivers through the OS update system.
- Go to Settings > Update & Security > Windows Update.
- Click Check for updates.
- If a driver is available, it will often appear under “Optional updates.”
- Pros: Highly stable and verified by Microsoft.
- Cons: These drivers are often several months old and lack the “Game Ready” optimizations found in direct downloads.
Utilizing Manufacturer Software Suites
To get the most out of your hardware, you should use the official software provided by the manufacturer. These tools offer one-click updates and specialized settings.
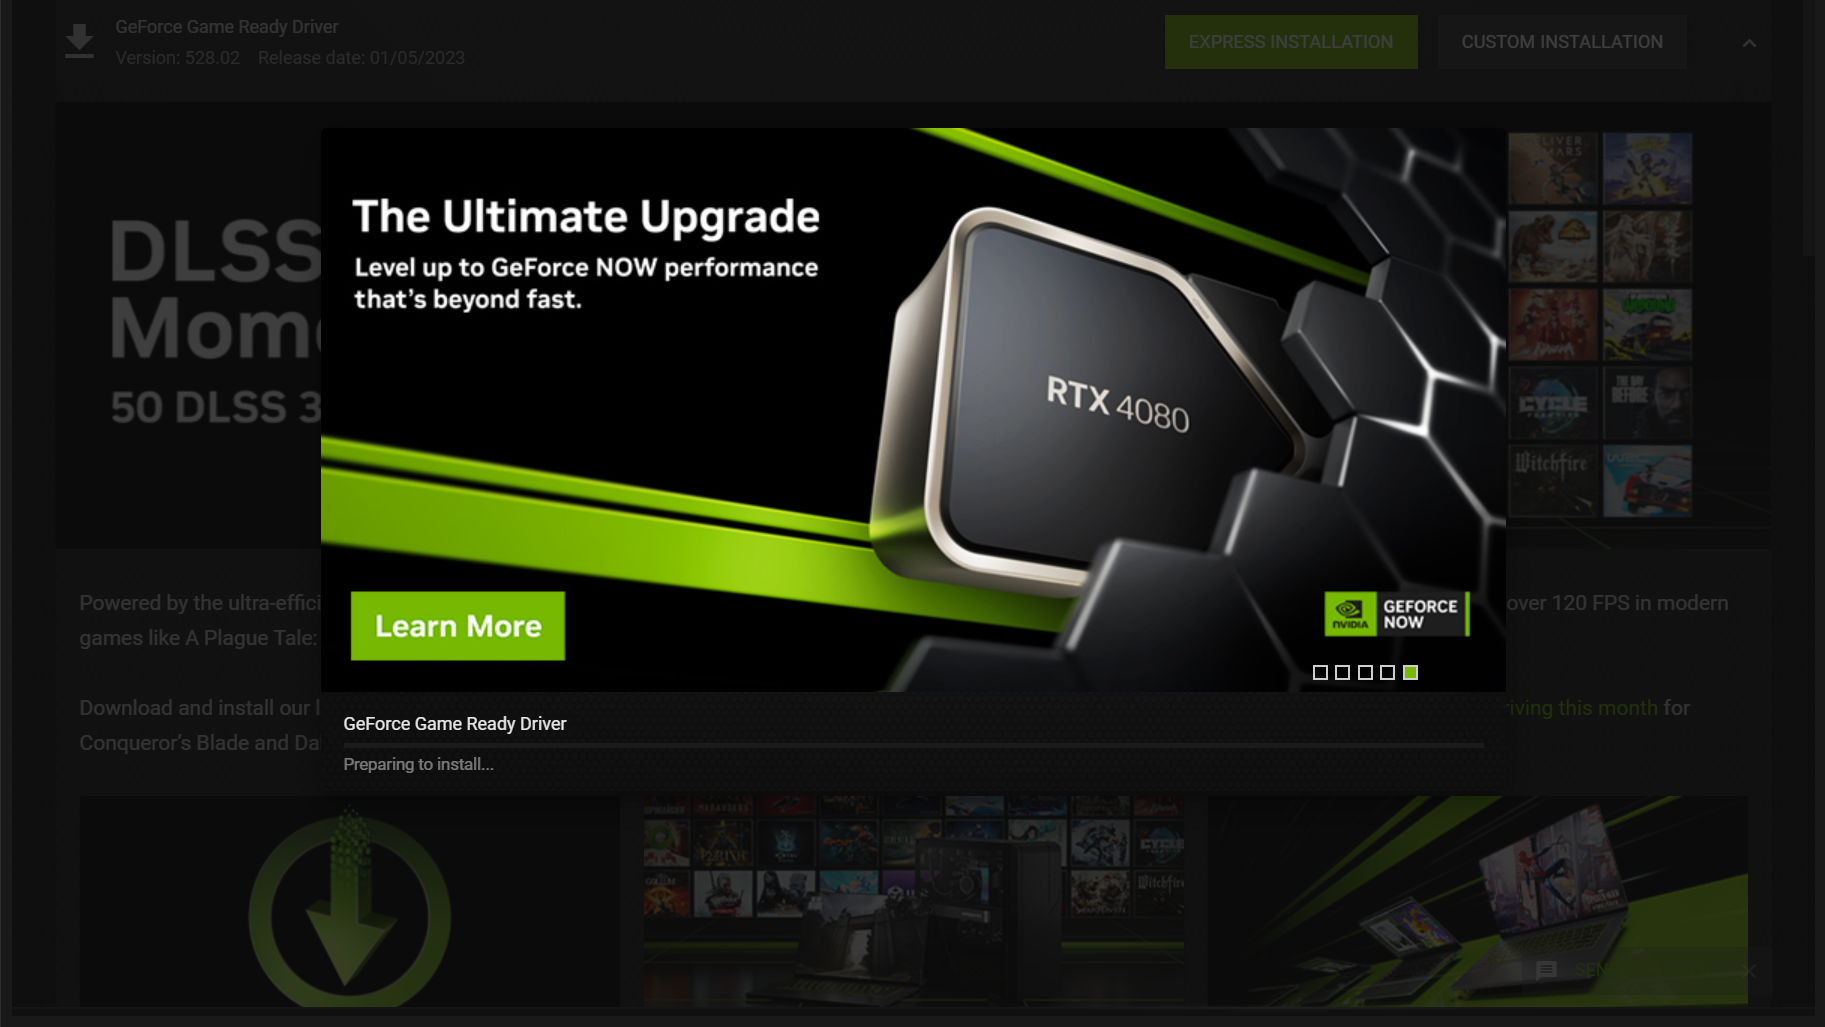
- NVIDIA GeForce Experience: This is the gold standard for NVIDIA users. Once installed, it sits in your system tray. When a new “Game Ready” driver is released, a notification appears. You simply click “Download” and then “Express Installation.”
- AMD Software: Adrenalin Edition: AMD’s suite is highly regarded for its clean interface. It allows users to check for updates directly from the “Home” tab and offers different “tuning” profiles (Gaming, Esports, Power Save) alongside the driver update.
- Intel Graphics Command Center: For those using Intel Integrated graphics or the new Intel Arc dedicated cards, this tool handles updates and display configurations. It is particularly important for laptop users who rely on integrated graphics for battery efficiency.
How to Manually Install Video Drivers for Advanced Users
There are times when automatic tools fail, or when a user needs a specific version of a driver for compatibility reasons. This is known as a manual installation.
Downloading Directly from the Manufacturer
The most reliable source for drivers is the manufacturer’s official website. Avoid third-party “driver updater” websites, as these often bundle bloatware or outdated files.
- NVIDIA: Visit the NVIDIA Driver Downloads page, select your product series, operating system, and “Download Type” (Game Ready for gamers, Studio Driver for creators).
- AMD: Visit the AMD Support page and either use their “Auto-Detect” tool or manually select your chipset from the list.
- Intel: Use the Intel Download Center.
Performing a “Clean Install” to Resolve Conflicts
Sometimes, simply overwriting an old driver with a new one causes issues due to leftover registry keys or corrupted files. If you are experiencing persistent crashes, a “Clean Install” is recommended.
- DDU (Display Driver Uninstaller): This is a niche but essential tech tool. It is a utility that completely wipes all traces of previous drivers in “Safe Mode.”
- After running DDU, you restart your computer and install the freshly downloaded driver file. This ensures that no legacy settings interfere with the new software.
- Most official installers (like NVIDIA’s) also offer a “Perform a clean installation” checkbox during the custom installation process, which resets all global settings to factory defaults.
Troubleshooting and Best Practices for Driver Management
Updating isn’t always a “linear up” in quality. Occasionally, a new driver might introduce a bug that wasn’t present in the previous version. Effective tech management involves knowing how to handle these setbacks.
When to Roll Back a Driver
If your system becomes unstable immediately after an update, Windows provides a “Roll Back” feature.
- Open Device Manager, right-click your GPU, and select Properties.
- Under the Driver tab, click Roll Back Driver.
- This reverts the system to the previous version that was working correctly. This is a vital fail-safe for professionals who cannot afford downtime.

Setting a Maintenance Schedule
In the world of tech, balance is key. You do not necessarily need to update your driver the very second a new version is released unless you are playing a brand-new game that requires it.
- For Gamers: Update whenever a new “Game Ready” driver is released for a title you own.
- For Professionals: Wait 7–10 days after a driver release to see if the community reports any major bugs in forums like Reddit or the manufacturer’s official boards. Stability is usually more important than a minor performance bump.
- For General Users: Checking for updates once every three months is usually sufficient to keep the system secure and compatible with modern web browsers and video streaming codecs.
By mastering the art of the video driver update, you ensure that your hardware remains an asset rather than a liability. Whether through the streamlined ease of automated suites or the precision of manual clean installs, maintaining your GPU software is the single most effective way to extend the lifespan and performance of your computer.
aViewFromTheCave is a participant in the Amazon Services LLC Associates Program, an affiliate advertising program designed to provide a means for sites to earn advertising fees by advertising and linking to Amazon.com. Amazon, the Amazon logo, AmazonSupply, and the AmazonSupply logo are trademarks of Amazon.com, Inc. or its affiliates. As an Amazon Associate we earn affiliate commissions from qualifying purchases.