
Keeping your system’s components optimized is paramount for any computer user, particularly those engaged in gaming, graphic design, video editing, or AI development. For users relying on NVIDIA graphics cards, regularly updating your drivers is not merely a recommendation; it is a critical practice for maintaining peak performance, stability, and security. This comprehensive guide will walk you through the process, explaining why it matters and detailing the most effective methods to ensure your NVIDIA GPU is always running on the latest software.
Why Keeping Your Drivers Up-to-Date is Crucial
Graphics drivers act as the essential communication bridge between your operating system, applications, and your NVIDIA graphics card. Outdated drivers can lead to a myriad of issues, from minor glitches to significant performance bottlenecks.
Performance Enhancements
One of the most compelling reasons to update your drivers is the potential for significant performance gains. NVIDIA frequently releases new drivers alongside major game launches or software updates. These “Game Ready” or “Studio” drivers often include optimizations specifically tailored to new titles or professional applications, unlocking higher frame rates, smoother gameplay, and faster rendering times. Even outside of new releases, general performance improvements and architectural efficiencies are often integrated into newer driver versions, ensuring your hardware is utilized to its fullest potential.
Stability and Bug Fixes
Drivers, like any software, can contain bugs. These bugs can manifest as crashes, freezes, graphical artifacts, or compatibility issues with specific games or applications. NVIDIA’s engineering teams are constantly identifying and patching these issues. Updating to the latest driver often resolves known problems, leading to a more stable and reliable computing experience. This is particularly important for professional users where system stability directly impacts productivity.
New Features and Technologies
New NVIDIA drivers aren’t just about fixes and performance; they frequently introduce support for cutting-edge technologies and features. This could include support for new display standards, advancements in ray tracing or DLSS (Deep Learning Super Sampling) capabilities, or enhancements to NVIDIA’s control panel settings. Without these updates, your hardware might miss out on leveraging the latest innovations that improve visual fidelity, efficiency, or overall user experience.
Security Vulnerabilities
While less common, graphics drivers can occasionally contain security vulnerabilities that could potentially be exploited by malicious actors. NVIDIA takes security seriously and releases patches for these vulnerabilities as soon as they are identified. Keeping your drivers updated ensures you’re protected against these potential threats, safeguarding your system and data from compromise.
Preparing for Your Driver Update
Before you embark on the update process, a few preparatory steps can help ensure a smooth, error-free experience. These steps are designed to prevent potential conflicts or data loss.
Identify Your Current Driver Version and GPU
Knowing your current driver version and specific GPU model can be helpful for troubleshooting or verifying the correct driver download. You can find this information by:
- Right-clicking on your desktop and selecting “NVIDIA Control Panel.”
- In the NVIDIA Control Panel, click “System Information” in the bottom-left corner.
- Here, you’ll see details about your graphics card model, driver version, and operating system.
Alternatively, you can open Device Manager (search for it in the Windows search bar), expand “Display adapters,” and right-click on your NVIDIA card to select “Properties,” then navigate to the “Driver” tab.
Back Up Important Data (Optional, but Recommended)
While driver updates are generally safe, any system-level change carries a small inherent risk. For critical data, consider a quick backup of important files or a system restore point. This provides a safety net in the unlikely event that something goes wrong during the update process, allowing you to revert to a previous stable state.
Close All Running Applications
Before initiating a driver installation, close all open programs, especially those that heavily utilize the GPU, such as games, video editors, or web browsers. This prevents file conflicts and ensures the installer can modify necessary system files without interference, minimizing the chance of an incomplete or failed installation.
Methods for Updating NVIDIA Graphics Drivers
NVIDIA offers several straightforward methods for updating your graphics drivers, catering to different user preferences and technical proficiencies.
Method 1: NVIDIA GeForce Experience
This is the recommended and simplest method for most users, especially gamers. GeForce Experience is an application designed to optimize game settings, record gameplay, and manage drivers.
Installation and Setup
If you don’t already have it, download NVIDIA GeForce Experience from the official NVIDIA website. Once installed, launch the application. You might need to log in or create an NVIDIA account.
Automatic Driver Detection and Installation
- Within GeForce Experience, navigate to the “Drivers” tab at the top.
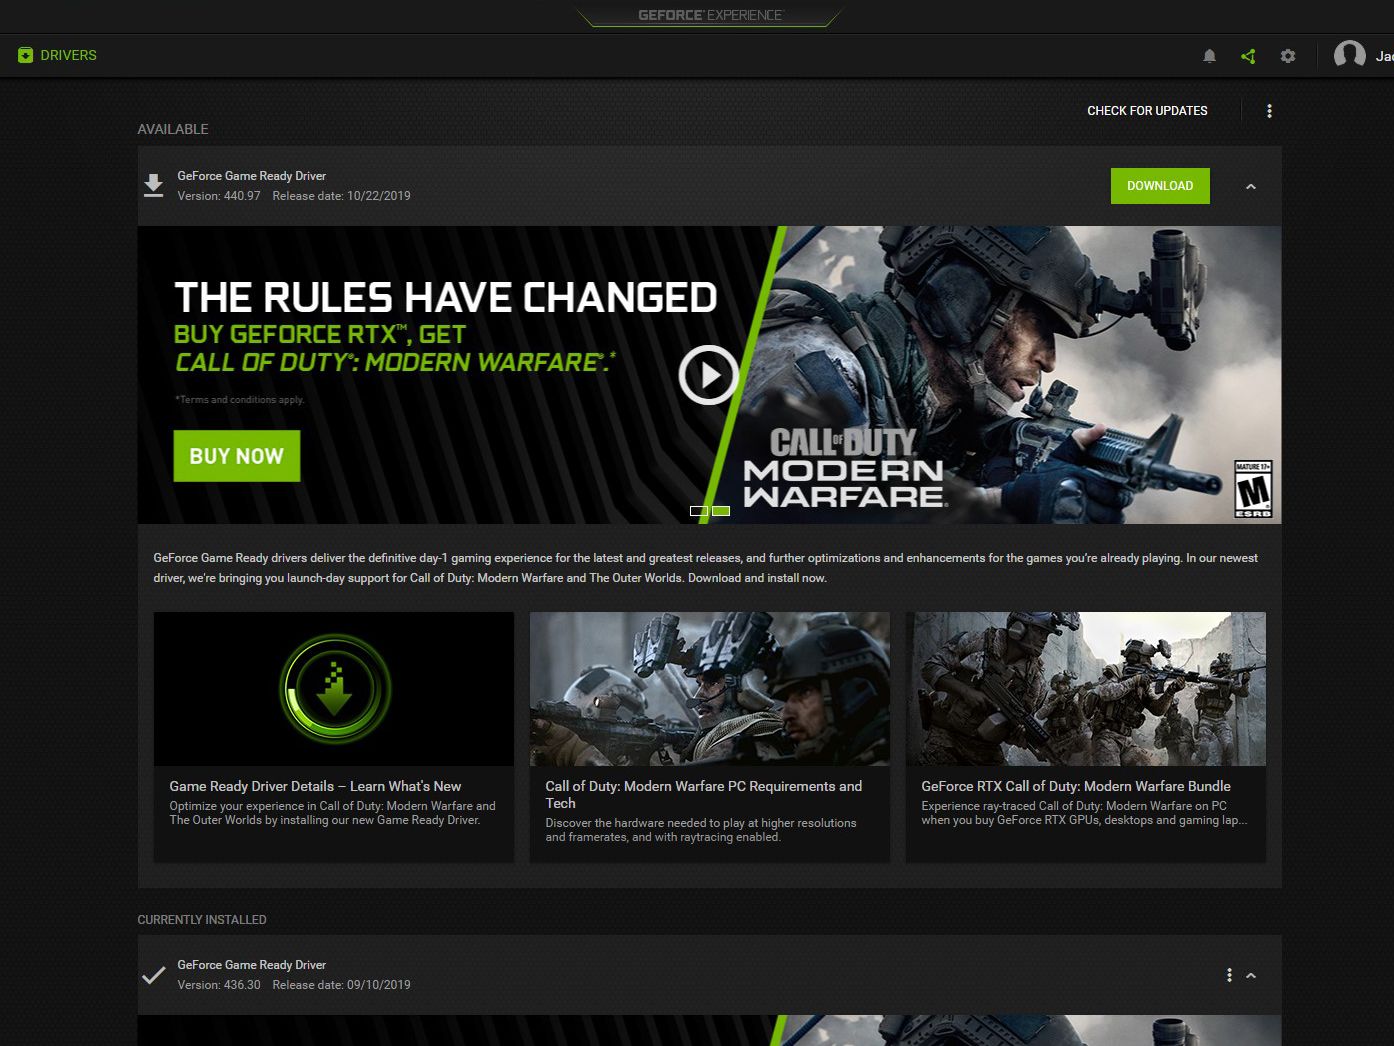
- GeForce Experience will automatically check for available driver updates. If a new driver is found, it will be displayed with a “Download” button.
- Click “Download.” The application will download the necessary files.
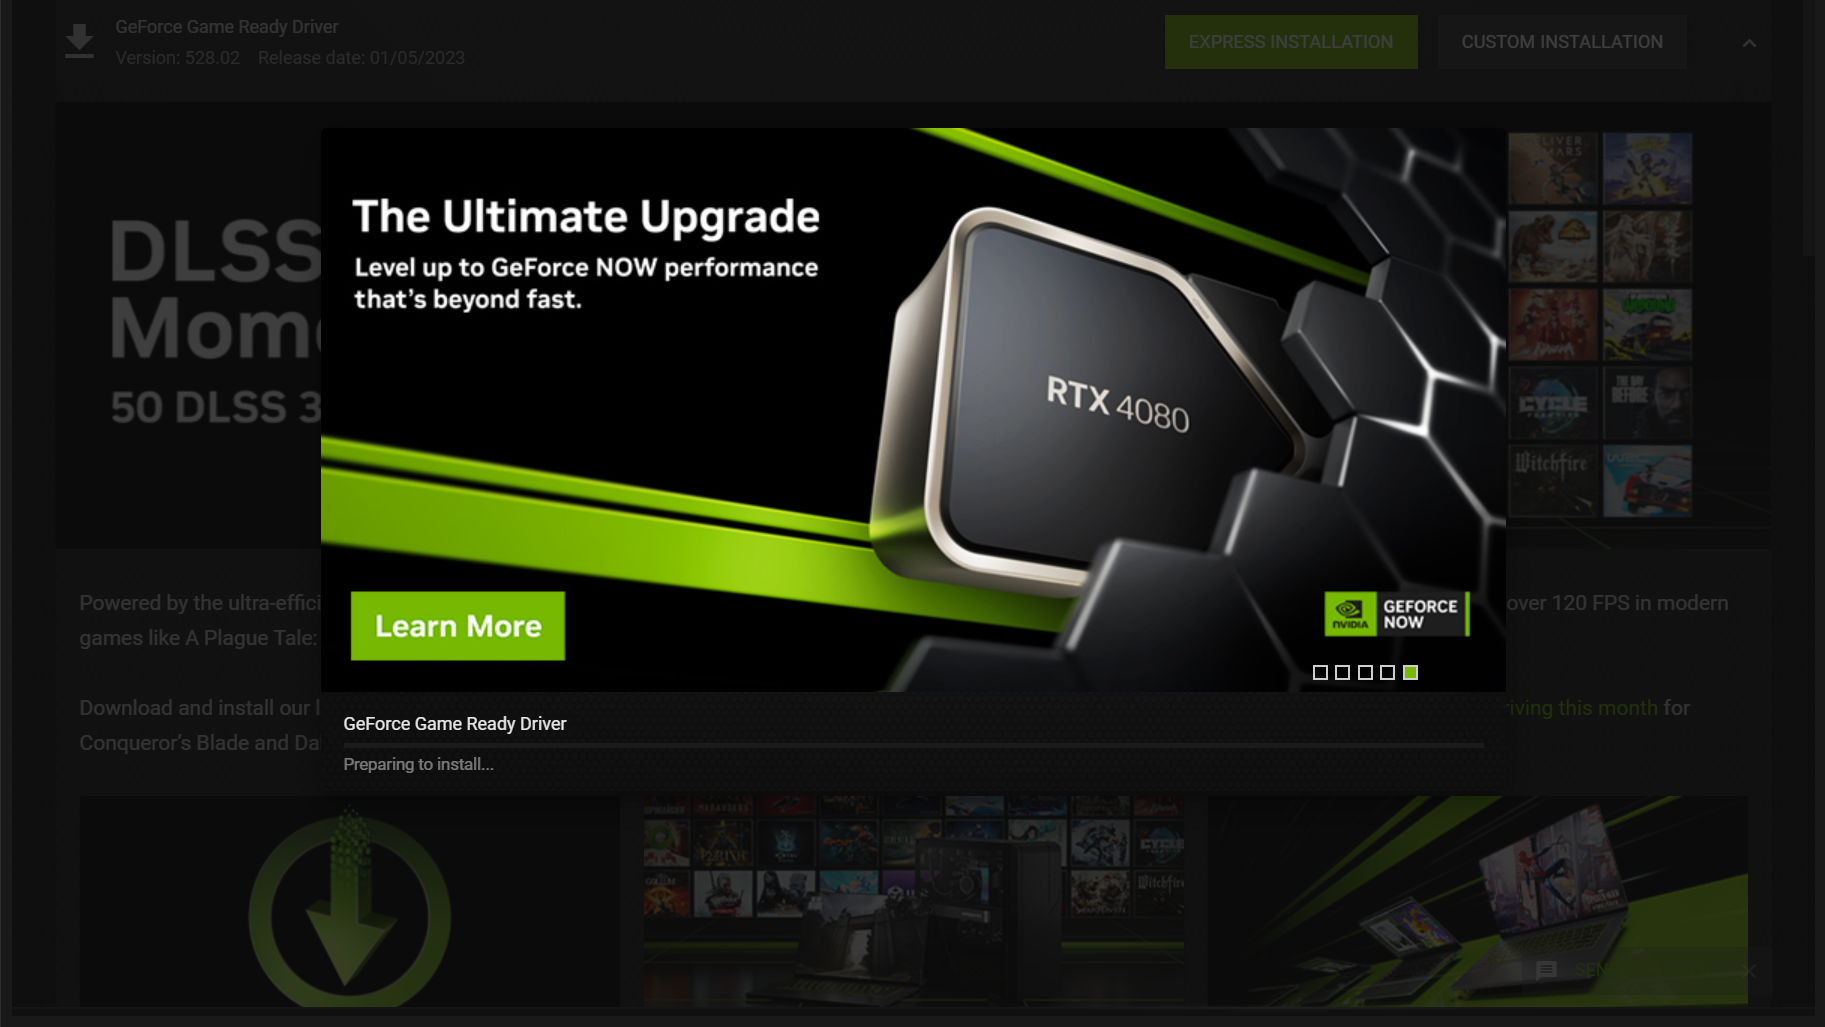
- Once downloaded, you’ll be presented with two installation options: “Express Installation” and “Custom Installation.”
Express vs. Custom Installation
- Express Installation: This is the default and recommended option for most users. It automatically installs the new driver and updates all components, including the NVIDIA graphics driver, HD Audio driver, PhysX, and GeForce Experience itself, without requiring user intervention for component selection.
- Custom Installation: This option allows you to select which components to install (e.g., you might deselect the HD Audio driver if you use a different audio solution). Crucially, the custom option also provides a “Perform a clean installation” checkbox. A clean installation removes all previous NVIDIA driver files and settings before installing the new ones, which can resolve lingering issues from older driver versions or corrupted installations. For troubleshooting or ensuring optimal performance, a clean installation is often preferred, though it will reset your NVIDIA Control Panel settings to default.
After selecting your preferred installation method, the installer will run, and your screen may flicker or go black momentarily as the display driver is updated. Your system might require a restart to finalize the installation.
Method 2: Manual Download from NVIDIA Website
This method offers the most control and is ideal for users who prefer to download drivers directly or who encounter issues with GeForce Experience.
Navigating the Driver Download Page
- Open your web browser and go to the official NVIDIA Driver Downloads page (usually found by searching “NVIDIA drivers” or directly navigating to
www.nvidia.com/drivers).
Selecting the Correct Product Type, Series, and OS
- On the download page, you’ll need to accurately specify your graphics card’s details:
- Product Type: Select “GeForce” for consumer cards.
- Product Series: Choose the series your card belongs to (e.g., “GeForce RTX 40 Series,” “GeForce GTX 16 Series”).
- Product: Select your exact graphics card model (e.g., “GeForce RTX 4090,” “GeForce GTX 1660 Ti”).
- Operating System: Select your version of Windows (e.g., “Windows 11,” “Windows 10 64-bit”).
- Download Type: Generally, “Game Ready Driver (GRD)” is for gamers, and “Studio Driver (SD)” is for creators and professionals using applications like Adobe Creative Suite. Choose the one that best suits your primary use case.
- Click “Search.”
Downloading and Running the Installer
- NVIDIA will present the latest available driver matching your criteria. Click “Download” to save the installer executable to your computer.
- Once the download is complete, locate the downloaded file (usually in your “Downloads” folder) and double-click it to start the installation process.
- The installer will first extract the files. You will then be prompted to agree to the NVIDIA Software License.
- Similar to GeForce Experience, you’ll be given the option for “Express Installation” or “Custom (Advanced).” The “Custom” option includes the “Perform a clean installation” checkbox, which is highly recommended for a thorough update.
- Follow the on-screen prompts until the installation is complete. A restart may be necessary.
Method 3: Windows Device Manager (Less Recommended for Gaming/Performance)
While technically a way to update drivers, using Windows Device Manager is generally less effective for NVIDIA graphics cards, especially for gamers or professionals. Windows Update often provides older, generic drivers that might not include NVIDIA-specific optimizations or the latest features.
Accessing Device Manager
- Right-click the Start button and select “Device Manager.”
- Expand “Display adapters.”
- Right-click on your NVIDIA graphics card and select “Update driver.”
Updating Driver Software Option
- You’ll be presented with two options: “Search automatically for drivers” or “Browse my computer for drivers.”
- Search automatically: Windows will attempt to find a driver online or locally. This often results in Windows reporting that “The best drivers for your device are already installed” even if NVIDIA has a newer version.
- Browse my computer: This allows you to point Windows to a specific driver file you’ve downloaded. This is only useful if you’ve already manually downloaded the driver installer and know where the actual driver files (not the executable) are located within the extracted package, which is more complex than running the NVIDIA installer directly.
Limitations for Enthusiasts
Using Device Manager rarely provides the latest, Game Ready, or Studio drivers with all their specific optimizations. It’s best reserved for situations where you need a basic functional driver or are troubleshooting severe display issues and cannot use the NVIDIA installers.
Post-Update Checks and Troubleshooting
After completing a driver update, a few steps can help confirm a successful installation and address any unexpected issues.
Verify Driver Installation
- Restart your computer if prompted or if you performed a clean installation.
- Open the NVIDIA Control Panel (right-click desktop) and check “System Information” to confirm the new driver version is listed.
- Launch a game or graphics-intensive application to ensure it runs smoothly and without issues.
- Check for any abnormal visual artifacts, flickering, or performance drops.
Common Issues and Solutions
Installation Failure
- Insufficient Permissions: Ensure you are logged in as an administrator.
- Antivirus Interference: Temporarily disable your antivirus software during installation.
- Corrupted Download: Re-download the driver file from the NVIDIA website.
- System Instability: Perform a clean installation using the custom option.
Display Issues (Black Screen, Resolution Problems)
- During Installation: This is often normal as the display driver resets. Wait a few moments.
- After Installation: If your screen remains black or resolution is incorrect, try booting into Safe Mode (press F8 or Shift+Restart during boot-up, then navigate to Troubleshoot > Advanced options > Startup Settings > Restart, then choose Safe Mode with Networking). Once in Safe Mode, you can uninstall the problematic driver or attempt to roll back.
Performance Degradation
- Conflicting Software: Ensure no other graphics-related software (e.g., old AMD drivers, overclocking utilities) is conflicting.
- Incorrect Driver: Double-check that you downloaded the correct driver for your specific GPU model and operating system.
- Overclocking: If you have an overclocked GPU, reset it to stock settings to rule out instability.
- Clean Installation: If an express installation led to issues, try performing a clean installation.
Rolling Back Drivers
If a new driver causes more problems than it solves, you can revert to a previous version:
- Open Device Manager.
- Expand “Display adapters,” right-click your NVIDIA card, and select “Properties.”
- Go to the “Driver” tab and click “Roll Back Driver” (if available).
Alternatively, you can manually download and install an older, known-stable driver version from NVIDIA’s driver archive.
Best Practices for Driver Management
Effective driver management extends beyond just installing updates. Incorporating these practices can save you time and prevent potential headaches.
Establish a Regular Update Schedule
While there’s no strict rule, checking for new drivers monthly or before launching a new major game or application is a good habit. You don’t necessarily need to install every single update, but staying within a few versions of the latest ensures you benefit from performance and stability improvements.
Monitor NVIDIA Announcements
Subscribe to NVIDIA’s newsletters or follow their official social media channels. They often announce new driver releases, detailing what games or applications are optimized and what issues have been addressed. This helps you decide if a particular update is relevant to your needs.
Consider Beta Drivers (With Caution)
NVIDIA occasionally releases beta drivers for testing new features or addressing critical bugs before a full public release. While these can offer early access to improvements, they are less stable and might introduce new issues. Only install beta drivers if you’re comfortable with potential instability and know how to roll back if necessary.
Clean Installation vs. Express Installation
For routine updates without issues, an “Express Installation” is usually fine. However, if you’re experiencing problems, notice performance drops, or haven’t done a clean installation in a while, opt for the “Custom” installation with the “Perform a clean installation” checkbox enabled. This helps keep your driver installation free from accumulated cruft and potential conflicts.
By diligently following these guidelines, you can ensure your NVIDIA graphics card consistently delivers optimal performance, stability, and access to the latest technological advancements, providing a seamless and enjoyable computing experience.
aViewFromTheCave is a participant in the Amazon Services LLC Associates Program, an affiliate advertising program designed to provide a means for sites to earn advertising fees by advertising and linking to Amazon.com. Amazon, the Amazon logo, AmazonSupply, and the AmazonSupply logo are trademarks of Amazon.com, Inc. or its affiliates. As an Amazon Associate we earn affiliate commissions from qualifying purchases.