In the rapidly evolving world of technology, a high-performance Graphics Processing Unit (GPU) is the heart of any gaming rig, professional workstation, or multimedia powerhouse. But merely having a powerful GPU isn’t enough; its performance, stability, and access to the latest features are intricately linked to its driver software. Just like any other piece of software, GPU drivers require regular updates to function optimally, address vulnerabilities, and unlock their full potential.
For many users, the process of updating a GPU driver can seem daunting, fraught with fears of system instability or even hardware malfunction. However, armed with the right knowledge and a methodical approach, it’s a straightforward maintenance task that yields significant benefits. This comprehensive guide aims to demystify the process, providing a professional and insightful walkthrough for keeping your GPU drivers current, ensuring your system remains at the cutting edge of performance and reliability.
Why Keeping Your GPU Driver Current is Crucial
The driver acts as the translator between your operating system, applications, and the GPU hardware. Without an up-to-date driver, your GPU cannot communicate effectively, leading to a host of potential problems and missed opportunities. Understanding the core reasons behind regular updates highlights their undeniable importance for any PC user.
Enhanced Gaming Performance
For gamers, this is often the most compelling reason to update. Graphics card manufacturers like NVIDIA, AMD, and Intel constantly release new drivers optimized for the latest game titles. These optimizations can lead to noticeable increases in frame rates (FPS), smoother gameplay, and reduced stuttering, especially in demanding AAA titles. New drivers often include specific profiles and settings that ensure games run efficiently, leveraging your GPU’s capabilities to their fullest. Without these updates, you might find newer games struggling to perform, or even failing to launch, despite having capable hardware.
Improved System Stability and Reliability
Outdated or corrupted drivers are a common culprit behind system crashes, freezes, blue screens of death (BSODs), and various graphical glitches. Each new driver version typically includes bug fixes and stability improvements that address issues identified in previous iterations. Updating your driver can resolve these pesky problems, leading to a more stable and reliable computing experience across all applications, not just games. This is particularly important for professionals who rely on their systems for critical tasks, where unexpected crashes can lead to lost work and significant downtime.
Access to New Features and Technologies
GPU technology is constantly advancing, with new features and rendering techniques emerging regularly. Technologies like NVIDIA’s DLSS (Deep Learning Super Sampling), AMD’s FSR (FidelityFX Super Resolution), and real-time ray tracing are often introduced or significantly improved via driver updates. These features can dramatically enhance visual fidelity and performance, offering experiences that simply wouldn’t be possible with older drivers. For instance, a new driver might enable support for a cutting-edge display technology or optimize performance for a new VR headset, expanding the capabilities of your existing hardware.
Essential Security Patches
While less frequently highlighted, security is another vital aspect of driver updates. Like any software, drivers can contain vulnerabilities that could potentially be exploited by malicious actors. Graphics card manufacturers regularly release patches to address these security flaws, protecting your system from potential threats. Running outdated drivers means leaving your system exposed to known vulnerabilities, making regular updates a critical component of overall digital security.
Identifying Your GPU and Current Driver Version
Before embarking on the update process, it’s essential to know exactly which graphics card you have and what driver version it’s currently running. This information ensures you download the correct driver package, preventing compatibility issues and potential installation problems.
Checking Your Graphics Card Model
There are several ways to identify your GPU:
- Device Manager: This is the most straightforward method for Windows users.
- Right-click the Start button (or press
Win + X). - Select “Device Manager.”
- Expand the “Display adapters” section. Your GPU(s) will be listed there (e.g., NVIDIA GeForce RTX 3080, AMD Radeon RX 6700 XT, Intel Iris Xe Graphics).
- Right-click the Start button (or press
- DirectX Diagnostic Tool (DxDiag):
- Press
Win + Rto open the Run dialog. - Type
dxdiagand press Enter. - Click “Yes” if prompted to check for digital signatures.
- Navigate to the “Display” tab (or “Display 1” if you have multiple GPUs). The “Name” field will show your GPU model.
- Press
- Third-Party Tools (e.g., GPU-Z): For more detailed information, tools like TechPowerUp’s GPU-Z provide a comprehensive overview of your GPU’s specifications, including its precise model.
Locating Your Current Driver Version
Once you know your GPU model, you can find its current driver version:
- Device Manager (again):
- Follow the steps above to open Device Manager and expand “Display adapters.”
- Right-click on your GPU and select “Properties.”
- Go to the “Driver” tab. Here, you’ll see the “Driver Version” and “Driver Date.” This information is crucial for determining if an update is needed and for comparison with the latest available drivers.
- Manufacturer’s Software: NVIDIA’s GeForce Experience or AMD’s Adrenalin Software also display the installed driver version within their respective interfaces.
The Primary Methods for Updating Your GPU Driver
There are several pathways to updating your GPU driver, each with its own advantages and recommended use cases. Choosing the right method ensures a smooth and effective update.
Manufacturer’s Official Website (Recommended)
This is generally the most reliable and recommended method for obtaining the latest, most stable drivers specifically designed for your hardware.
- NVIDIA: Visit nvidia.com/drivers. You can either manually select your product type, series, product, and operating system, or use their “GeForce Drivers” auto-detect tool. Manual selection is often preferred for precision.
- AMD: Go to amd.com/support. Similar to NVIDIA, you can manually select your product from a list (Graphics > AMD Radeon RX series > your specific card) or use their “Auto-Detect and Install” tool.
- Intel: Navigate to intel.com/support/graphics. Intel also offers a driver and support assistant that can automatically detect and recommend drivers, or you can manually search.
Once you’ve downloaded the appropriate driver package, you’ll typically run an executable installer. During installation, you might be given options for an “Express” (standard) or “Custom” installation. A custom installation often allows for a “Clean Installation,” which is highly recommended as it removes previous driver files before installing the new ones, minimizing conflicts.
Using Manufacturer’s Software Suites
NVIDIA GeForce Experience and AMD Adrenalin Software are more than just driver downloaders; they are comprehensive suites that offer game optimization, shadow play/recording features, and an easy way to keep drivers updated.
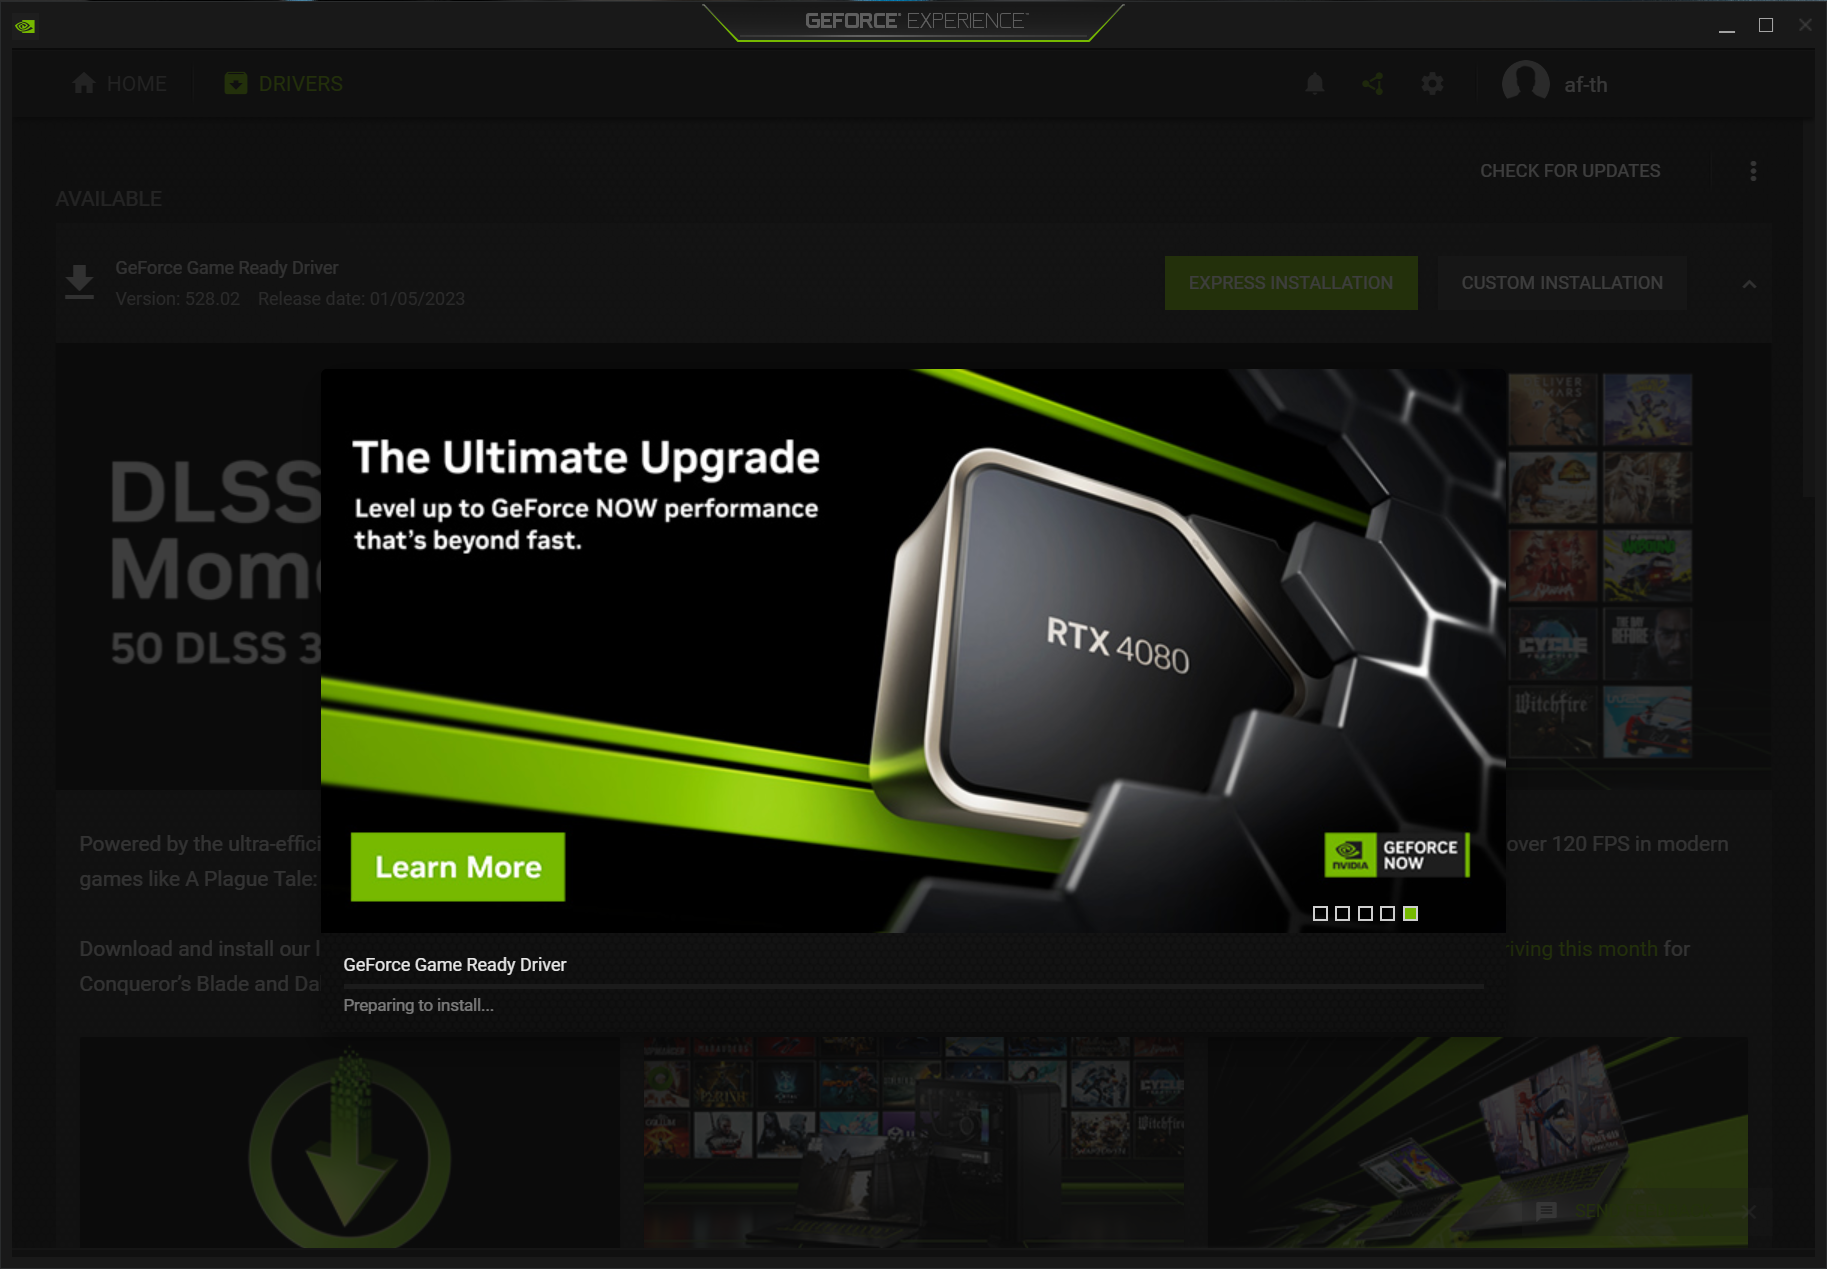
- NVIDIA GeForce Experience: If you have an NVIDIA card and GeForce Experience installed, open the application, go to the “Drivers” tab, and it will automatically check for updates. If a new driver is available, you’ll see an option to “Download” and then “Express Installation” or “Custom Installation.”
- AMD Adrenalin Software: For AMD users, opening the Adrenalin software provides a similar experience. Navigate to the “Drivers & Software” section (or click the gear icon for settings). It will indicate if a new recommended or optional driver is available for download and installation.
These tools are convenient, often notifying you when updates are available, making the process very streamlined. They are particularly useful for users who want to quickly update and manage game settings in one place.
Via Windows Update (Less Recommended for Latest Versions)
Windows Update can sometimes deliver graphics driver updates. While this is convenient for general stability, the drivers provided through Windows Update are often generic or slightly older versions. They may not contain the very latest performance optimizations or new features found directly on the manufacturer’s website. It’s suitable for users who aren’t concerned with bleeding-edge performance or gaming, but for enthusiasts, direct downloads are superior.
Device Manager Update (Generally Not Ideal for Major Updates)
You can attempt to update a driver directly through Device Manager:
- Open Device Manager.
- Expand “Display adapters” and right-click your GPU.
- Select “Update driver.”
- Choose “Search automatically for updated driver software.”
Windows will search your computer and the internet for a driver. However, this method typically finds drivers that are already on your system or basic drivers provided by Microsoft. It’s unlikely to fetch the very latest, optimized drivers from NVIDIA, AMD, or Intel’s websites. This method is primarily useful for initial driver installation on a new system or for troubleshooting basic driver issues.
Step-by-Step Guide to a Clean GPU Driver Installation
A “clean installation” is the gold standard for updating GPU drivers. It involves completely removing all traces of the old driver before installing the new one, preventing potential conflicts, corruption, and performance issues that can arise from leftover files.
Preparation
Before you begin, a few preparatory steps can save you headaches:
- Backup Important Data: While driver updates rarely cause data loss, it’s always wise to have a recent backup of critical files.
- Create a System Restore Point: This provides a safety net, allowing you to roll back your system to a previous state if something goes wrong.
- Search for “Create a restore point” in the Windows search bar.
- In the System Properties window, click “Create…” and follow the prompts.
- Download the New Driver: Obtain the latest driver package from your GPU manufacturer’s official website (NVIDIA, AMD, or Intel) as described above. Save it to a convenient location, like your Downloads folder or desktop.
- Download Display Driver Uninstaller (DDU): DDU is a free, third-party utility highly recommended for completely removing old display drivers. Download it from a reputable source like Guru3D. Extract the downloaded archive.
- Disconnect from the Internet (Optional but Recommended): To prevent Windows Update from automatically installing a generic driver during the uninstallation phase, temporarily disable your internet connection.
Uninstalling Old Drivers with DDU
This is the most critical step for a clean installation:
- Boot into Safe Mode: This is crucial because DDU works best when Windows is running with minimal drivers.
- Press
Win + R, typemsconfig, and press Enter. - Go to the “Boot” tab, check “Safe boot,” and select “Minimal.”
- Click “Apply,” then “OK,” and restart your computer when prompted.
- Press
- Run DDU: Once in Safe Mode, navigate to the extracted DDU folder and run
Display Driver Uninstaller.exe. - Select GPU: From the dropdown menu on the right, select “GPU” and then your specific graphics manufacturer (NVIDIA, AMD, or Intel).
- Clean and Restart: Click “Clean and restart.” DDU will meticulously remove all driver files, registry entries, and folders associated with your old GPU driver. Your screen might flicker or go black temporarily during this process.
- Exit Safe Mode: After your system restarts, it will still be in Safe Mode. You need to exit it before installing the new driver.
- Press
Win + R, typemsconfig, and press Enter. - Go to the “Boot” tab, uncheck “Safe boot.”
- Click “Apply,” then “OK,” and restart your computer.
- Press
Installing the New Driver
Now that your system is clean of old drivers, you can install the new one:
- Run the Downloaded Driver Installer: Locate the driver package you downloaded earlier and double-click to run it.
- Follow On-Screen Prompts:
- NVIDIA: Accept the license agreement. Choose “Custom (Advanced)” for the best results, then check the “Perform a clean installation” box on the next screen. Click “Next” and let the installer complete.
- AMD: The AMD installer will typically give you options. Look for an “Factory Reset” or “Clean Install” option, which performs a similar function to DDU but within the official installer. Otherwise, proceed with the standard installation.
- Intel: Intel installers are usually straightforward. Just follow the prompts.
- Restart Your System: After the installation is complete, the installer will usually prompt you to restart. Do so immediately to finalize the driver installation and ensure all changes take effect.
Verification
Once your system has restarted, verify the new driver installation:
- Open Device Manager, go to “Display adapters,” right-click your GPU, and check the “Driver” tab. Confirm that the “Driver Version” and “Driver Date” now match the one you just installed.
- Open your manufacturer’s software (GeForce Experience or Adrenalin) to confirm the driver version is recognized.
- Test your system with a demanding application or game to ensure everything is running smoothly.
Troubleshooting Common GPU Driver Update Issues
Even with the best preparation, issues can sometimes arise during or after a driver update. Knowing how to troubleshoot these common problems can save you considerable time and frustration.
Installation Failures
- Corrupted Download: If the driver package download was interrupted or incomplete, the installation might fail. Delete the downloaded file and try downloading it again, ideally from a different browser or by temporarily disabling your antivirus/firewall (remember to re-enable it immediately).
- Conflicting Software: Other software running in the background, especially antivirus programs, can interfere with the installation. Temporarily disable them during the installation process.
- Insufficient Permissions: Ensure you are running the installer as an administrator. Right-click the installer and select “Run as administrator.”
- System Requirements Not Met: Double-check that the driver you downloaded is compatible with your specific GPU model and operating system.
Black Screens or Display Problems
This is perhaps the most alarming issue, but it’s usually fixable.
- During Installation: It’s normal for the screen to flicker, go black, or change resolution during the driver installation process. Give it a few minutes to complete.
- Persistent Black Screen After Restart:
- Boot into Safe Mode: If you can’t see anything, force shut down your PC by holding the power button until it turns off. Repeat this two or three times. Windows should eventually boot into the Automatic Repair environment. From there, you can choose “Troubleshoot” > “Advanced options” > “Startup Settings” > “Restart” and then press
4orF4for Safe Mode. - Run DDU: Once in Safe Mode, use DDU to perform a clean uninstall of the problematic driver.
- Install a Known Good Driver: Try installing the previous driver version that worked or an older stable version from the manufacturer’s archive.
- Boot into Safe Mode: If you can’t see anything, force shut down your PC by holding the power button until it turns off. Repeat this two or three times. Windows should eventually boot into the Automatic Repair environment. From there, you can choose “Troubleshoot” > “Advanced options” > “Startup Settings” > “Restart” and then press
Performance Degradation Post-Update
Occasionally, a new driver might introduce performance issues or bugs.
- Check Settings: After an update, some GPU settings might reset or change. Check your in-game graphics settings and your GPU control panel (NVIDIA Control Panel, AMD Adrenalin) to ensure everything is configured as desired.
- Driver Rollback: If performance significantly degrades and you suspect the new driver, you can roll back to the previous version.
- Go to Device Manager, right-click your GPU, and select “Properties.”
- Go to the “Driver” tab and click “Roll Back Driver.” This option will only be available if Windows has a previous driver to revert to.
- Report the Issue: If you encounter significant issues, report them to your GPU manufacturer. They rely on user feedback to identify and fix bugs in future driver releases.
Driver Not Recognizing Hardware
If, after an update, your system doesn’t seem to recognize your GPU, or reports a generic display adapter:
- Check Physical Connections: Ensure your graphics card is properly seated in its PCIe slot and that all power cables are securely connected. Reseatting the card can sometimes resolve this.
- BIOS/UEFI Settings: Occasionally, a BIOS/UEFI setting might prevent the system from properly initializing the GPU. Ensure PCIe slots are enabled and that “Legacy Boot” (if applicable) isn’t interfering.
- Reinstallation: Perform a thorough clean installation using DDU as described in the previous section.

Conclusion
Keeping your GPU drivers updated is not merely a recommendation; it’s a fundamental aspect of maintaining a healthy, high-performing, and secure computer system. From unlocking peak gaming performance and ensuring system stability to accessing cutting-edge features and patching critical security vulnerabilities, the benefits of regular driver updates are undeniable.
While the process might seem intricate at first glance, by understanding your hardware, choosing the right update method, and particularly by adopting the “clean installation” approach using tools like DDU, you can confidently manage your GPU drivers. Should you encounter any issues, the troubleshooting steps outlined provide a clear path to resolution, ensuring minimal downtime.
Make it a habit to check for new driver releases from your GPU manufacturer every few weeks or months, especially before playing new games or after major operating system updates. By doing so, you’ll ensure your graphics card always operates at its full potential, providing you with the best possible visual experience and system reliability for years to come. Embrace the update, and unleash the true power of your GPU.
aViewFromTheCave is a participant in the Amazon Services LLC Associates Program, an affiliate advertising program designed to provide a means for sites to earn advertising fees by advertising and linking to Amazon.com. Amazon, the Amazon logo, AmazonSupply, and the AmazonSupply logo are trademarks of Amazon.com, Inc. or its affiliates. As an Amazon Associate we earn affiliate commissions from qualifying purchases.