
In today’s digitally driven economy, integrating versatile payment solutions is crucial for businesses of all sizes. Venmo, primarily known for its peer-to-peer payment functionality, has expanded its offerings to cater specifically to commercial entities. Establishing a Venmo Business Profile can streamline transactions, enhance payment flexibility, and expand your reach to a vast user base already familiar with the platform. This guide will walk you through the technical setup and configuration required to leverage Venmo for your business operations, focusing on the app’s features and digital integration.
Understanding Venmo’s Business Capabilities
Before diving into the setup process, it’s essential to grasp how Venmo functions as a business tool and its distinct advantages within the digital payment landscape. Unlike a traditional merchant account, Venmo offers an accessible, app-based solution for accepting payments, often appealing to younger demographics and small businesses seeking straightforward digital transaction methods.
Why Venmo for Your Business?
Venmo’s appeal for businesses stems from several key technological and user experience advantages. Firstly, its widespread adoption as a peer-to-peer payment app means a significant portion of your customer base may already have an active Venmo account, making the payment process frictionless. This familiarity reduces friction at checkout, as customers don’t need to enter lengthy credit card details or set up new payment methods.
Secondly, Venmo simplifies mobile payments. Businesses can accept payments through unique QR codes displayed at points of sale, shared digitally, or integrated into online checkout flows via payment links. This flexibility supports various business models, from brick-and-mortar stores to online services and mobile vendors. The app’s interface is designed for intuitive use, minimizing the learning curve for both merchants and customers.
From a technological standpoint, Venmo transactions are typically fast, with funds often appearing in the business’s Venmo balance almost instantly. While transfers to a linked bank account can take a few business days, Venmo offers an instant transfer option for a small fee, providing businesses with quick access to funds when needed. The platform also provides basic transaction history and reporting features directly within the app, simplifying reconciliation for small operations.
Key Differences: Personal vs. Business Profiles
It’s critical to understand that a Venmo Business Profile is distinct from a personal account, both in functionality and regulatory compliance. A personal Venmo account is intended for non-commercial transactions between friends and family. It typically has lower transaction limits and is not subject to the same tax reporting requirements for commercial activity.
A Venmo Business Profile, on the other hand, is designed for accepting payments for goods and services. It comes with different terms of service, processing fees (which are applied to the business for receiving payments, not the customer), and enhanced features for managing commercial transactions. Critically, business accounts are subject to IRS reporting requirements, meaning Venmo will issue a 1099-K form if certain transaction thresholds are met.
Technologically, the business profile includes features like a customizable public business page, which allows you to add a business name, logo, description, and contact information. This enhances your digital presence within the Venmo ecosystem. It also provides tools for generating QR codes, tracking sales, and managing customer interactions more formally. Attempting to use a personal account for business transactions can lead to account suspension or limitations, underscoring the importance of proper setup.
Step-by-Step Guide to Setting Up Your Venmo Business Profile
Setting up your Venmo Business Profile is a straightforward process, primarily managed through the Venmo mobile application. Whether you’re converting an existing personal account or starting fresh, the steps involve inputting business details, verifying your identity, and linking your financial instruments.
Initial Account Creation or Conversion
If you’re new to Venmo, you’ll first download the Venmo app from your device’s app store (iOS or Android) and create a personal account. This involves providing your name, phone number, email, and creating a secure password. Once your personal account is established, you can proceed to create a business profile.
To convert an existing personal account or add a new business profile:
- Open the Venmo App: Log in to your personal Venmo account.
- Navigate to Business Profile Creation: Tap the “Me” tab (your profile picture) at the bottom right.
- Initiate Business Profile: Look for the “Business Profile” section, often found under “Connect & Share” or in the settings menu. Tap “Create a Business Profile.”
- Provide Business Details: You’ll be prompted to enter essential information about your business, including:
- Legal Business Name: This must match your official registration documents.
- Doing Business As (DBA) Name: If applicable.
- Business Category: Select the industry that best describes your operations (e.g., Retail, Services, Food & Beverage).
- Business Address: Your physical operating location.
- Business Phone Number: A direct contact number for your business.
- EIN (Employer Identification Number) or SSN: For sole proprietors, your Social Security Number may be used. This is crucial for tax identification.
- Website/Social Media Link: Optional but recommended for your public profile.
- Agree to Terms: Review and accept the Venmo Business Profile User Agreement and related policies.
Verification Requirements
Venmo, like other financial platforms, requires verification to comply with “Know Your Customer” (KYC) regulations and to ensure the legitimacy of businesses using its service. This process helps prevent fraud and money laundering.
You will typically need to provide:
- Proof of Identity: A government-issued photo ID (e.g., driver’s license, passport) for the primary account holder. You may be asked to take a photo of your ID directly through the app.
- Business Documentation: Depending on your business structure, Venmo might request additional documents such as business licenses, Articles of Incorporation, or an SS-4 form confirming your EIN.
- Bank Account Information: To link your bank account for transfers, you’ll need your bank’s routing number and your account number.
The verification process is usually initiated automatically after you submit your business details. Venmo’s system will review the provided information, and you may receive an email or in-app notification requesting further documentation if needed. Until verification is complete, certain functionalities or transaction limits might be restricted. Ensure all submitted information is accurate and matches official records to avoid delays.
Linking Bank Accounts and Debit Cards
To effectively use Venmo for your business, you need to link a bank account for transferring funds out of your Venmo balance, and potentially a debit card for making business purchases directly from your Venmo balance or as a backup funding source.
- Link a Bank Account:
- From your Venmo Business Profile settings, select “Bank & Cards.”
- Tap “Add a bank or card.”
- Choose “Bank” and then select either instant verification (via your bank’s online login) or manual verification (entering routing and account numbers, followed by small deposit verification).
- For manual verification, Venmo will make two small deposits (under $1.00) to your bank account within a few business days. You’ll need to return to the app and enter the exact amounts of these deposits to confirm ownership.
- Once verified, this bank account will be your primary method for transferring funds from your Venmo balance.
- Link a Debit Card (Optional):
- Follow similar steps under “Bank & Cards.”
- Choose “Card” and enter your debit card number, expiration date, and security code.
- This card can be used as a funding source for sending payments from your Venmo balance if you ever need to pay suppliers or make other business-related Venmo transactions.
It’s recommended to link a dedicated business bank account to your Venmo Business Profile to maintain clear separation of personal and business finances, simplifying accounting and tax preparation.
Configuring Your Business Profile Settings
Once your Venmo Business Profile is active and verified, optimizing its settings is key to enhancing your digital presence and ensuring smooth operations. These configurations allow you to tailor how your business appears to customers and how transactions are managed within the app.
Customizing Your Public Business Page
Your public business page on Venmo acts as a digital storefront, providing essential information to potential customers. Taking the time to customize it professionally can build trust and brand recognition.
- Profile Picture/Logo: Upload your business logo or a recognizable brand image. This helps customers quickly identify your business.
- Cover Photo: A visually appealing cover photo can enhance your page’s aesthetics.
- Business Description: Write a concise yet informative description of your business, its mission, and the products or services you offer. Use keywords relevant to your industry.
- Contact Information: Ensure your business phone number and website/social media links are accurate and easily accessible.
- Product/Service Photos: Venmo may allow you to showcase some of your offerings, depending on features available.
To access these settings, navigate to your Business Profile in the app and look for options to “Edit Profile” or similar. A well-curated profile not only looks professional but also provides customers with all necessary information before they make a payment.
Managing Privacy and Security Settings
Digital security is paramount for any business accepting online payments. Venmo offers various settings to help manage the privacy of your transactions and the security of your account.
- Transaction Privacy: By default, business transactions are often public within the Venmo feed. You can adjust the privacy settings for individual transactions or set a default privacy level (e.g., “Friends” or “Private”) in your account settings. For businesses, displaying transactions publicly can act as social proof, but you may choose to make them private for certain types of services.
- Notifications: Configure your notification preferences to receive alerts for new payments, transfers, and other account activity. This helps you stay informed of your business’s financial flow.
- PIN/Biometric Security: Enable a PIN, Touch ID, or Face ID requirement for opening the app or authorizing payments. This adds an extra layer of security, especially if your device is lost or stolen.
- Linked Devices: Regularly review the list of devices authorized to access your Venmo account. If you see an unfamiliar device, remove its access immediately.
- Digital Security Best Practices: Beyond Venmo’s in-app settings, ensure your device’s operating system is up to date, use strong, unique passwords for your Venmo account, and be wary of phishing attempts.
Setting Up QR Codes and Payment Links
Venmo provides powerful tools for accepting payments quickly and efficiently: QR codes and payment links. These are essential for modern digital payment acceptance.
- QR Codes:
- Within your Business Profile, look for the “QR Code” option. Venmo will generate a unique QR code for your business.
- You can display this QR code at your physical location, on invoices, or even on marketing materials.
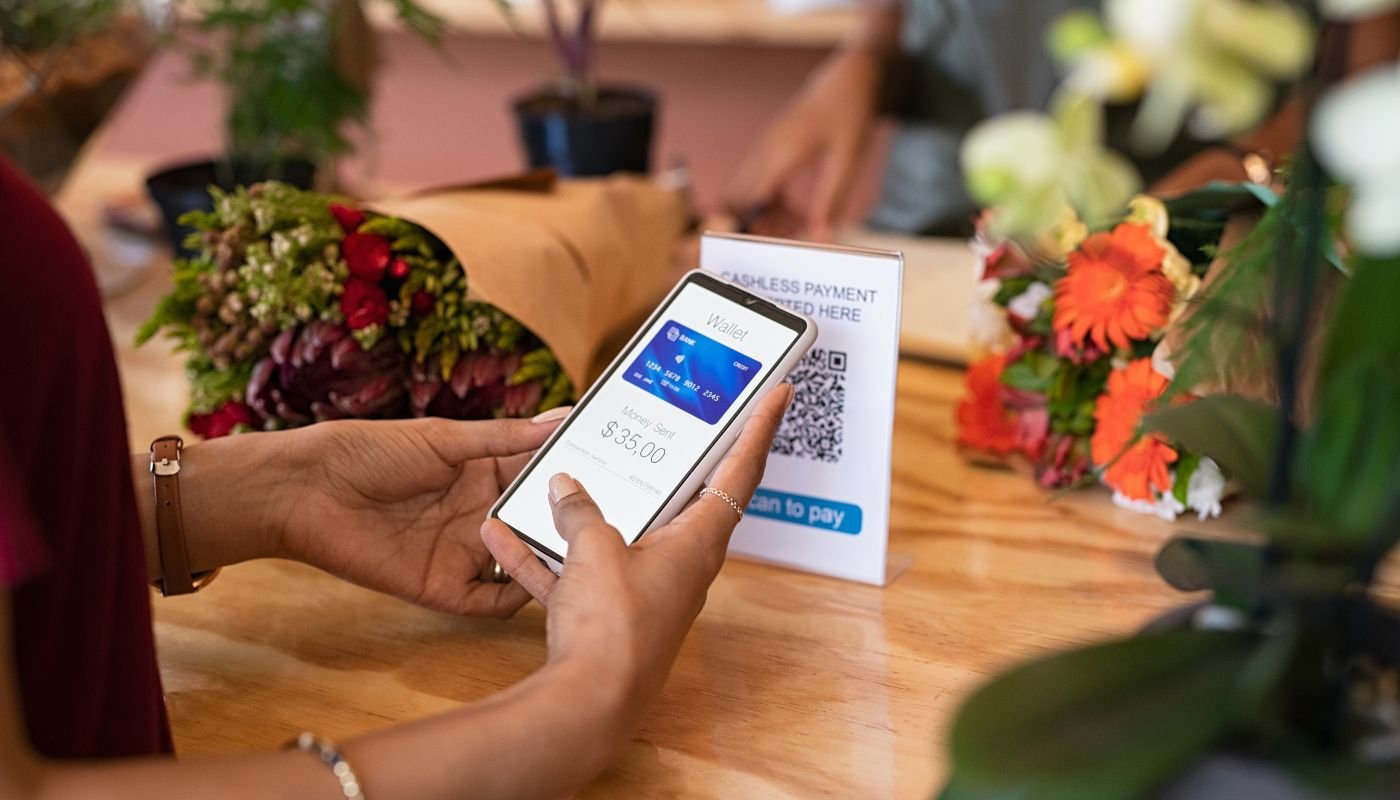
- Customers simply scan the code with their Venmo app, enter the amount, and send payment.
- Venmo often provides options to order physical QR code kits for easy display.
- Payment Links:
- Your Business Profile also typically has a unique payment link (e.g., venmo.com/u/YourBusinessName).
- You can share this link via email, text message, social media, or integrate it directly into your website’s checkout process.
- When customers click the link, they are taken directly to your Venmo payment page.
- Some advanced integrations might allow for pre-filling specific payment amounts through URL parameters, streamlining online invoicing.
These tools are crucial for a seamless customer experience, allowing for quick digital transactions without the need for card readers or manual entry.
Integrating Venmo into Your Digital Workflow
Beyond the initial setup, integrating Venmo effectively into your day-to-day digital workflow requires understanding how to accept payments, manage transactions, and leverage the platform’s reporting features.
Accepting Payments: In-App, QR, and Online
The flexibility of Venmo allows businesses to accept payments through various digital channels.
- In-App Requests: For service-based businesses or custom orders, you can send payment requests directly through the Venmo app to a customer’s personal Venmo account. This is ideal for invoicing specific amounts.
- QR Code Payments: As discussed, physical or digital QR codes offer a swift method for customers to pay at the point of sale, without staff needing to handle cards or cash.
- Payment Links for Online Sales: Integrate your Venmo payment link into your website’s checkout process or share it via email for online orders. This can serve as a simple alternative to traditional e-commerce payment gateways, particularly for smaller operations or direct sales.
- Venmo Business Debit Card (if applicable): While not for accepting payments, the optional Venmo Business Debit Card allows you to spend funds directly from your Venmo balance, integrating your received payments into your outgoing expenditures.
Ensure your staff is trained on how to guide customers through the Venmo payment process and verify successful transactions within the app.
Transaction Management and Reporting
Venmo provides an in-app ledger of all your business transactions, which is essential for tracking sales and reconciling accounts.
- Transaction History: Access a detailed list of all incoming and outgoing transactions within your Business Profile. This history includes the payer’s name, amount, date, and description.
- Exporting Data: While Venmo’s built-in reporting is basic, you can typically download your transaction history as a CSV file. This data can then be imported into accounting software (like QuickBooks, Xero, or spreadsheets) for more comprehensive financial analysis and record-keeping. This digital export functionality is critical for automating your bookkeeping processes.
- Dispute Resolution: Familiarize yourself with Venmo’s policies and procedures for transaction disputes. While less common for business accounts, understanding the process for chargebacks or unauthorized payments is important for mitigating financial risk.
Regularly reviewing your transaction history and exporting data for external accounting software integration is a best practice for maintaining accurate financial records and simplifying tax season.
Customer Support and Digital Security Measures
As a technological platform, Venmo provides various avenues for support, particularly important for troubleshooting or addressing technical issues.
- In-App Support: The Venmo app often has a dedicated “Help” or “Contact Us” section, allowing you to search FAQs or submit support tickets directly.
- Online Help Center: Venmo’s website features a comprehensive help center with articles covering common issues, tutorials, and policy explanations.
- Digital Security Protections: Venmo employs various digital security measures, including data encryption, fraud monitoring, and purchase protection for eligible transactions. Understanding these safeguards can instill confidence in using the platform. Always advise customers to complete transactions securely through the app and avoid sharing personal Venmo details outside the platform.
Integrating Venmo into your business operations means embracing a modern, app-centric approach to payments. By meticulously setting up your profile, configuring its features, and understanding its operational capabilities, your business can leverage this popular digital payment tool to enhance efficiency and reach.
aViewFromTheCave is a participant in the Amazon Services LLC Associates Program, an affiliate advertising program designed to provide a means for sites to earn advertising fees by advertising and linking to Amazon.com. Amazon, the Amazon logo, AmazonSupply, and the AmazonSupply logo are trademarks of Amazon.com, Inc. or its affiliates. As an Amazon Associate we earn affiliate commissions from qualifying purchases.