Navigating the world of digital finance often involves understanding the nuances of various platforms and their associated tools. The Cash App card, a reloadable debit card linked to your Cash App account, is a prime example of a financial tool designed for convenience and accessibility. Loading funds onto this card is a straightforward process, but understanding the different methods available ensures you can manage your money efficiently. This article will delve into the practicalities of loading your Cash App card, empowering you with the knowledge to keep your funds readily available for transactions, payments, and withdrawals.
Understanding Your Cash App Card and Funding Options
The Cash App card is more than just a piece of plastic; it’s a gateway to utilizing the funds within your Cash App balance without needing to transfer them to a traditional bank account first for every transaction. This level of integration offers a seamless user experience, but the ability to load it effectively is key to unlocking its full potential. Before diving into the “how-to,” it’s crucial to understand the fundamental concept behind the Cash App card and the primary ways you can deposit money into your Cash App account, which then becomes available on your card.
The Cash App Card: A Direct Link to Your Balance
Your Cash App card is directly tied to your Cash App balance. This means any money you deposit into your Cash App account is immediately accessible via the card for purchases, ATM withdrawals, and peer-to-peer transfers. Unlike some other prepaid cards that require separate loading onto the card itself, the Cash App card leverages your existing digital wallet balance. Therefore, the process of “loading the Cash App card” is essentially the process of funding your Cash App account. This distinction is important for understanding the various methods available.
Core Funding Sources for Your Cash App Account
To load your Cash App card, you first need to load your Cash App account. The primary ways to do this are:
- Direct Deposit: This is arguably the most convenient method for regular, consistent funding. You can have your employer or government benefits deposited directly into your Cash App account.
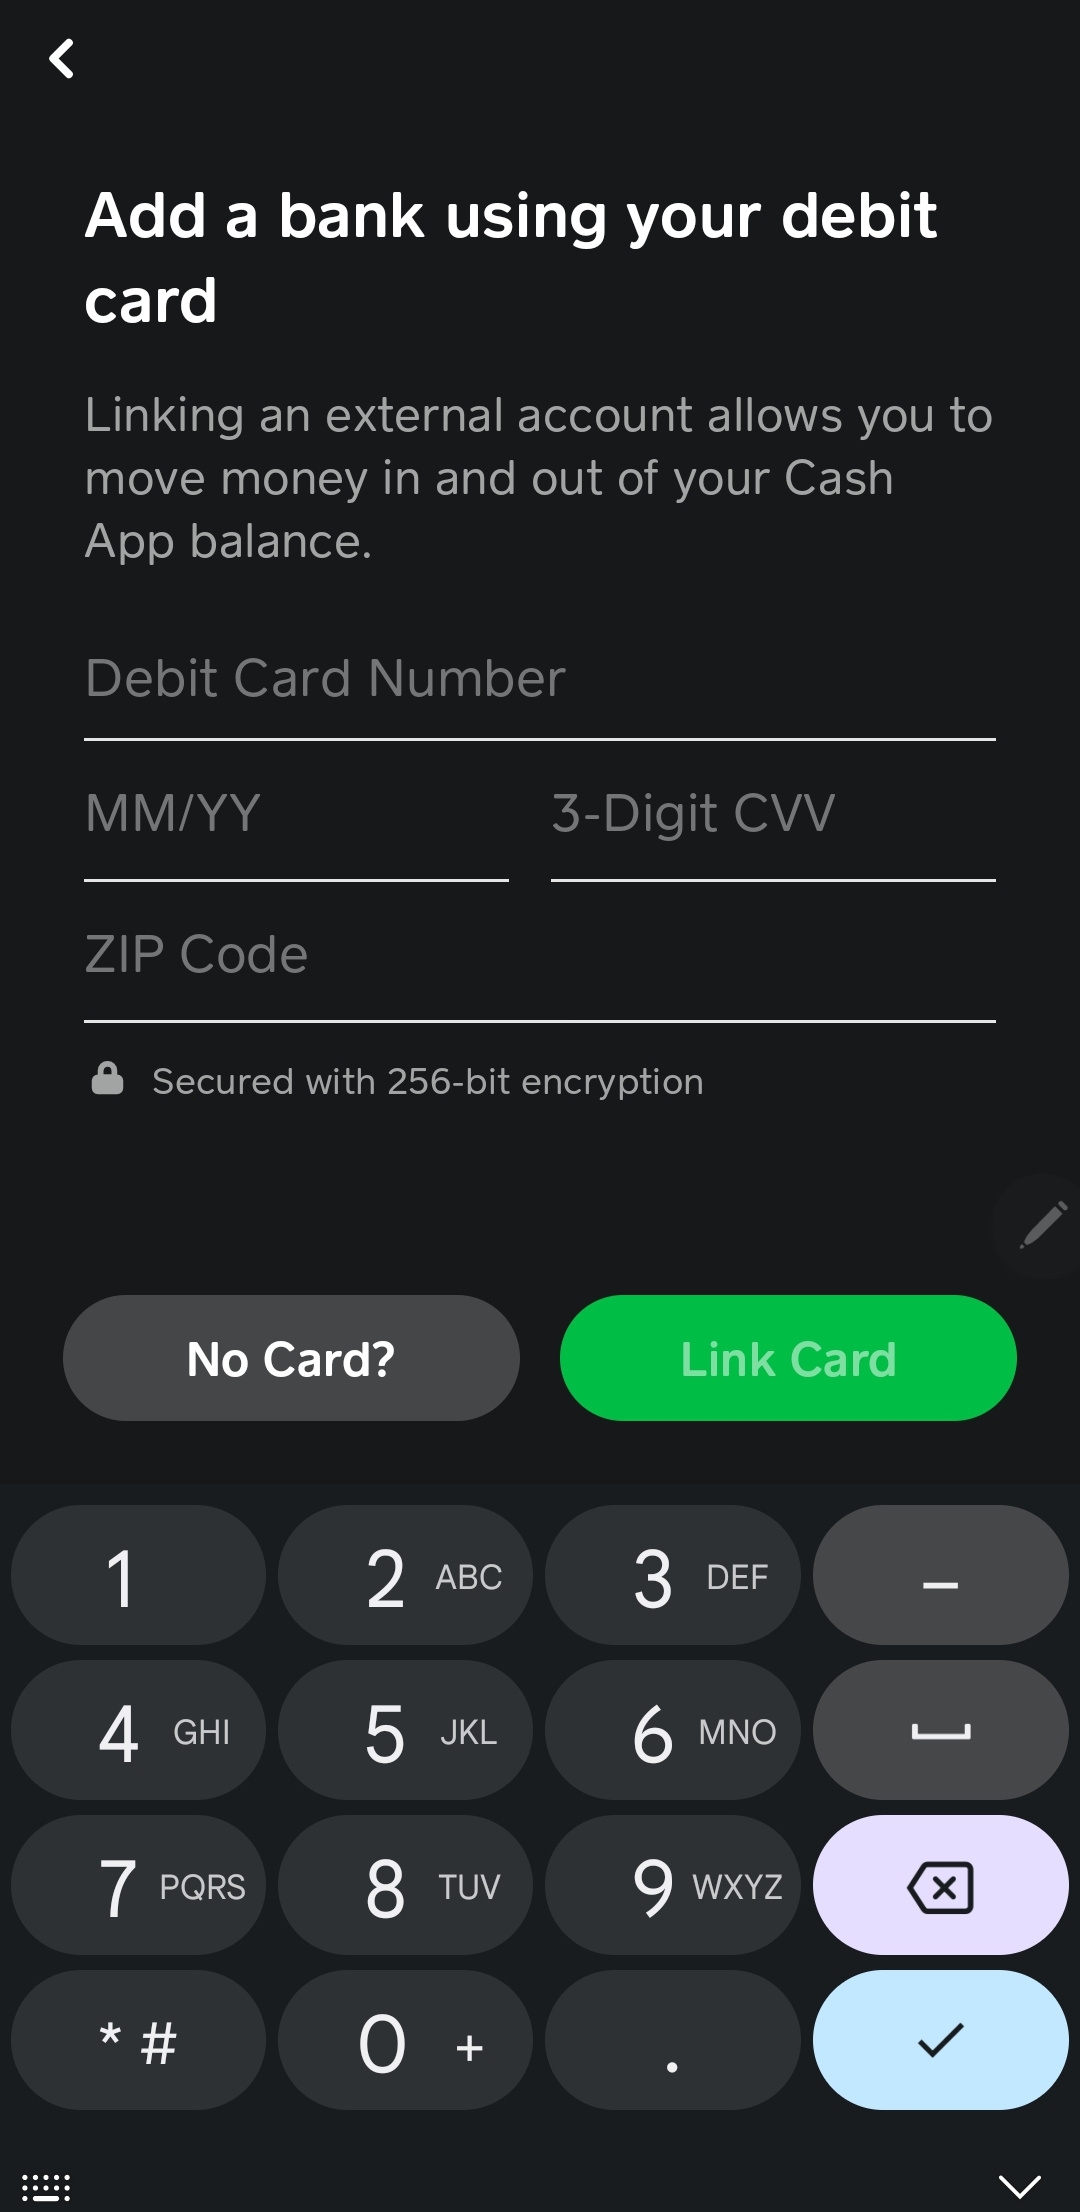
- Linking a Bank Account: This is the most common and versatile method for most users. By linking your existing bank account (checking or savings) to Cash App, you can initiate transfers from your bank to your Cash App balance.
- Adding Cash at Retailers: For those who prefer physical cash transactions or don’t have a linked bank account readily available, Cash App offers the option to load cash at participating retail locations.
Each of these methods has its own set of steps and considerations, which we will explore in detail.
Methods for Funding Your Cash App Account (and thus your Card)
The flexibility of Cash App lies in the diverse methods it offers for you to add funds. Whether you prefer digital transfers, direct deposits, or a more hands-on approach with physical cash, there’s likely a method that suits your needs. Understanding these options will help you choose the most efficient and convenient way to keep your Cash App card topped up and ready for use.
1. Linking Your Bank Account for Seamless Transfers
This is the most popular and recommended method for most users due to its ease of use and control. By linking your bank account, you can initiate transfers of funds directly into your Cash App balance at any time.
Initiating a Transfer from Your Bank
- Open Cash App: Launch the Cash App on your smartphone.
- Navigate to the “Banking” Tab: Look for the banking icon, often represented by a dollar sign or a building symbol, usually located at the bottom left of the screen.
- Tap “Add Cash”: Within the banking section, you will find an option to “Add Cash.”
- Enter the Amount: Specify the amount of money you wish to transfer from your linked bank account to your Cash App balance.
- Confirm Transaction: Cash App will display the source (your linked bank account) and the destination (your Cash App balance). Review the details and confirm the transaction.
Important Considerations:
- Transfer Speeds: Standard transfers from a linked bank account typically take 1-3 business days to reflect in your Cash App balance. Cash App also offers an instant transfer option for a small fee (usually a percentage of the transfer amount), which deposits the funds immediately.
- Bank Verification: The first time you link a bank account, you might need to verify it. This usually involves Cash App depositing two small amounts into your bank account and asking you to confirm those amounts in the app.
- Account Limits: Be aware of any daily or weekly transfer limits imposed by Cash App or your bank.
2. Setting Up Direct Deposit for Automated Funding
For individuals who receive regular payments, such as salaries, wages, or government benefits, setting up direct deposit into their Cash App account offers unparalleled convenience. This eliminates the need for manual transfers and ensures your Cash App card is consistently funded.
Obtaining Your Direct Deposit Information
- Access Your Cash App Routing and Account Numbers: In the Cash App, navigate to the “Banking” tab.
- Tap “Cash / Routing Number”: You should see an option that displays your Cash App routing and account numbers, which are specifically generated for direct deposit purposes.
- Provide Information to Payer: You will then need to provide these routing and account numbers to your employer’s payroll department or the relevant government agency. This is typically done by filling out a direct deposit authorization form.
Benefits of Direct Deposit:
- Automation: Funds are automatically deposited as soon as they are processed, eliminating manual effort.
- Speed: Direct deposits are generally processed quickly, often available on payday.
- Security: Direct deposit is a secure method of transferring funds.
3. Adding Cash at Participating Retailers
For those who prefer or need to use physical cash, Cash App has partnered with a network of retail stores that allow you to load cash directly onto your Cash App account. This is a practical solution for individuals who may not have a bank account or prefer to manage their finances with cash.
The In-Store Cash Loading Process
- Generate a Barcode: Open your Cash App and go to the “Banking” tab. Tap “Add Cash,” and then select “Cash at Retailer.” You will be prompted to select a retailer and the amount you wish to add. Cash App will then generate a unique barcode.
- Visit a Participating Retailer: Locate a participating retailer near you. Common locations include Walmart, Walgreens, Dollar General, and many others. You can find a list of partners within the Cash App itself.
- Present the Barcode and Cash: At the checkout counter, inform the cashier that you wish to load Cash App. Present your generated barcode and the amount of cash you want to add. The cashier will scan the barcode, process your cash, and the funds will be added to your Cash App balance.
Key Considerations for Retail Loading:
- Fees: While many retailers offer this service for free, some may charge a small fee per transaction. Always check for any associated costs before proceeding.
- Limits: There are usually daily and per-transaction limits for loading cash at retailers. These limits can vary by retailer and Cash App.
- Availability: Ensure the retailer you choose is an authorized Cash App partner.
Managing Your Cash App Card and Funds
Once you’ve successfully loaded funds into your Cash App account, your Cash App card becomes your primary tool for spending. Effectively managing both your account balance and your card usage is crucial for financial well-being. This involves understanding transaction history, setting up alerts, and being aware of security measures.
Monitoring Your Balance and Transactions
Keeping track of your funds is fundamental to responsible financial management. Cash App provides robust tools to help you monitor your balance and review your transaction history.
Utilizing the Cash App Interface
- Check Your Balance: Upon opening the Cash App, your current balance is prominently displayed on the main screen. This gives you an immediate overview of available funds.
- Review Transaction History: Navigate to the “Activity” tab (often represented by a clock icon) to view a detailed list of all incoming and outgoing transactions. Each transaction typically includes the date, amount, and recipient or sender. This is invaluable for tracking spending and identifying any discrepancies.
- Categorize Spending (Optional): While Cash App doesn’t offer advanced budgeting tools within the app, you can manually categorize your spending by reviewing your activity and making notes for your personal budgeting.
Security Features and Best Practices
Protecting your financial information and preventing unauthorized access to your Cash App account and card is paramount. Cash App employs several security measures, and adhering to best practices further enhances your security.
Safeguarding Your Account
- Strong, Unique Password/PIN: Ensure your Cash App account is protected by a strong, unique password or PIN that you don’t use for other online services.
- Biometric Authentication: Enable fingerprint or Face ID authentication on your device for an extra layer of security when accessing the app.
- Two-Factor Authentication (2FA): While Cash App’s direct 2FA implementation might vary, always ensure your phone number and email associated with the account are up-to-date. They use these for verification during sensitive operations.
- Be Wary of Scams: Never share your login credentials, PIN, or any personal financial information with anyone who contacts you claiming to be from Cash App support. Cash App will never ask for your PIN or login details via phone, email, or text.
- Report Suspicious Activity: If you notice any unauthorized transactions or suspect your account has been compromised, immediately contact Cash App support and change your password.
ATM Withdrawals Using Your Cash App Card
Your Cash App card can also be used to withdraw cash from ATMs. This is a convenient way to access physical currency from your Cash App balance.

The ATM Withdrawal Process
- Locate an ATM: Find an ATM that accepts Visa or Mastercard, as the Cash App card operates on these networks.
- Insert Your Card: Insert your Cash App card into the ATM.
- Enter Your PIN: You will be prompted to enter the PIN you set for your Cash App card.
- Select Withdrawal Amount: Choose the amount of cash you wish to withdraw.
Important Notes on ATM Withdrawals:
- Fees: Cash App charges a fee for each ATM withdrawal. This fee is typically a flat rate, but it’s important to check the current fee structure within the app. Some ATMs may also charge their own independent fees, which are in addition to Cash App’s fee.
- Limits: There are daily withdrawal limits for ATMs, which are set by both Cash App and the ATM operator.
By understanding these various methods of loading your Cash App card and managing your funds, you can confidently utilize this versatile financial tool for your everyday transactions and financial needs.
aViewFromTheCave is a participant in the Amazon Services LLC Associates Program, an affiliate advertising program designed to provide a means for sites to earn advertising fees by advertising and linking to Amazon.com. Amazon, the Amazon logo, AmazonSupply, and the AmazonSupply logo are trademarks of Amazon.com, Inc. or its affiliates. As an Amazon Associate we earn affiliate commissions from qualifying purchases.