
Arch Linux, renowned for its flexibility, minimalism, and user-centric approach, empowers users to build a system precisely tailored to their needs. At the heart of this customization lies the Arch User Repository (AUR), a treasure trove of community-maintained packages that extend the reach of the official repositories far beyond what’s readily available. However, interacting with the AUR directly can be a bit of a manual process. This is where yay enters the scene – an indispensable helper that streamlines the AUR experience, making it as seamless as managing official packages.

This comprehensive guide will walk you through the process of installing yay on your Arch Linux system. Whether you’re a seasoned Arch user looking to optimize your workflow or a newcomer eager to unlock the full potential of the AUR, understanding how to get yay up and running is a crucial step. We’ll delve into the prerequisites, the installation steps, and offer some insights into why yay has become such a beloved tool within the Arch community.
Understanding the Arch User Repository (AUR) and the Need for a Helper
Before we dive into the installation of yay, it’s essential to grasp the concept of the Arch User Repository (AUR). Think of it as a vast, community-driven collection of software descriptions, known as “PKGBUILD” files. These files contain instructions on how to download source code, compile it, and package it for installation on Arch Linux. The AUR is the primary reason why Arch Linux is so adaptable; it allows you to install almost any software imaginable, from niche development tools to proprietary applications that might not be included in the official repositories.
However, managing packages directly from the AUR involves a multi-step process. You typically need to:
- Find the AUR package: Browse the AUR website or use an AUR helper to locate the desired package.
- Download the PKGBUILD and related files: Obtain the necessary files that define how to build the package.
- Verify the PKGBUILD: For security reasons, it’s highly recommended to inspect the PKGBUILD file to ensure it’s not performing any malicious actions.
- Build the package: Use
makepkgto compile the source code and create an Arch Linux package (.pkg.tar.zstfile). - Install the package: Use
pacmanto install the newly created package.
This manual process, while offering complete control and transparency, can become tedious, especially when dealing with multiple AUR packages or when updates are released. This is precisely where AUR helpers like yay come into play.
Why Use an AUR Helper Like yay?
yay (Yet Another Yogurt) is one of the most popular and robust AUR helpers available for Arch Linux. Its primary function is to automate the AUR package management workflow. By using yay, you can:
- Search for AUR packages easily:
yaycan search both the official Arch repositories and the AUR simultaneously. - Install AUR packages with a single command: Similar to
pacmanfor official packages,yaycan fetch, build, and install AUR packages with a simple command. - Update all your packages (official and AUR) effortlessly:
yaycan check for and install updates for both your officially installed packages and those from the AUR, consolidating the update process. - Inspect PKGBUILDs before building: For security-conscious users,
yayoffers options to review the PKGBUILD file before compilation, maintaining the transparency of the AUR. - Handle dependencies automatically:
yaytakes care of resolving and installing any dependencies required by AUR packages.
In essence, yay acts as a bridge between the user and the AUR, significantly simplifying the installation and maintenance of software not found in the official Arch repositories. It enhances productivity and makes the Arch Linux experience even more user-friendly without compromising the system’s core principles of flexibility and control.
Prerequisites for Installing yay
Before you can embark on the journey of installing yay, there are a few fundamental requirements that your Arch Linux system needs to meet. These prerequisites ensure a smooth and successful installation process, minimizing potential conflicts or errors.
Essential System Setup and Tools
The installation of yay involves compiling source code, which means your system needs to have the necessary development tools installed. The primary tool for this is the base-devel group. This meta-package includes essential utilities for building software from source, such as:
gcc: The GNU Compiler Collection, used to compile C and C++ code.make: A utility to automate the build process of programs.patch: To apply diff files to source code.pkgconf: A helper tool to manage compile-time dependencies.automake,autoconf,libtool: Tools for generating build scripts.git: Essential for cloning theyaysource code repository.
If you haven’t already installed the base-devel group, you can do so by running the following command in your terminal:
sudo pacman -S --needed base-devel git
sudo: This command is used to execute commands with superuser privileges, which are required for installing system-wide packages.pacman: This is Arch Linux’s package manager, used for installing, removing, and updating software.-S: This flag tellspacmanto synchronize packages.--needed: This option ensures thatpacmanwill only install packages that are not already present or are outdated.base-devel git: These are the packages and package groups we want to install.
By ensuring base-devel and git are installed, you’re equipping your system with the fundamental tools required to compile and install yay from its source code.
Understanding git and Its Role
As mentioned, git is a vital component for this installation. yay itself is often installed from its source code hosted on a Git repository. git is a distributed version control system that allows developers to track changes in their code and collaborate effectively. For our purposes, git will be used to:
- Clone the
yayrepository: This downloads the source code and build files foryayfrom its online hosting location (typically GitHub or GitLab). - Manage source code: Even if you install
yayvia other means later, understandinggitis fundamental to the Arch Linux ecosystem, as many AUR packages are managed using Git.
If you’re unsure whether you have git installed, you can check by running:
git --version
If it’s not installed, the command sudo pacman -S git will add it to your system. The --needed flag in the base-devel installation command already ensures git is installed if it’s not.
Installing yay on Arch Linux: The Step-by-Step Process
Now that we have our prerequisites in place, we can proceed with the installation of yay. The most common and recommended method for installing yay on Arch Linux is to build it from the AUR. This process ensures that you have the latest version and that it’s compiled specifically for your system.
Step 1: Navigate to a Build Directory
It’s good practice to create a dedicated directory where you’ll download and build AUR packages. This keeps your home directory clean and organized. A common convention is to create a directory named .build or aur-builds within your home directory.
Open your terminal and execute the following commands:
cd ~
mkdir aur-builds
cd aur-builds
cd ~: This command changes your current directory to your home directory.mkdir aur-builds: This command creates a new directory namedaur-builds.cd aur-builds: This command changes your current directory into the newly createdaur-buildsdirectory.
Step 2: Clone the yay Git Repository
Next, we’ll use git to clone the source code for yay. This command will download all the necessary files from its online repository.
git clone https://aur.archlinux.org/yay.git
git clone: This is thegitcommand to download a repository from a remote URL.https://aur.archlinux.org/yay.git: This is the URL of the officialyayGit repository on the AUR.
After this command completes, you will have a new directory named yay within your aur-builds directory, containing the yay source code.
Step 3: Navigate into the yay Source Directory
Now, change your current directory to the newly cloned yay directory:
cd yay
Step 4: Build and Install yay
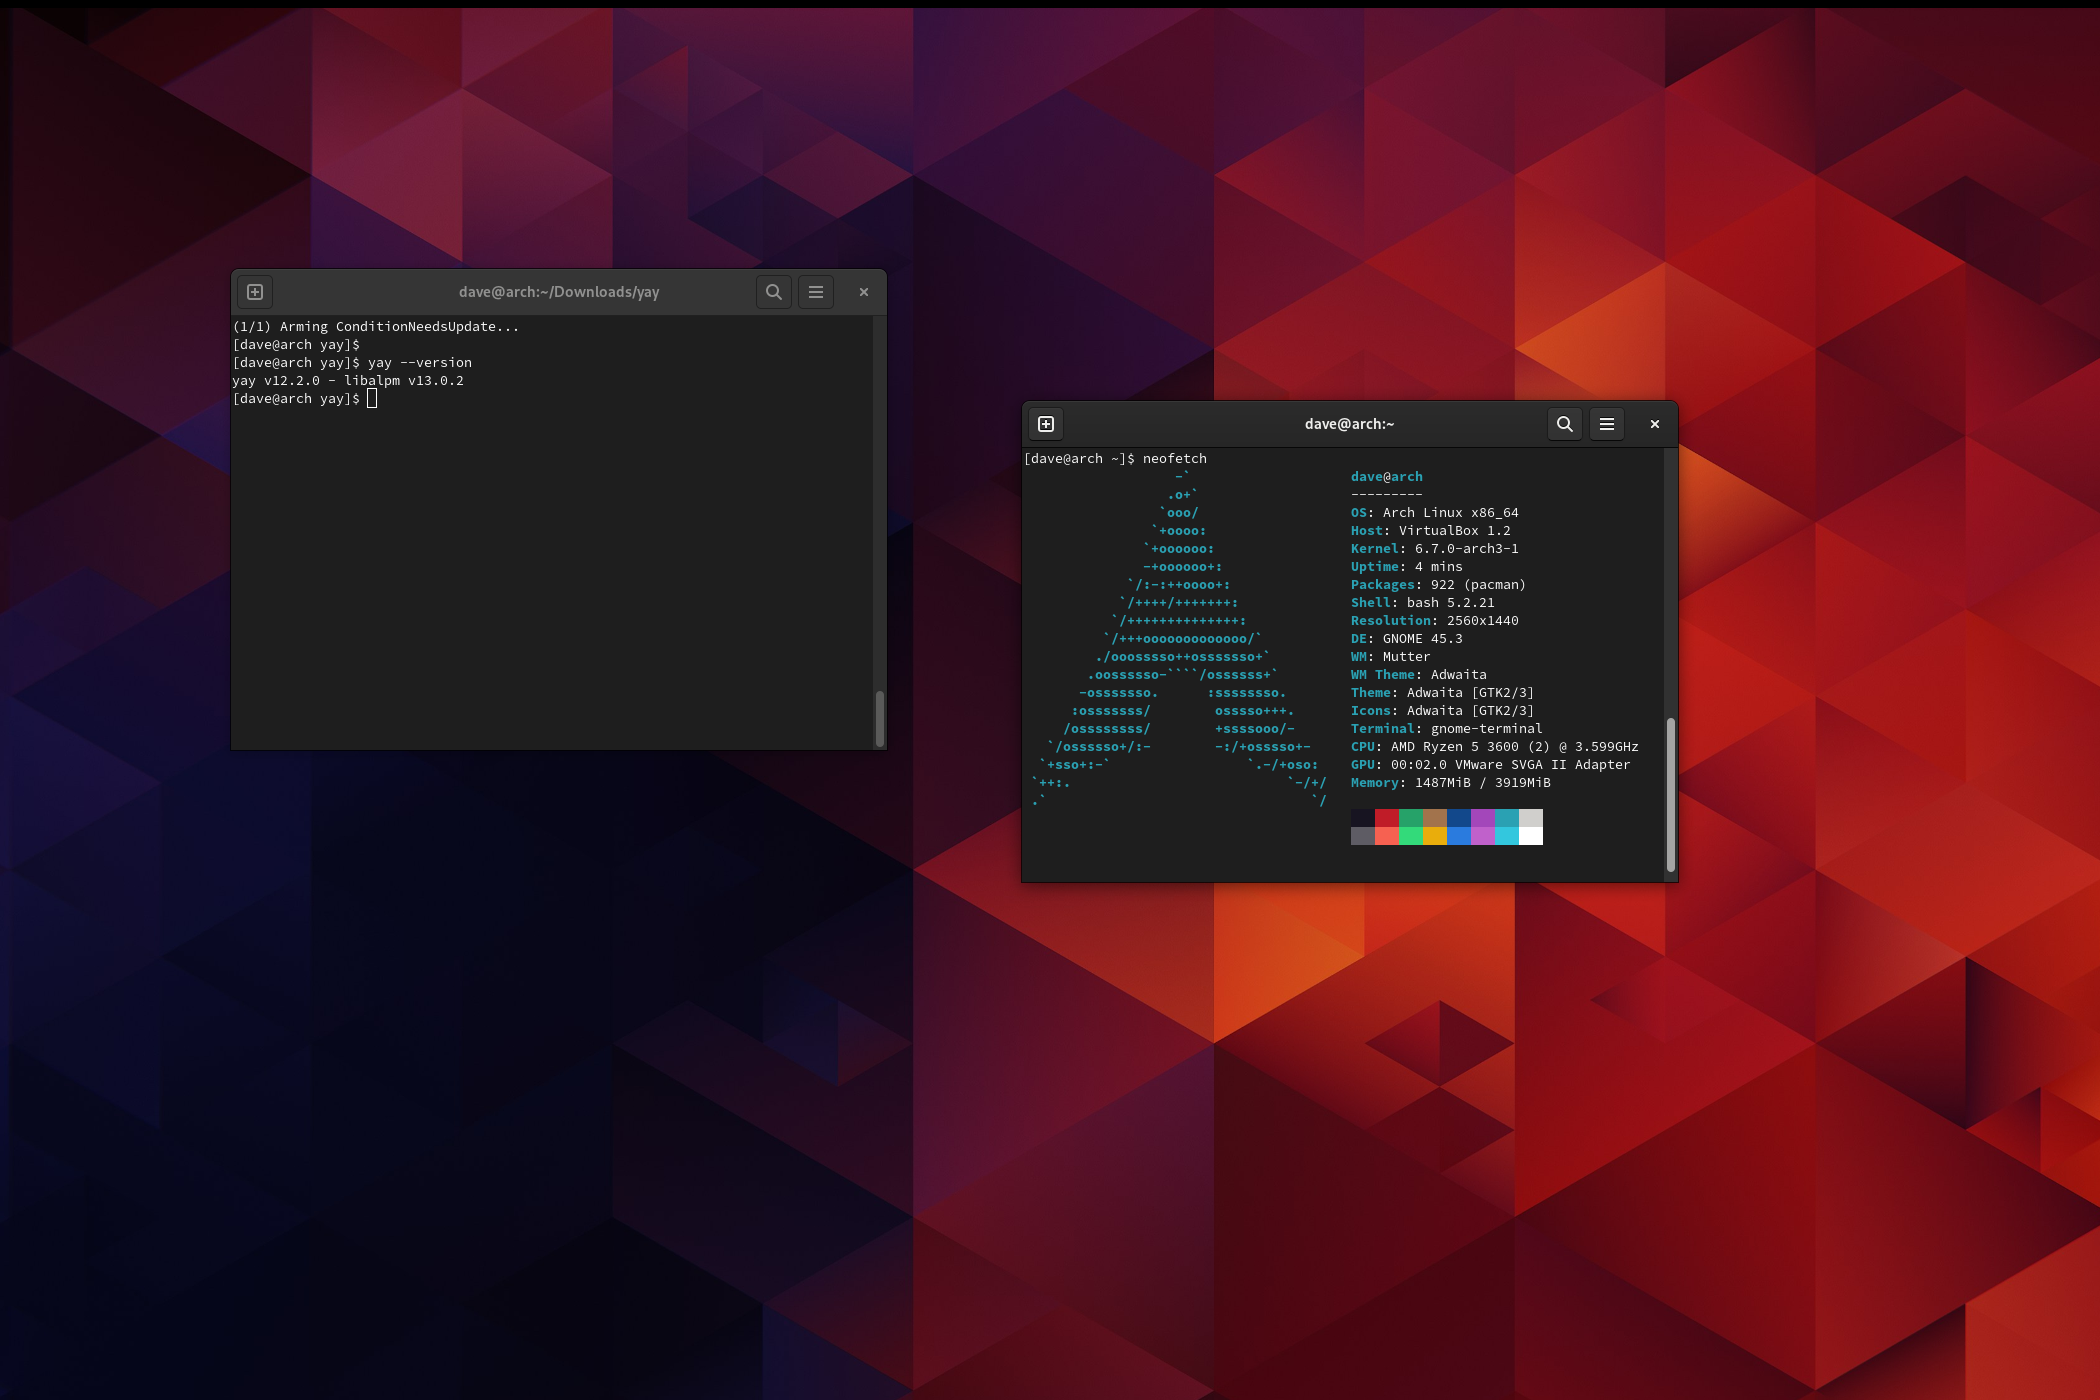
This is the core step where we compile the source code and install yay on your system. We’ll use the makepkg command, which is part of the base-devel group we installed earlier.
makepkg -si
Let’s break down this command:
makepkg: This is the primary tool for building Arch Linux packages from PKGBUILD files.-s: This flag tellsmakepkgto synchronize dependencies. It will automatically download and install any missing dependencies required byyayfrom the official repositories.-i: This flag tellsmakepkgto install the package after it has been successfully built. You will be prompted to confirm the installation and enter yoursudopassword.
During the makepkg -si process, you might be prompted to confirm the installation of dependencies. Type y and press Enter to proceed. Once the build is complete, you’ll be asked to confirm the installation of yay itself. Again, type y and press Enter.
Step 5: Verify the Installation
After the installation completes without errors, you can verify that yay is installed and working correctly by running:
yay --version
This command should output the version of yay installed on your system. You can also try searching for a package that you know is in the AUR, for example:
yay -Ss <package_name_you_are_looking_for>
Replace <package_name_you_are_looking_for> with the name of a package you want to find. If yay returns results, it’s successfully installed and ready to use.
Maintaining and Using yay Effectively
Installing yay is just the first step. To truly leverage its power, understanding how to use it for daily package management and updates is crucial. yay significantly simplifies the maintenance of your Arch Linux system by unifying the update process for both official packages and those from the AUR.
Updating Your System with yay
One of the most compelling reasons to use yay is its ability to update all your installed packages – both from the official repositories and the AUR – with a single command. This streamlines your system maintenance significantly.
To update your entire system, simply run:
yay
Alternatively, you can use:
yay -Syu
yay: When run without arguments,yaydefaults to performing a full system upgrade, checking for updates in both the official repositories and the AUR.-Syu: This is analogous topacman -Syu, butyayextends it to include AUR packages.-S: Synchronize packages.y: Refresh package databases.u: Upgrade installed packages.
When you run yay for an update, it will:
- Refresh package databases: Similar to
pacman -Sy, it fetches the latest lists of available packages. - Check for official package updates: It identifies any updates for packages installed from the official Arch repositories.
- Check for AUR package updates: It then scans the AUR for newer versions of the AUR packages you have installed.
- Prompt for actions:
yaywill present you with a list of packages to be updated and may ask for confirmation before proceeding with the download, build, and installation of AUR packages. You might be prompted to review PKGBUILDs for security, which is a good practice.
Important Note on AUR Package Builds: When updating AUR packages, yay will typically re-build them from source. This can take time depending on the complexity of the package and your system’s processing power. Be patient during this process.
Searching and Installing Packages with yay
Beyond updating, yay excels at searching and installing packages.
Searching for Packages
To search for packages in both the official repositories and the AUR, use the -Ss flag:
yay -Ss <search_term>
Replace <search_term> with keywords related to the software you’re looking for. yay will display a combined list of results, clearly indicating whether a package is from the official repositories (indicated by core, extra, community, etc.) or the AUR.
Installing Packages
To install a package using yay, you can use the -S flag, similar to pacman:
yay -S <package_name>
If <package_name> is in the official repositories, yay will use pacman to install it directly. If it’s not found in the official repositories but exists in the AUR, yay will proceed to download, build, and install it from the AUR.
For example, to install the google-chrome browser (which is typically in the AUR):
yay -S google-chrome
yay will guide you through the process, asking for confirmation at various stages.

Removing Packages with yay
While pacman is the primary tool for removing packages, yay can also be used for this purpose, especially for AUR packages. To remove a package, use the -R flag:
yay -R <package_name>
This command will remove the specified package. If you want to remove orphaned dependencies (packages that were installed as dependencies but are no longer required by any installed package), you can use:
yay -Rns
-n: Do not save configuration files.-s: Remove dependencies that are not required by any other package.
By incorporating yay into your regular Arch Linux workflow, you can enjoy a more efficient and streamlined package management experience, with easy access to the vast ecosystem of software available through the Arch User Repository.