Upgrading your computer’s storage can breathe new life into an aging machine, and there’s no upgrade more impactful than switching to a Solid State Drive (SSD). SSDs offer dramatically faster boot times, application loading speeds, and overall system responsiveness compared to traditional Hard Disk Drives (HDDs). This performance leap can make your computer feel brand new, even if the rest of its components are a few years old. However, the prospect of installing a new operating system on this shiny new piece of tech can seem daunting. Fear not! This comprehensive guide will walk you through the entire process, from preparing your new SSD to successfully installing Windows and getting your system up and running at peak performance.
The topics covered on this website often delve into the exciting world of Tech, including the latest Technology Trends, the intricacies of Software, the transformative power of AI Tools, the convenience of Apps, the allure of Gadgets, insightful Reviews, helpful Tutorials, crucial aspects of Digital Security, and strategies for boosting Productivity. While this guide focuses on a specific technical task, the underlying principles of efficiency, leveraging new technology, and optimizing your digital experience are all woven into the fabric of what we discuss here. Understanding how to install Windows on an SSD directly contributes to a faster, more efficient, and ultimately more productive computing experience.
Preparing for the SSD Installation
Before you even think about booting up and installing Windows, thorough preparation is key. This stage involves selecting the right SSD, ensuring you have the necessary tools and software, and backing up your important data. Rushing through these steps can lead to frustration and potential data loss, so take your time and follow these essential pre-installation procedures.
Choosing the Right SSD
The world of SSDs can be a little overwhelming with various form factors, interfaces, and capacities. For a new Windows installation, you’ll primarily encounter two common types:
- 2.5-inch SATA SSDs: These are the most common type and resemble traditional laptop hard drives. They connect via a SATA data cable and a SATA power cable. Most desktops and laptops manufactured in the last decade will support these. They offer a significant upgrade over HDDs but are limited by the SATA III interface’s theoretical maximum speed of 600 MB/s.
- NVMe M.2 SSDs: These are much smaller drives that plug directly into an M.2 slot on your motherboard. They are significantly faster than SATA SSDs, with speeds that can reach several gigabytes per second, thanks to the PCIe interface. If your motherboard has an M.2 slot and supports NVMe drives, this is generally the preferred option for the fastest performance.
When choosing, consider your budget, your motherboard’s compatibility, and your storage needs. A 500GB to 1TB SSD is a good starting point for most users, offering ample space for Windows, essential applications, and a good portion of your files.
Essential Tools and Software
You’ll need a few things to get the job done smoothly:
- The New SSD: Of course! Ensure it’s compatible with your system.
- Screwdriver Set: A small Phillips head screwdriver is usually sufficient for most computer internals.
- Anti-Static Wrist Strap (Recommended): To prevent electrostatic discharge, which can damage sensitive computer components.
- USB Flash Drive (8GB or larger): This will be used to create a bootable Windows installation media.
- Internet Connection: To download the Windows Media Creation Tool and drivers.
- External Hard Drive or Cloud Storage: For backing up your existing data.
- Windows Product Key: If you’re installing a fresh copy of Windows, you’ll need a valid product key. If you’re cloning an existing installation, you might be able to transfer your license, but it’s good to have it handy.
Backing Up Your Data: A Crucial Step
This is arguably the most critical step. Installing Windows on a new drive, whether it’s a clean install or a clone, involves formatting, which erases all data on the target drive. Therefore, backing up your important files from your old drive (if you’re migrating from one) is paramount.
- Identify Your Important Files: This includes documents, photos, videos, music, game saves, and any application-specific data.
- Choose Your Backup Method:
- External Hard Drive: Copy and paste your files to an external HDD. This is a straightforward and reliable method.
- Cloud Storage Services: Services like Google Drive, Dropbox, or OneDrive are excellent for backing up smaller, frequently accessed files.
- Network Attached Storage (NAS): For more advanced users, a NAS offers centralized storage and backup solutions for your entire network.
- Verify Your Backup: After copying your files, always double-check that everything you intended to back up is indeed present on your backup medium.
Installing Windows: The Core Process
With your preparation complete, it’s time to get your hands dirty with the actual installation. This typically involves two main approaches: a clean installation or migrating your existing Windows installation.
Method 1: Clean Installation of Windows
A clean installation is often recommended for the best performance and to eliminate any potential software conflicts or bloatware from your old system. This involves installing Windows fresh onto the new SSD.
Creating Bootable Windows Installation Media
The first step for a clean install is to create a bootable USB drive with the Windows installer.
- Download the Media Creation Tool: Go to the official Microsoft website and download the Media Creation Tool for the version of Windows you want to install (Windows 10 or Windows 11).
- Run the Tool: Open the downloaded executable file.
- Accept License Terms: Read and accept the license terms.
- Choose “Create installation media (USB flash drive, DVD, or ISO file) for another PC”: Select this option and click “Next.”
- Select Language, Edition, and Architecture: The tool will usually suggest options based on your current PC. You can uncheck “Use the recommended options for this PC” if you need to choose a different version or language. Ensure you select the correct architecture (64-bit is standard for modern PCs).
- Choose “USB flash drive”: Select this option and click “Next.”
- Select Your USB Drive: Choose the USB drive you want to use (make sure it’s empty as it will be formatted).
- Wait for the Download and Creation: The tool will download the Windows installation files and create the bootable USB drive. This can take some time depending on your internet speed.
Physically Installing the SSD

This is where you’ll need to open your computer case.
- Power Down and Unplug: Shut down your computer completely and unplug the power cord.
- Ground Yourself: Wear your anti-static wrist strap and attach it to a grounded metal object on your computer case.
- Open the Case: Refer to your computer or motherboard manual for instructions on how to open your specific case.
- Locate the Drive Bay/M.2 Slot:
- For 2.5-inch SATA SSDs: Find an empty 2.5-inch drive bay. You might need to transfer your old HDD if you’re not replacing it entirely.
- For NVMe M.2 SSDs: Locate the M.2 slot on your motherboard. It’s usually a small horizontal slot. You may need to remove a heatsink if your motherboard has one for M.2 drives.
- Install the SSD:
- SATA SSD: Connect the SATA data cable from your motherboard to the SSD and the SATA power cable from your power supply to the SSD. Secure the SSD in its bay.
- NVMe M.2 SSD: Carefully insert the M.2 SSD into the slot at an angle and then gently push it down. Secure it with the small screw provided with your motherboard or SSD.
- Close the Case: Reassemble your computer case.
Booting from the USB Drive and Installing Windows
Now, you’ll use the bootable USB to start the Windows installation.
- Connect the Bootable USB: Plug your bootable Windows USB drive into a USB port on your computer.
- Enter BIOS/UEFI: Turn on your computer and immediately press the key to enter your BIOS or UEFI settings. This key is usually displayed on the initial boot screen and is often one of the following:
Del,F2,F10,F12, orEsc. - Change Boot Order: In the BIOS/UEFI, navigate to the “Boot” or “Boot Order” section. You need to set your USB drive as the primary boot device. The name of the USB drive might vary, but it will likely start with “UEFI” or the brand name of your USB drive.
- Save and Exit: Save your changes (usually by pressing
F10) and exit the BIOS/UEFI. Your computer will restart. - Start Windows Setup: The computer should now boot from the USB drive, and you’ll see the Windows setup screen.
- Follow On-Screen Prompts:
- Select your language, time and currency format, and keyboard layout.
- Click “Install now.”
- Enter your Windows product key if prompted. If you’re reinstalling on the same hardware, you might be able to click “I don’t have a product key” and activate later.
- Select the version of Windows you want to install.
- Accept the license terms.
- Crucially, choose “Custom: Install Windows only (advanced).”
- Select Your New SSD: In the drive selection screen, carefully identify your new SSD. It will likely be listed as “Unallocated Space” or show its capacity. Ensure you select the correct drive to avoid deleting data on another drive if you have one.
- Click “New” to create a partition on the unallocated space and then click “Apply.” Windows will automatically create system partitions.
- Select the primary partition you just created on your new SSD and click “Next.”
- Windows Installation: Windows will now begin installing. This process will involve several restarts. Important: During the installation, when your computer restarts for the first time, you must remove the USB drive or change the boot order back to your SSD to prevent the installer from starting again.
- Out-of-Box Experience (OOBE): Once the installation is complete, you’ll go through the Windows setup, including creating a user account, setting up privacy settings, and connecting to your network.
Method 2: Migrating Your Existing Windows Installation (Cloning)
If you have a lot of software and settings you don’t want to reconfigure, you can clone your existing Windows installation from your old drive to the new SSD. This requires specialized software and is best done before you physically install the SSD as your primary boot drive.
Software for Cloning
There are many free and paid cloning tools available. Some popular options include:
- Macrium Reflect Free: A highly regarded free option for personal use.
- EaseUS Todo Backup Free: Another excellent free utility with cloning capabilities.
- Samsung Data Migration Tool: If you’ve purchased a Samsung SSD, they provide a dedicated migration tool.
- Acronis True Image: A powerful paid option with advanced features.
The Cloning Process
- Connect Both Drives: Connect both your old drive and your new SSD to your computer. If you’re upgrading a desktop, you might temporarily connect the new SSD via a USB-to-SATA adapter or internal SATA cable. For laptops, you might need an external enclosure for the new SSD.
- Install and Run Cloning Software: Install your chosen cloning software on your current Windows installation.
- Initiate the Clone:
- Open the cloning software.
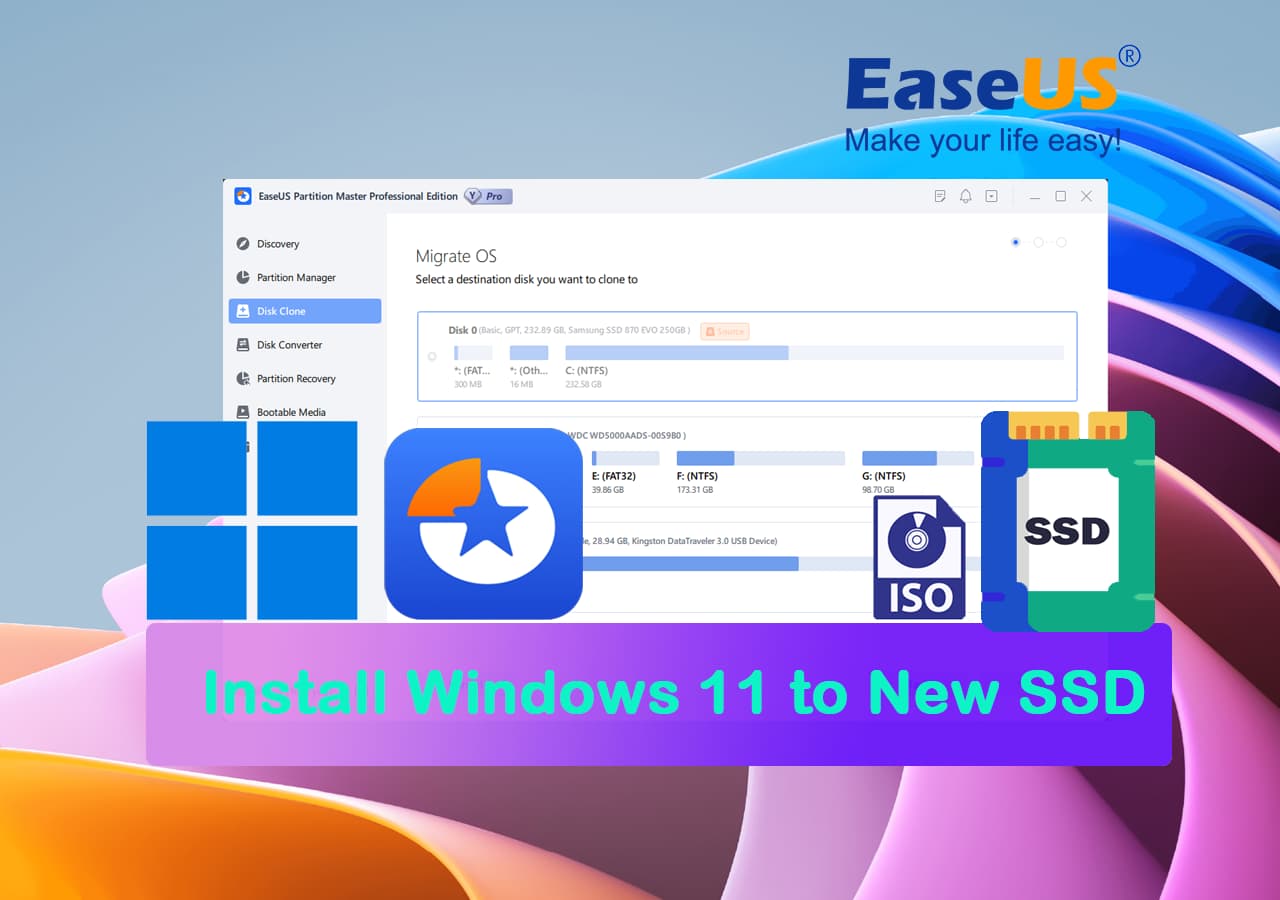
- Select the “Clone” or “Migrate OS” function.
- Select Source Disk: Choose your current Windows drive (usually your old HDD) as the source.
- Select Destination Disk: Choose your new SSD as the destination. Double-check this to avoid overwriting your source drive.
- Partition Sizing (Important for SSDs): Most cloning software will automatically adjust partition sizes. If your new SSD is larger than your old drive, you’ll likely have the option to expand the main partition to utilize the full capacity.
- Start the Clone: Begin the cloning process. This can take a significant amount of time depending on the amount of data and the speed of your drives.
- Replace the Old Drive: Once cloning is complete, shut down your computer. Physically remove your old HDD and install the new SSD in its place, ensuring it’s properly connected.
- Boot from the New SSD: Turn on your computer. It should now boot directly into Windows from your new SSD. If it doesn’t, you might need to enter your BIOS/UEFI and ensure the SSD is set as the primary boot device.
Post-Installation Optimization and Setup
Once Windows is installed or cloned onto your new SSD, your work isn’t quite done. A few optimization steps will ensure you’re getting the most out of your new, speedy storage.
Initial Windows Setup and Updates
- Connect to the Internet: Ensure you’re connected to the internet so Windows can download necessary updates.
- Run Windows Updates: Go to
Settings > Update & Security > Windows Updateand check for updates. Install all available updates, including optional driver updates. This is crucial for security and performance. - Install Essential Drivers: While Windows Update often handles many drivers, it’s a good idea to visit your motherboard manufacturer’s website and your graphics card manufacturer’s website to download the latest drivers for your specific hardware. This can significantly impact performance and stability.
SSD Optimization Tips
SSDs are fundamentally different from HDDs, and Windows generally handles most optimizations automatically. However, here are a few things to be aware of:
- TRIM is Enabled: TRIM is a command that helps the SSD manage its data blocks, improving performance and longevity. Windows automatically enables TRIM for SSDs. You can verify this by opening
Command Promptas administrator and typingfsutil behavior query DisableDeleteNotify. If the output isDisableDeleteNotify = 0, TRIM is enabled. - Defragmentation is NOT Needed: Windows will not automatically defragment your SSD. Defragmentation is only for mechanical hard drives and is unnecessary and potentially harmful to SSDs. Windows’ built-in disk optimization tool will recognize your SSD and perform a TRIM operation instead of defragmenting.
- Disable Superfetch/Sysmain (Optional & Debatable): Some users recommend disabling Superfetch (now called Sysmain in Windows 10/11) on SSDs as it’s designed to pre-load frequently used applications into RAM, which can sometimes cause extra read/write cycles on an SSD. However, Microsoft generally advises against disabling it as it can still offer benefits. If you experience performance issues, you can try disabling it via the Services app (
services.msc). - Enable AHCI Mode: Ensure your SATA controller is set to AHCI mode in your BIOS/UEFI. This is essential for optimal SSD performance and features like TRIM. Most modern systems have this enabled by default, but it’s worth checking if you experience sluggishness.
- Install Your Applications: Now you can start installing your favorite applications and games. You’ll immediately notice how much faster they load.
Transferring Your Data Back
If you performed a clean install, it’s time to bring your backed-up data back to your new SSD.
- Connect Your Backup Drive: Connect your external hard drive or access your cloud storage.
- Copy and Paste: Navigate to your important files and copy them to the desired locations on your new Windows installation. Be mindful of where you place your operating system files versus your personal data. It’s good practice to keep your main Windows partition clean and store most of your large files on a separate partition or even a secondary drive if you have one.

Enjoy Your Blazing Fast System
Congratulations! You’ve successfully installed Windows on your new SSD. Take a moment to appreciate the significant speed improvements. Boot times will be drastically reduced, applications will launch in the blink of an eye, and your overall computing experience will be much smoother and more enjoyable. This upgrade is a prime example of how investing in the right Tech can profoundly enhance your Productivity and overall digital life. Enjoy the speed!
aViewFromTheCave is a participant in the Amazon Services LLC Associates Program, an affiliate advertising program designed to provide a means for sites to earn advertising fees by advertising and linking to Amazon.com. Amazon, the Amazon logo, AmazonSupply, and the AmazonSupply logo are trademarks of Amazon.com, Inc. or its affiliates. As an Amazon Associate we earn affiliate commissions from qualifying purchases.