In the evolving landscape of modern computing, the ability to carry your entire operating system in your pocket is no longer a futuristic concept—it is a practical reality. Whether you are a system administrator, a cybersecurity enthusiast, or a remote professional, knowing how to install Windows on a USB drive provides a level of flexibility and security that traditional hardware-bound installations cannot match. This process, often referred to as creating a “Windows To Go” drive, allows you to boot into a fully functional Windows environment on almost any compatible PC without affecting the host computer’s internal storage.

Understanding the Concept: Why Put Windows on a USB?
Before diving into the technical steps, it is essential to distinguish between a “bootable installer” and a “portable operating system.” While a standard bootable USB is used to install Windows onto a computer’s hard drive, a Windows To Go drive contains the entire operating system itself. When you boot from this drive, you are running Windows directly from the USB hardware.
Windows To Go vs. Bootable Installation Media
The primary difference lies in the objective. Bootable installation media acts as a carrier for the setup files; its job is finished once the OS is moved to a permanent drive. Conversely, a portable Windows USB is a persistent environment. All your files, installed applications, and system settings are saved directly to the USB stick. This makes it an invaluable tool for users who need a consistent workspace across different machines.
Use Cases for a Portable Windows Environment
There are several tech-centric reasons to maintain a portable Windows drive. First, it serves as an excellent troubleshooting tool. If a primary OS fails due to driver corruption or malware, booting from a USB allows you to access the hardware, recover files, and run diagnostic tools. Second, it is a boon for privacy. By using your own OS on a public or borrowed computer, you ensure that no traces of your activity, such as browser history or login credentials, are left on the host machine’s internal drive. Finally, it allows developers and testers to run Windows on Mac hardware (via Intel-based Macs) or test software in a clean, isolated environment without the overhead of a Virtual Machine.
Essential Requirements and Preparations
To successfully install Windows on a USB drive, you cannot simply use any old thumb drive found in a drawer. The performance of a portable OS is heavily dictated by the read/write speeds of the media it resides on.
Hardware Specifications: Choosing the Right USB Drive
Windows is a resource-intensive operating system. To ensure a smooth experience, you should use a USB 3.0 or 3.1 drive at a minimum. Ideally, an external SSD or a high-performance “certified” Windows To Go drive is recommended.
- Capacity: You need at least 32GB of space, though 64GB or 128GB is preferred to accommodate Windows updates and third-party software.
- Throughput: Look for drives with high random read/write speeds. Standard cheap flash drives often struggle with the thousands of small file operations Windows performs every minute, leading to system hangs and “not responding” errors.
Acquiring the Windows ISO Image
The foundation of your portable drive is the Windows Image (ISO). You can download the latest version of Windows 10 or Windows 11 directly from Microsoft’s official website using the Media Creation Tool. When prompted, choose the option to “Create installation media (USB flash drive, DVD, or ISO file) for another PC” and then select “ISO file.” This file contains the compressed version of the Windows operating system that we will deploy onto the USB.
Step-by-Step Installation Using Rufus

While Microsoft officially deprecated the Windows To Go feature for Windows 10 (and it was never officially supported for Windows 11 Home users), the tech community has kept the functionality alive through third-party tools. The most reliable and widely used utility for this purpose is Rufus.
Configuring Rufus for Windows To Go
Rufus is a free, open-source utility that simplifies the process of creating bootable drives. To begin, insert your USB drive and launch Rufus.
- Device Selection: Ensure your target USB drive is selected in the “Device” dropdown menu.
- Boot Selection: Click “Select” and locate the Windows ISO file you downloaded earlier.
- Image Option: This is the most critical step. Instead of selecting “Standard Windows installation,” click the dropdown and choose “Windows To Go.” This tells Rufus to install the OS onto the drive rather than just making it an installer.
- Partition Scheme: Choose “GPT” if you intend to boot on modern UEFI-based systems (most computers made after 2012). Choose “MBR” if you need compatibility with older BIOS-based machines.
The Installation Process
Once you click “Start,” Rufus may prompt you to select the specific version of Windows (Home, Pro, or Education) you wish to install. After making your selection, a warning will appear stating that all data on the USB drive will be destroyed. Confirm the action, and Rufus will begin partitioning the drive, expanding the Windows image, and setting up the bootloader. This process can take anywhere from 10 minutes to an hour, depending on the speed of your USB drive and your computer’s ports.
Alternative Methods: WinToUSB and Official Tools
While Rufus is the gold standard for most tech enthusiasts, other tools offer specialized features that might be more appropriate for specific enterprise or complex scenarios.
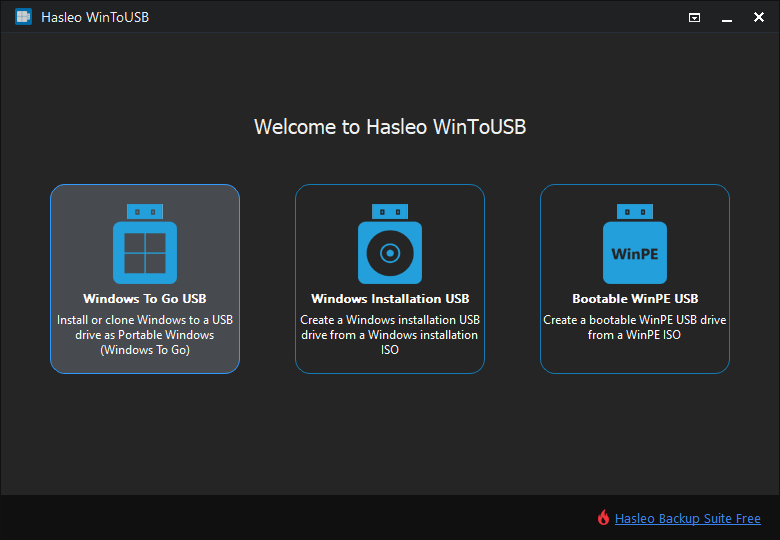
Using Hasleo WinToUSB for Advanced Users
WinToUSB (also known as Windows To USB) is another powerful contender. One of its standout features is the ability to clone an existing Windows installation onto a USB drive. If you have a perfectly configured workstation with specialized software and drivers, WinToUSB can “migrate” that exact environment to a portable drive. This eliminates the need to reinstall software or reconfigure settings from scratch. However, note that the free version has limitations regarding which Windows versions can be cloned.
Limitations of the Official Media Creation Tool
It is a common misconception that the Microsoft Media Creation Tool can create a portable OS. It cannot. The official tool is strictly designed to create installation media. If you use the Microsoft tool, you will end up with a drive that starts the Windows Setup process, but you will not be able to “run” Windows from that drive. For a portable, live environment, third-party software like Rufus or WinToUSB is mandatory.
Optimizing and Booting Your Portable Windows Drive
Once the installation is complete, you are ready to use your portable Windows environment. However, booting from USB requires a slight change in how you interact with your computer’s hardware.
Adjusting BIOS/UEFI Settings
To boot from the USB, you must interrupt the normal startup sequence of the host computer.
- Boot Menu: Restart the computer and tap the Boot Menu key (usually F12, F11, F10, or Esc, depending on the manufacturer). Select your USB drive from the list.
- BIOS Order: If there is no boot menu, enter the BIOS/UEFI settings (usually F2 or Del) and change the boot order so that the USB drive is prioritized over the internal hard drive.
- Secure Boot: On some modern systems, you may need to temporarily disable “Secure Boot” or enable “Legacy Support” if the portable drive uses an older partition scheme.
Post-Installation Optimization for Performance
Running an OS over a USB interface introduces latency. To make the experience as snappy as possible, consider the following optimizations:
- Disable Indexing: Turn off Windows Search indexing for the USB drive to reduce unnecessary write operations.
- Page File Management: If the host computer has plenty of RAM, you might want to disable the page file on the USB to prevent “thrashing” the flash memory.
- Driver Support: Upon the first boot, Windows will attempt to install generic drivers for the host machine’s hardware. If you plan to use the drive on one specific machine frequently, manually installing the correct GPU and chipset drivers will significantly improve performance.
By following this guide, you have transformed a simple piece of hardware into a versatile, mobile workstation. Whether you use it for secure banking, technical troubleshooting, or simply as a “computer in your pocket,” a Windows USB drive is a powerful addition to any tech professional’s digital toolkit. The combination of Rufus’s simplicity and the power of the Windows 10/11 environment ensures that your workspace is always with you, regardless of whose computer you are using.
aViewFromTheCave is a participant in the Amazon Services LLC Associates Program, an affiliate advertising program designed to provide a means for sites to earn advertising fees by advertising and linking to Amazon.com. Amazon, the Amazon logo, AmazonSupply, and the AmazonSupply logo are trademarks of Amazon.com, Inc. or its affiliates. As an Amazon Associate we earn affiliate commissions from qualifying purchases.