
NumPy, an abbreviation for Numerical Python, stands as the cornerstone library for scientific computing in the Python ecosystem. Whether you are delving into data analysis, machine learning, or complex mathematical modeling, NumPy provides the high-performance multidimensional array objects and the necessary tools to work with these arrays efficiently. Installing NumPy correctly is the foundational step for any developer or data scientist embarking on a path toward computational excellence.
Preparing Your Development Environment
Before diving into the installation commands, it is crucial to ensure your environment is configured correctly. A common pitfall for beginners is installing packages directly into the system-level Python environment, which can lead to dependency conflicts across various projects.
Verify Your Python Installation
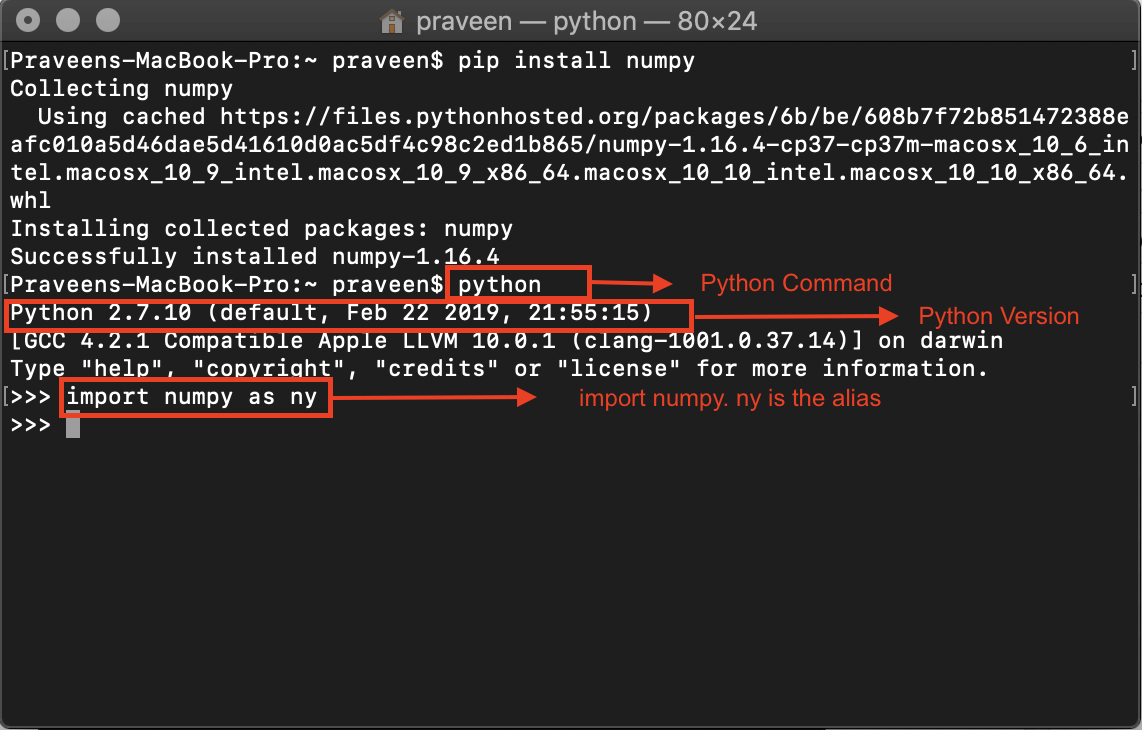
The first step is to confirm that Python is installed and accessible via your command-line interface. Open your terminal (macOS/Linux) or Command Prompt/PowerShell (Windows) and type:
python --version
or, if you are using a Unix-based system that distinguishes between Python 2 and 3:
python3 --version
You should see an output indicating a version of 3.8 or higher. If you do not have Python installed, navigate to the official Python website to download the latest installer, ensuring you check the box that says “Add Python to PATH” during the installation process.
Utilizing Virtual Environments
Best practice dictates that you create an isolated virtual environment for every project. This prevents “dependency hell,” where different projects require different versions of the same library. To create a virtual environment, navigate to your project folder in your terminal and run:
python -m venv venv
Once created, activate it:
- Windows:
venvScriptsactivate - macOS/Linux:
source venv/bin/activate
With your virtual environment active, your terminal prompt will typically show the environment name, signaling that any subsequent installations will be contained strictly within this directory.
Installing NumPy via Package Managers
The Python Package Index (PyPI) is the primary repository for software for the Python programming language. The most common and recommended way to install NumPy is through pip, Python’s built-in package manager.
The Pip Installation Process
With your virtual environment active, ensuring that your package manager is up to date is the next logical step. Run the following command to upgrade pip to the latest version:
pip install --upgrade pip
Once pip is current, you can install NumPy with a single command:
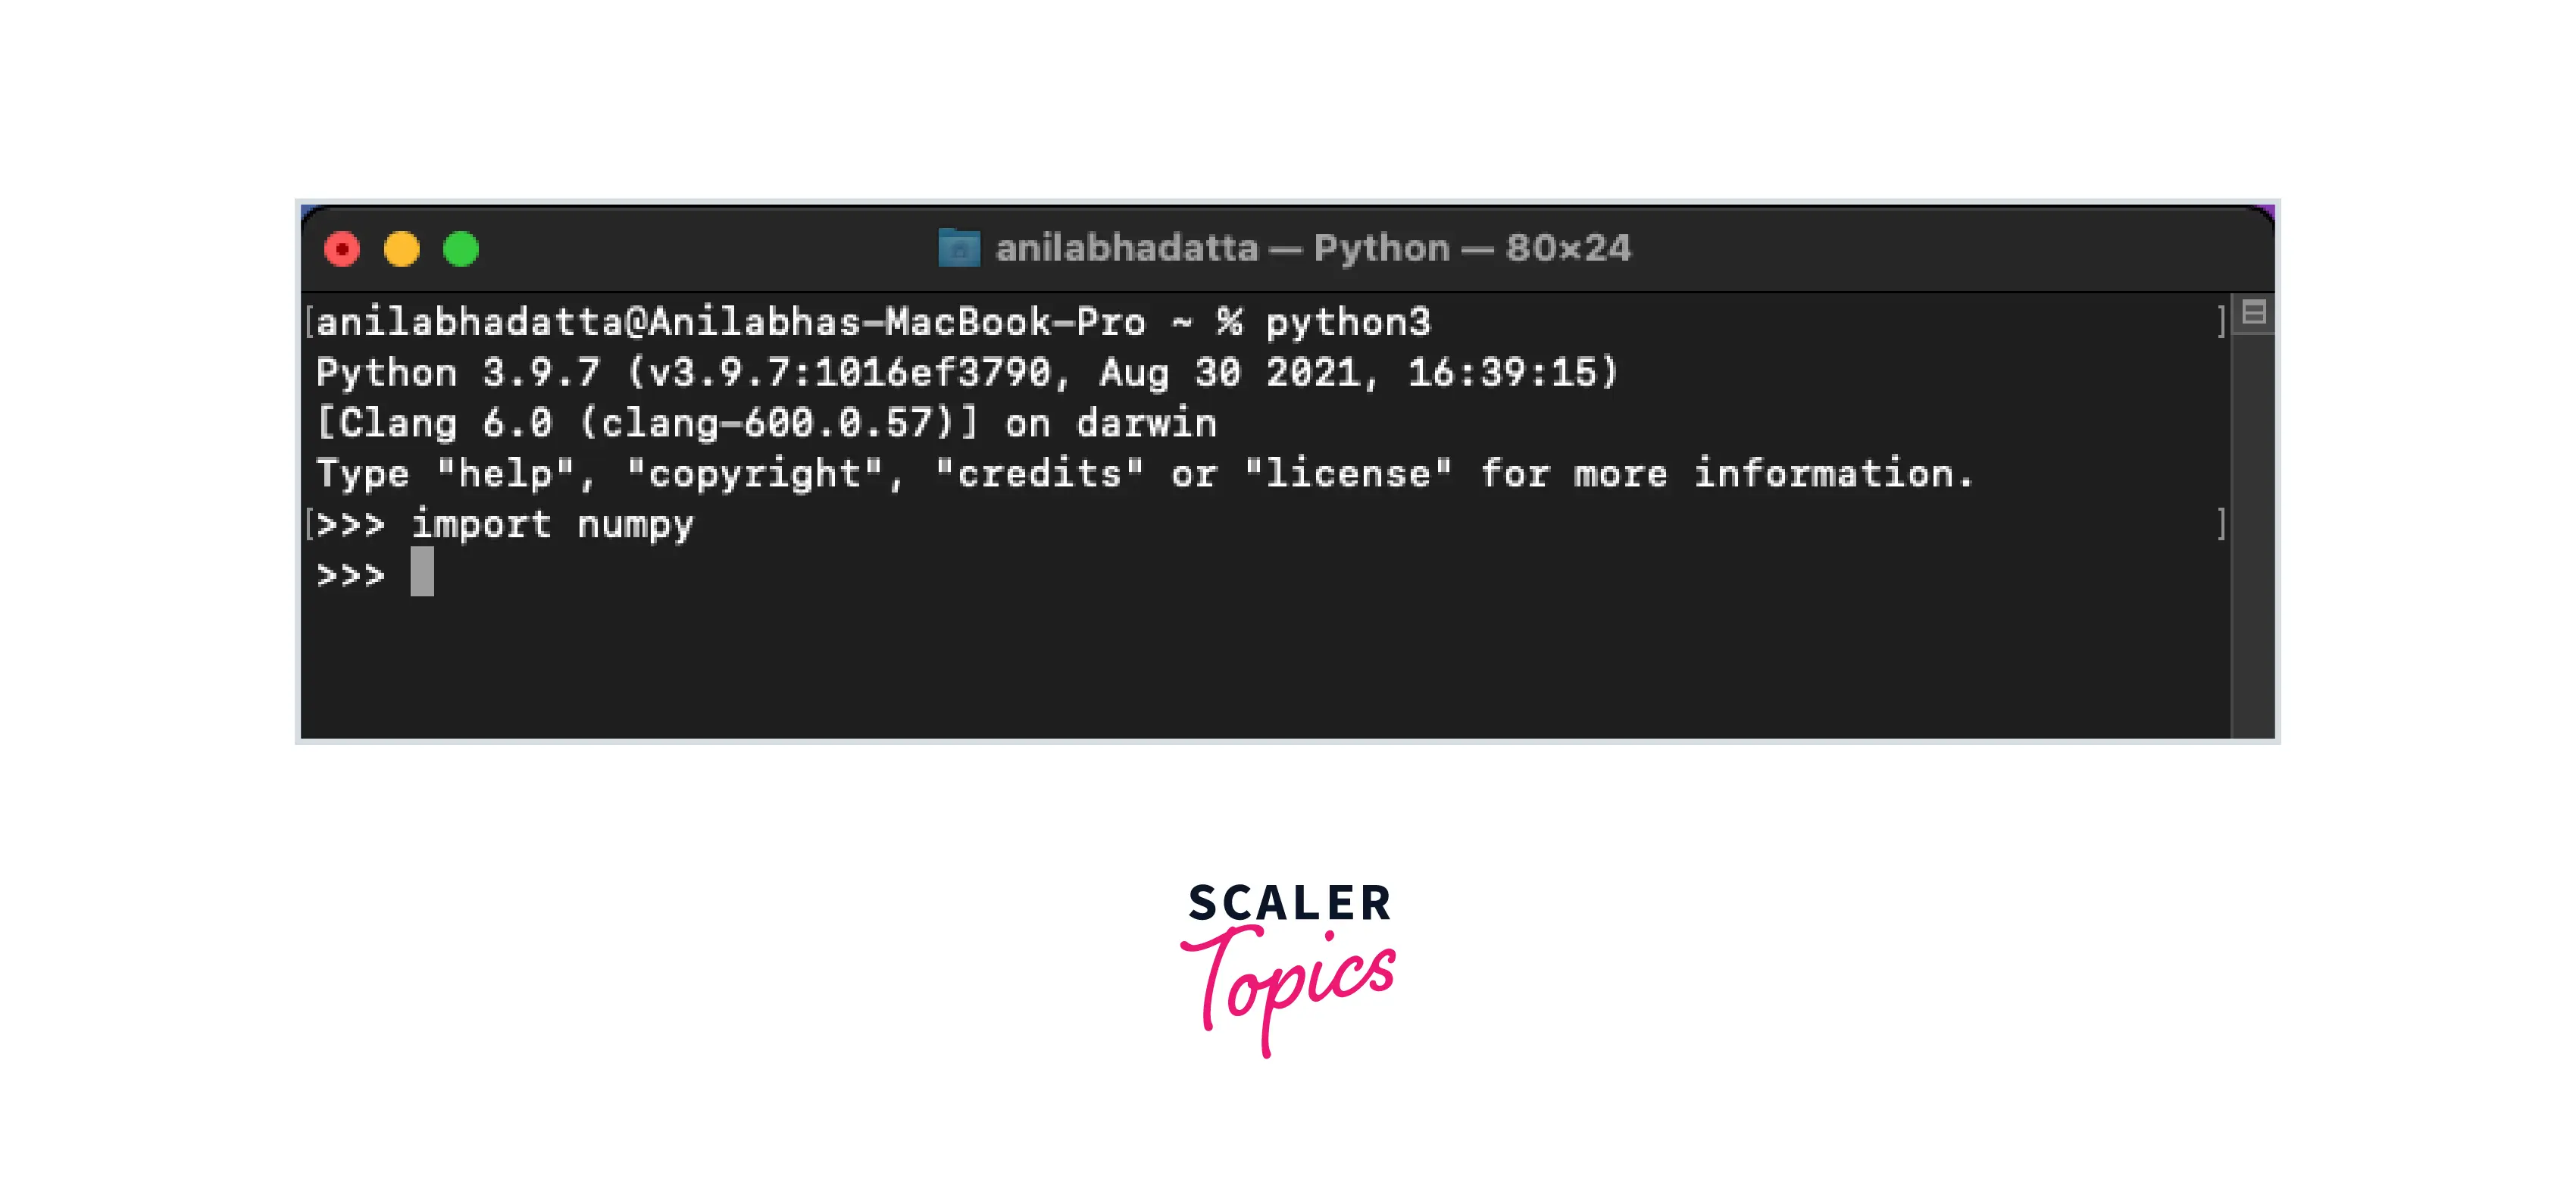
pip install numpy
This command fetches the pre-compiled binary wheels from PyPI. These wheels are highly optimized for your specific operating system and architecture, meaning you rarely need to compile C code manually. You will see a progress bar as the installer downloads the library and its necessary dependencies.
Installation via Anaconda or Miniconda
For those working in data science or research, the Anaconda distribution is an industry standard. It includes a robust package manager called conda that handles not only Python libraries but also non-Python binary dependencies. If you are using the Anaconda distribution, the installation is straightforward:
conda install numpy
Conda is particularly powerful when dealing with complex mathematical libraries (like BLAS or LAPACK) that require specific hardware acceleration. By using conda, the environment manager ensures that all underlying libraries are compatible, which can save hours of troubleshooting on systems with complex GPU or multi-threading requirements.
Verifying the Installation and Troubleshooting
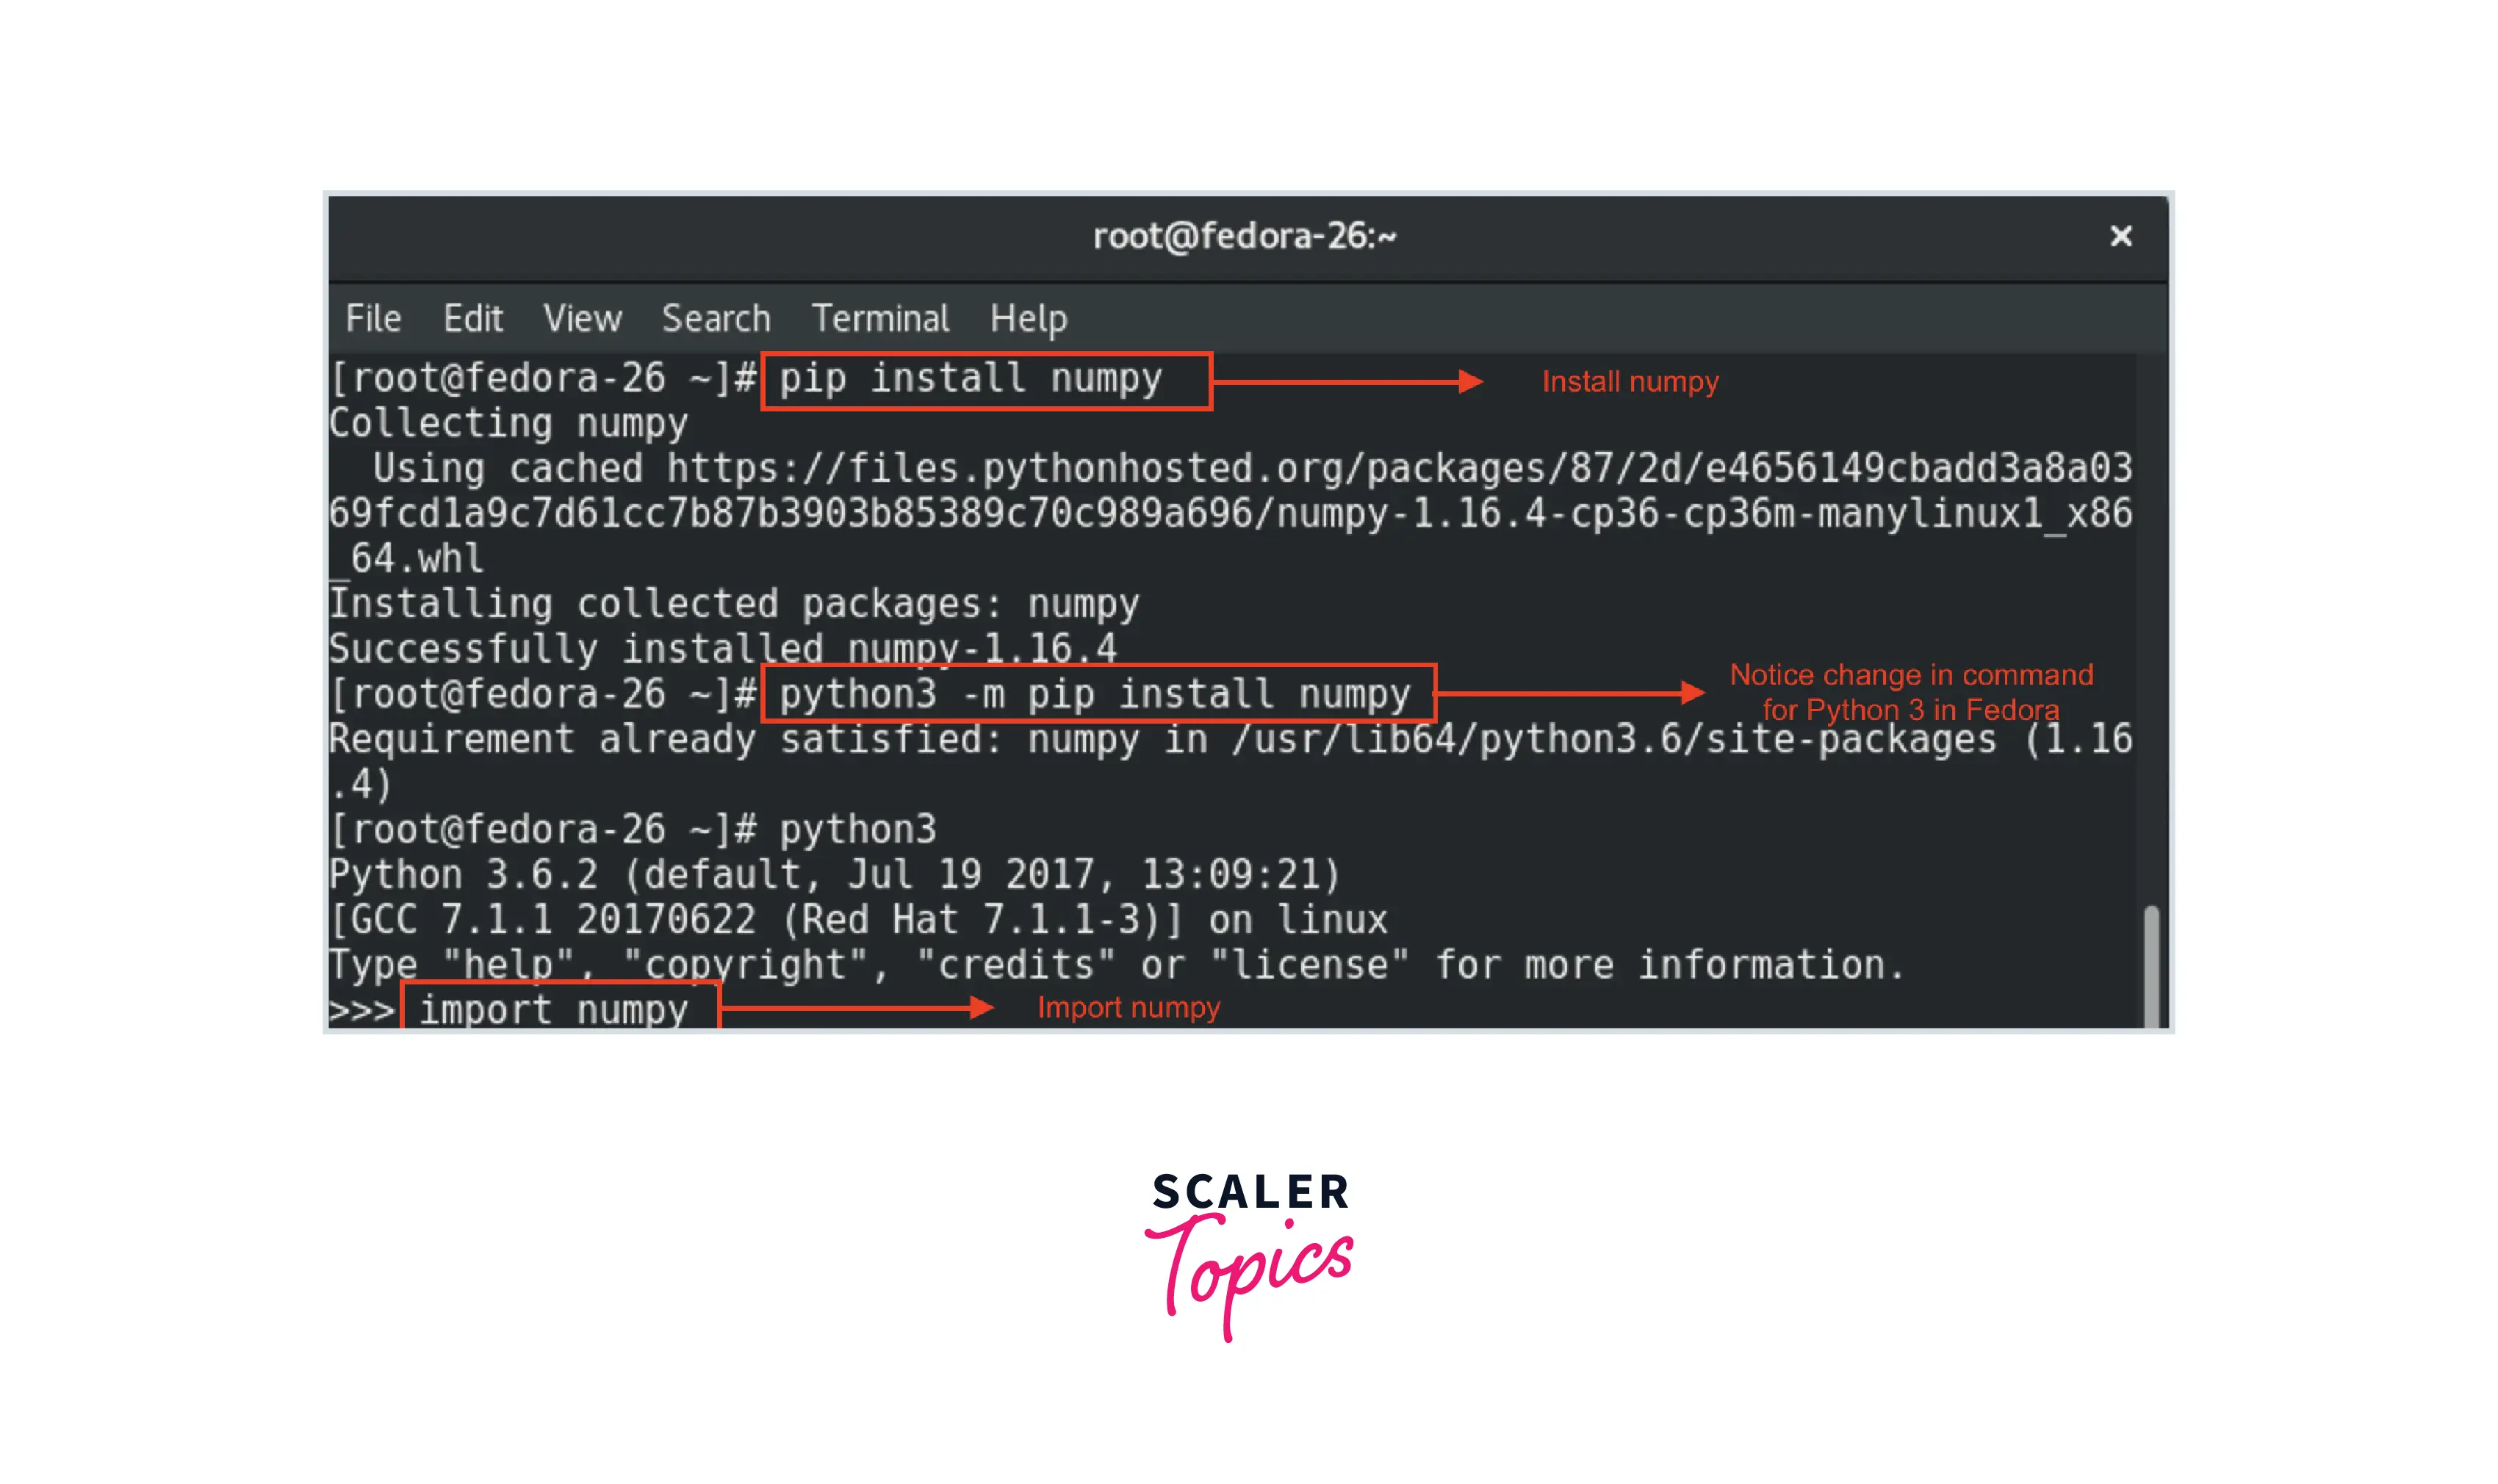
After the installation process completes, you must verify that NumPy is correctly integrated into your environment. Relying on an incomplete or corrupted installation can lead to cryptic errors later in your development workflow.
Running a Verification Script
Create a new file named verify_numpy.py and input the following lines of code:
import numpy as np

# Create a sample array
array = np.array([1, 2, 3, 4, 5])
print(f"NumPy version: {np.__version__}")
print(f"Array structure: {array}")
print(f"Mean of array: {np.mean(array)}")
Execute this script by running python verify_numpy.py in your terminal. If the output displays the version number and the calculated mean without throwing an ImportError, your installation is successful and ready for production use.
Common Troubleshooting Steps
If you encounter an ImportError: No module named 'numpy', it usually means one of three things:
- Wrong Environment: You may have installed NumPy in a different environment than the one your script is currently using. Always check your IDE settings to ensure the interpreter path matches your virtual environment path.
- Permission Issues: In rare cases on Linux/macOS, you might lack write permissions for the directory. Using a virtual environment, as detailed earlier, effectively eliminates this issue.
- Architecture Mismatch: If you are using a custom or very old Python build, you might face issues with compiled C extensions. In such cases, the best solution is to uninstall the existing Python distribution and use a standardized version from python.org or the Anaconda distribution.
Integrating NumPy into Data Workflows
Once installed, NumPy becomes the “language” of your data. Understanding how to leverage it effectively is as important as the installation itself.
Understanding Array Broadcasting
One of the most powerful features of NumPy is “broadcasting.” This allows the library to perform arithmetic operations on arrays of different shapes. For example, if you add a scalar to a matrix, NumPy automatically applies the operation to every element. This eliminates the need for slow Python loops, significantly increasing the speed of your data processing tasks.
The Role of Vectorization
Vectorization is the process of performing operations on entire arrays instead of iterating through elements one by one. Because NumPy operations are implemented in optimized C code, a vectorized operation can be 50 to 100 times faster than a standard for loop in native Python. As you advance in your career, you will find that writing “NumPy-onic” code—avoiding explicit loops whenever possible—is the hallmark of an efficient developer.
Future-Proofing Your Setup
As your projects grow, you will likely integrate NumPy with other libraries like Pandas for data manipulation, Matplotlib for visualization, and Scikit-Learn for machine learning. Keep your packages updated periodically by running pip list --outdated. To keep your project stable, however, always freeze your dependencies into a requirements.txt file:
pip freeze > requirements.txt
This ensures that anyone else—or your future self—can recreate your environment exactly, preventing the “it works on my machine” syndrome. By mastering the installation and the initial setup of NumPy, you are laying a robust foundation for building high-performance applications in the ever-evolving landscape of software engineering and data science. Your journey into high-level computational Python begins with this simple, yet essential, library integration.
aViewFromTheCave is a participant in the Amazon Services LLC Associates Program, an affiliate advertising program designed to provide a means for sites to earn advertising fees by advertising and linking to Amazon.com. Amazon, the Amazon logo, AmazonSupply, and the AmazonSupply logo are trademarks of Amazon.com, Inc. or its affiliates. As an Amazon Associate we earn affiliate commissions from qualifying purchases.