OpenCV (Open Source Computer Vision Library) is a powerhouse when it comes to computer vision tasks. Whether you’re delving into image recognition, object detection, video analysis, or even exploring the frontiers of artificial intelligence, OpenCV provides a robust and versatile toolkit. Its extensive functionality, coupled with its open-source nature, has made it an indispensable asset for developers, researchers, and hobbyists alike. This guide aims to demystify the installation process, ensuring you can get up and running with OpenCV swiftly, no matter your operating system or preferred development environment.

The world of technology is constantly evolving, and understanding how to leverage powerful libraries like OpenCV is crucial for staying ahead. From automating mundane tasks with AI to building sophisticated applications that interact with the visual world, the possibilities are vast. This article will not only walk you through the installation but also touch upon why this library is so significant in the broader tech landscape, and how it fits into the broader ecosystem of AI and software development. We’ll cover various installation methods, addressing common challenges and providing clear, actionable steps.
Understanding OpenCV: More Than Just an Installation
Before we dive into the “how,” it’s beneficial to understand the “why.” OpenCV is a C++ library with bindings for Python, Java, and MATLAB, making it accessible to a wide range of developers. Its core purpose is to provide a common infrastructure for computer vision applications and to accelerate the use of machine perception in commercial products and research.
The Power of Computer Vision
Computer vision is a field of artificial intelligence that enables computers to “see” and interpret the visual world. This involves tasks such as:
- Image Classification: Identifying what an image contains (e.g., is it a cat, a dog, a car?).
- Object Detection: Locating specific objects within an image or video stream (e.g., drawing a bounding box around all faces in a photograph).
- Image Segmentation: Dividing an image into different regions or segments, often to isolate objects.
- Facial Recognition: Identifying or verifying a person from a digital image or a video frame.
- Motion Analysis: Tracking the movement of objects over time in video.
- Augmented Reality (AR): Overlaying digital information onto the real world, often seen in mobile apps and gaming.
OpenCV offers a vast array of algorithms and functions to perform these tasks and many more. Its development began at Intel in 1999 and it has since grown into one of the most popular computer vision libraries in the world.
Why is Installing OpenCV Important for Your Tech Journey?
In the realm of Tech, proficiency in libraries like OpenCV is a significant advantage. It opens doors to working on cutting-edge AI projects, developing innovative apps, and enhancing your skills in areas like image processing and machine learning. For those interested in Productivity tools, imagine building custom solutions for automating image-based workflows or creating smart surveillance systems.
For businesses and brands, understanding how computer vision can be applied can lead to revolutionary Marketing strategies. Think about personalized advertising based on facial expressions or interactive retail experiences that adapt to customer presence. While this article focuses on the technical installation, the implications for brand engagement and customer understanding are profound.
In the domain of Money, while not a direct financial tool, OpenCV can be integral to building applications that generate online income. For instance, developing an automated content moderation system for user-generated images or creating a niche application that offers unique visual analysis services could be profitable ventures.
Key Features and Modules
OpenCV is structured into several modules, each dedicated to a specific set of functionalities:
- Core Functionality: Basic image processing operations, data structures, and linear algebra.
- Image Processing: Filters, morphological operations, color space conversions, and geometric transformations.
- Feature Detection and Description: Algorithms like SIFT, SURF, ORB for identifying key points in images.
- Object Detection: Pre-trained models and algorithms for identifying common objects.
- Machine Learning: Integration with common ML algorithms, support for deep learning frameworks.
- Video Analysis: Optical flow, background subtraction, object tracking.
- Camera Calibration and 3D Reconstruction: For understanding camera geometry and creating 3D models.
Installing OpenCV: A Step-by-Step Approach
The installation process for OpenCV can vary slightly depending on your operating system and your preferred method of installation (e.g., using a package manager or compiling from source). We will cover the most common scenarios.
Installing OpenCV on Windows
For Windows users, there are generally two primary methods: using pip (for Python) or downloading pre-built binaries.
Method 1: Using Pip for Python (Recommended for Simplicity)
If you have Python installed on your Windows machine, using pip is the most straightforward way to install OpenCV.
-
Open Command Prompt or PowerShell: Search for “cmd” or “PowerShell” in your Windows search bar and open it.
-
Install OpenCV: Type the following command and press Enter:
pip install opencv-pythonThis command will download and install the pre-built OpenCV package for Python. If you also need the “contrib” modules (which contain additional, often experimental, features), you can install that version instead:
pip install opencv-contrib-python -
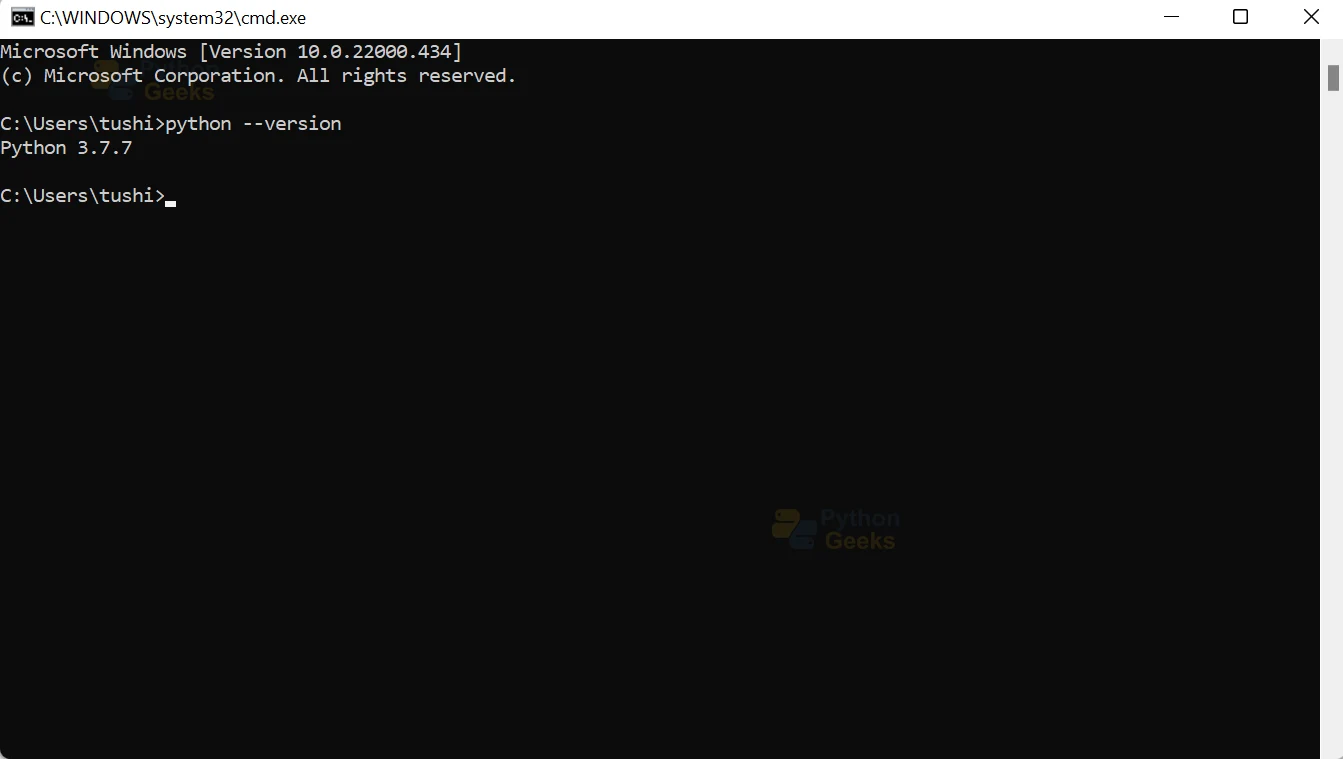
Verify Installation: To confirm that OpenCV has been installed correctly, open a Python interpreter (by typing
pythonin your command prompt) and run the following:import cv2 print(cv2.__version__)If the installation was successful, you should see the installed OpenCV version printed to the console.
Method 2: Downloading Pre-built Binaries
This method is useful if you need the C++ libraries or if you encounter issues with pip installation.
-
Download the Latest Release: Visit the official OpenCV releases page on GitHub: https://github.com/opencv/opencv/releases. Download the latest stable release archive (e.g.,
opencv-4.x.x.zip). -
Extract the Archive: Extract the downloaded ZIP file to a desired location on your computer. This will create a folder named something like
opencv-4.x.x. -
Add OpenCV to System Path (Optional but Recommended): For easier access from the command line and other applications, you can add the OpenCV
bindirectory to your system’s PATH environment variable.- Search for “environment variables” in Windows search and select “Edit the system environment variables.”
- Click on the “Environment Variables…” button.
- Under “System variables,” find the “Path” variable and click “Edit…”.
- Click “New” and add the full path to the
binfolder within your extracted OpenCV directory (e.g.,C:opencvbuildx64vc15binif you downloaded the version compiled with Visual Studio 2017). - Click “OK” on all open dialog boxes.
-
For C++ Development: If you plan to use OpenCV with C++, you will need to configure your C++ development environment (like Visual Studio) to find the OpenCV headers and libraries. This typically involves:
- Adding Include Directories: Pointing your project’s compiler settings to the
includedirectory within your OpenCV installation (e.g.,C:opencvbuildinclude). - Adding Library Directories: Pointing your project’s linker settings to the
libdirectory (e.g.,C:opencvbuildx64vc15lib). - Linking Libraries: Specifying the OpenCV library files (e.g.,
opencv_world4xx.lib) to be linked by your project.
- Adding Include Directories: Pointing your project’s compiler settings to the
Installing OpenCV on macOS
macOS users have several installation options, with Homebrew being the most popular and convenient.
Method 1: Using Homebrew (Recommended)
Homebrew is a package manager for macOS that simplifies the installation of software.
-
Install Homebrew (if not already installed): Open your Terminal and run the following command:
/bin/bash -c "$(curl -fsSL https://raw.githubusercontent.com/Homebrew/install/HEAD/install.sh)"Follow the on-screen instructions to complete the installation.
-
Install OpenCV: Once Homebrew is installed, you can install OpenCV with this command:
brew install opencvThis will install OpenCV along with its Python bindings and dependencies.
-
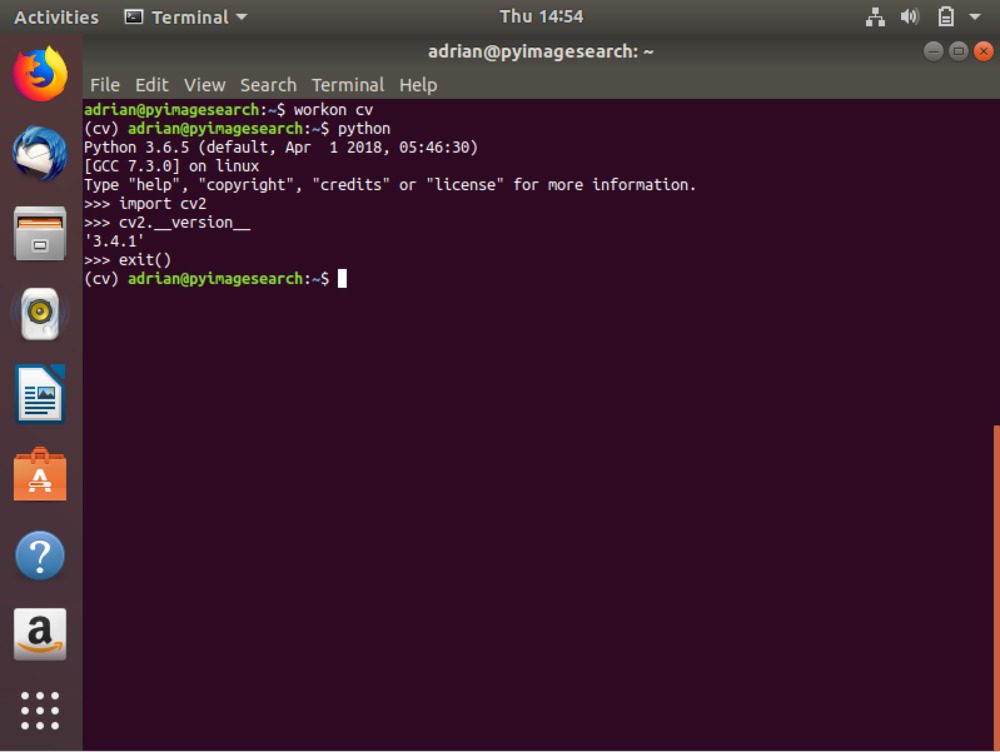
Verify Installation (for Python): Open a Python interpreter in your terminal and run:
import cv2 print(cv2.__version__)You should see the OpenCV version printed.
Method 2: Using Pip for Python
Similar to Windows, you can use pip directly on macOS for Python installations.
-
Open Terminal: Launch the Terminal application.
-
Install OpenCV:
bash
pip install opencv-python
Or for the contrib modules:
bash
pip install opencv-contrib-python
- Verify Installation:
python
import cv2
print(cv2.__version__)
Installing OpenCV on Linux
Linux distributions offer multiple ways to install OpenCV, including package managers (apt, yum, dnf) and compiling from source.
Method 1: Using Package Managers (e.g., Ubuntu/Debian)
This is the simplest method for most Linux users.
-
Update Package Lists: Open your Terminal and run:
sudo apt update -
Install OpenCV: Install the Python 3 package for OpenCV:
sudo apt install python3-opencvIf you need the development files for C++ development, you might also install:
sudo apt install libopencv-dev -
Verify Installation (for Python):
bash

python3 -c "import cv2; print(cv2.__version__)"
Method 2: Using Pip for Python
This method is consistent across most operating systems and provides more control over the version installed.
-
Install Pip (if not already installed):
sudo apt install python3-pip -
Install OpenCV:
pip3 install opencv-pythonOr for the contrib modules:
pip3 install opencv-contrib-python -
Verify Installation:
bash

python3 -c "import cv2; print(cv2.__version__)"
Method 3: Compiling from Source (Advanced)
Compiling from source gives you the most control over the installation, allowing you to enable or disable specific features and optimize for your system. This is a more involved process.
-
Install Dependencies: You’ll need build tools and various libraries. For Ubuntu/Debian, this typically involves:
sudo apt update sudo apt install cmake git libgtk-3-dev python3-dev python3-numpy libavcodec-dev libavformat-dev libswscale-dev libjpeg-dev libpng-dev libtiff-dev libeigen3-dev -
Download OpenCV Source Code:
git clone https://github.com/opencv/opencv.git
cd opencv
git checkout 4.x  # Replace 4.x with the desired version tag
You may also want to clone the
opencv_contribrepository if you need its modules:git clone https://github.com/opencv/opencv_contrib.git cd opencv_contrib git checkout 4.x # Ensure this matches the opencv version tag cd ../opencv -
Configure with CMake: Create a build directory and run CMake.
mkdir build cd build cmake -D CMAKE_BUILD_TYPE=RELEASE -D CMAKE_INSTALL_PREFIX=/usr/local ..CMAKE_BUILD_TYPE=RELEASE: Optimizes the build for performance.CMAKE_INSTALL_PREFIX=/usr/local: Specifies the installation directory.- If you cloned
opencv_contrib, you’ll need to add-D OPENCV_EXTRA_MODULES_PATH=../opencv_contrib/modulesto thecmakecommand.
-
Compile and Install:
make -j$(nproc) # Use all available CPU cores for faster compilation sudo make install -
Update Library Cache:
sudo ldconfig -
Verify Installation:
bash

python3 -c "import cv2; print(cv2.__version__)"
Troubleshooting Common Installation Issues
While the above steps are generally effective, you might encounter a few common hurdles.
Python Path Issues
If import cv2 fails in Python, it’s often because your Python environment can’t find the installed OpenCV library.
- Using Pip: Ensure you are using the correct
pipassociated with your Python interpreter. If you have multiple Python versions, usepip3for Python 3. Check yoursys.pathin Python to see where packages are being looked for. - System-wide Installations: On Linux, ensure
sudo ldconfighas been run after compiling from source.
Missing Dependencies
When compiling from source, missing development libraries are a frequent cause of failure. Carefully review the dependency list for your specific Linux distribution or macOS version. The error messages from CMake or make will usually indicate which library is missing.
Version Conflicts
If you have multiple versions of OpenCV installed or conflicting Python environments, you might run into issues. It’s often best to stick to one primary installation method (e.g., pip for Python) and manage your Python environments using tools like venv or conda to avoid conflicts.
Permissions Errors
When installing system-wide or using sudo make install, ensure you have the necessary administrative privileges.
Next Steps: Your OpenCV Journey Begins
Congratulations! You have successfully installed OpenCV. Now, the exciting part begins: harnessing its power for your projects.
Exploring OpenCV with Python
Python is an excellent language for learning and experimenting with OpenCV due to its readability and extensive libraries for data science and machine learning.
-
Basic Image Operations:
import cv2 # Load an image img = cv2.imread('path/to/your/image.jpg') # Display the image cv2.imshow('My Image', img) cv2.waitKey(0) # Wait indefinitely until a key is pressed cv2.destroyAllWindows() # Convert to grayscale gray_img = cv2.cvtColor(img, cv2.COLOR_BGR2GRAY) cv2.imshow('Grayscale Image', gray_img) cv2.waitKey(0) cv2.destroyAllWindows() -
Object Detection with Haar Cascades:
OpenCV comes with pre-trained Haar cascades for detecting faces, eyes, and other objects.import cv2 face_cascade = cv2.CascadeClassifier(cv2.data.haarcascades + 'haarcascade_frontalface_default.xml') img = cv2.imread('path/to/your/image_with_face.jpg') gray = cv2.cvtColor(img, cv2.COLOR_BGR2GRAY) faces = face_cascade.detectMultiScale(gray, 1.1, 4) for (x, y, w, h) in faces: cv2.rectangle(img, (x, y), (x+w, y+h), (255, 0, 0), 2) cv2.imshow('Faces Found', img) cv2.waitKey(0) cv2.destroyAllWindows()
Moving Forward in the Tech Landscape
With OpenCV installed, you are well-equipped to dive deeper into the exciting fields of computer vision and AI. Consider exploring tutorials on image manipulation, object tracking, and integrating OpenCV with machine learning models. The journey into understanding and building intelligent visual systems is vast, and OpenCV is your indispensable companion.
Whether you’re building a new app, enhancing your personal brand through innovative tech, or exploring new avenues for online income, mastering tools like OpenCV will undoubtedly provide a significant edge in the ever-evolving technological landscape. Happy coding!
aViewFromTheCave is a participant in the Amazon Services LLC Associates Program, an affiliate advertising program designed to provide a means for sites to earn advertising fees by advertising and linking to Amazon.com. Amazon, the Amazon logo, AmazonSupply, and the AmazonSupply logo are trademarks of Amazon.com, Inc. or its affiliates. As an Amazon Associate we earn affiliate commissions from qualifying purchases.