
In the ever-evolving landscape of personal computing, a common bottleneck that users encounter is insufficient RAM (Random Access Memory). Whether you’re a gamer demanding smoother frame rates, a creative professional juggling multiple demanding applications, or a student trying to keep dozens of browser tabs open without your machine grinding to a halt, the need for more RAM is a familiar frustration. This guide will walk you through the process of understanding what RAM is, why you might need more of it, how to identify the right type, and ultimately, how to physically install it into your computer. This upgrade, while seemingly technical, is one of the most impactful and accessible ways to breathe new life into an aging system and significantly boost its overall performance.
Understanding RAM and Its Importance for Performance
RAM is a crucial component of your computer’s hardware. It acts as the short-term memory for your system, holding the data and instructions that your CPU (Central Processing Unit) needs to access quickly. Think of it like a workbench for your computer; the more space you have on that workbench, the more tools and materials you can lay out simultaneously, allowing you to work on multiple tasks without constantly putting things away and retrieving them.
When you launch an application, play a game, or even open a web browser with multiple tabs, the relevant data is loaded into RAM. The more RAM your system has, the more of this data can be stored there, leading to faster access times and smoother multitasking. If your computer runs out of available RAM, it has to resort to using your much slower storage drive (like an SSD or HDD) as virtual memory. This process, known as “swapping” or “paging,” significantly slows down your computer, manifesting as lag, stuttering, and unresponsiveness.
The Impact of Insufficient RAM
The symptoms of insufficient RAM are varied and can be frustratingly detrimental to productivity and enjoyment. You might notice:
- Slowdowns when multitasking: Switching between applications becomes sluggish, and programs take longer to open.
- Applications crashing or becoming unresponsive: This often happens when demanding software or too many programs are running simultaneously.
- Lag and stuttering in games: Even with a powerful graphics card, insufficient RAM can prevent games from running smoothly.
- Longer loading times: Both applications and operating system boot-up can take noticeably longer.
- Browser performance degradation: Websites with many elements or numerous open tabs can bog down your system.
- Overall sluggishness: Even simple tasks feel less fluid and responsive.
The good news is that upgrading your RAM is often a straightforward and cost-effective solution to these performance issues. It’s a tangible way to improve your computer’s speed and efficiency without needing to replace the entire machine.
Assessing Your Current RAM Needs and Identifying Compatible Modules
Before you can embark on the journey of installing more RAM, it’s essential to understand your current setup and what kind of RAM your computer can accommodate. This involves a bit of detective work to ensure you purchase compatible modules, preventing wasted money and potential hardware issues.
Determining Your Current RAM Usage
The first step is to understand how much RAM you are currently using and how much you have installed.
-
On Windows:
- Press
Ctrl + Shift + Escto open the Task Manager. - Navigate to the “Performance” tab.
- Click on “Memory.”
Here, you’ll see your total installed RAM, how much is currently in use, and how much is available. You can also see the speed of your RAM and the number of slots being used. For a more detailed view, go to “System Information” (search for it in the Start menu) and look under “System Summary” for “Installed Physical Memory (RAM).”
- Press
-
On macOS:
- Click the Apple menu in the top-left corner.
- Select “About This Mac.”
- In the “Overview” tab, you’ll see your processor and memory information. For more details, click “System Report” and then “Memory” under the “Hardware” section.
Observing your RAM usage during typical workloads will give you a good indication of whether you’re frequently hitting your current limits. If you consistently see your RAM usage hovering around 80-90% or higher during your normal usage patterns, then upgrading is likely to yield significant benefits.
Identifying the Correct RAM Type and Specifications
This is a critical step. Not all RAM modules are interchangeable. You need to match your computer’s motherboard specifications precisely. The key specifications to look for are:
- RAM Type (DDR Generation): This is the most important factor. Your motherboard will support a specific DDR generation, such as DDR3, DDR4, or DDR5. You cannot mix and match generations; for example, DDR4 RAM will not fit or work in a DDR3 slot.
- Form Factor:
- DIMM (Dual In-line Memory Module): This is the standard for desktop computers.
- SO-DIMM (Small Outline Dual In-line Memory Module): This is used in laptops and smaller form-factor PCs.
- Speed (MHz or MT/s): RAM modules have a specific clock speed. While faster RAM can offer a slight performance boost, it’s crucial that it’s compatible with your motherboard and CPU, which also have memory speed limitations. It’s generally safe to install RAM with the same speed as your existing modules or a slightly higher speed if your motherboard supports it.
- Capacity (GB): This refers to the amount of data a single module can store (e.g., 8GB, 16GB).
- Latency (CL – CAS Latency): Lower CL numbers generally indicate faster response times, but the difference is often marginal for average users.
- Voltage: While less of a concern with modern RAM, ensure compatibility if you have an older system.
Methods to Determine Your RAM Specifications:
- Check Your Motherboard Manual or Manufacturer’s Website: If you know your motherboard model (you can find this in System Information on Windows or System Report on macOS), consult its manual or the manufacturer’s support page. This is the most accurate method.
- Use Third-Party Software: Tools like CPU-Z (for Windows) or EveryMac.com’s lookup tool (for Macs) can provide detailed information about your system’s hardware, including RAM specifications.
- Consult Your Computer’s Manufacturer (for Pre-built Systems/Laptops): If you have a pre-built desktop or a laptop from a major brand like Dell, HP, Lenovo, or Apple, visit their support website and enter your model or serial number. They usually have detailed specifications and upgrade guides.
- Physical Inspection (Use Caution): You can open your computer (when powered off and unplugged!) and look at the labels on your existing RAM modules. This can give you the model number, capacity, and sometimes even the speed. However, be careful not to touch components unnecessarily.
Key Takeaway: When in doubt, err on the side of caution and stick to RAM that is explicitly listed as compatible with your system or motherboard. Buying a generic “upgrade kit” without verifying compatibility can lead to frustration.
The Installation Process: Step-by-Step Guide
With the correct RAM modules in hand, you’re ready for the physical installation. While this process can vary slightly between desktops and laptops, the core principles remain the same. Safety first is paramount.
Preparing for the Installation
Before you begin, gather the necessary tools and take precautions to prevent damage to your hardware.
-
Tools:
- Phillips head screwdriver: Typically the only tool needed for desktop cases and many laptops.
- Anti-static wrist strap: Highly recommended to discharge static electricity, which can fry electronic components.
- Small container: To keep screws organized if you’re disassembling a laptop or PC case.
- Well-lit workspace: Good visibility is essential.
- Your new RAM modules: Handle them by the edges, avoiding contact with the gold pins.
-
Safety Precautions:
- Power Down Completely: Shut down your computer through the operating system.
- Unplug All Cables: Disconnect the power cord from the wall outlet and any peripherals.
- Discharge Static Electricity:
- If using an anti-static wrist strap, clip it to an unpainted metal part of your computer case.
- If not using a strap, touch an unpainted metal surface of your computer case (like the power supply housing) before touching any internal components. Do this periodically throughout the process.
- Work on a Non-Carpeted Surface: Carpets are a prime source of static electricity.
- Avoid Touching Components Directly: Handle RAM modules by their edges.
Installing RAM in a Desktop Computer
Desktop installation is generally more straightforward.
-
Open the Computer Case: Most desktop cases have side panels secured by screws on the back. Remove these screws and slide or lift off the side panel.
-
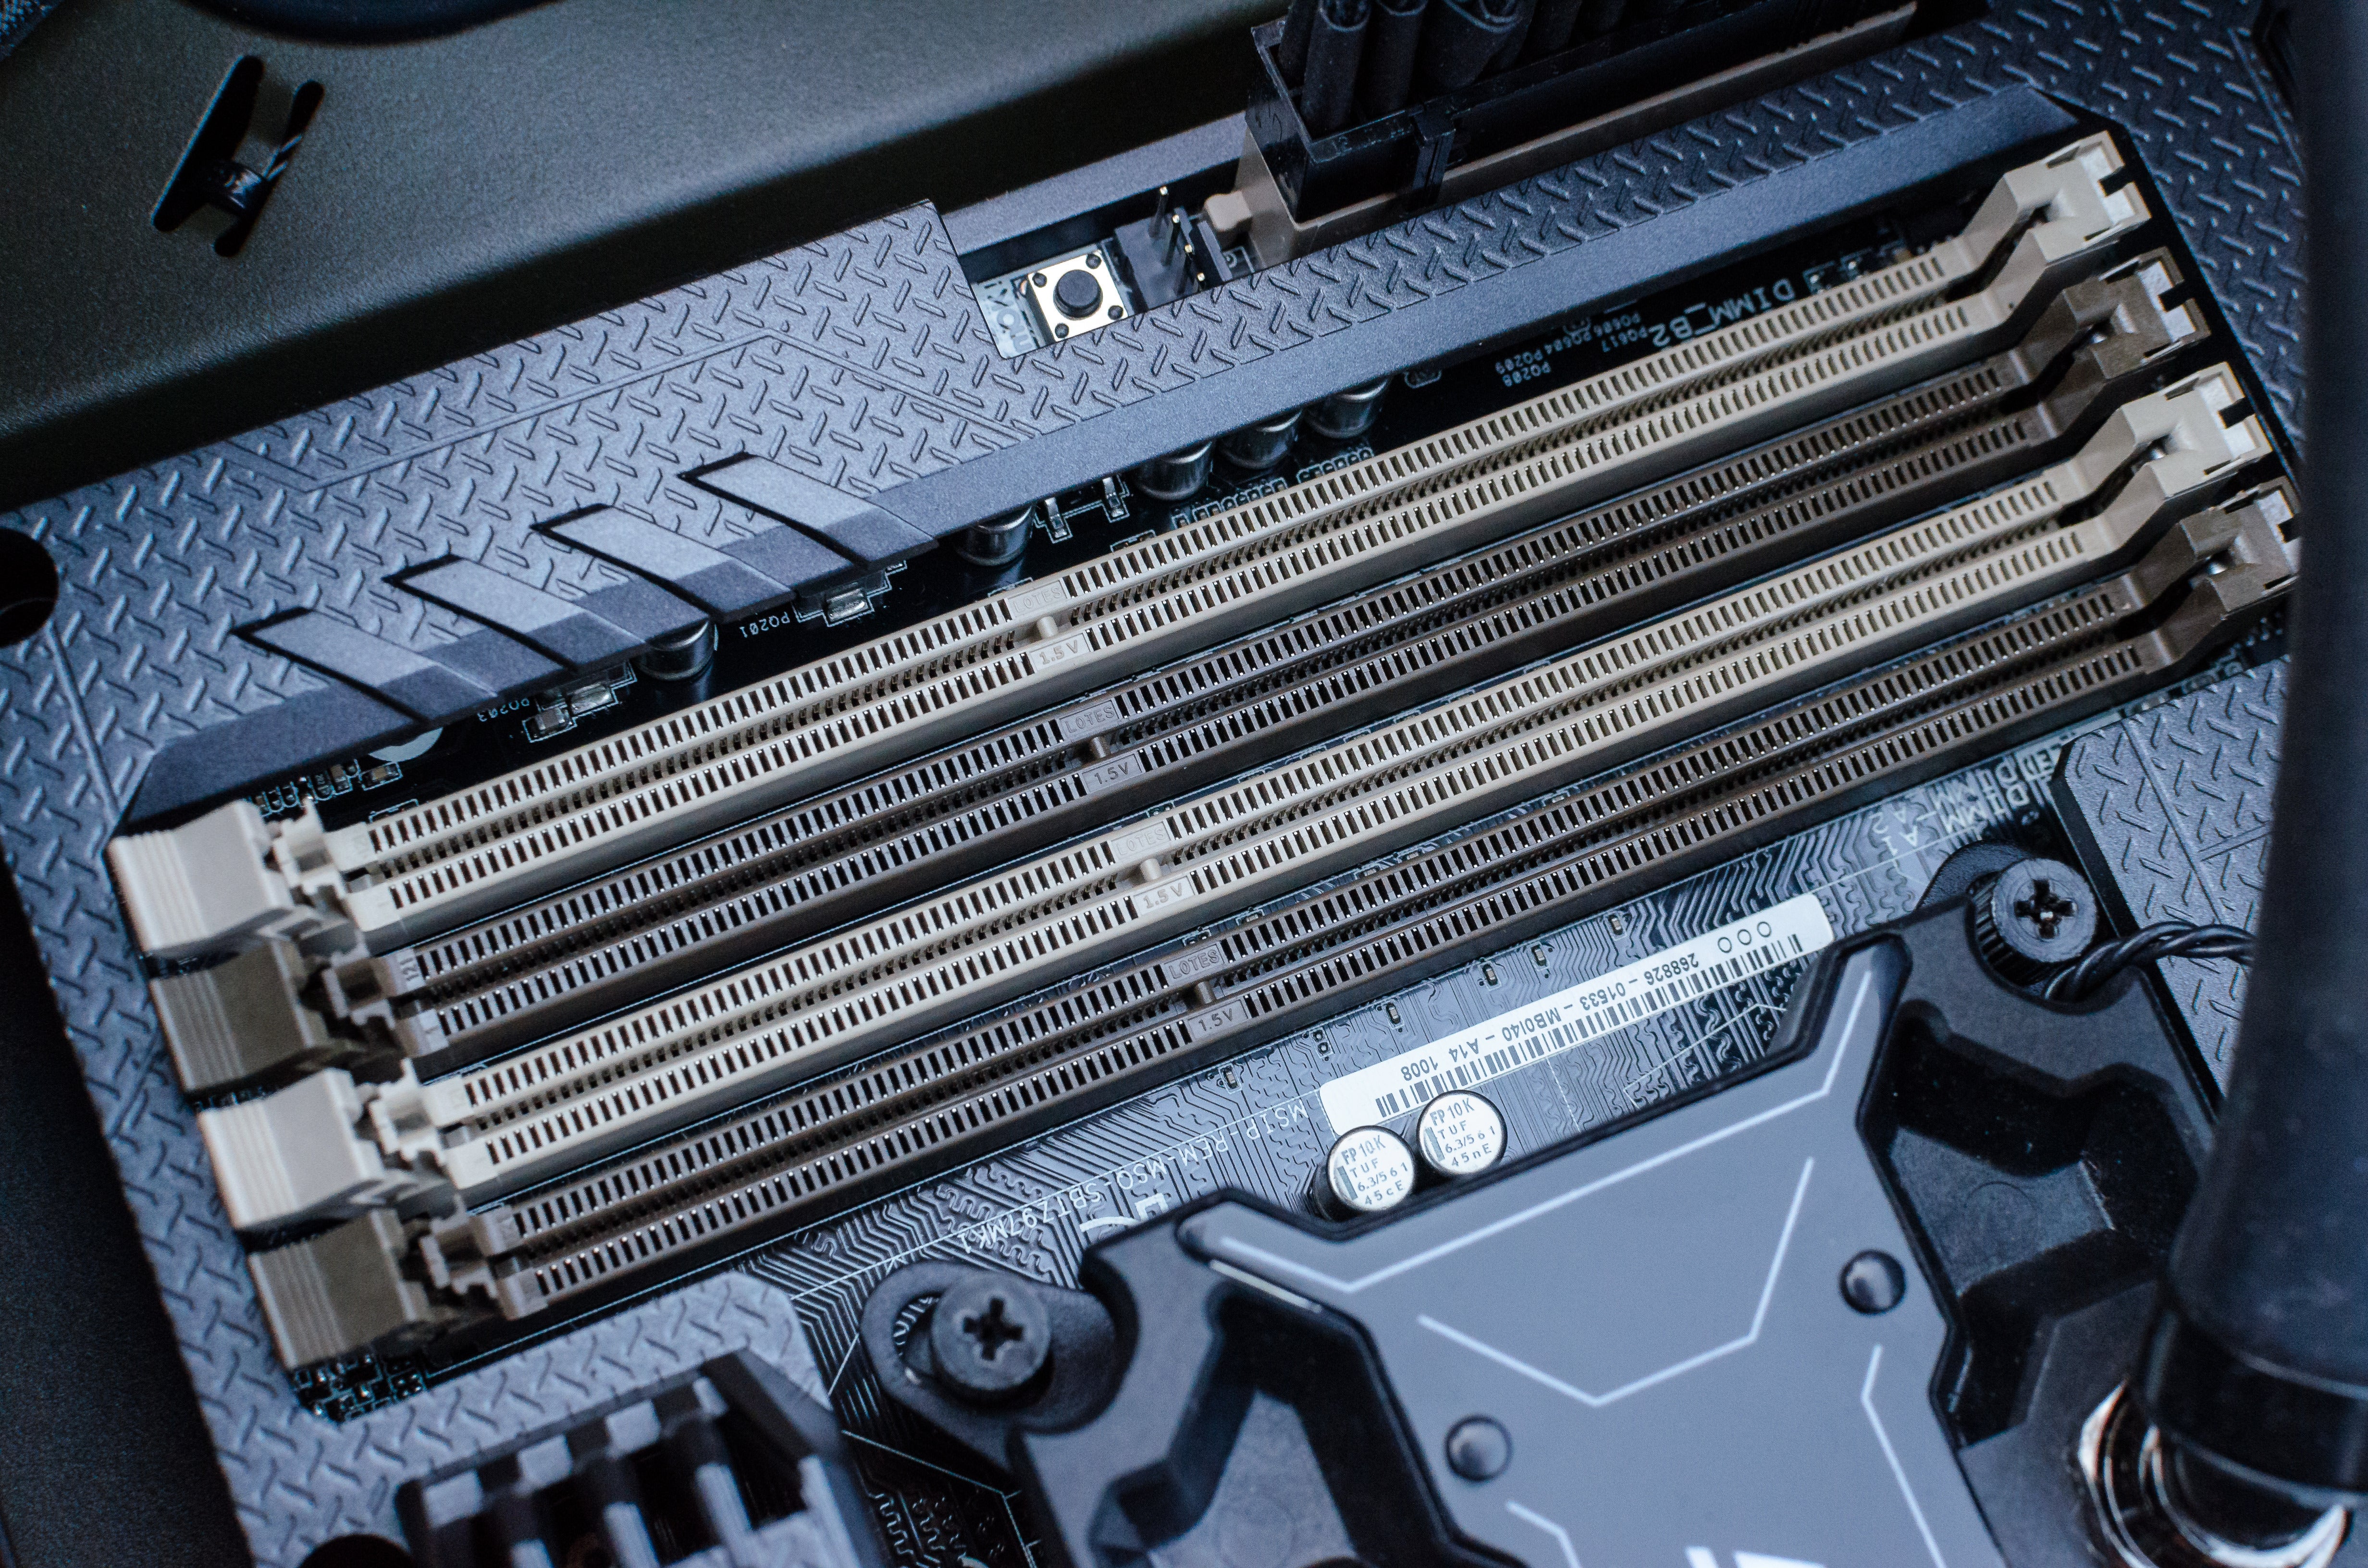
Locate the RAM Slots: These are usually long, thin slots located near the CPU on the motherboard. They typically come in pairs or groups of four. Each slot has a small clip at one or both ends.
-
Remove Existing RAM (If Necessary): If you’re replacing existing RAM or need to make space, gently push down on the clips at either end of the RAM slot. The module should pop up slightly. You can then carefully pull it straight out.
-
Install the New RAM:
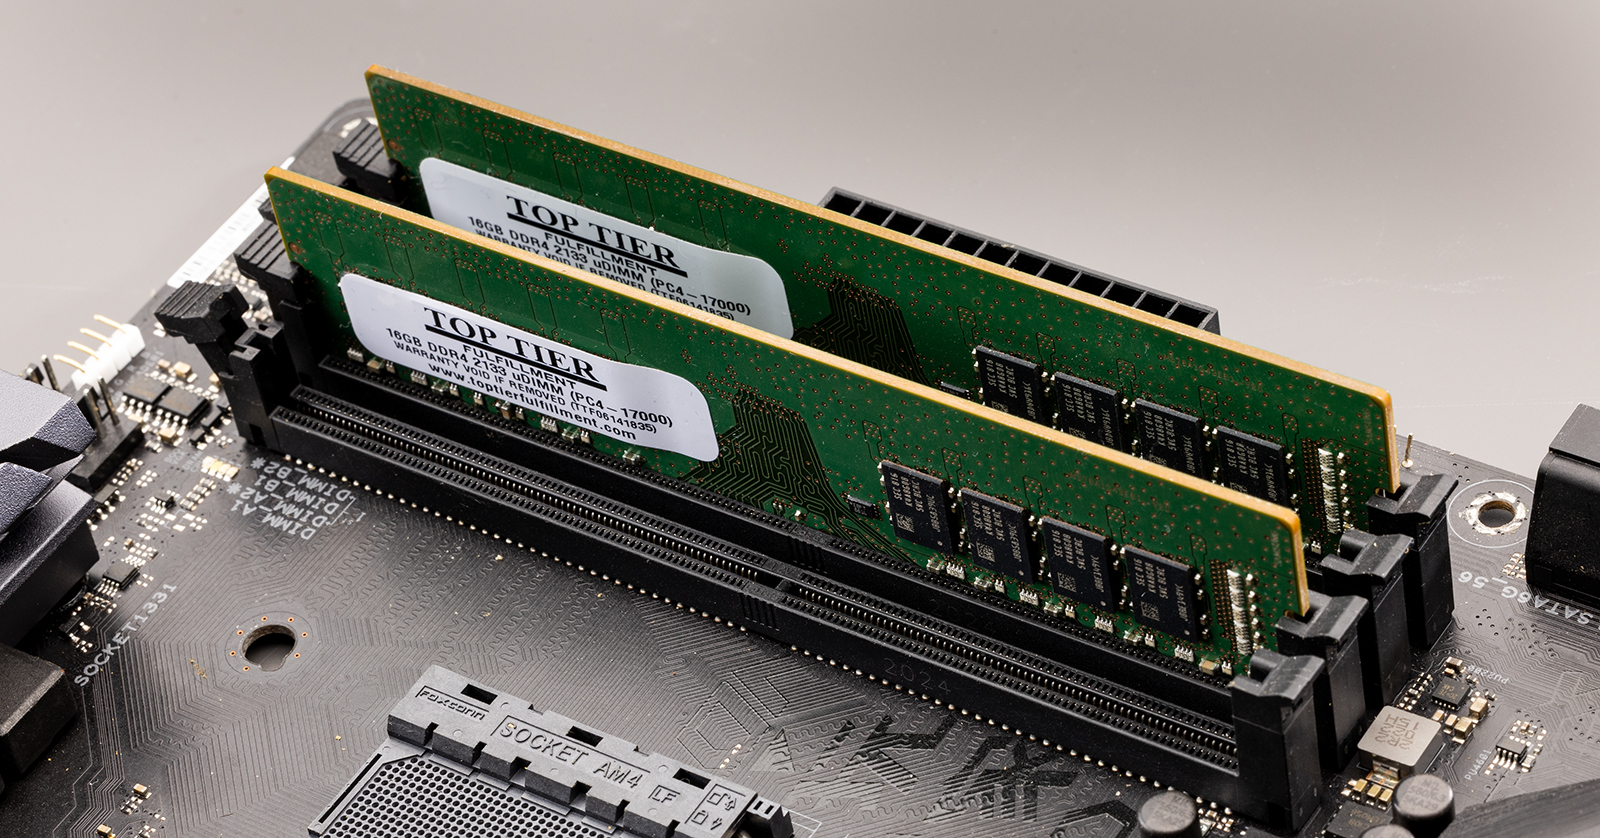
- Align the notch on the bottom edge of the new RAM module with the corresponding key (a gap) in the RAM slot. This ensures you insert it the correct way. Do not force it. If it doesn’t align, you have it backward.
- Once aligned, press down firmly and evenly on both ends of the RAM module. You should hear or feel a click as the clips on the sides of the slot snap into place, securing the module.
- If you’re installing multiple modules, refer to your motherboard manual for the correct slot configuration (often called “dual-channel” or “quad-channel” configurations). Installing modules in the wrong slots might prevent your system from recognizing all of the RAM or running it at its optimal speed.
-
Close the Case and Reconnect: Reattach the side panel, secure it with screws, reconnect your peripherals, and plug in the power cord.
Installing RAM in a Laptop
Laptop RAM installation can vary significantly by model. Some laptops have easily accessible RAM bays, while others require partial disassembly.
-
Consult Your Laptop Manual or Online Resources: Before you begin, search for a service manual or a “how-to” video for your specific laptop model. This will guide you on how to access the RAM slots.
-
Power Down and Unplug: As with desktops, shut down your laptop completely and unplug the power adapter. It’s also a good idea to remove the battery if it’s easily removable.
-
Access the RAM Compartment: This might involve removing a small panel on the bottom of the laptop, unscrewing the entire bottom cover, or even removing the keyboard.
-
Locate the RAM Slots: These are usually smaller than desktop DIMM slots and are often covered by metal shields or plastic brackets.
-
Remove Existing RAM (If Necessary): Laptop RAM modules (SO-DIMMs) are typically held in place by metal clips on either side. Gently push these clips outwards, and the RAM module will spring up at an angle. You can then carefully pull it out of its slot.
-
Install the New RAM:
- Align the notch on the SO-DIMM with the key in the slot.
- Insert the module into the slot at approximately a 30-45 degree angle.
- Once fully inserted, gently push down on the top edge of the module until the side clips snap into place, securing it flat.
-
Reassemble and Power On: Replace any panels or covers you removed, reconnect the battery (if removed), power adapter, and turn on your laptop.
Verifying the Installation
After physically installing the RAM, it’s crucial to verify that your system recognizes it.
- Boot Up Your Computer: Power on your computer. It might take slightly longer for the first boot after a hardware change as the system detects the new components.
- Check System Information:
- Windows: Open Task Manager (
Ctrl + Shift + Esc), go to the “Performance” tab, and click “Memory.” You should see the total amount of RAM that you installed. Alternatively, check System Information. - macOS: Go to “About This Mac” and check the “Memory” section.
- Windows: Open Task Manager (
- BIOS/UEFI Check (Optional but Recommended): You can also enter your computer’s BIOS or UEFI settings (usually by pressing
Del,F2,F10, orF12during boot-up) to see if the full amount of RAM is recognized there. This is a good way to catch issues before the operating system even loads.
If your system doesn’t recognize the new RAM, or if it’s showing less than you installed, double-check that the modules are seated correctly and that you purchased compatible RAM. Sometimes, reseating the modules can resolve the issue.
Maximizing Performance and Troubleshooting Common Issues
Upgrading RAM is a fantastic way to boost performance, but understanding how to leverage that extra capacity and what to do if things don’t go as planned is equally important.
Optimizing Your System After the Upgrade
While simply installing more RAM will often make a noticeable difference, a few extra steps can ensure you’re getting the most out of your new hardware.
- Monitor Performance: Continue to use your Task Manager or Activity Monitor to observe your RAM usage. You should see that you have much more headroom, allowing for smoother multitasking and faster application loading.
- Close Unnecessary Background Processes: Even with ample RAM, it’s good practice to close applications and browser tabs you’re not actively using. This frees up resources for the tasks you are performing.
- Update Drivers and Operating System: Ensure your operating system and all hardware drivers are up to date. This can sometimes improve how your system utilizes hardware resources.
- Consider RAM Speed (Advanced): If you installed RAM that is faster than your previous modules and your motherboard supports it, you might be able to enable XMP (Extreme Memory Profile) or DOCP (Direct Overclock Profile) in your BIOS/UEFI settings to run the RAM at its advertised speed. Consult your motherboard manual for instructions. Be cautious with overclocking settings.

Troubleshooting Common RAM Installation Problems
Despite careful preparation, issues can sometimes arise. Here are some common problems and their solutions:
-
Computer Won’t Boot (Black Screen):
- Reseat the RAM: The most common cause is modules not being fully seated. Power off, unplug, discharge static, and carefully remove and reinsert each module.
- Check for Compatibility: Ensure the RAM is the correct type and speed for your motherboard.
- Try One Module at a Time: If you installed multiple modules, try booting with just one to isolate a potentially faulty stick.
- Check Motherboard Manual: Ensure you’ve installed modules in the correct slots for dual-channel or multi-channel operation.
- Faulty RAM Module: In rare cases, a module might be DOA (Dead On Arrival).
-
System Recognizes Less RAM Than Installed:
- Reseat the RAM: Again, ensure they are properly seated.
- Check for Faulty Slots: Try installing the RAM in different slots.
- Motherboard Limitations: Some older motherboards have a maximum RAM capacity per slot or in total. Ensure you haven’t exceeded this limit.
- Operating System 32-bit Limitation: If you’re running a 32-bit version of Windows, it can only address approximately 3.5-4GB of RAM, regardless of how much you install. You’ll need a 64-bit OS to utilize more.
-
System Instability (Crashing, Blue Screens):
- Check RAM Seating: Loose modules are a prime suspect.
- Run Memory Diagnostics: Windows has a built-in “Windows Memory Diagnostic” tool. Run this to check for errors. macOS users can use Apple Diagnostics.
- Overheating: Ensure your system has adequate cooling, as RAM can be sensitive to heat.
- Compatibility Issues: Even if the RAM boots, subtle incompatibilities can cause instability.
-
Slow Performance (Unexpectedly):
- RAM Not Running at Full Speed: Check BIOS/UEFI settings for XMP/DOCP profiles.
- Other Bottlenecks: Your CPU or storage drive might now be the bottleneck, limiting perceived performance gains.
- Software Conflicts: Ensure no background software is interfering.
By following these guidelines, you can confidently upgrade your computer’s RAM, unlock smoother performance, and extend the useful life of your hardware. This seemingly simple upgrade is a powerful testament to the fact that sometimes, the most impactful improvements come from understanding and addressing the fundamental components of your technology.
aViewFromTheCave is a participant in the Amazon Services LLC Associates Program, an affiliate advertising program designed to provide a means for sites to earn advertising fees by advertising and linking to Amazon.com. Amazon, the Amazon logo, AmazonSupply, and the AmazonSupply logo are trademarks of Amazon.com, Inc. or its affiliates. As an Amazon Associate we earn affiliate commissions from qualifying purchases.