
The Elder Scrolls IV: Oblivion, first released in 2006, remains a beloved classic in the pantheon of role-playing games. Its sprawling world of Cyrodiil, intricate quests, and groundbreaking gameplay captivated millions. Yet, nearly two decades later, even the most nostalgic adventurers might find themselves yearning for a fresh experience. This is where the vibrant modding community steps in. For years, dedicated fans have tirelessly crafted an astonishing array of modifications, ranging from essential bug fixes and graphical overhauls to entirely new lands, quests, and gameplay mechanics.
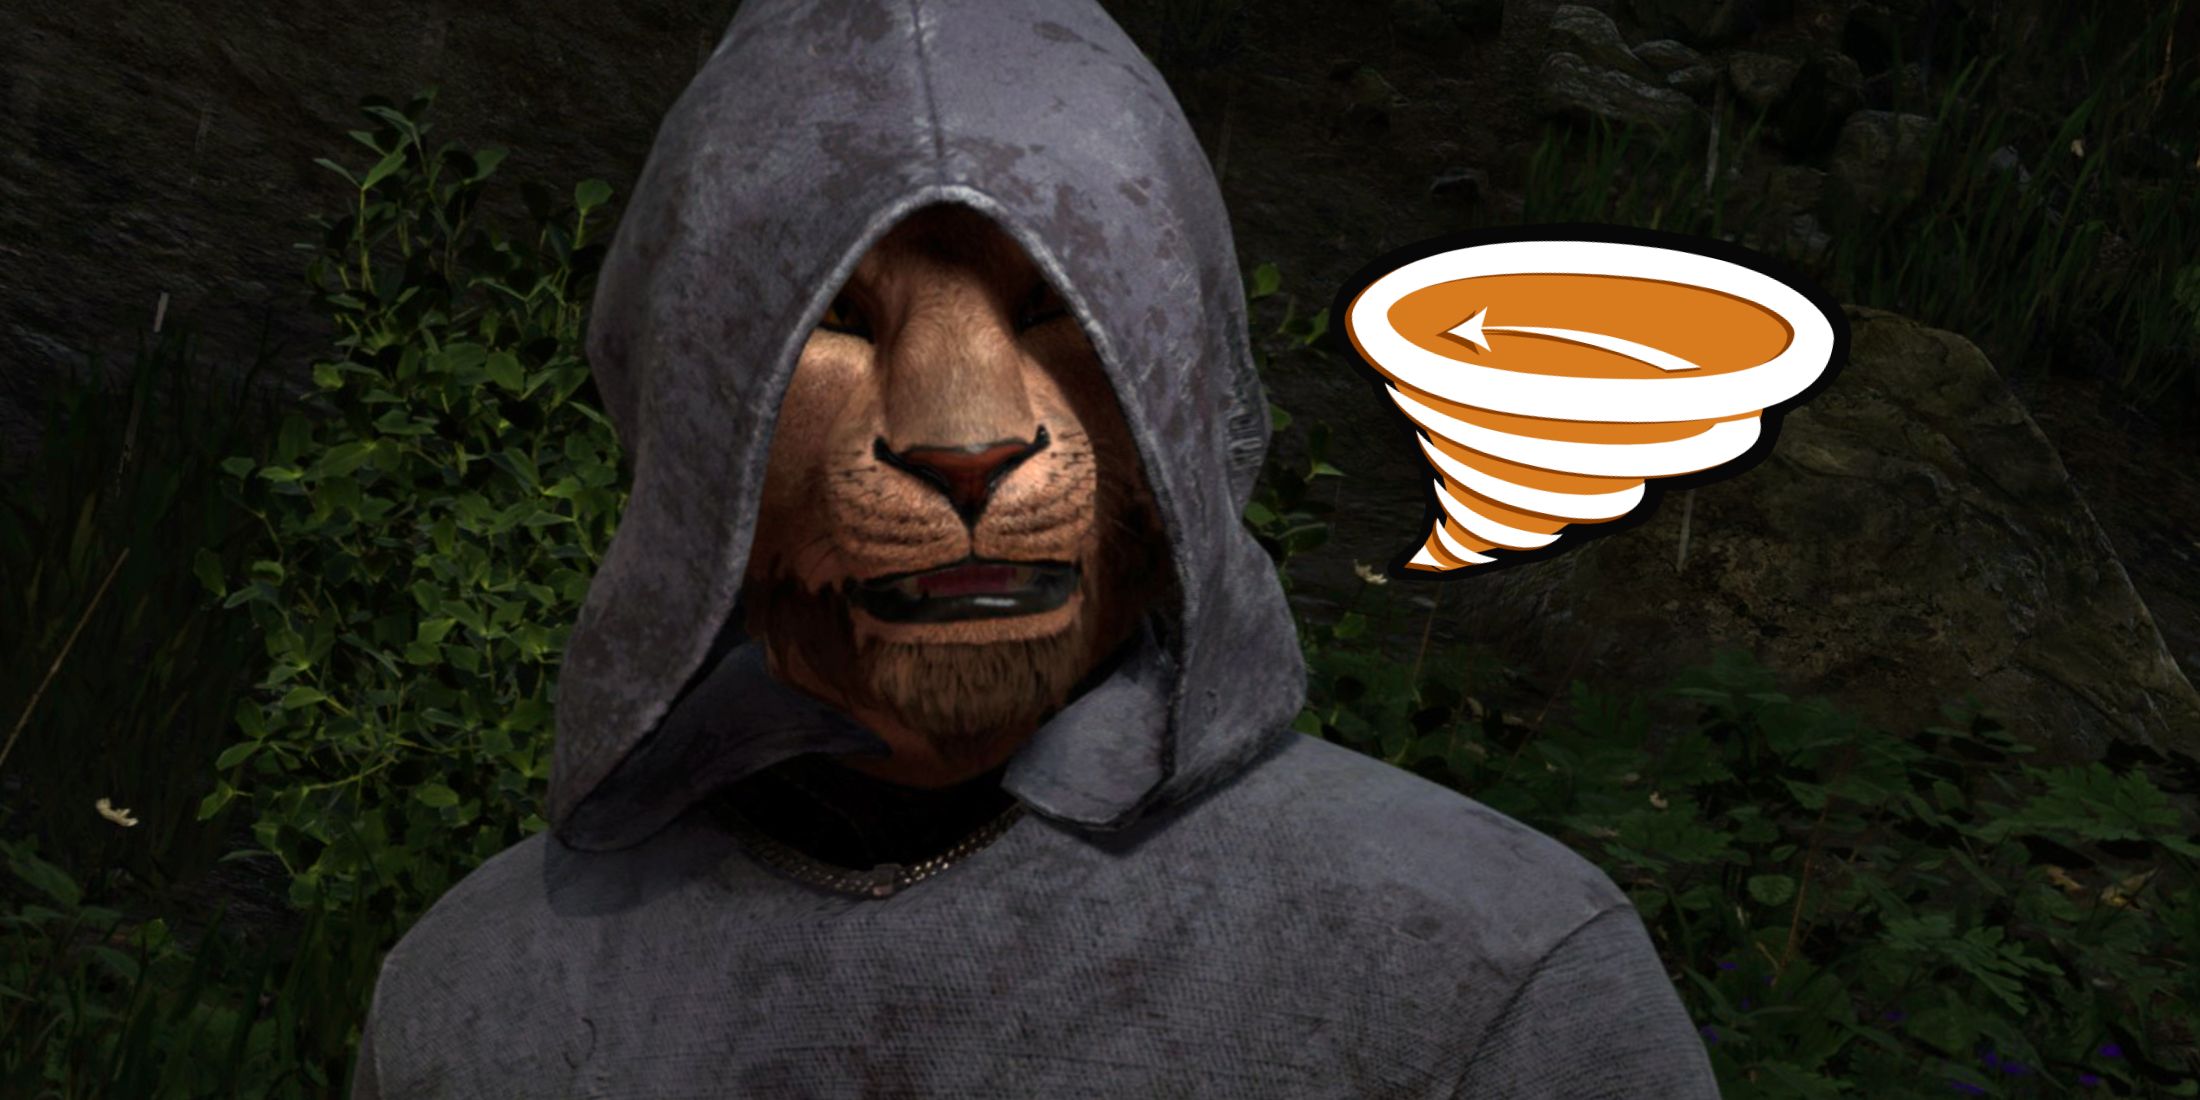
Modding Oblivion isn’t merely about cosmetic changes; it’s about unlocking the game’s full, unconstrained potential, transforming a cherished classic into a personalized masterpiece. While the prospect of diving into game files and complex tools might seem daunting at first, the rewards are immeasurable. This comprehensive guide will demystify the process, equipping you with the knowledge and confidence to embark on your own modding journey, ensuring you can tailor Oblivion precisely to your preferences and experience Cyrodiil anew. We’ll cover everything from essential prerequisites to advanced optimization techniques, empowering you to navigate the technological landscape of Oblivion modding with ease and confidence.
Why Mod Oblivion? Unlocking its Full Potential with Technology and Community
Oblivion, for all its revolutionary elements at launch, shows its age. Its graphics, while impressive for the time, are now dated; certain gameplay mechanics can feel clunky, and some bugs persist despite official patches. Modding offers a powerful solution, leveraging the ingenuity of the community to update, expand, and enhance virtually every aspect of the game. For enthusiasts of technology and gaming, understanding how these community-driven software enhancements work is a fascinating exercise in digital craftsmanship and preservation.
Enhanced Graphics and Visuals: A Digital Facelift
One of the most immediate and impactful reasons to mod Oblivion is to bring its visuals into the modern era. Early 2000s graphics, characterized by lower-resolution textures and simpler lighting models, can be drastically improved. The modding community has produced an incredible array of visual enhancements, from high-resolution texture packs that replace every surface in the game to sophisticated lighting overhauls that transform the ambiance of dungeons and cities. Mods like Qarl’s Texture Pack 3, detailed weather systems, and advanced ENB (Enhanced Natural Beauty) presets utilize complex shader injections and post-processing effects, pushing the boundaries of what the original game engine can display. These technological marvels don’t just make the game prettier; they deepen immersion, making the world feel more vibrant, realistic, and alive, proving that even legacy software can be dramatically revitalized with clever manipulation and external tools.
New Quests, Lands, and Lore: Expanding the Digital Universe
Beyond visual upgrades, mods can fundamentally expand the Oblivion experience by adding entirely new content. Imagine exploring vast, professionally crafted new landmasses, embarking on epic questlines that rival those of the base game, or delving into dungeons designed with unprecedented complexity. Projects like “Nehrim: At Fate’s Edge” or “Oscuro’s Oblivion Overhaul” (OOO) are testament to the community’s ambition, offering hundreds of hours of additional gameplay, new characters, and intricate lore that seamlessly integrate with or even build upon the original narrative. This aspect of modding showcases the power of collaborative digital creation, transforming a static game into an ever-expanding platform for storytelling and adventure, echoing principles of open-source development where collective effort continually enhances a core product.
Gameplay Mechanics and Quality of Life Improvements: Streamlining the Experience
While Oblivion’s core gameplay loop is solid, there’s always room for improvement, especially when viewed through the lens of modern game design. Modders have tackled everything from combat mechanics to user interface (UI) elements. Mods can overhaul the clunky inventory system, introduce more dynamic and challenging enemy AI, refine magic and stealth systems, and even implement survival mechanics. Quality-of-life improvements, such as improved map markers, faster travel, or more intuitive crafting interfaces, reduce frustration and enhance player agency. These modifications are akin to software patches developed by the community, fixing oversights and optimizing the user experience in ways that official developers might not have had the time or resources to address, emphasizing the practical application of community feedback in software refinement.
Personalization and Role-Playing: Tailoring Your Cyrodiil
Perhaps the most compelling reason to mod is the unparalleled degree of personalization it offers. Whether you want to play as a specific character archetype, immerse yourself in a highly detailed historical setting, or simply tweak minor annoyances, there’s a mod for almost everything. From character appearance overhauls and new weapon/armor sets to alternative starting scenarios and intricate follower systems, mods allow players to sculpt their ideal role-playing experience. This level of customization transforms Oblivion from a fixed narrative into a dynamic canvas, reflecting the player’s unique vision of Cyrodiil. It’s a digital reflection of personal branding and individual preference, enabling users to truly make the game their own.
Essential Prerequisites: Preparing Your Game for Modding Success
Before diving headfirst into the exciting world of custom content, it’s crucial to lay a solid foundation. Skipping these preliminary steps often leads to frustrating crashes, missing assets, and a generally unstable modded game. Think of these as the fundamental software installations and configurations necessary for any advanced tech project – they ensure compatibility and prevent future headaches.
A Clean Oblivion Installation: The Foundation of Stability
The absolute first step is to ensure you have a clean, unmodded installation of Oblivion. If you’ve previously attempted modding or have any lingering files from old mods, it’s highly recommended to perform a complete fresh install. For Steam users, this involves uninstalling the game, then manually deleting any remaining files in the Oblivion directory (usually located at steamapps/common/Oblivion), and finally reinstalling. GOG users should follow a similar process. A clean install guarantees that there are no rogue files or overwritten assets from previous attempts that could conflict with your new mods, providing a pristine digital workspace for your modifications. This is analogous to starting a new software development project with a clean repository.
Oblivion Script Extender (OBSE): Powering Complex Modifications
Many of Oblivion’s most advanced and feature-rich mods rely on Oblivion Script Extender (OBSE). OBSE is a critical utility that expands the scripting capabilities of the game engine, allowing modders to implement complex features that are simply not possible with the base game’s scripting language. Without OBSE, many popular mods, particularly those that introduce new gameplay mechanics or highly interactive elements, simply won’t function.
Installing OBSE is straightforward:
- Download the latest stable version of OBSE from its official website (obse.silverlock.org).
- Extract the contents of the archive.
- Copy all the extracted
.dlland.exefiles into your main Oblivion directory (the same folder whereoblivion.exeis located). Do NOT put them in a subfolder. - Launch Oblivion using
obse_loader.exeinstead ofoblivion.exeor the Steam launcher. For convenience, you can create a desktop shortcut toobse_loader.exe.
This process is a prime example of leveraging external APIs and runtime environments to extend the functionality of a core application, a common practice in software engineering.
Unofficial Patches: Essential Bug Fixes and Performance Enhancements
The modding community has tirelessly addressed thousands of bugs and inconsistencies that remained in Oblivion even after its official patches. The “Unofficial Oblivion Patch” (UOP), along with its various optional components (like the Unofficial Shivering Isles Patch), is an absolutely indispensable mod. It fixes countless bugs, corrects text errors, and resolves many conflicts that can cause instability. Installing the UOP early in your modding process is paramount for a stable game.
You’ll find these patches on Nexus Mods. Download them like any other mod, and they should be among the first mods you install. Their importance cannot be overstated; they act as a foundational layer of digital security and stability for your modded game.
Archive Invalidation: Enabling Custom Textures and Meshes
Oblivion uses archives (like .bsa files) to store most of its game assets (textures, meshes, sounds). When you install new textures or 3D models from mods, the game sometimes fails to recognize them, instead defaulting to the original assets. This is where “Archive Invalidation” comes in. It’s a method that forces Oblivion to look for external .dds (texture) and .nif (mesh) files instead of just relying on its internal archives.
The easiest and most reliable way to perform Archive Invalidation is through a mod manager like Wrye Bash (which we’ll discuss next) or Mod Organizer 2. Within Wrye Bash, it’s typically a simple right-click option on your Oblivion directory entry, or an option in the “Installers” tab, labeled “BSA Redirection.” Without proper Archive Invalidation, many visual mods will simply not appear in-game, leading to “pink” textures or missing models, akin to a software rendering engine failing to load necessary external assets.
Choosing Your Modding Method: Manual vs. Mod Managers
With your game prepared, the next critical decision is how you’ll install your mods. There are two primary approaches, each with its own advantages and disadvantages. For robust modding, one clearly stands out as the superior technological solution.
Manual Installation (for Simple Mods): The Basic Approach
Manual installation involves directly placing mod files into your Oblivion data folder. For very simple mods that consist of only a few files and have no dependencies or complex interactions, this can seem quick and easy. You download the mod, extract its contents, and drag-and-drop the files (e.g., .esp, .esm, texture folders, mesh folders) into your Data folder (Oblivion/Data). Then, you activate the .esp or .esm file using the default Oblivion launcher’s “Data Files” menu.
Pros:
- No external software required beyond an archive extractor.
- Intuitive for basic users.
Cons:
- High risk of conflicts: Manually overwriting files can break other mods or even the base game.
- Difficult uninstallation: Removing a mod completely can be nearly impossible without a clean reinstall, as you might not remember which files it added or overwrote.
- Poor error handling: No detection of missing masters or load order issues.
- Time-consuming: Becomes impractical with more than a handful of mods.
Manual installation is generally not recommended for Oblivion, especially if you plan on using more than a couple of basic mods. It’s a primitive form of software deployment, lacking version control and dependency management, and often leads to an unstable system.
The Power of Mod Managers (Recommended Approach): Wrye Bash & Mod Organizer 2
For any serious Oblivion modder, a mod manager is an absolute necessity. These sophisticated software tools automate the installation, uninstallation, conflict resolution, and load order management of your mods, significantly enhancing stability and user experience. For Oblivion, the two dominant players are Wrye Bash and Mod Organizer 2 (MO2). While MO2 is more modern and feature-rich (especially for newer Bethesda games), Wrye Bash is often considered the gold standard for Oblivion due to its long history, robust features specifically tailored for the game, and its indispensable “Bashed Patch” functionality.

Wrye Bash:
- Virtual Installation: Wrye Bash simulates mod installations, making it easy to add, remove, or reorder mods without directly touching your game’s Data folder.
- Bashed Patch: This unique feature merges leveled lists from multiple mods, significantly reducing conflicts and allowing many mods to coexist peacefully that would otherwise be incompatible. This is a critical component for large mod lists.
- Load Order Management: Integrates with tools like BOSS or LOOT to sort your mods for optimal stability.
- Archive Invalidation: Provides a simple method to ensure custom assets load correctly.
- Easy Uninstallation: Revert changes with a click, leaving your game folder clean.
Mod Organizer 2 (MO2):
- Truly Virtual File System: MO2 creates a “virtual” Data folder for each profile, allowing users to switch between completely different mod setups without reinstalling the game. This is superior for true isolation.
- Conflict Detection: Clearly shows which files are overwriting others.
- Profiles: Manage multiple distinct mod lists for different playthroughs.
While MO2 offers superior virtualization, Wrye Bash’s Bashed Patch is so crucial for Oblivion that many users install Wrye Bash alongside MO2, using MO2 for managing mod files and Wrye Bash for generating the Bashed Patch. For simplicity and Oblivion-specific optimization, we’ll focus on Wrye Bash as the primary tool in this guide, acknowledging its powerful role as an advanced software utility for game modification.
A Step-by-Step Guide with Wrye Bash: Mastering Your Modding Arsenal
Now that you understand the importance of a mod manager, let’s walk through the process of installing and using Wrye Bash to manage your Oblivion mods. This will be your primary interface for manipulating the game’s digital content.
Installing Wrye Bash: Setting Up Your Management Hub
- Download Wrye Bash: Go to the official Wrye Bash page on Nexus Mods. Download the latest version for Oblivion.
- Choose Installation Method:
- Recommended (Installer): If an installer is provided, use it. It will typically detect your Oblivion installation and set everything up correctly.
- Manual (if no installer): If you download a zip file:
- Create a folder named
Mopyinside your Oblivion directory (steamapps/common/Oblivion/Mopy). - Extract the contents of the Wrye Bash zip file into this
Mopyfolder. - Find
Wrye Bash.exeinsideMopyand create a desktop shortcut.
- Create a folder named
- First Launch: Run
Wrye Bash.exe. The first time, it might ask about enabling features or installing Python if needed. Confirm these steps. You should see a window with several tabs: “Installers,” “Mods,” “Saves,” etc.
Basic Wrye Bash Interface Overview: Navigating Your Modding Environment
Wrye Bash’s interface, while initially complex, becomes intuitive with practice:
- Installers Tab: This is where you’ll drag and drop your downloaded mod archives (
.zip,.7z,.rar). Wrye Bash will then allow you to install them virtually. - Mods Tab: This lists all your installed
.espand.esmfiles. Here you can activate/deactivate mods, check for missing masters (red checkboxes), and manage load order. - Bash Patch: A crucial feature, found by right-clicking in the “Mods” tab, that merges data from various mods to enhance compatibility.
Installing Mods with Wrye Bash: The Digital Deployment Process
- Download Mods: Most Oblivion mods are hosted on Nexus Mods (nexusmods.com/oblivion). Navigate to a mod page and click “Manual Download.” Choose the “slow download” option if you don’t have a premium account.
- Place Mod Archives: Once downloaded, move the mod archive file (e.g.,
Awesome_Armor_Mod.zip) into yourOblivion Mods/Bash Installersfolder. This folder is typically created by Wrye Bash in your main Oblivion directory. - Install via Wrye Bash: Go to the “Installers” tab in Wrye Bash. You should see your downloaded mod archive listed.
- Right-click on the mod.
- Select “Install.” Wrye Bash will process the archive.
- If the mod has a FOMOD installer (a wizard-like setup), Wrye Bash will launch it, guiding you through options (e.g., texture resolutions, optional files).
- Resolve Conflicts (if prompted): Wrye Bash might ask about overwriting files. For most straightforward installations, choose “No to All” initially, as the Bashed Patch will handle many conflicts. For specific instructions, refer to the mod’s description.
Activating and Deactivating Mods: Managing Your Digital Loadout
After installing a mod via the “Installers” tab, its .esp or .esm file will appear in the “Mods” tab.
- Activate: Simply click the checkbox next to the mod’s name. A green box indicates it’s active.
- Deactivate: Uncheck the box.
- Colors & Symbols: Wrye Bash uses colors and symbols to indicate mod status, conflicts, and missing master files. Pay attention to red checkboxes (missing masters – don’t run the game!), orange (potential conflicts), and green (good to go).
Understanding Load Order and Conflict Resolution: The Art of Digital Harmony
Load order refers to the sequence in which your game loads your .esm and .esp files. When two mods modify the same game record (e.g., an NPC’s stats or a cell’s contents), the mod loaded later in the sequence “wins” and its changes are applied. A correct load order is paramount for game stability and ensuring mods function as intended.
While Wrye Bash can manually sort, it’s best to use dedicated load order sorters like BOSS (Better Oblivion Sorting Software) or LOOT (Load Order Optimization Tool). For Oblivion, BOSS is often preferred due to its extensive masterlist specifically for Oblivion mods.
- Install BOSS: Download BOSS from its GitHub page or Nexus Mods. Install it to your Oblivion directory.
- Run BOSS: Launch
BOSS.exe. It will automatically analyze your active mods and sort them into a recommended order. It also provides a report detailing potential issues and suggestions. - Build a Bashed Patch: After BOSS sorts your load order, return to Wrye Bash’s “Mods” tab.
- Scroll to the very bottom. You’ll see an entry named
Bashed Patch, 0.esp. - Right-click on
Bashed Patch, 0.esp. - Select “Rebuild Patch.”
- A window will appear with various options. For most users, leave the default selections. Ensure “Merge Patches” and “Leveled Lists” are checked.
- Click “Build.” Wrye Bash will analyze all your active mods and create a single
.espfile that intelligently merges conflicting entries from leveled lists (e.g., what items appear on enemies or in containers), allowing many mods to peacefully coexist. This is a powerful form of automated conflict resolution, essential for a heavily modded game.
- Scroll to the very bottom. You’ll see an entry named
Post-Installation: Optimizing Your Modded Experience for Peak Performance
Once your mods are installed and your load order is sorted, there are a few more steps to ensure maximum stability and performance, truly optimizing your tech setup for gaming.
Generating a Bashed Patch: The Keystone of Compatibility
As mentioned, the Bashed Patch is non-negotiable for a stable, heavily modded Oblivion. It’s not just about merging leveled lists; it can also merge various minor .esp files, making your mod list shorter and reducing the chance of hitting Oblivion’s .esp limit. Always rebuild your Bashed Patch after adding or removing mods, or changing your load order. Its absence is a common cause of crashes and unexpected behavior.
Sorting Your Load Order with BOSS/LOOT: Precision for Stability
Even with Wrye Bash, using BOSS or LOOT to sort your plugins is vital. These tools have extensive, community-maintained masterlists that understand the dependencies and ideal order of thousands of Oblivion mods.
- Run BOSS/LOOT: Launch the executable. It will scan your active plugins and output a sorted list and any warnings.
- Review the Report: Pay attention to any messages about “dirty” plugins (which might need cleaning with TES4Edit, an advanced topic for later), or incompatible mods.
- Launch via Wrye Bash/OBSE Loader: Always launch your game through
obse_loader.exe(if using OBSE, which you should be) or through Wrye Bash itself, as this ensures all the mod manager’s virtualized files are active.
Testing Your Game: The Iterative Debugging Process
Modding is an iterative process. Install a few mods, test, install a few more, test again. This “install and test” methodology is crucial for identifying problematic mods early.
- Start a new game: Often, issues only manifest on new saves.
- Visit various locations: Check different cities, dungeons, and wilderness areas.
- Perform common actions: Engage in combat, talk to NPCs, open inventory, cast spells.
- Save frequently: If the game crashes, you’ll know roughly which set of recent mods caused it.
Troubleshooting Common Issues: Digital Problem Solving
Even with the best preparation, issues can arise. Here are some common problems and their solutions:
- Game Crashes to Desktop (CTD):
- Load Order: The most common culprit. Rerun BOSS/LOOT and rebuild Bashed Patch.
- Missing Masters: A mod requires another
.espor.esmthat isn’t present or active. Wrye Bash will show a red checkbox next to the offending mod. Install/activate the missing master. - Incompatible Mods: Two mods are fundamentally incompatible. Read mod descriptions carefully for known conflicts.
- Memory Issues: Oblivion is a 32-bit application. For heavy mod lists, install the “4GB Patcher” (found on Nexus Mods) which allows the game to utilize more RAM, reducing crashes in memory-intensive areas.
- Missing Textures/Meshes (Pink textures, floating exclamation marks):
- Archive Invalidation: Re-run Archive Invalidation via Wrye Bash.
- Incorrect Installation: Ensure mod files are placed correctly.
- Corrupted Download: Re-download the mod.
- Performance Issues (Low FPS):
- INI Tweaks: Modify settings in
Oblivion.ini(e.g., reduce shadow quality, distant LOD settings). - Texture Optimization: Use tools like “Ordenador” to compress textures without significant visual loss.
- Hardware Limitations: Ensure your PC meets the demands of your mod list, especially with high-res texture packs and ENBs.
- INI Tweaks: Modify settings in
Recommended Mods to Get Started: Your First Steps into a Modded Cyrodiil
To help you begin your adventure, here are a few highly recommended mods that serve as excellent starting points for any modded Oblivion playthrough:
Visual Overhauls: A Feast for the Eyes
- Qarl’s Texture Pack 3 Redimized: A classic, comprehensive texture overhaul that dramatically improves the visuals of almost every surface in Cyrodiil.
- Oblivion Reloaded (OR): An advanced and complex mod that brings modern rendering features like dynamic shadows, water effects, and advanced lighting. Be aware it requires careful configuration and can conflict with other graphic mods or ENBs.
- A Tweaked ENB Preset: If you decide to go the ENB route, look for a “Performance” or “Lite” preset on Nexus Mods that suits your taste and hardware.
Gameplay Enhancements: Deepening the Experience
- Maskar’s Oblivion Overhaul (MOO): A modular and highly customizable gameplay overhaul that adds new creatures, encounters, AI behaviors, and dynamic world changes without major script bloat.
- Darnified UI: Replaces the clunky console-style user interface with a sleek, PC-friendly one, showing more information at a glance. An absolute must-have.
- Better Cities: Significantly expands and overhauls all the major cities in Oblivion, adding new buildings, NPCs, and unique areas, making them feel much larger and more distinct.

Conclusion: Your Revitalized Journey Through Cyrodiil
Embarking on the journey of modding Oblivion is a rewarding experience that breathes new life into a beloved classic. From the initial thrill of seeing vastly improved graphics to the countless hours spent exploring new lands and quests, the modding community has ensured that Cyrodiil remains a vibrant and engaging world for years to come. By meticulously following the steps outlined in this guide – preparing your game, leveraging the power of Wrye Bash and OBSE, understanding load orders, and troubleshooting common issues – you’ve gained the technological fluency to transform your Elder Scrolls adventure into a truly personalized epic.
Remember, modding is as much an art as it is a science. Don’t be afraid to experiment, discover new combinations, and tailor your game precisely to your preferences. The vast digital library of mods on Nexus Mods awaits your exploration, offering endless possibilities for customization and enhancement. Embrace the creativity of the community, engage with the wealth of knowledge available, and prepare to lose yourself once again in the stunning, now infinitely more captivating, world of Oblivion. May your adventures in Cyrodiil be legendary, optimized, and uniquely yours.
aViewFromTheCave is a participant in the Amazon Services LLC Associates Program, an affiliate advertising program designed to provide a means for sites to earn advertising fees by advertising and linking to Amazon.com. Amazon, the Amazon logo, AmazonSupply, and the AmazonSupply logo are trademarks of Amazon.com, Inc. or its affiliates. As an Amazon Associate we earn affiliate commissions from qualifying purchases.