
Team Fortress 2 (TF2), Valve’s iconic team-based first-person shooter, has maintained a passionate player base for well over a decade. While its unique art style, diverse character classes, and frantic gameplay remain timeless, one of the enduring appeals for many players is the ability to personalize their experience through modifications, or “mods.” From subtle aesthetic tweaks to significant user interface overhauls, TF2 mods offer a gateway to a game tailored precisely to your preferences. This guide delves into the technical aspects of installing mods in TF2, providing a detailed, step-by-step tutorial to empower you to customize your game efficiently and safely. By adhering to best practices and understanding the underlying file structures, you can unlock a new dimension of engagement with this beloved title.
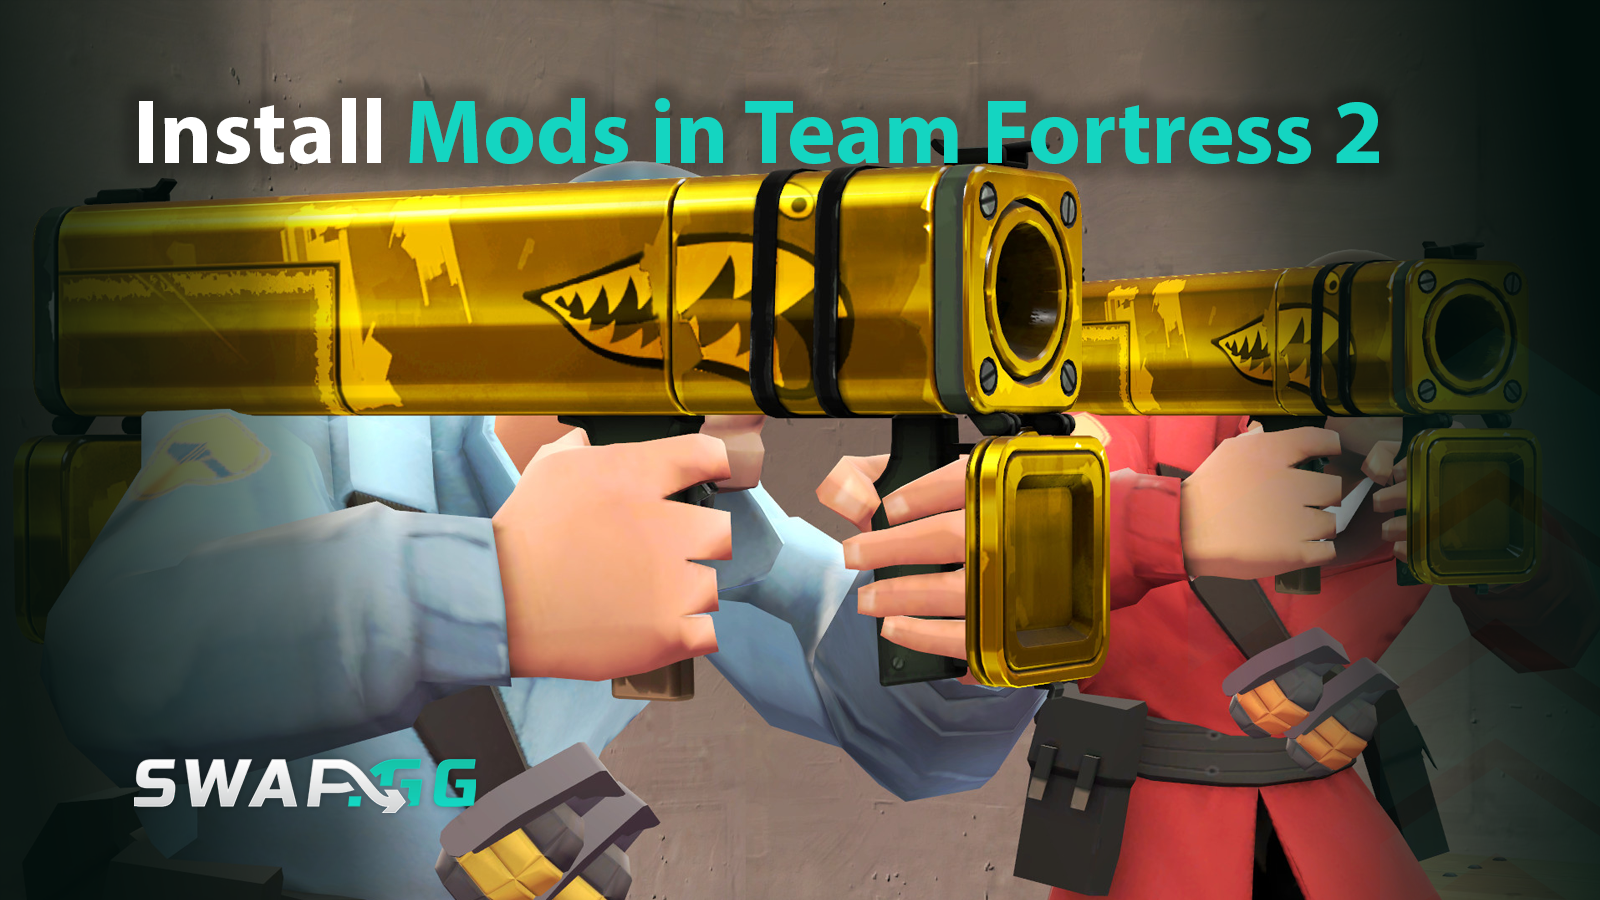
The Allure of Customization: Why Mod Your TF2?
Modding in TF2 is more than just a novelty; it’s a way to enhance gameplay, improve performance, or simply refresh your visual experience. Understanding the benefits and nuances of client-side modifications is the first step towards a richer TF2 adventure.
Enhancing Visuals and Audio
One of the most popular reasons to install mods is to alter the game’s aesthetics and auditory feedback. Visual mods can range from high-resolution texture packs for weapons and characters to entirely new character models or particle effects. These can revitalize the game’s look, making it feel fresh and modern, or even provide clearer visual cues in the heat of battle. Similarly, audio mods allow players to replace existing sound effects for weapons, hits, critical notifications, or even character voice lines. A distinctive “headshot” sound or a clearer “Medic!” call can significantly improve awareness and satisfaction during gameplay. For players seeking a specific artistic direction or simply bored of the default assets, visual and audio mods offer a profound level of personalization.
Streamlining Your HUD and UI
The Head-Up Display (HUD) and User Interface (UI) are critical components of any FPS, providing essential information at a glance. Default HUDs, while functional, might not always suit every player’s competitive or aesthetic needs. TF2 offers extensive client-side HUD customization through mods, allowing players to relocate elements, change their size, alter fonts, and even introduce entirely new informational displays. A customized HUD can provide clearer health and ammo indicators, better mini-map visibility, or more prominent killfeeds, all designed to improve information processing during intense engagements. For competitive players, a streamlined and optimized HUD can be a significant advantage, reducing visual clutter and emphasizing critical data points.
Personalizing Gameplay Mechanics (Client-Side)
While server-side mods fundamentally alter game rules (and are typically restricted to custom community servers), client-side mods can introduce subtle yet impactful changes to your personal gameplay experience. These are often scripts that automate certain actions or provide enhanced informational displays. Examples include custom crosshairs that change based on accuracy or weapon type, hit-sound scripts that vary pitch with damage dealt, or advanced class configurations. It’s crucial to distinguish these client-side modifications from cheats; legitimate mods merely enhance the client’s interaction with the game without conferring unfair advantages on the server. They are about refining your personal interface and control, not breaking game rules.
Understanding Modding Safety and Ethics
Before embarking on your modding journey, it’s vital to understand the ethical considerations and potential risks. TF2, like many online games, employs an anti-cheat system (VAC – Valve Anti-Cheat). Legitimate client-side mods, such as custom textures, sounds, HUDs, and benign scripts, are generally safe and will not trigger VAC bans. The key distinction lies in mods that interact with the game’s core executables, inject code, or attempt to provide an unfair advantage (e.g., aimbots, wallhacks). These are strictly prohibited and will result in a permanent ban. Always download mods from reputable sources, read user reviews, and understand what a mod purports to do before installing it. When in doubt, err on the side of caution. Furthermore, be mindful of community guidelines; while legal, some mods might be frowned upon by specific server administrators or community members if they are perceived as distracting or overly aggressive in design.
Essential Preparations: Before You Dive Into Modding
Successful mod installation relies on a foundational understanding of TF2’s file structure and the right preparatory steps. Skipping these can lead to frustration or, worse, a corrupted game installation.
Locating Your TF2 Installation Directory
The first and most critical step is to find where Team Fortress 2 is installed on your computer. For most Steam users, this path typically follows a standard structure:
C:Program Files (x86)SteamsteamappscommonTeam Fortress 2
Within this directory, you will find several folders, including tf. This tf folder is your primary destination for mod installation. If you’ve installed Steam to a different drive or custom location, simply navigate to your Steam installation, then steamappscommonTeam Fortress 2. A quick way to find it is to right-click Team Fortress 2 in your Steam Library, go to “Manage,” then “Browse local files.”
Familiarizing Yourself with the tf/custom Folder
Inside the tf folder, you’ll find a subfolder named custom. This custom folder is the designated and safest location for installing almost all client-side TF2 mods. Valve specifically designed this directory to allow players to easily add and remove custom content without directly modifying the game’s core files. If the custom folder doesn’t exist for some reason (which is rare), you can simply create it yourself. Any mod placed within a properly structured subfolder inside tf/custom will be loaded by the game. This modular approach significantly reduces the risk of breaking your game and makes troubleshooting much easier.
Sourcing Reliable Mods: Where to Find Them
The quality and safety of your modding experience largely depend on where you obtain your mods. Several reputable platforms serve as hubs for the TF2 modding community:
-
GameBanana: By far the largest repository for TF2 mods, offering a vast array of skins, HUDs, sounds, and scripts. It features user ratings, comments, and often provides clear installation instructions.
-
TF2 Subreddits and Forums: Communities like r/tf2 or specific modding forums often share new creations and host discussions. Links to mods found here usually lead to GameBanana or direct downloads.
-
GitHub/Private Websites: Some mod developers host their projects on GitHub or their personal websites. These can be excellent sources but require a bit more vetting to ensure legitimacy.
Always prioritize sources with an active community, good reviews, and regular updates. Be wary of obscure sites or direct downloads from unfamiliar sources, as these pose a higher risk of malicious content.
Necessary Tools: Archivers and Basic File Management
Most mods are distributed as compressed archives, typically .zip, .rar, or .7z files. To extract these files, you’ll need an archiving program. Popular free options include:
-
7-Zip: Open-source, supports a wide range of formats, and highly recommended.
-
WinRAR: Widely used, but a trial version usually suffices for most needs.
-
PeaZip: Another open-source alternative.
Ensure you have one of these installed. Beyond that, basic file management skills – navigating folders, creating new folders, and copying/pasting files – are all you need.
Step-by-Step Mod Installation: Your Customization Journey Begins
With the groundwork laid, you’re ready to start installing your chosen modifications. This process is generally straightforward once you understand the core mechanics.
Downloading and Extracting Your Chosen Mods

Once you’ve identified a mod you wish to install from a reputable source, download its archive file. After the download is complete, locate the downloaded file (usually in your browser’s default downloads folder). Use your archiving software (e.g., 7-Zip) to extract the contents.
Crucial Step: When extracting, observe the folder structure within the archive. Most well-packaged TF2 mods will have a root folder (e.g., my_custom_hud, high_res_medic_skin) containing further subfolders like materials, models, scripts, resource, sound, etc., or even a vpk file. You want to extract this root folder directly. Avoid extracting just the contents of the root folder unless explicitly instructed, as this can lead to incorrect file paths.
Placing Files in the Correct Directories
The extracted root folder (e.g., my_custom_mod) should be copied or moved directly into your tf/custom folder. So, your final path will look like:
...Team Fortress 2tfcustommy_custom_mod
Inside my_custom_mod, you’ll find the actual mod files and their respective subfolders (materials, models, scripts, etc.). This structure is vital for the game to recognize and load the mod. Each distinct mod should ideally reside in its own separate subfolder within tf/custom. This practice keeps your mod files organized, prevents conflicts, and makes it easy to enable or disable individual mods by simply renaming or moving their parent folder.
Specifics for Different Mod Types (Skins, HUDs, Sounds, Scripts)
While the tf/custom structure is universal, understanding how different mod types are organized within that structure can be helpful:
-
Skins and Models: These typically involve
materials(textures like.vtf,.vmt) andmodels(3D models like.mdl) folders. They will be placed intf/custom/your_skin_mod/materials/andtf/custom/your_skin_mod/models/respectively. -
HUDs: HUD mods usually contain
resourceandscriptsfolders. These contain.resand.txtfiles that define the HUD layout and logic. They go intotf/custom/your_hud_mod/resource/andtf/custom/your_hud_mod/scripts/. Some HUDs might also have custom fonts (inresource/fonts) or custom images (inmaterials/vgui). -
Sounds: Sound mods utilize the
soundfolder, often with subfolders reflecting in-game sound categories (e.g.,ui,weapons,vo). They are.wavfiles. Path:tf/custom/your_sound_mod/sound/. -
Scripts: Beyond HUD scripts, some mods include custom scripts for client-side functionality. These might reside in a
cfgfolder (tf/custom/your_script_mod/cfg/) orscriptsfolder. -
VPK Files: Some mods are distributed as
.vpkfiles. These are Valve’s proprietary package files, essentially compressed archives that the game can read directly. If you download a.vpkfile, you simply place it directly into yourtf/customfolder. You do not need to extract it. For example:...Team Fortress 2tfcustommy_custom_mod.vpk.
Verifying Installation and Launching TF2
Once the files are correctly placed, launch Team Fortress 2. There’s no in-game mod manager for client-side mods; they are loaded automatically upon startup if correctly installed. To verify, simply join a game (preferably a casual server or offline practice) and check if your installed mod is active. For example, if you installed a custom HUD, verify its appearance. If it was a weapon skin, equip the weapon and inspect it. If the mod isn’t showing up, carefully re-check your file paths and ensure no folders were mistakenly omitted or misplaced.
Advanced Techniques and Troubleshooting for a Seamless Modding Experience
While the basic installation is often straightforward, managing multiple mods and resolving conflicts requires a slightly deeper understanding of the system.
Managing Multiple Mods and Avoiding Conflicts
The tf/custom folder is designed to handle multiple mods simultaneously. Each mod should ideally be in its own unique subfolder. However, conflicts can arise if two mods attempt to modify the exact same game asset (e.g., two different mods trying to change the Medic’s Medigun texture). In such cases, the game will prioritize based on alphabetical order of the mod’s folder name. The mod in the folder that comes later alphabetically will typically override the earlier one. To resolve conflicts, you might need to:
-
Disable one of the conflicting mods: Simply rename its folder (e.g.,
my_modto_my_mod_disabled) so the game doesn’t load it. -
Manually merge assets: For advanced users, this involves carefully combining the files from two mods into a single mod folder, making sure to resolve any direct file overlaps by choosing one version or manually editing them (requires expertise).
-
Choose a priority: If you prefer one mod’s changes over another, ensure its folder name comes after the conflicting mod’s folder name alphabetically.
Common Issues and Their Solutions
-
Mod not appearing/loading:
-
Incorrect path: Double-check that the mod’s files are inside
tf/custom/YOUR_MOD_FOLDER/and not directly intf/customor a level too deep. -
Misnamed files/folders: Ensure file names match what the game expects.
-
Corrupt download: Re-download the mod.
-
Missing prerequisites: Some mods might require specific game settings or other foundational mods.
-
-
Game crashing/freezing:
-
Conflicting mods: Try disabling recently installed mods one by one to isolate the culprit.
-
Corrupt mod file: A broken mod file can cause instability.
-
Outdated mod: An older mod might not be compatible with current TF2 patches.
-
-
Graphical glitches/missing textures:
-
Incorrect material paths: Often happens if texture files are in the wrong subfolder within the
materialsdirectory. -
Missing VMT file: Textures (
.vtf) require corresponding.vmt(Valve Material Type) files to tell the game how to render them.
-
Keeping Mods Compatible with Game Updates
TF2 receives periodic updates, which can sometimes break mods, especially HUDs or scripts that rely on specific UI element positions or code. When a major game update rolls out, be prepared for some mods to stop working.
-
Check mod creator’s page: Reputable mod authors usually update their mods promptly after game patches. Check the mod’s download page for updates or compatibility notes.
-
Backup your
customfolder: Before any major TF2 update, consider making a copy of your entiretf/customfolder. If an update breaks something, you can restore your working mods or easily identify which ones are causing issues. -
Temporarily disable problematic mods: If the game crashes after an update, disable all recently updated or known problematic mods by renaming their folders. Re-enable them one by one to find the incompatible one.
When to Remove or Disable Mods
Removing a mod is as simple as deleting its corresponding folder from tf/custom or removing the .vpk file. Disabling a mod is equally easy: just rename its folder (e.g., my_mod to _my_mod_disabled) so the game ignores it. This is useful for troubleshooting, temporarily switching between mods, or if you simply want to revert to the default experience. Always restart TF2 after making changes to the tf/custom folder for them to take effect.
Beyond Installation: The World of TF2 Community Content
Installing mods is just the beginning. The TF2 community is a vibrant hub of creativity, continually producing new content that extends far beyond simple client-side modifications.
Exploring User-Generated Maps and Servers
While most mod discussions focus on client-side adjustments, TF2 also boasts an incredible array of user-created maps. These range from competitive arenas to bizarre custom game modes like “Saxton Hale” or “Slender Fortress.” Many community servers host these unique experiences, downloadable either automatically when joining the server or via community content websites. This isn’t strictly “modding” in the same file-placement sense, but rather accessing player-created content that leverages the game’s flexibility. Exploring these servers can offer entirely new ways to play TF2, often with custom rules, weapon stats, or even character models provided by the server itself.
Contributing to the Modding Community
For those with a penchant for creativity and technical skills, contributing to the TF2 modding community is a rewarding endeavor. Learning how to create custom textures, models, sounds, or scripts opens up a world of possibilities. Tools like VTFEdit for textures, Blender for models, and familiarity with TF2’s scripting language can empower you to craft your own unique additions. Sharing your creations on platforms like GameBanana not only enriches the community but also provides valuable feedback and opportunities for collaboration with other talented individuals.
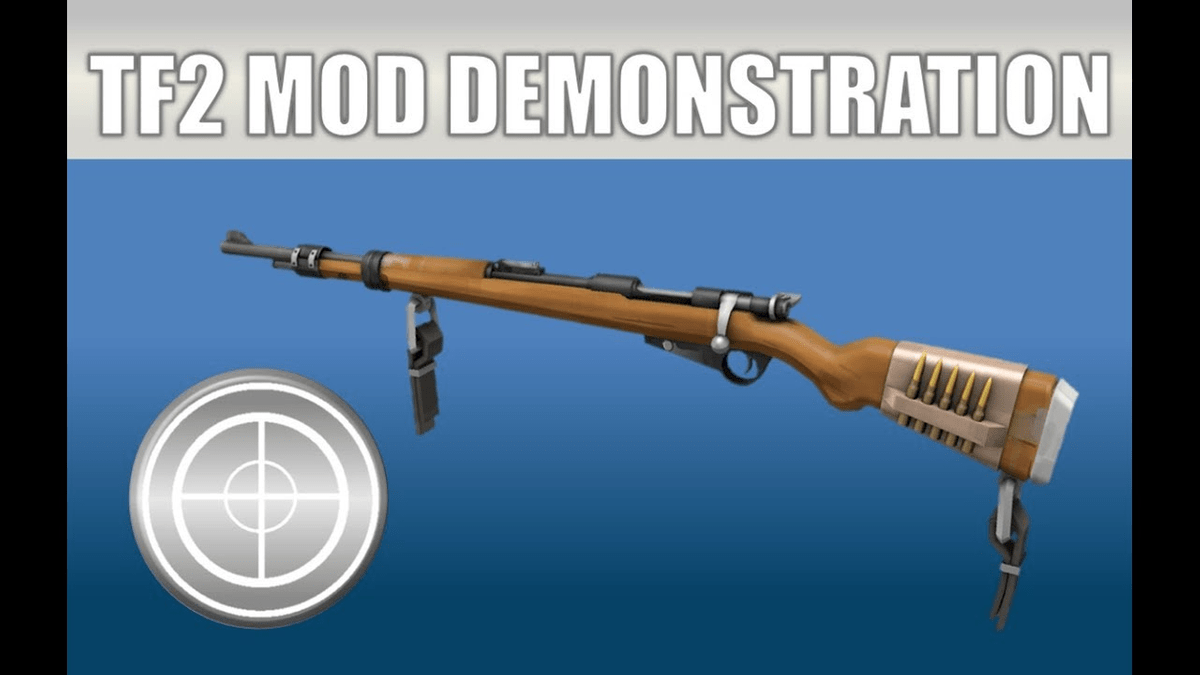
The Future of TF2 Customization
Despite its age, Team Fortress 2 continues to evolve, albeit with less frequent official updates. The modding community, however, remains a constant engine of innovation, ensuring the game stays fresh and relevant for its dedicated player base. The tools and methods for mod installation outlined in this guide provide a robust foundation for navigating this dynamic landscape. By embracing client-side customization, players can truly make Team Fortress 2 their own, enhancing their personal experience and contributing to the game’s enduring legacy as a beloved and infinitely replayable classic. The power to transform your game is in your hands; go forth and customize!
aViewFromTheCave is a participant in the Amazon Services LLC Associates Program, an affiliate advertising program designed to provide a means for sites to earn advertising fees by advertising and linking to Amazon.com. Amazon, the Amazon logo, AmazonSupply, and the AmazonSupply logo are trademarks of Amazon.com, Inc. or its affiliates. As an Amazon Associate we earn affiliate commissions from qualifying purchases.