
Minecraft, a global phenomenon in the gaming world, offers an unparalleled canvas for creativity and adventure. While its vanilla form provides endless hours of entertainment, the true depth of its potential often lies in its vibrant modding community. Mods (modifications) can transform the game, adding new biomes, creatures, items, mechanics, and even entirely new dimensions. For many players, the ultimate experience involves sharing these enhanced worlds with friends on a dedicated server. Setting up a modded Minecraft server, however, can seem like a daunting task for the uninitiated. This comprehensive guide will walk you through every step, from understanding the basics to advanced configurations, ensuring you and your friends can embark on an unforgettable modded adventure.
This tutorial falls squarely within our “Tech” focus, specifically under “Software” and “Tutorials,” providing a hands-on guide to leveraging technology for enhanced digital experiences. We’ll cover not just the “how,” but also the “why” and “what to consider,” equipping you with the knowledge to maintain a robust and enjoyable modded server environment.
Understanding Minecraft Modded Servers
Before diving into the technicalities, it’s crucial to grasp what modded servers entail and why they’re such a popular choice among Minecraft enthusiasts.
What are Minecraft Mods and Modded Servers?
At its core, a Minecraft mod is a piece of software that alters the game’s original code to add new content or change existing functionalities. These range from minor tweaks, like displaying durability on items, to massive overhauls that introduce complex magic systems, industrial automation, or new quest lines.
A modded Minecraft server, then, is a server running a modified version of the game that supports these additions. Unlike vanilla servers, which only run the default game, a modded server requires a special framework (often called a “mod loader”) to interpret and execute the mod files. For players to join such a server, their own Minecraft client must also have the exact same mod loader and the same set of mods installed, ensuring compatibility and a synchronized gameplay experience. This symmetrical setup is paramount for a seamless modded adventure.
Why Host a Modded Minecraft Server?
The reasons for hosting a modded server are numerous and compelling:
- Enhanced Gameplay Experience: Mods can breathe new life into Minecraft, offering fresh challenges, tools, and worlds long after vanilla gameplay has become familiar. Imagine flying through the air with jetpacks, exploring alien planets, or building automated factories – all possible with mods.
- Community and Collaboration: Modded servers foster a strong sense of community. Friends can team up on ambitious projects, explore new biomes together, or even engage in friendly competition within a custom rule set defined by mods. It transforms a solo experience into a shared journey.
- Customization and Control: As the server owner, you have complete control over the game experience. You can handpick the mods that align with your vision, set specific rules, and manage player access. This level of customization ensures the server reflects your ideal Minecraft world.
- Learning Opportunity: Setting up and maintaining a server is an excellent way to gain technical skills in areas like network configuration, command-line interfaces, and troubleshooting. It’s a practical application of “Tech” knowledge that extends beyond gaming.
Key Considerations Before You Begin
Before you commit to setting up a modded server, keep these vital points in mind:
- Hardware Requirements: Modded servers are significantly more resource-intensive than vanilla servers. Mods add extra processing load, memory usage (RAM), and storage demands. A typical modded server for a handful of players might require at least 4-8 GB of dedicated RAM, with more complex modpacks needing 10 GB or more. Ensure your hosting machine (your PC or a dedicated server) meets these requirements.
- Internet Connection: A stable and fast internet connection with decent upload speed is crucial for smooth gameplay for all connected players. Lag can quickly ruin the experience.
- Time Commitment: Setting up the server is just the beginning. You’ll need to dedicate time to managing mods, updating the server, troubleshooting issues, and potentially performing backups.
- Technical Familiarity: While this guide aims to simplify the process, a basic understanding of file systems, network concepts (like IP addresses and port forwarding), and command-line interfaces will be beneficial.
Choosing Your Modding Framework
The Minecraft modding ecosystem is diverse, with several popular frameworks that facilitate mod installation. The choice of framework is foundational, as mods are typically built for a specific loader and are not interchangeable between them.
Forge vs. Fabric: Selecting the Right Mod Loader
The two dominant mod loaders for Minecraft are Forge and Fabric. Each has its strengths and caters to different types of mods and players.
- Minecraft Forge: Forge has been the long-standing king of Minecraft modding. It boasts a massive library of mods, accumulated over many years, ranging from small utility mods to colossal content additions that redefine the game. If you’re looking for large, content-heavy modpacks or want to access a vast array of established mods, Forge is often the go-to choice. It’s known for its robust API (Application Programming Interface), which provides extensive tools for mod developers, allowing for deep integration and complex changes. However, Forge can sometimes be slower to update to new Minecraft versions compared to Fabric due to the complexity of its codebase and the changes required with each game update.
- Fabric: Fabric emerged more recently as a lightweight and modular alternative to Forge. Its design philosophy focuses on being minimal and fast, making it quicker to update to new Minecraft versions. Fabric mods are generally more lightweight and often focus on performance enhancements, utility features, or smaller content additions. While its mod library is growing rapidly, it’s still smaller than Forge’s, and many of the “classic” large mods are exclusive to Forge. Fabric is an excellent choice if you prioritize speed, want to play on the absolute latest Minecraft versions quickly, or prefer a less intrusive modding experience.
Recommendation: If you have a specific modpack in mind, check which loader it uses. If you’re starting fresh, consider what kind of mods you prefer. For a broad range of content and established modpacks, Forge is usually the safer bet. For cutting-edge versions and performance-oriented mods, Fabric shines.
Server Types and Their Implications
Beyond mod loaders, you’ll encounter different server software variations:
- Vanilla Server: This is the official server software provided by Mojang. It runs unmodded Minecraft and doesn’t support Forge or Fabric mods directly. It’s the simplest to set up but offers no modding capabilities.
- Forge/Fabric Server: These are the servers we’re focusing on. They use the respective mod loader to run mods. You typically install Forge or Fabric on top of the vanilla server JAR file, transforming it into a mod-compatible server.
- Paper/Spigot/Bukkit (and their forks): These are server software alternatives primarily designed for plugins, not Forge/Fabric mods. Plugins differ from mods in that they run purely on the server side and don’t require client-side installation. While some Paper/Spigot servers can be “mod-like” with extensive plugins, they are fundamentally different from Forge/Fabric servers which require matching client-side installations. It’s crucial not to confuse them; a Forge mod cannot run on a Paper server.
For this guide, we will focus exclusively on setting up a Forge or Fabric server to support traditional Minecraft mods.
Step-by-Step Server Setup
With your framework chosen and considerations in mind, it’s time to get hands-on with the installation process.
Prerequisites: Gearing Up for Installation
Before you download anything, ensure your system is ready:
- Java Development Kit (JDK): Minecraft servers, especially modded ones, require a specific version of Java to run. For modern Minecraft versions (1.17+), Java 17 is typically required. For older versions (1.16.5 and below), Java 8 is usually sufficient. Download and install the correct 64-bit JDK from a reputable source like Oracle or Adoptium (formerly AdoptOpenJDK). Ensure you install the JDK, not just the JRE, as the server needs development tools.
- Tech Tip: After installation, verify your Java version by opening a command prompt or terminal and typing
java -version.
- Tech Tip: After installation, verify your Java version by opening a command prompt or terminal and typing
- Dedicated Folder: Create a new, empty folder on your desktop or in a drive with ample space. Name it something clear, like
MinecraftModdedServer. This will keep all your server files organized. - Basic Text Editor: Notepad (Windows), TextEdit (macOS), or a more advanced editor like VS Code or Notepad++ will be useful for editing configuration files.
Setting Up the Mod Loader on Your Server
This section covers the core installation of either Forge or Fabric on your server. Choose the relevant subsection based on your decision.
Installing a Forge Server
- Download Forge Installer: Go to the official Minecraft Forge website (files.minecraftforge.net). Select the Minecraft version you want to play. Choose the “Installer” option under “Recommended” or “Latest.”
- Run Forge Installer: Navigate to your
MinecraftModdedServerfolder. Move the downloaded Forge installer JAR file into this folder. Double-click the installer JAR. - Install Server: In the Forge installer window, select “Install server.” Click the “…” button to browse and select your
MinecraftModdedServerfolder as the installation directory. Click “OK.” The installer will download the necessary server files (including the vanilla Minecraft server JAR and the Forge server JAR). - Accept EULA: After installation, you will find a file named
eula.txtin your server folder. Open it with a text editor. Changeeula=falsetoeula=trueand save the file. This signifies your agreement to Mojang’s End User License Agreement. Failure to do so will prevent the server from starting. - Create a Start Script: To easily launch your server and allocate enough RAM, create a batch file (Windows) or shell script (macOS/Linux).
- Windows: Open Notepad. Type the following:
batch

@echo off

java -Xmx8G -Xms4G -jar forge-*-universal.jar nogui

pause
Replaceforge-*-universal.jarwith the exact filename of your Forge server JAR (e.g.,forge-1.20.1-47.2.0.jar). Adjust-Xmx8Gand-Xms4Gto allocate 8GB max and 4GB min RAM respectively; change8Gand4Gto suit your available RAM. Save this file asstart.bat(make sure “Save as type” is “All Files”). - macOS/Linux: Open a text editor. Type the following:
bash

#!/bin/bash

java -Xmx8G -Xms4G -jar forge-*-universal.jar nogui
Again, replace the JAR name and adjust RAM. Save it asstart.sh. Then, open Terminal, navigate to your server folder, and runchmod +x start.shto make it executable.
- Windows: Open Notepad. Type the following:
- First Server Run: Double-click
start.bat(or run./start.shin Terminal). The server will start, generate world files, and create initial configuration files. It might take a while on the first run. Once you see messages like “Done!” or “For help, type ‘help’,” the server is ready. Typestopin the server console and press Enter to shut it down gracefully.
Installing a Fabric Server
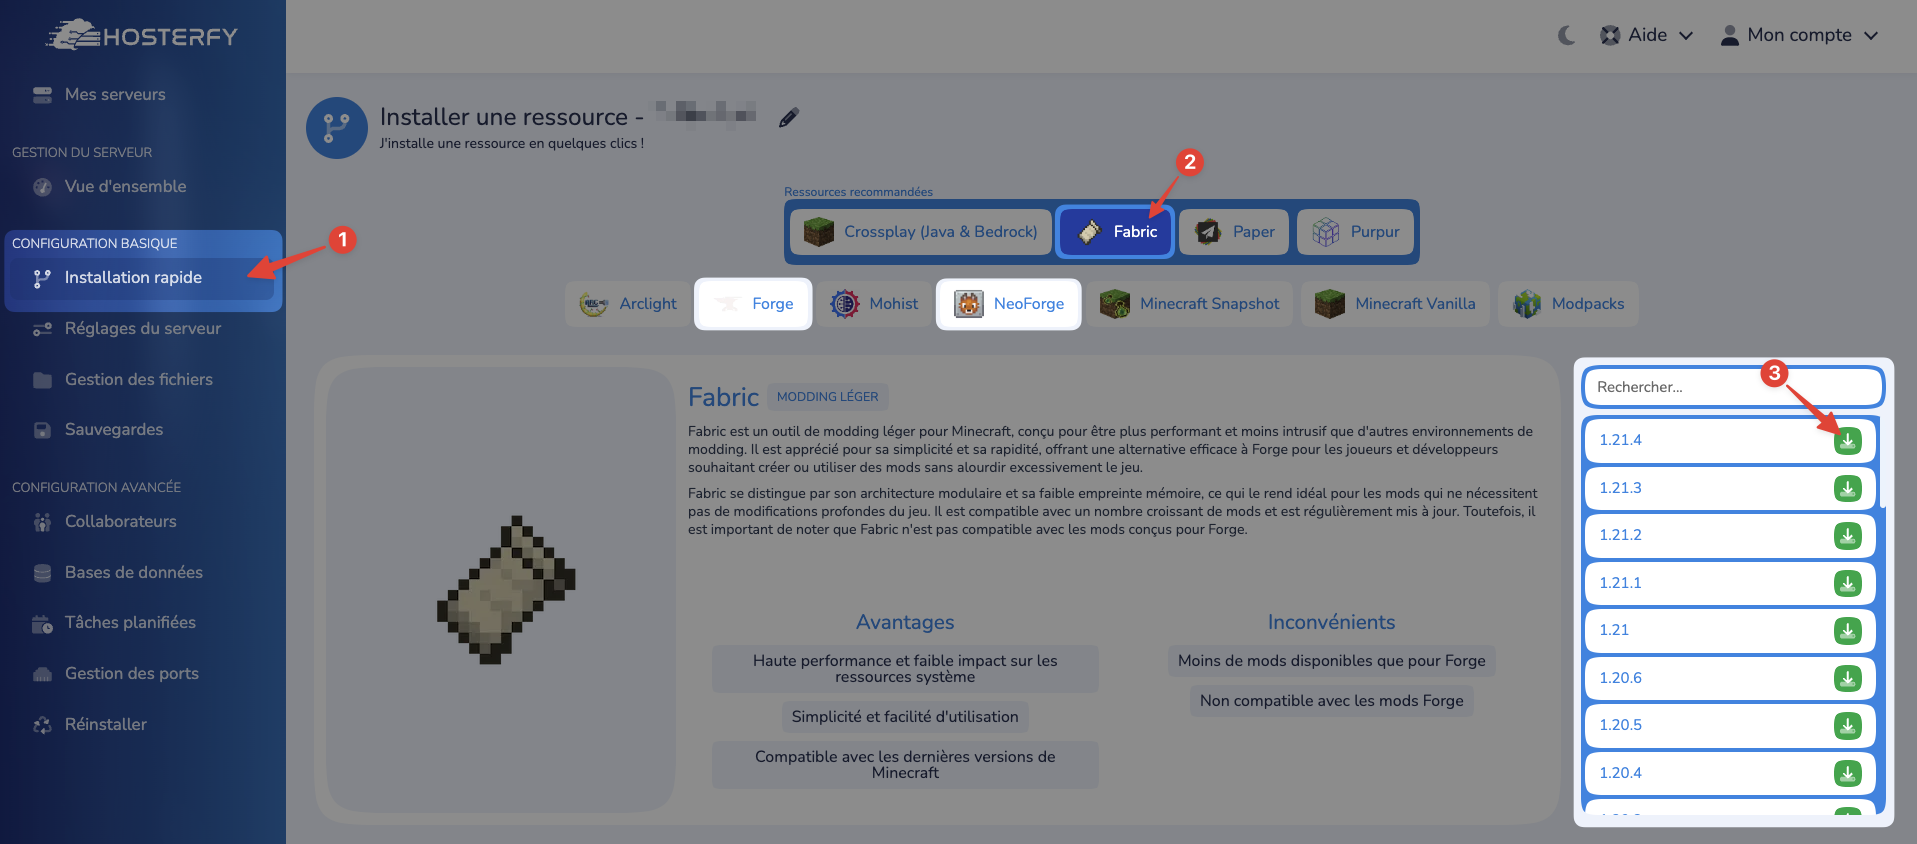
- Download Fabric Installer: Go to the official FabricMC website (fabricmc.net/use). Download the universal JAR installer.
- Run Fabric Installer: Move the downloaded
fabric-installer-*.jarinto yourMinecraftModdedServerfolder. Double-click it. - Install Server: In the Fabric installer, select the “Server” tab. Choose your desired Minecraft version and the latest Loader Version. Click the “…” button to select your
MinecraftModdedServerfolder. Click “Install.” This will download thefabric-server-launch.jarand the vanilla Minecraft server JAR (server.jar). - Accept EULA: As with Forge, open
eula.txtand changeeula=falsetoeula=true. - Create a Start Script:
- Windows: Open Notepad. Type:
batch

@echo off

java -Xmx8G -Xms4G -jar fabric-server-launch.jar nogui

pause
Adjust RAM and save asstart.bat. - macOS/Linux: Open a text editor. Type:
bash

#!/bin/bash

java -Xmx8G -Xms4G -jar fabric-server-launch.jar nogui
Adjust RAM and save asstart.sh. Make it executable withchmod +x start.sh.
- Windows: Open Notepad. Type:
- First Server Run: Double-click
start.bat(or run./start.sh). The server will initialize. Typestopin the console to shut it down.
Installing Mods on the Server
Now for the exciting part – adding mods!
- Download Mods: Browse mod websites like CurseForge (curseforge.com) or Modrinth (modrinth.com). Crucially, ensure you download mods compatible with your chosen mod loader (Forge or Fabric) AND your specific Minecraft version. Download the
.jarfiles for the mods you want. - Download Fabric API (for Fabric Servers): If you’re using Fabric, many Fabric mods require the Fabric API. Download the appropriate version from CurseForge or Modrinth. This is often the first mod you should add.
- Place Mods in
modsFolder: In yourMinecraftModdedServerfolder, you’ll find a newly created folder namedmods. Drag and drop all your downloaded mod.jarfiles into thismodsfolder. - Restart Server: Run your
start.batorstart.shscript again. The server will now load all the mods. Check the server console for any error messages during startup, which might indicate incompatible or missing mod dependencies.
Configuring Server Properties for Optimal Play
The server.properties file allows you to customize various aspects of your Minecraft server.
- Locate
server.properties: It’s in your mainMinecraftModdedServerfolder. Open it with a text editor. - Key Settings to Adjust:
level-name=world: The name of your world folder. You can change this to start a new world or use an existing one.gamemode=survival: Default game mode for new players (survival, creative, adventure, spectator).difficulty=easy: Game difficulty (peaceful, easy, normal, hard).max-players=20: Maximum number of players allowed. Adjust based on your hardware and internet speed.server-port=25565: The default Minecraft port. If you run multiple servers on the same machine or have network conflicts, you might change this.online-mode=true: Set tofalseonly if you’re running an offline (cracked) server, which is not recommended for security reasons. Keep ittruefor legitimate Minecraft accounts.motd=A Minecraft Server: The “Message of the Day” displayed in the server list.generate-structures=true: Whether structures like villages and strongholds should generate.allow-nether=true,allow-end=true: Whether the Nether and End dimensions are enabled.- Advanced Tip: Many mods will also create their own configuration files (usually
.cfg,.json, or.tomlfiles) in theconfigfolder. Explore these files to further customize mod behavior.
- Save and Restart: Save the
server.propertiesfile and restart your server for changes to take effect.
Client-Side Configuration and Connection
For players to join your modded server, their own Minecraft client must also be set up correctly.
Installing Mods on Your Minecraft Client
Every player who wishes to join your modded server must have the exact same mod loader and mod files installed on their client.
- Download Mod Loader Installer: Just like you did for the server, download the Forge or Fabric installer for the same Minecraft version you chose.
- Run Client Installer: Double-click the installer JAR. This time, ensure “Install client” is selected. It will automatically detect your Minecraft installation directory. Click “OK.”
- Download Client-Side Mods: Download the exact same versions of the mods you placed on your server.
- Place Mods in Client
modsFolder:- Open your Minecraft launcher.
- Select the newly created Forge or Fabric profile.
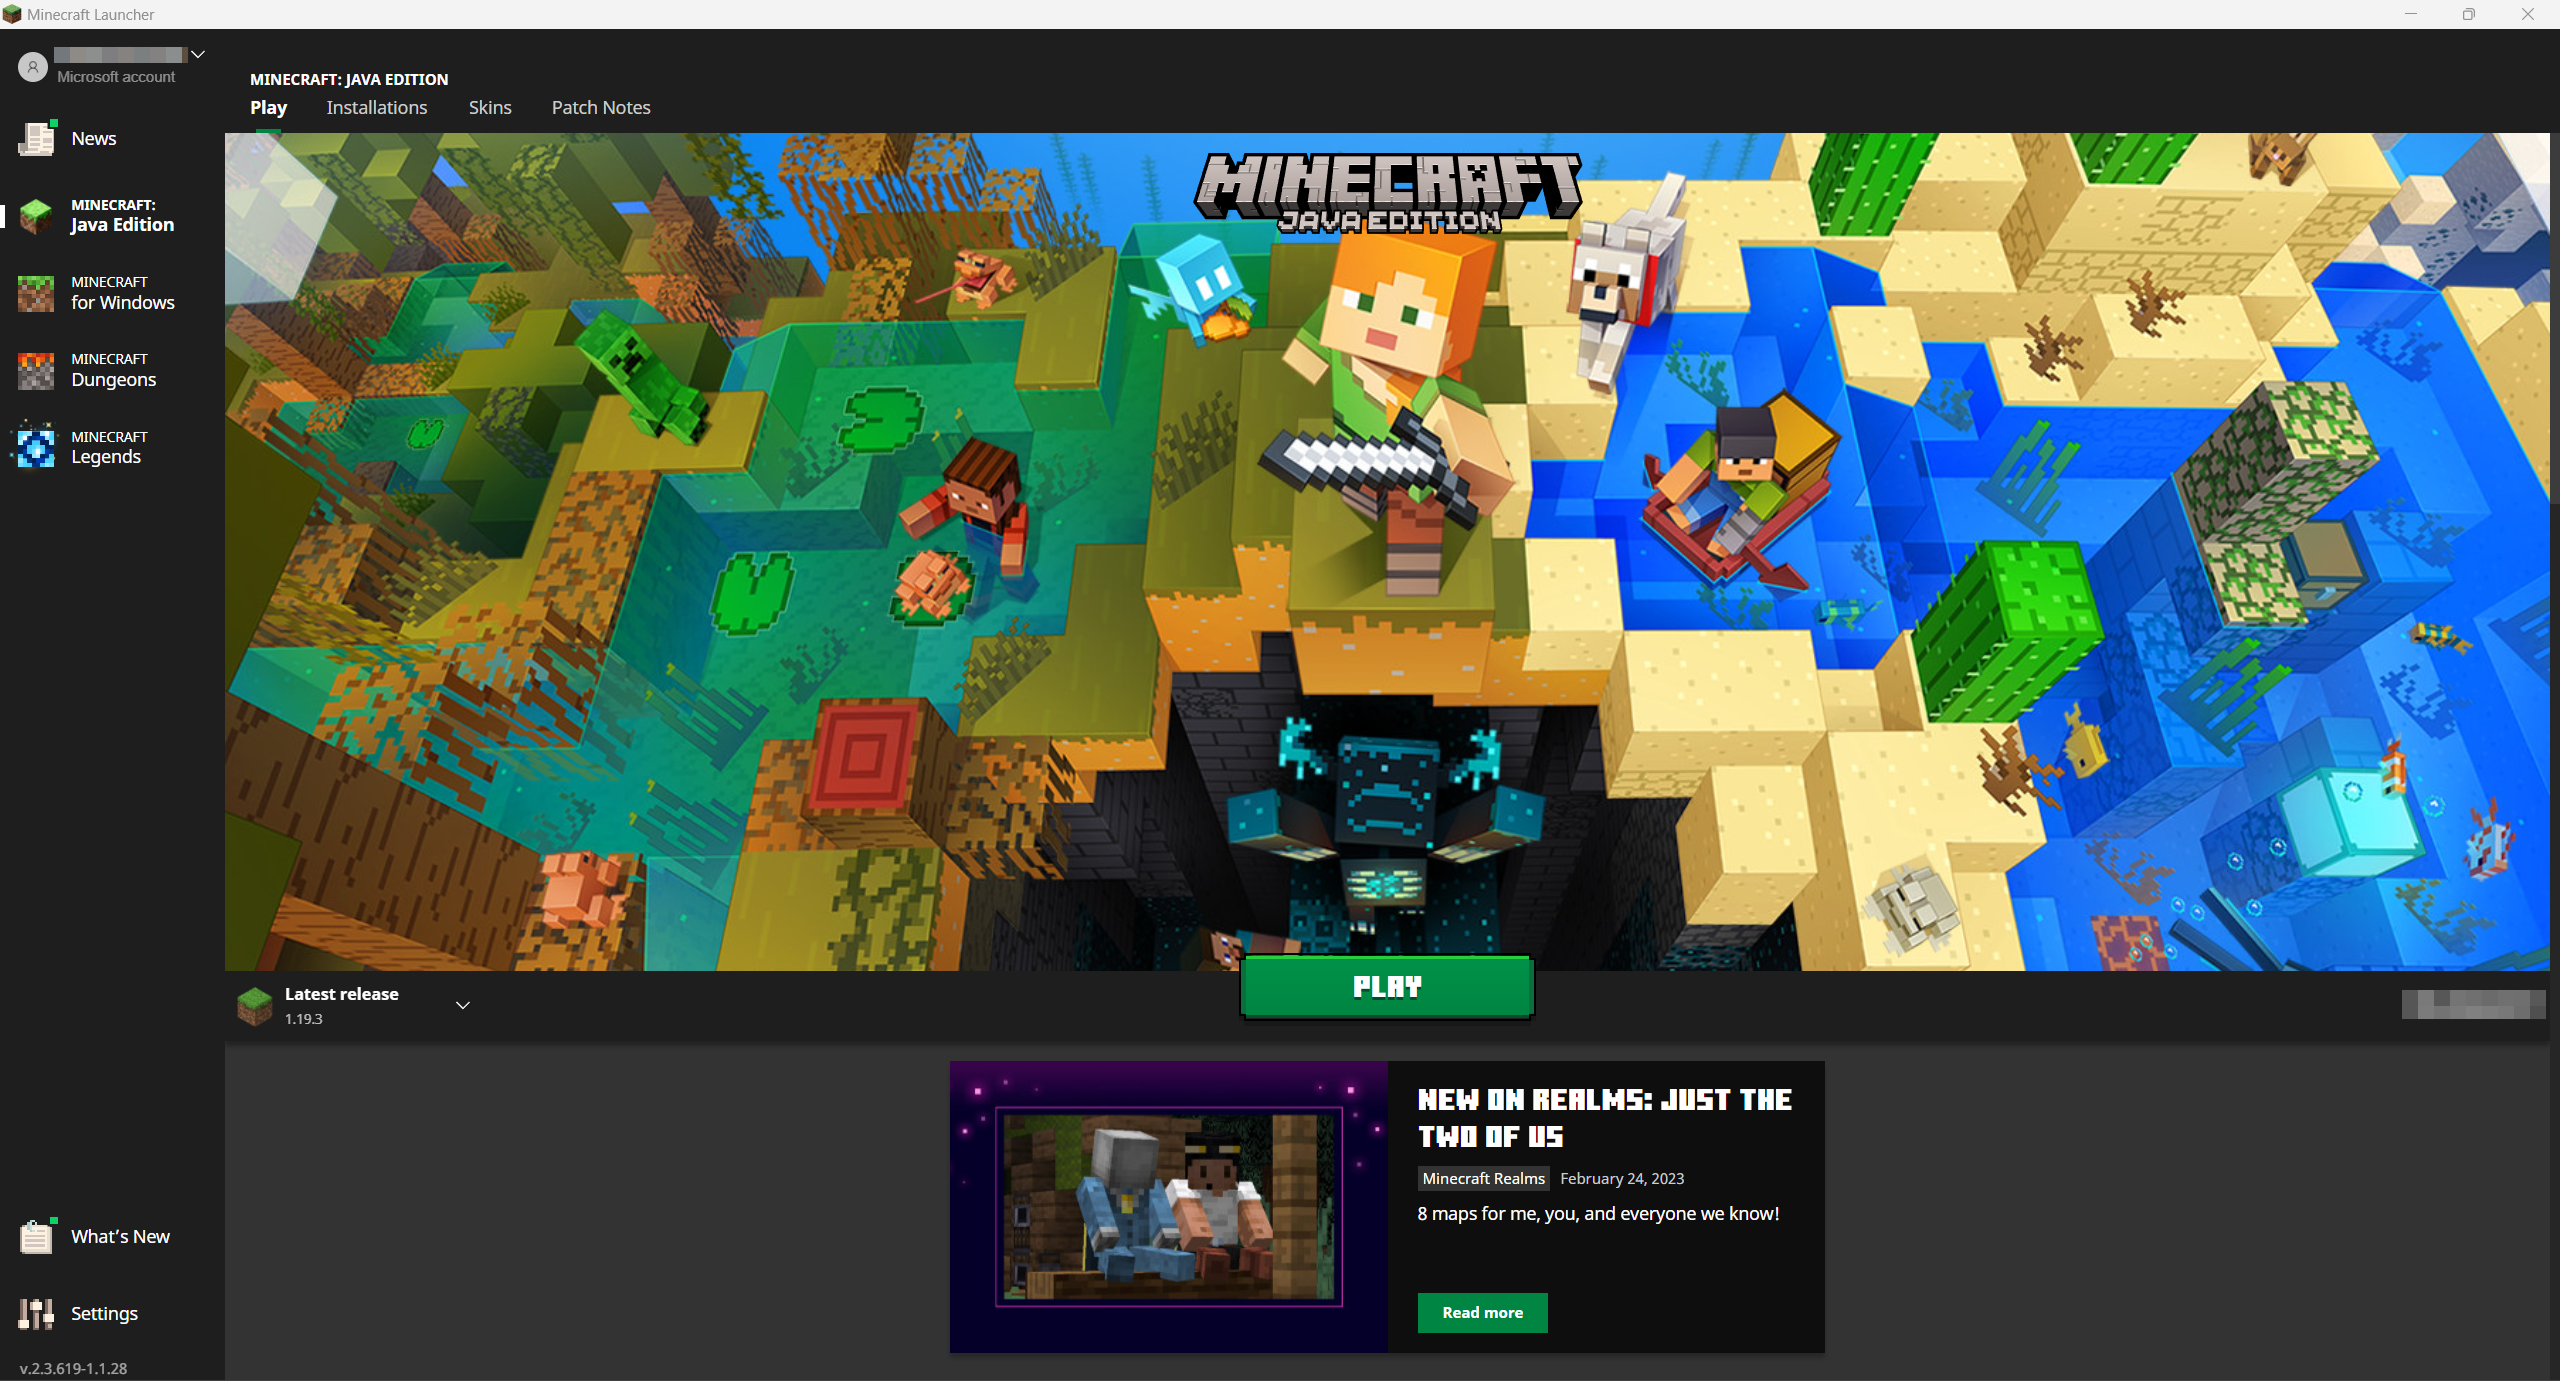
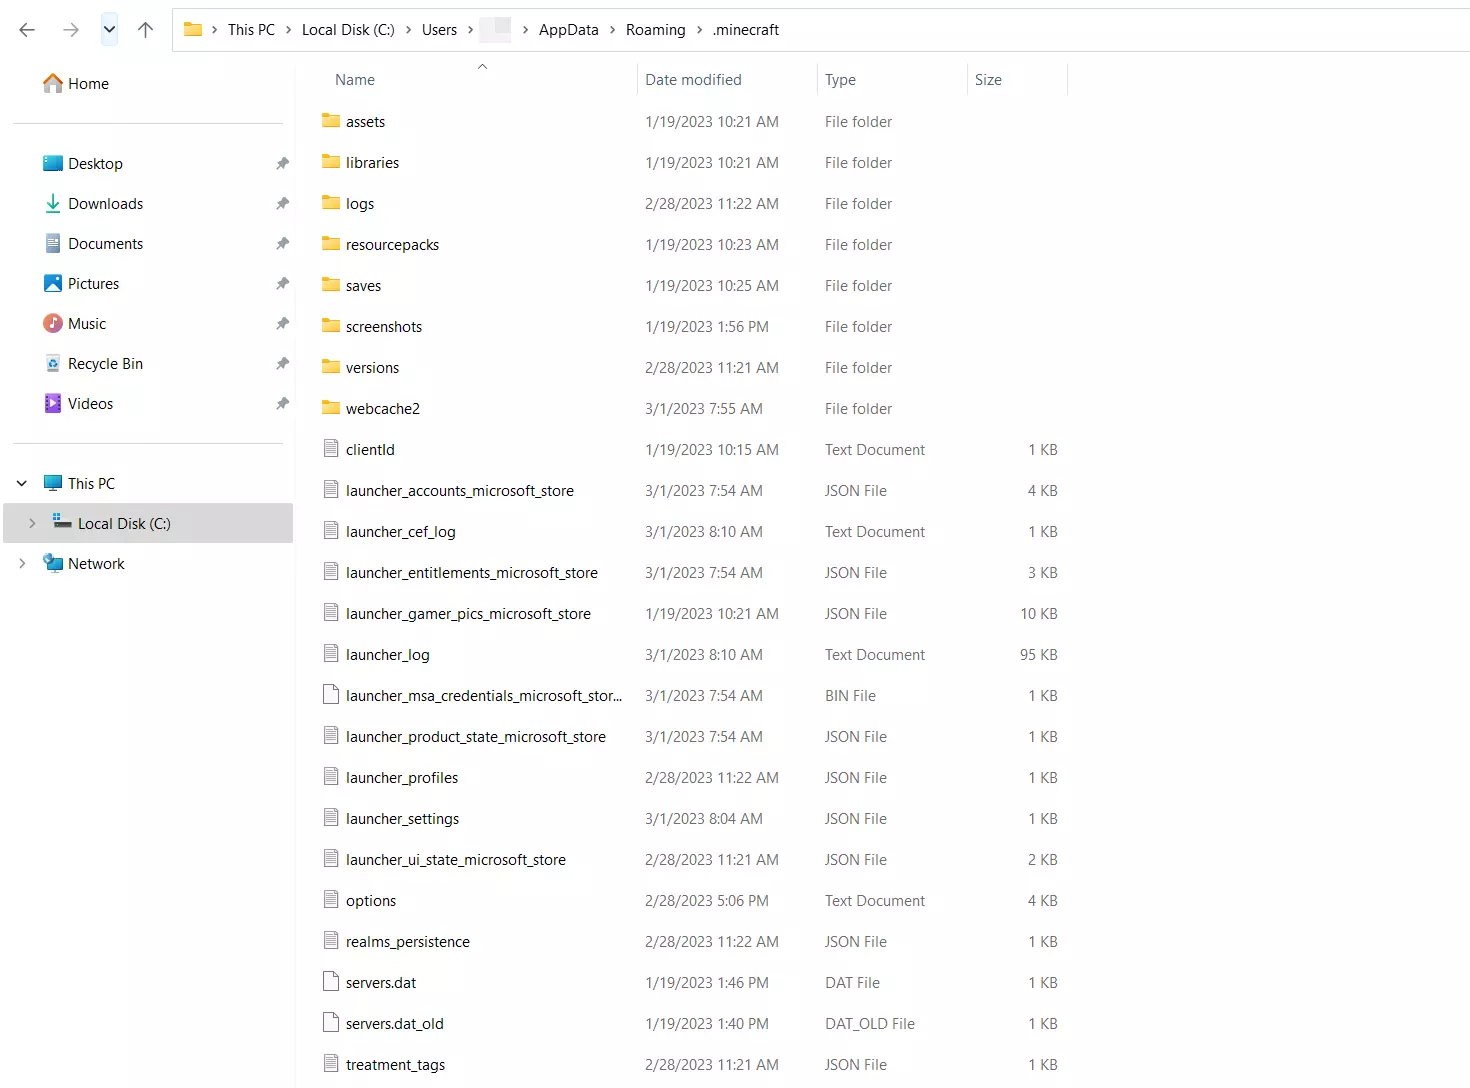
- Go to “Installations,” hover over your Forge/Fabric profile, and click the folder icon to open the
.minecraftdirectory. - Find the
modsfolder within.minecraft. If it doesn’t exist, create it. - Drag and drop all your downloaded mod
.jarfiles into this clientmodsfolder.
- Launch Minecraft: Launch Minecraft using the Forge or Fabric profile in the launcher. You should see indications on the main menu that mods are loaded (e.g., “Forge” or “Fabric” branding, or a “Mods” button).
Connecting to Your Modded Server
Once both client and server are set up, it’s time to connect.
- Start Your Server: Ensure your server is running via its
start.batorstart.shscript. - Open Minecraft Client: Launch Minecraft with the correct mod loader profile.
- Add Server:
- From the main menu, click “Multiplayer.”
- Click “Add Server.”
- Server Name: Give it a descriptive name (e.g., “My Modded Server”).
- Server Address:
- If you’re on the same computer as the server: Use
localhostor127.0.0.1. - If you’re on a different computer on the same local network: Use the server computer’s local IP address (e.g.,
192.168.1.100). You can find this by typingipconfig(Windows) orifconfig(macOS/Linux) in the server’s command prompt/terminal. - If players are connecting from outside your local network (e.g., friends across the internet): They will need your public IP address and your router must be configured for port forwarding (see next section). You can find your public IP by searching “what is my IP” on Google.
- If you’re on the same computer as the server: Use
- Click “Done.”
- Join Server: Select your server from the list and click “Join Server.” If everything is set up correctly, you should connect to your modded world!
Advanced Management and Troubleshooting
Running a server involves more than just initial setup. Here’s how to manage and troubleshoot common issues.
Port Forwarding and Network Configuration
For friends to connect to your server from outside your local network, you need to configure your router to allow incoming connections to your server. This process is called port forwarding.
- Find Your Router’s IP Address: Open Command Prompt/Terminal and type
ipconfig(Windows) orip addr(Linux/macOS). Look for “Default Gateway” – this is usually your router’s IP. - Access Router Settings: Open a web browser and type your router’s IP address into the URL bar. You’ll likely need to log in with your router’s username and password (often found on a sticker on the router itself, or in its manual).
- Navigate to Port Forwarding: The exact location varies by router brand, but look for sections like “Port Forwarding,” “NAT,” “Virtual Servers,” or “Firewall.”
- Create a New Rule:
- External/Internal Port: Typically, this will be
25565(the default Minecraft port). - Protocol: Choose
TCP(orBothif available). - Internal IP Address: This is the local IP address of the computer hosting the Minecraft server (e.g.,
192.168.1.100). - Enable/Apply: Activate the rule.
- External/Internal Port: Typically, this will be
- Static IP Address (Recommended): To prevent your server’s local IP address from changing (which would break your port forward), it’s highly recommended to set a static IP for your server machine within your router’s DHCP settings or your operating system’s network adapter settings.
- Test Connection: Have a friend attempt to connect using your public IP address. You can also use online port checker tools (search “port checker 25565”) to verify if the port is open.
- Digital Security Note: Port forwarding opens a specific port on your network to the internet. While necessary for direct connections, ensure your server software and operating system are kept up-to-date to minimize security risks. Using a strong, unique password for your router is also essential.
Common Issues and Solutions
eula.txtnot set totrue: Server fails to start, often with an error message about EULA. Solution: Editeula.txt.- Java Version Mismatch: Server fails to start or crashes immediately. Solution: Ensure you have the correct Java JDK version installed and that your
start.bat/start.shscript is pointing to it. - Out of Memory Errors: Server crashes or lags heavily with “Out of Memory” errors in the console. Solution: Increase the allocated RAM in your
start.bat/start.shscript (-Xmxand-Xmsvalues). - Client Connection Issues (“Could not connect”):
- Server not running. Solution: Start the server.
- Incorrect IP address. Solution: Verify local/public IP.
- Port forwarding not configured or incorrect. Solution: Recheck port forwarding settings.
- Firewall blocking connection. Solution: Add an exception for Java/Minecraft server in your operating system’s firewall.
- Client Crash/Server Mod Mismatch: Client crashes upon joining, or items/blocks are missing/corrupted. Solution: Ensure all client mods are identical versions to server mods, and that Fabric API is installed on the client if required by server mods.
- Mod Conflicts: Certain mods might not play well together. Check server logs for errors referencing specific mods. Solution: Try removing mods one by one to identify the culprit, or search online forums for known conflicts.
Maintaining and Updating Your Modded Server
- Regular Backups: This is paramount. Modded worlds can be complex and prone to corruption. Regularly copy your entire server folder (especially the
worldfolder) to a separate location. Consider automated backup solutions. - Update Mods and Mod Loader: Keep your mods and mod loader updated to their latest stable versions, ensuring both client and server are synchronized. Always back up before updating.
- Monitor Server Performance: Keep an eye on your server’s RAM and CPU usage. Tools like
top(Linux/macOS) or Task Manager (Windows) can help. - Regular Restarts: Restarting the server periodically can help clear memory leaks and improve long-term stability.
Security and Backup Best Practices
As a server administrator, you are responsible for the security of your server and the integrity of its data.
- Strong Passwords: Use strong, unique passwords for your router, server OS, and any server control panels.
- Firewall: Ensure your server machine’s firewall is active and only allows necessary ports (like 25565) to be open.
- Software Updates: Keep your operating system, Java, and server software updated to patch known vulnerabilities.
- Whitelist: Consider enabling a
whitelistin yourserver.propertiesfile (white-list=true) and adding allowed player names to awhite-list.jsonfile. This prevents unauthorized players from joining your server, especially crucial if your public IP is widely known. - Offsite Backups: In addition to local backups, consider an offsite backup solution (e.g., cloud storage) to protect against hardware failure or local disasters.
By following this detailed guide, you’ll be well-equipped to set up, manage, and troubleshoot your very own modded Minecraft server, opening up a world of enhanced gameplay possibilities for you and your friends. Remember, patience and systematic troubleshooting are your best allies in the rewarding journey of server administration.
aViewFromTheCave is a participant in the Amazon Services LLC Associates Program, an affiliate advertising program designed to provide a means for sites to earn advertising fees by advertising and linking to Amazon.com. Amazon, the Amazon logo, AmazonSupply, and the AmazonSupply logo are trademarks of Amazon.com, Inc. or its affiliates. As an Amazon Associate we earn affiliate commissions from qualifying purchases.