Kubernetes, often abbreviated as K8s, has rapidly ascended to become the de facto standard for orchestrating containerized applications. Its ability to automate deployment, scaling, and management of containerized workloads has made it indispensable for modern software development and operations. For macOS users, the journey into the world of Kubernetes can begin right on their local machines, offering a powerful environment for development, testing, and learning. This guide will walk you through the process of installing and setting up Kubernetes on your Mac, empowering you to harness its capabilities without the need for complex cloud infrastructure.
The decision to install Kubernetes on your local macOS machine is a strategic one, aligning perfectly with the “Tech” pillar of our website’s focus. Whether you’re a seasoned developer looking to experiment with new microservices architectures, an aspiring DevOps engineer seeking hands-on experience, or a team lead aiming to foster local development environments that mirror production, this tutorial will provide the foundational knowledge and practical steps. We’ll explore various installation methods, focusing on user-friendly and efficient approaches that cater to different needs and technical proficiencies.
While Kubernetes is fundamentally a technology tool, its adoption has significant implications for “Brand” and “Money” as well. A robust Kubernetes setup can enable faster iteration cycles, leading to quicker product releases and a stronger market presence (Brand). Furthermore, by optimizing resource utilization and reducing manual operational overhead, Kubernetes can contribute to significant cost savings in the long run (Money). This guide, therefore, is not just about installing software; it’s about equipping yourself with a skill that enhances your technical prowess, can elevate your professional brand, and ultimately contributes to more efficient and cost-effective technology management.
Understanding Your Kubernetes Installation Options
Before diving into the installation process, it’s crucial to understand the landscape of Kubernetes deployment on macOS. The most common and recommended approaches involve utilizing specialized tools designed to abstract away much of the complexity. These tools typically create a single-node Kubernetes cluster within a virtual machine or directly on your host OS, providing a lightweight yet fully functional environment.
The Power of Minikube: A Lightweight Kubernetes Cluster
Minikube is a popular open-source tool that makes it easy to run a single-node Kubernetes cluster locally. It’s designed to be simple and fast, allowing you to get started with Kubernetes development and testing in minutes. Minikube runs a Kubernetes cluster inside a virtual machine (VM) on your laptop, or it can run directly on your macOS using a container runtime like Docker.
The advantage of Minikube lies in its ease of use and minimal resource requirements compared to running a full-fledged distributed cluster. It’s ideal for developers who need to:
- Develop and Test Applications: Quickly iterate on containerized applications and test their behavior within a Kubernetes environment.
- Learn Kubernetes Concepts: Experiment with Kubernetes APIs, controllers, and configurations without the overhead of a production cluster.
- Prototype and Demo: Showcase Kubernetes-powered applications to stakeholders.
Minikube supports various hypervisors (like VirtualBox, VMware Fusion, Parallels Desktop) and container runtimes (like Docker). For macOS, using Docker as the driver for Minikube is a widely adopted and efficient method. This leverages Docker Desktop for Mac, which provides the necessary containerization environment.
Steps to Install Minikube:
-
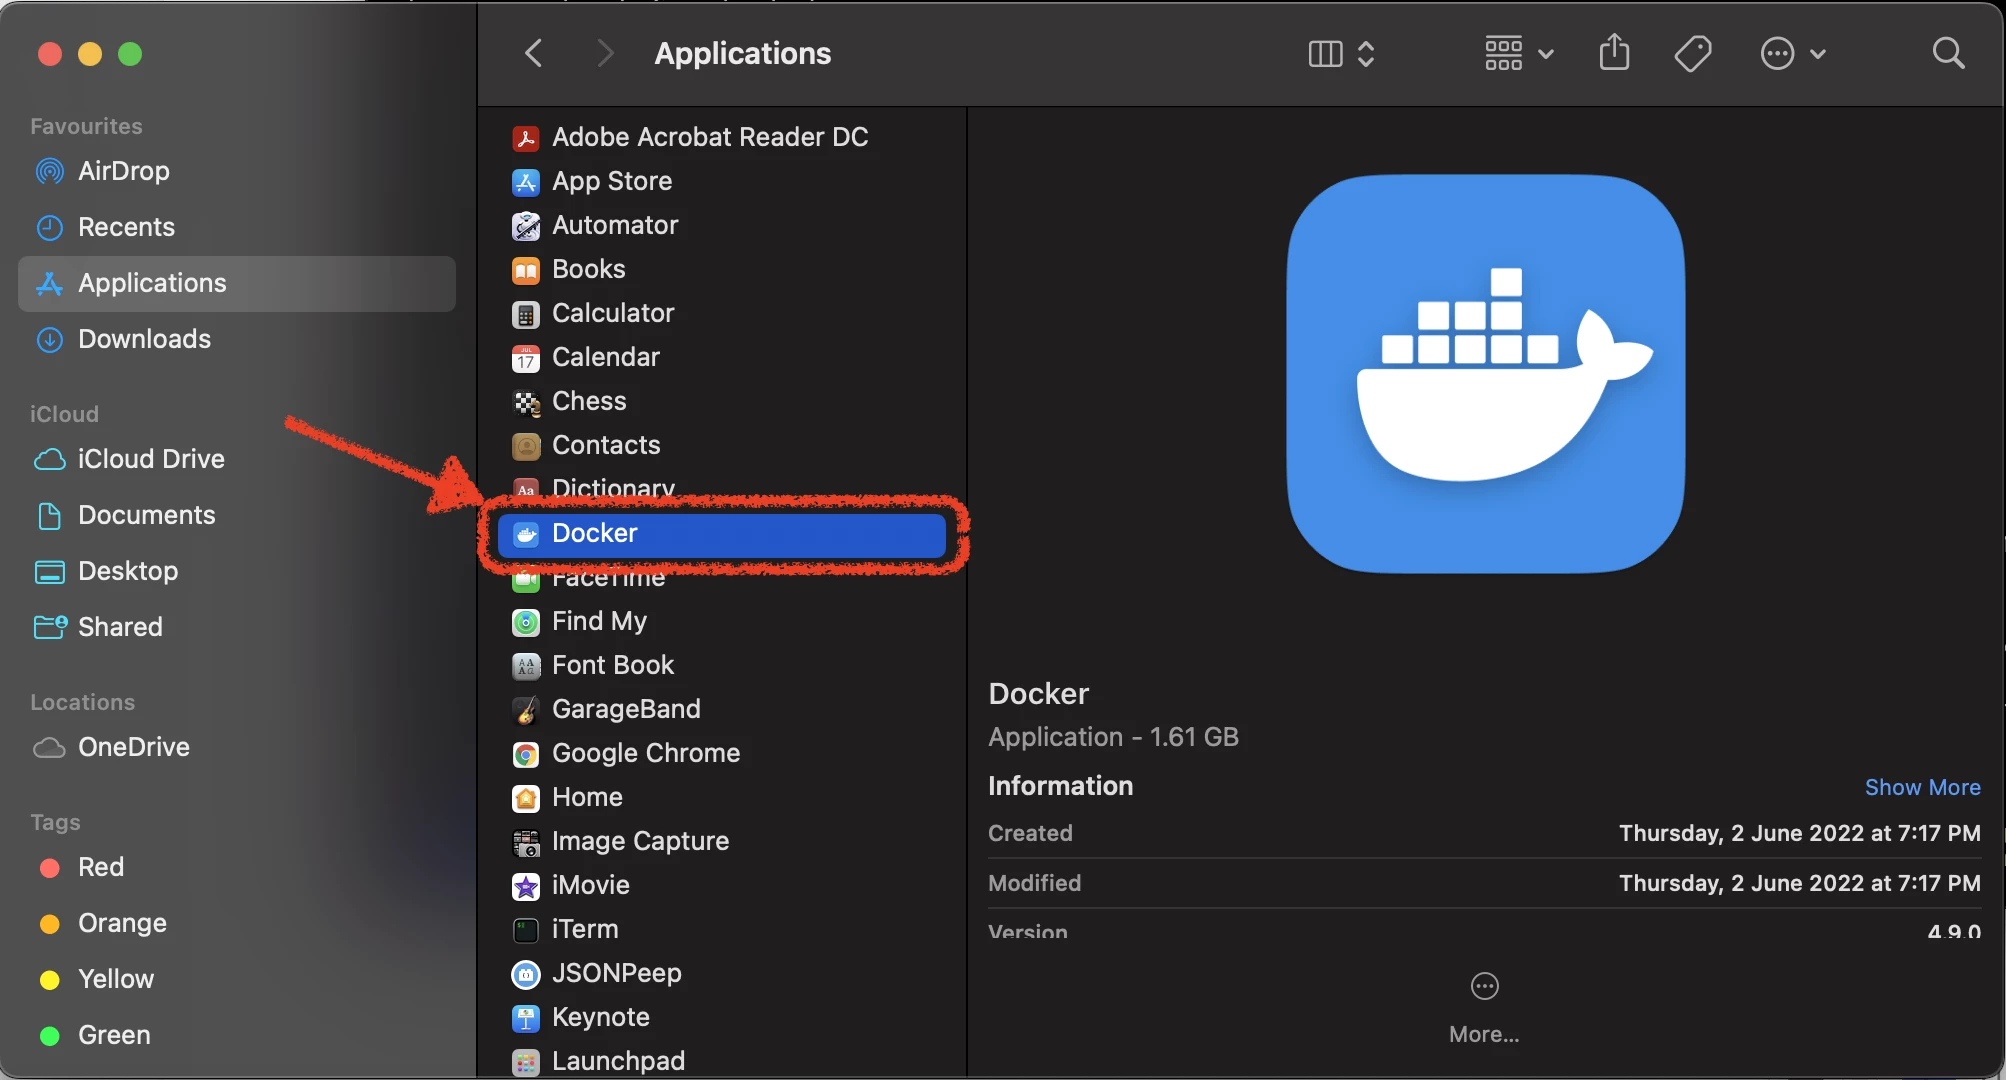
Install Docker Desktop for Mac: If you don’t already have it, download and install Docker Desktop for Mac from the official Docker website. Docker Desktop includes the Docker engine, Docker CLI client, Docker Compose, and Kubernetes itself (which can be enabled within Docker Desktop settings, though for Minikube, we’ll let Minikube manage its own Kubernetes instance).
-
Install Minikube: The easiest way to install Minikube is by downloading the binary. You can do this using
curlin your terminal:curl -LO https://storage.googleapis.com/minikube/releases/latest/minikube-darwin-amd64 sudo install minikube-darwin-amd64 /usr/local/bin/minikubeFor Apple Silicon (M1/M2/M3) Macs, you’ll need the ARM64 version:
curl -LO https://storage.googleapis.com/minikube/releases/latest/minikube-darwin-arm64 sudo install minikube-darwin-arm64 /usr/local/bin/minikube -
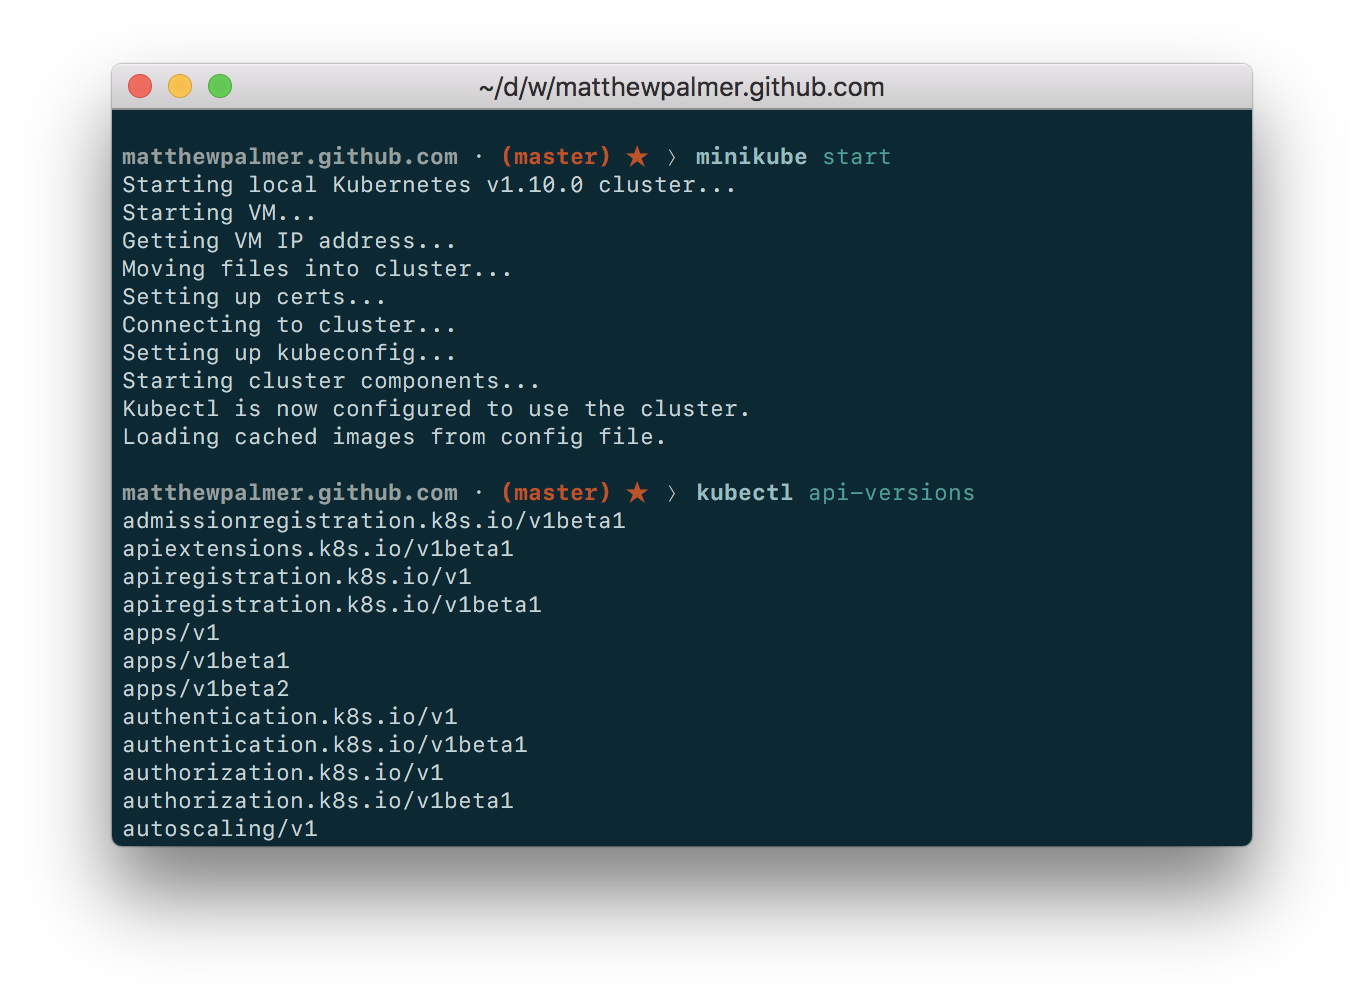
Start Minikube: Once Minikube is installed, you can start a cluster. The
--driver=dockerflag tells Minikube to use Docker as its driver:minikube start --driver=dockerThis command will download the necessary VM image and provision a single-node Kubernetes cluster. It might take a few minutes the first time.
-
Verify the Installation: After Minikube has started, you can check its status and interact with your cluster using
kubectl, the Kubernetes command-line tool.kubectlis usually installed automatically with Minikube, or you can install it separately.kubectl cluster-info kubectl get nodesYou should see information about your Minikube cluster and a single node listed as
Ready.
Kind (Kubernetes IN Docker): Another Excellent Local Kubernetes Option
Kind is another powerful and flexible tool for running local Kubernetes clusters. Instead of using a VM, Kind uses Docker containers as Kubernetes “nodes.” This makes it incredibly fast to spin up and tear down clusters, making it an excellent choice for CI/CD pipelines, testing, and local development.
Kind is particularly well-suited for:
- Testing Kubernetes Features: Kind allows you to run multiple nodes in a single Docker host, simulating more complex cluster setups for testing networking or multi-node configurations.
- CI/CD Integration: Its speed and container-based approach make it ideal for integration into continuous integration pipelines.
- Learning Advanced Concepts: Simulating multi-node clusters can help in understanding distributed systems.
Steps to Install Kind:
-
Install Docker Desktop for Mac: As with Minikube, Docker Desktop is a prerequisite for Kind.
-
Install Kind: You can install Kind using
brew(if you have Homebrew installed) or by downloading the binary.Using
brew:brew install kindAlternatively, download the binary:
curl -Lo ./kind https://kind.sigs.k8s.io/dl/v0.23.0/kind-darwin-amd64 # Replace v0.23.0 with the latest version
chmod +x ./kind
sudo mv ./kind /usr/local/bin/kind
For Apple Silicon Macs:
curl -Lo ./kind https://kind.sigs.k8s.io/dl/v0.23.0/kind-darwin-arm64 # Replace v0.23.0 with the latest version chmod +x ./kind sudo mv ./kind /usr/local/bin/kind -
Create a Cluster: To create a basic single-node cluster:
kind create clusterThis command will pull the necessary container images and create a cluster named “kind.”
-
Verify the Installation: Kind automatically configures
kubectlto connect to the cluster it creates.kubectl cluster-info --context kind-kind kubectl get nodesYou should see your “kind” cluster details and a single node.
Docker Desktop’s Built-in Kubernetes
Docker Desktop for Mac offers a convenient, integrated way to run Kubernetes directly. When you install Docker Desktop, it comes with an option to enable Kubernetes. This approach is the most straightforward for users who are already using Docker Desktop for container management.
The benefits of using Docker Desktop’s built-in Kubernetes include:
- Simplicity: No additional installations beyond Docker Desktop itself are required.
- Seamless Integration: It’s tightly integrated with your Docker environment.
- Easy On/Off Switch: You can enable or disable Kubernetes from Docker Desktop’s settings.
Steps to Enable Docker Desktop’s Kubernetes:
-
Install Docker Desktop for Mac: If you haven’t already, download and install Docker Desktop.
-
Enable Kubernetes:
- Open Docker Desktop.
- Go to Settings (or Preferences on older versions).
- Navigate to the Kubernetes tab.
- Check the box that says “Enable Kubernetes.”
- Click “Apply & Restart.”
Docker Desktop will then download the necessary images and start a single-node Kubernetes cluster. This process can take a few minutes.
-
Verify the Installation: Once enabled, Docker Desktop will configure your
kubectlcontext to point to this cluster.kubectl cluster-info kubectl get nodesYou should see your Docker Desktop Kubernetes cluster information and a single node.

Configuring and Managing Your Local Kubernetes Cluster
Once you have Kubernetes installed on your Mac using one of the methods above, the next step is to learn how to interact with and manage your cluster effectively. This involves understanding how to deploy applications, manage resources, and leverage kubectl, the primary command-line interface for Kubernetes.
Introduction to kubectl: Your Kubernetes Command-Line Tool
kubectl is the universal tool for communicating with your Kubernetes cluster. It allows you to deploy applications, inspect and manage cluster resources, view logs, and much more. Whether you installed Minikube, Kind, or enabled Kubernetes within Docker Desktop, kubectl will be your primary interface.
Key kubectl Commands to Get Started:
kubectl get nodes: Lists all the nodes in your cluster. For local setups, you’ll typically see one node.kubectl get pods: Lists all the pods running in your cluster. Pods are the smallest deployable units in Kubernetes.kubectl get services: Lists all the services in your cluster. Services provide a way to expose your applications.kubectl get deployments: Lists all the deployments. Deployments manage stateless applications.kubectl get all: A convenient shortcut to see most common resource types in the current namespace.kubectl describe <resource_type> <resource_name>: Provides detailed information about a specific resource, such as a pod or deployment. This is invaluable for debugging. For example,kubectl describe pod my-app-pod.kubectl logs <pod_name>: Fetches the logs from a pod. This is essential for troubleshooting application issues.kubectl apply -f <filename.yaml>: Applies a configuration to a resource by filename or URL. This is how you deploy applications using YAML manifests.kubectl delete -f <filename.yaml>: Deletes resources defined in a file.kubectl config current-context: Shows which Kubernetes cluster context you are currently using.kubectl config use-context <context_name>: Switches to a different cluster context (useful if you manage multiple local clusters or connect to remote ones).
Deploying Your First Application
To truly appreciate Kubernetes, you need to deploy an application. Let’s walk through deploying a simple Nginx web server using a Deployment and a Service.
-
Create a Deployment Manifest:
Create a file namednginx-deployment.yamlwith the following content:apiVersion: apps/v1 kind: Deployment metadata: name: nginx-deployment labels: app: nginx spec: replicas: 1 # Start with one replica selector: matchLabels: app: nginx template: metadata: labels: app: nginx spec: containers: - name: nginx image: nginx:latest ports: - containerPort: 80This YAML defines a Deployment that will ensure one replica of an Nginx container is running.
-
Apply the Deployment:
Open your terminal, navigate to the directory where you savednginx-deployment.yaml, and run:kubectl apply -f nginx-deployment.yaml -
Verify the Deployment:
Check if the deployment was created and if the pod is running:kubectl get deployments kubectl get podsYou should see
nginx-deploymentlisted with 1/1 replicas, and a corresponding Nginx pod. -
Create a Service Manifest:
Now, let’s create a Service to expose the Nginx deployment. Create a file namednginx-service.yaml:apiVersion: v1 kind: Service metadata: name: nginx-service spec: selector: app: nginx # Selects pods with the label app: nginx ports: - protocol: TCP port: 80 # Port within the cluster targetPort: 80 # Port on the pod type: LoadBalancer # For local clusters, this usually maps to a port on your hostThe
type: LoadBalanceris particularly useful for local development. For Minikube, Kind, and Docker Desktop, this type often translates to a port on your local machine that’s forwarded to your cluster. -
Apply the Service:
kubectl apply -f nginx-service.yaml -
Access Nginx:
After applying the service, you can find the port it’s exposed on. For Minikube, you can use:minikube service nginx-service --urlThis command will output a URL, which you can open in your browser to see the default Nginx welcome page.
If you’re using Kind or Docker Desktop, you might need to inspect the service to find the NodePort or the IP address and port. A common way to find the accessible port for a LoadBalancer service in these environments is:
kubectl get service nginx-serviceLook for the
PORT(S)column, which will show something like80:XXXXX/TCP. TheXXXXXis the NodePort, which you can access vialocalhost:XXXXX.
Advanced Topics and Next Steps
Once you’ve successfully installed and deployed your first application, the world of Kubernetes opens up. Your local setup is a fantastic sandbox for exploring more complex concepts and preparing for production environments.
Exploring Other Local Kubernetes Solutions
While Minikube, Kind, and Docker Desktop are excellent starting points, other solutions cater to specific needs:
- k3s: A lightweight, certified Kubernetes distribution designed for edge, IoT, and development. It’s known for its small footprint and ease of installation.
- Rancher Desktop: An open-source desktop application that provides Kubernetes and container management to macOS, Windows, and Linux. It integrates with k3s or containerd.
Choosing the right tool often depends on your project’s requirements, desired resource consumption, and integration needs. For macOS users, all these options provide a path to local Kubernetes mastery.
Integrating with Your CI/CD Pipeline
A significant benefit of having a local Kubernetes environment is the ability to integrate it into your Continuous Integration and Continuous Deployment (CI/CD) pipelines. Tools like Jenkins, GitLab CI, GitHub Actions, and CircleCI can all be configured to deploy to your local cluster, allowing for rapid testing and validation of changes before pushing them to staging or production environments.
For instance, you could set up a GitHub Action workflow that, on every commit, builds your Docker image, pushes it to a registry, and then uses kubectl or kind to deploy it to your local cluster for integration tests. This practice significantly accelerates the feedback loop for developers.
Understanding Kubernetes Networking and Storage
As you progress, delve deeper into Kubernetes networking concepts like Services (ClusterIP, NodePort, LoadBalancer), Ingress controllers, and Network Policies. Understanding how pods communicate with each other and how external traffic reaches your applications is fundamental.
Similarly, explore Kubernetes storage solutions. For local development, you might use hostPath volumes or persistent volumes provided by your local Kubernetes distribution. In production, you’ll deal with cloud-provider-specific storage or solutions like Rook/Ceph for distributed storage.
Security Best Practices for Local Development
Even in a local environment, it’s wise to adopt good security practices. This includes:
- Minimizing Privileges: Running containers with the least privilege necessary.
- Image Scanning: Regularly scanning your container images for vulnerabilities.
- Secrets Management: Using Kubernetes Secrets to manage sensitive information like API keys and passwords, rather than hardcoding them in your application.
- Network Policies: Implementing network policies to restrict communication between pods.
By mastering the installation and management of Kubernetes on your Mac, you’re not just learning a tool; you’re gaining proficiency in a technology that is reshaping the software landscape. This skill empowers you to build, deploy, and manage applications more efficiently, contributing to faster innovation, stronger brand differentiation through agile product delivery, and significant cost efficiencies in your technology stack. Happy containerizing!
aViewFromTheCave is a participant in the Amazon Services LLC Associates Program, an affiliate advertising program designed to provide a means for sites to earn advertising fees by advertising and linking to Amazon.com. Amazon, the Amazon logo, AmazonSupply, and the AmazonSupply logo are trademarks of Amazon.com, Inc. or its affiliates. As an Amazon Associate we earn affiliate commissions from qualifying purchases.