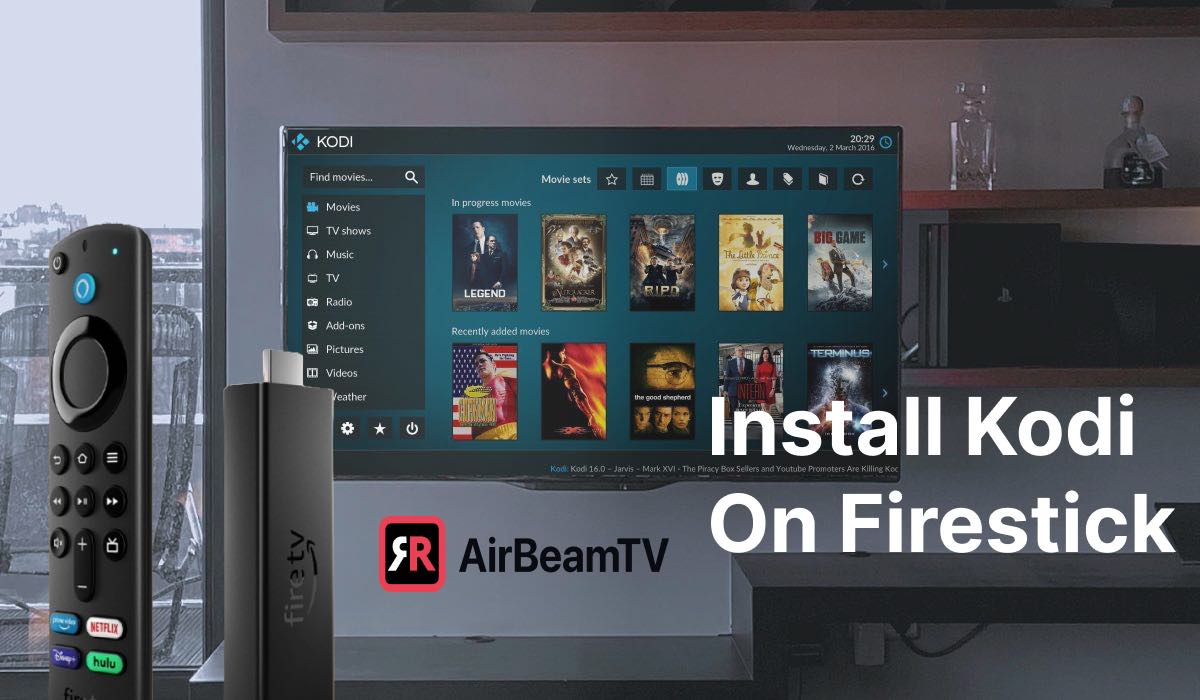
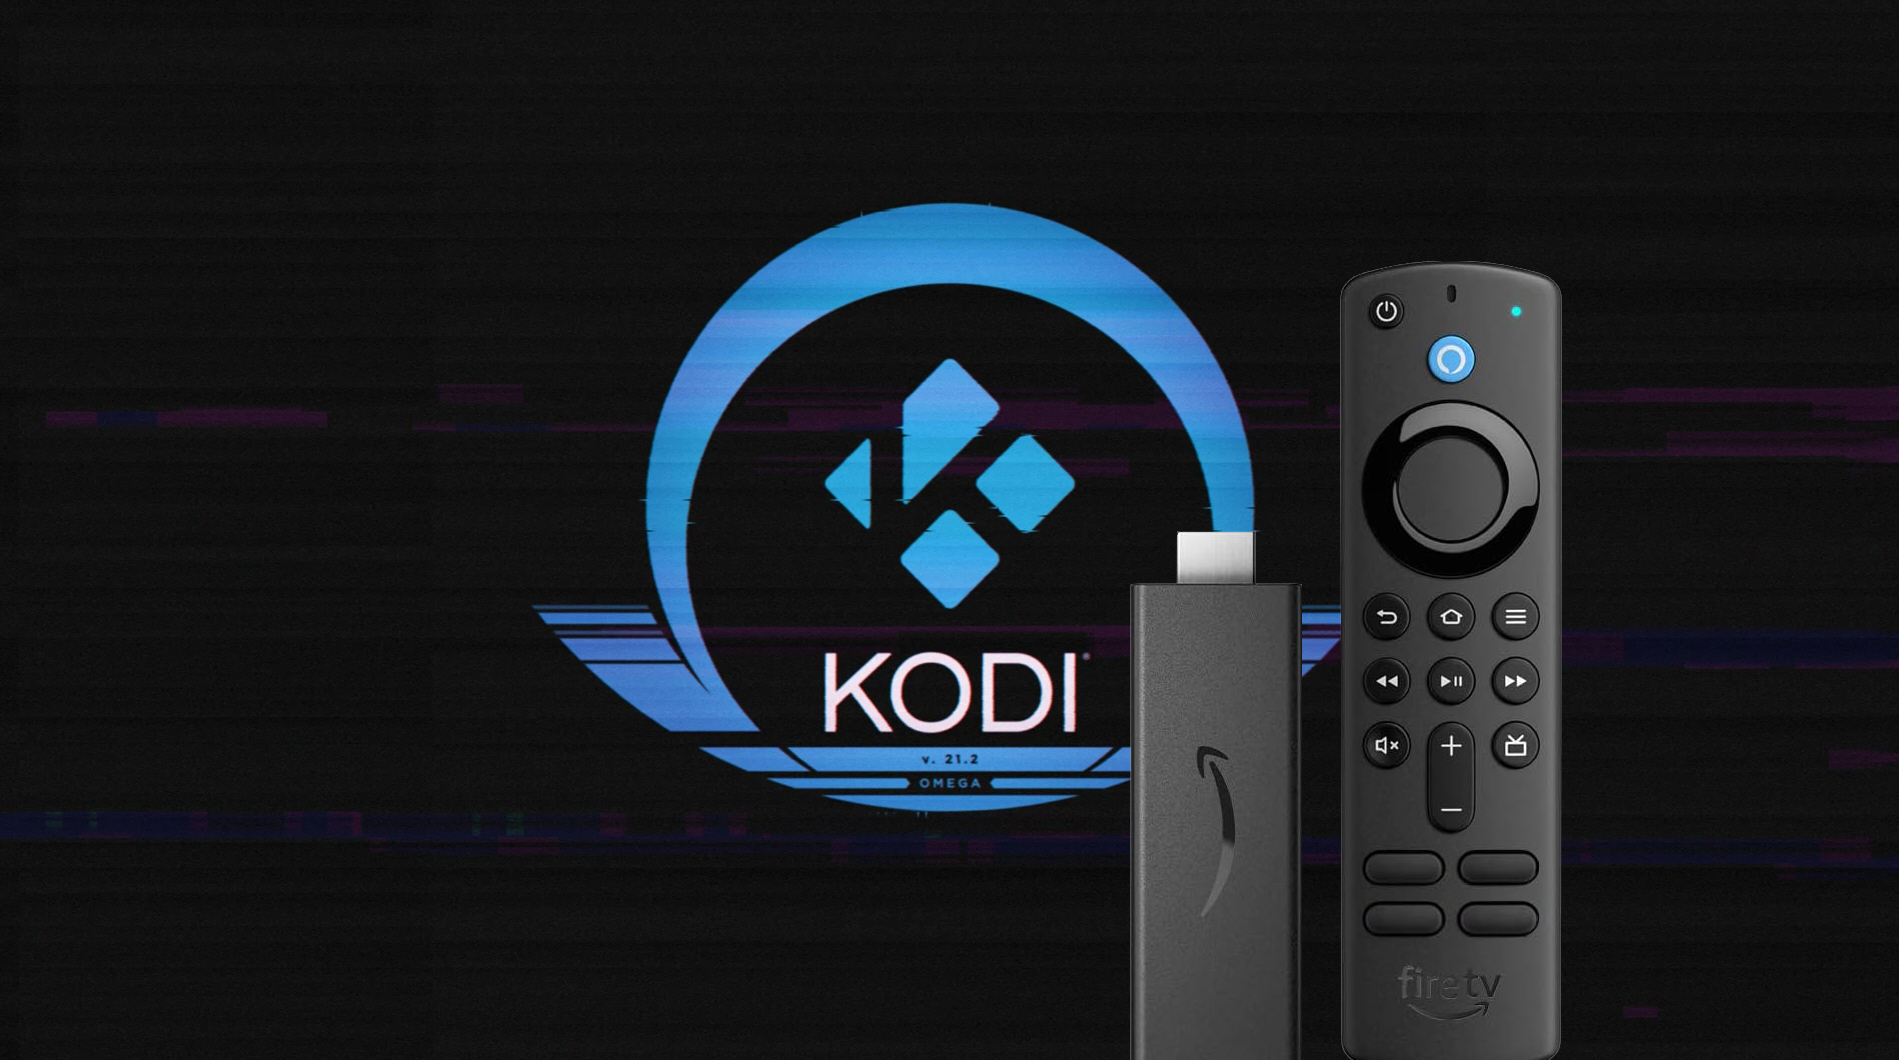
In the realm of digital entertainment, the Amazon Firestick has emerged as a formidable gateway, transforming any standard television into a smart media hub. While it offers a rich ecosystem of streaming services, many tech-savvy users seek to unlock its full potential by integrating third-party applications. Among these, Kodi stands out as a powerful, open-source media center software, renowned for its extensive customization options and ability to organize and stream a vast array of digital content.
This comprehensive guide will walk you through the process of installing Kodi on your Firestick, providing clear, step-by-step instructions. We’ll delve into the preparations needed, the most reliable installation methods, essential post-installation configurations, and offer valuable tips for optimizing your streaming experience. By the end of this tutorial, you’ll be equipped to transform your Firestick into an unparalleled entertainment powerhouse, all while navigating potential pitfalls with ease.
Understanding Kodi and Firestick: The Perfect Synergy
Before we dive into the installation process, let’s briefly touch upon what makes Kodi and the Firestick such a complementary pair. Understanding their individual strengths will illuminate why their integration is a sought-after enhancement for media enthusiasts.
What is Kodi?
Kodi, formerly known as XBMC (Xbox Media Center), is a free and open-source software application designed for home theater PCs (HTPC) and other digital media players. It offers a user-friendly interface to manage and play a wide variety of media files, including videos, music, photos, and podcasts from local storage, network storage, and the internet. Its true power lies in its extensive add-on ecosystem, which allows users to access an almost limitless supply of content, ranging from niche video streams to popular movie and TV show repositories. The ability to customize the interface, install various skins, and integrate with a multitude of services makes Kodi a highly versatile and personalizable media hub.
What is Amazon Firestick?
The Amazon Firestick is a series of media streaming devices developed by Amazon. These compact HDMI dongles plug directly into your TV, granting access to a wealth of streaming services like Amazon Prime Video, Netflix, Disney+, Hulu, and more, all controllable via a remote or voice commands (Alexa). Running on Fire OS, a fork of Android, the Firestick is essentially a miniature Android device optimized for media consumption. Its affordability, ease of use, and portability have made it incredibly popular, providing a convenient way to bring smart TV functionalities to any display with an HDMI port.
Why Install Kodi on Your Firestick?
The primary reason for installing Kodi on a Firestick is to transcend the limitations of pre-installed apps and unlock a universe of media content. While the Firestick offers popular streaming platforms, Kodi provides:
- Unparalleled Customization: From themes and skins to personalized libraries, Kodi allows you to tailor your media experience precisely to your liking.
- Vast Content Access: Through official and community-developed add-ons, users can access a broader range of movies, TV shows, live TV channels, sports, music, and international content that might not be available through conventional apps.
- Centralized Media Management: If you have a personal collection of digital media (movies, music, photos), Kodi excels at organizing it all into a beautiful, navigable interface, regardless of where it’s stored (local network, NAS).
- Cost-Effectiveness: While some content requires subscriptions, many Kodi add-ons provide free access to a wealth of legal and sometimes legally ambiguous content, making it an attractive option for budget-conscious streamers.
- Offline Playback: With proper setup, Kodi can play media stored directly on your network or external drives, even without an active internet connection (for content you already own).
By combining the Firestick’s user-friendly hardware and portability with Kodi’s powerful software capabilities, you create a robust and highly flexible media streaming solution that caters to virtually every entertainment need.
Essential Preparations: Setting Up Your Firestick for Kodi Installation
Installing Kodi on a Firestick is not as straightforward as downloading an app from the Amazon App Store. Since Kodi is a third-party application, you’ll need to enable certain settings on your Firestick to allow “sideloading” – the process of installing apps from sources other than the official app store. This section details the crucial preparatory steps to ensure a smooth installation.
Step 1: Enable Apps from Unknown Sources and ADB Debugging
This is the most critical prerequisite. By default, your Firestick is configured to only install apps from Amazon’s official store for security reasons. To install Kodi, you must temporarily override this setting.
- Navigate to Firestick Settings: From your Firestick’s home screen, use your remote to scroll right and select the “Settings” icon (a gear).
- Access My Fire TV: Within the Settings menu, scroll down and select “My Fire TV” (or “Device & Software” on older Fire OS versions).
- Open Developer Options: Select “Developer Options.” If you don’t see “Developer Options,” you might need to enable it first. To do this, go to “About” within “My Fire TV” and click on your “Fire TV Stick” (or “Fire TV Cube,” “Fire TV Stick 4K,” etc.) seven times. A message will appear saying “No need, you are already a developer!” or “You are now a developer!” Then, go back, and “Developer Options” will be visible.
- Toggle Settings On: Inside Developer Options, you’ll find two important settings:
- Apps from Unknown Sources: Toggle this setting “ON.” A warning message will appear about installing apps from unknown sources. Select “Turn On” to proceed. This is essential for sideloading Kodi.
- ADB Debugging: Toggle this setting “ON.” While not strictly necessary for the Downloader method (our primary method), it’s good practice to enable it as it’s required for other sideloading tools like ADBLink, which some users might prefer.
Step 2: Install the Downloader Application
The Downloader app is an indispensable tool for sideloading applications on your Firestick. Since the Firestick’s web browser isn’t ideal for downloading files, Downloader provides a streamlined way to input URLs and retrieve APK files directly onto your device.
- Return to the Home Screen: Press the Home button on your Firestick remote.
- Use the Search Function: Scroll to the “Find” menu item, then select “Search” (or use the voice command by holding down the microphone button and saying “Downloader”).
- Search for Downloader: Type “Downloader” into the search bar. You’ll likely see it appear as a suggestion. Select it.
- Download and Install: Select the “Downloader” app icon (it usually has an orange square with a downward-pointing arrow). Click “Download” or “Get” to install it on your Firestick.
- Open Downloader: Once installed, click “Open.” The first time you launch it, you might be asked to grant storage permissions. Select “Allow.” You may also see a quick start guide; you can dismiss this.
Step 3: Secure Your Connection with a VPN (Highly Recommended)
Before you proceed with streaming content through Kodi, especially from third-party add-ons, using a Virtual Private Network (VPN) is strongly recommended. This falls under the “Digital Security” aspect of our website’s core topics and is crucial for protecting your privacy and circumventing geo-restrictions.
- Privacy Protection: Many Kodi add-ons stream content from various sources, some of which may not be entirely legal or might track your IP address. A VPN encrypts your internet traffic, masking your IP address and making your online activities anonymous from your Internet Service Provider (ISP), copyright trolls, and other third parties.
- Bypassing Geo-Restrictions: A VPN allows you to connect to servers in different countries, effectively tricking services into believing you are located elsewhere. This enables you to access content that might be geo-restricted in your region.
- Preventing ISP Throttling: Some ISPs might throttle your internet speed when they detect high-bandwidth activities like streaming, leading to buffering. A VPN can prevent this by encrypting your traffic, making it impossible for your ISP to see what you are doing.
There are many reputable VPN services available, with dedicated apps for Firestick. You can search for and install them directly from the Amazon App Store. Ensure you choose a fast, reliable VPN with a strict no-logs policy.
With these preparations complete, your Firestick is now ready for the Kodi installation.
Installing Kodi on Your Firestick: The Downloader Method
The most popular and straightforward method to install Kodi on a Firestick is using the Downloader app. This process directly downloads the Kodi Android Package (APK) file onto your device and initiates the installation.
Step 1: Launch Downloader and Enter Kodi URL
- Open Downloader: From your Firestick’s home screen, go to “Your Apps & Channels” and select the “Downloader” app. If you don’t see it, you may need to navigate to “See All” at the end of the app list.
- Enter Kodi Download URL: In the URL field of the Downloader app, you need to input the direct link to the Kodi APK file. The most reliable source is the official Kodi website.
- Type
https://kodi.tv/downloadand click “Go.” - Alternatively, for a direct APK link (which is often more convenient if you know the exact version), you might enter
https://www.kodi.tv/download/android/to get to the Android download page, then manually navigate. - Pro Tip: For a direct download without navigating the Kodi site, you might find a shorter URL provided by reputable tech blogs or forums for the specific ARM-based Firestick version (e.g.,
bit.ly/kodiarm– Note: This is an example, always verify the URL before using). It’s generally safest to go through the official Kodi download page.
- Type
Step 2: Navigate and Select the Correct Kodi Version
- Browse the Download Page: If you entered
https://kodi.tv/download, Downloader will open a browser window displaying the Kodi download page. Scroll down to find the “Android” icon and click on it. - Choose the Architecture: On the Android download page, you will see different versions based on CPU architecture. For almost all Amazon Firesticks (Fire TV Stick 4K Max, Fire TV Stick 4K, Fire TV Stick 3rd Gen, Fire TV Stick Lite, Fire TV Stick 2nd Gen, Fire TV Stick 1st Gen), you need the ARMV7A (32-bit) version. If you have a newer, more powerful device like the Fire TV Cube 2nd or 3rd Gen, or the Fire TV Stick 4K Max, you might be able to use the ARMV8A (64-bit) version, but 32-bit is universally compatible and often recommended for simplicity.
- Download the APK: Click on the appropriate version (e.g., “ARMV7A (32-bit)”). The download will begin. Downloader will display a progress bar.
Step 3: Install Kodi
- Automatic Installation Prompt: Once the download is complete, Downloader will automatically open the installation prompt for the Kodi APK file.
- Initiate Installation: On the installation screen, scroll down and click “Install.”
- Installation Progress: The installation process will take a few moments. You’ll see a progress bar.
- App Installed Confirmation: Once finished, you will see a message saying “App installed.”
Step 4: Delete the APK File (Optional but Recommended)
- Click “Done”: After the “App installed” message, you’ll have two options: “Done” or “Open.” Select “Done” for now.
- Delete the APK: Downloader will then ask if you want to delete the APK file. It’s highly recommended to delete it to free up storage space on your Firestick, as the APK is no longer needed after installation. Select “Delete,” then “Delete” again to confirm.
Step 5: Launch Kodi
- Return to Home Screen: Press the Home button on your Firestick remote.
- Find Kodi: Kodi won’t automatically appear on your main app bar. Scroll to “Your Apps & Channels” and then click “See All.”
- Launch Kodi: Scroll down the list until you find “Kodi.” Click on it to launch. The first launch might take a little longer as Kodi initializes its database and components.
Congratulations! You have successfully installed Kodi on your Amazon Firestick.
Post-Installation and Optimization: Maximizing Your Kodi Experience
With Kodi now successfully installed, the next steps involve optimizing its performance and exploring its vast capabilities. This includes learning how to quickly access the app, installing add-ons, and ensuring your streaming setup is robust and secure.
Quick Access to Kodi
To make Kodi easily accessible without digging through your entire app list:
- Move to Front: From the “See All” apps screen, highlight the Kodi icon.
- Press Options Button: On your Firestick remote, press the “Options” button (the one with three horizontal lines).
- Move to Front: From the pop-up menu, select “Move to front.” Kodi will now appear prominently on your Firestick’s home screen app bar, usually in the first position.
Installing Kodi Add-ons
The true power of Kodi lies in its add-ons, which extend its functionality to include virtually any streaming service or media source imaginable. Kodi add-ons come in two main types:
- Official Add-ons: These are available through the official Kodi Add-on Repository and typically provide access to legal content from services like YouTube, Vimeo, Twitch, and various news channels.
- Third-Party Add-ons: These are developed by the community and often provide access to a wider range of content, including movies, TV shows, live sports, and international channels, sometimes from sources that are legally ambiguous.
Basic steps to install an add-on (general outline):
- Enable Unknown Sources (within Kodi): Just like with the Firestick itself, Kodi requires you to enable “Unknown sources” within its own settings to install third-party add-ons. Go to Kodi’s Settings (gear icon) > System > Add-ons > Unknown sources and toggle it “ON.”
- Add a Source: For many third-party add-ons, you’ll first need to add a file source URL. Go to Settings > File Manager > Add Source. Enter the URL of the repository you wish to add.
- Install from Zip File: Once the source is added, go to Settings > Add-ons > Install from zip file. Select the source you just added, then find and install the repository’s zip file.
- Install from Repository: After the repository is installed, go to Settings > Add-ons > Install from repository. Select the repository you just installed, then navigate through its video add-ons or program add-ons to find and install your desired add-on.
Always exercise caution and research the reputation of third-party add-ons before installing them, as they can sometimes pose security risks or lead to legal issues depending on the content accessed.
Optimizing Performance and Troubleshooting
While Kodi generally runs well on Firestick devices, you might encounter issues like buffering, slow navigation, or app crashes. Here are some tips for optimizing performance and basic troubleshooting:
- Clear Cache: Over time, Kodi accumulates cache data, which can slow it down. Many maintenance add-ons (found in official repositories) offer cache-clearing functions. You can also manually clear app data via Firestick Settings: Settings > Applications > Manage Installed Applications > Kodi > Clear Cache (and “Clear Data” if you want a fresh start, but this will erase your add-ons and settings).
- Force Stop Kodi: If Kodi becomes unresponsive, go to Firestick Settings > Applications > Manage Installed Applications > Kodi > Force Stop.
- Free Up Storage Space: Firesticks have limited internal storage. Ensure you have enough free space (at least 500MB-1GB) for Kodi to operate smoothly. Delete unused apps, APK files, and old downloads.
- Check Internet Connection: Buffering is often a symptom of a slow or unstable internet connection. Run a speed test on your Firestick (Search for “internet speed test” in the Firestick search bar). Consider using a wired Ethernet adapter if your Wi-Fi signal is weak, or upgrading your internet plan.
- Use a Lightweight Skin: Some Kodi skins are more resource-intensive than others. If you’re experiencing lag, try switching to a lighter default skin like Estuary (Kodi’s default) or Estouchy. Go to Settings > Interface > Skin.
- Update Kodi Regularly: Ensure you’re running the latest stable version of Kodi. Newer versions often include performance improvements and bug fixes. You’ll need to repeat the Downloader process for updates.
- Restart Your Firestick: A simple restart can resolve many temporary glitches. Go to Firestick Settings > My Fire TV > Restart.
The Importance of a VPN (Reiterated)
As mentioned earlier, a VPN is not just a recommendation but a critical tool for any serious Kodi user, enhancing both digital security and productivity.
- Data Privacy: A VPN encrypts your entire internet connection, safeguarding your data from surveillance by ISPs, governments, and potential malicious actors, especially when accessing content from less-vetted sources. This aligns perfectly with the “Digital Security” aspect of our website’s mission.
- Geo-Unblocking: For users interested in accessing content from different regions, a VPN allows you to bypass geographical restrictions imposed by streaming services or content providers.
- ISP Throttling Prevention: By encrypting your traffic, a VPN prevents your ISP from identifying and throttling your connection based on your streaming activities, leading to a more consistent and buffer-free experience.
Installing a reliable VPN app directly on your Firestick and ensuring it’s active before launching Kodi is a best practice that significantly enhances your overall streaming experience and personal digital security. Many top-tier VPN providers offer easy-to-use Firestick apps that integrate seamlessly.

Conclusion: Unleashing Your Firestick’s Full Streaming Potential
Installing Kodi on your Amazon Firestick is a game-changer for anyone looking to expand their streaming horizons beyond the standard offerings. This process, while requiring a few initial steps to enable sideloading, unlocks a world of unparalleled media customization, vast content access through a rich add-on ecosystem, and superior media management capabilities.
We’ve walked through the crucial preparations, including enabling “Apps from Unknown Sources” and “ADB Debugging,” and the essential installation process using the Downloader app. Furthermore, we’ve discussed post-installation best practices, such as optimizing access, exploring Kodi add-ons, and troubleshooting common issues to ensure a smooth, enjoyable experience.
Perhaps most importantly, we’ve highlighted the indispensable role of a Virtual Private Network (VPN) in safeguarding your digital privacy, bypassing geo-restrictions, and preventing ISP throttling. Integrating a robust VPN is not just a recommendation but a foundational element for a secure and optimized Kodi setup, aligning with modern digital security best practices.
By following this guide, you have transformed your Amazon Firestick from a simple streaming device into a powerful, personalized media hub. Embrace the freedom and flexibility that Kodi offers, and enjoy an enhanced entertainment experience tailored precisely to your preferences. The world of digital media is now at your fingertips, ready to be explored and enjoyed, securely and without limits.
aViewFromTheCave is a participant in the Amazon Services LLC Associates Program, an affiliate advertising program designed to provide a means for sites to earn advertising fees by advertising and linking to Amazon.com. Amazon, the Amazon logo, AmazonSupply, and the AmazonSupply logo are trademarks of Amazon.com, Inc. or its affiliates. As an Amazon Associate we earn affiliate commissions from qualifying purchases.