The Java Development Kit (JDK) is the foundational toolkit for any aspiring or seasoned Java developer. It’s the essential bridge that allows you to write, compile, and run Java code, transforming your creative ideas into powerful applications. Whether you’re diving into the vast world of enterprise software, crafting engaging mobile apps for Android, or exploring the exciting frontiers of AI and big data, Java remains a dominant force. This comprehensive guide will walk you through the process of installing the JDK, ensuring you have the necessary tools to begin your Java development journey.

Our website focuses on the intersection of technology, business, and finance, and understanding how to set up your development environment is a crucial first step in leveraging technology for growth, innovation, and financial success. A correctly installed JDK not only enables you to build sophisticated software but also positions you to capitalize on the burgeoning demand for skilled Java developers in the tech industry, potentially leading to lucrative career opportunities or the ability to build your own profitable ventures.
Understanding the JDK: What It Is and Why You Need It
Before we embark on the installation process, it’s vital to grasp what the JDK actually is and its significance in the Java ecosystem. The JDK is not just a single program; it’s a collection of tools, libraries, and executables that empower you to develop Java applications.
The Core Components of the JDK
The JDK is comprised of several key components, each serving a distinct purpose in the software development lifecycle:
- Java Compiler (javac): This is perhaps the most critical tool. The
javaccompiler takes your human-readable Java source code (files ending with.java) and translates it into platform-independent bytecode (files ending with.class). This bytecode is what the Java Virtual Machine (JVM) understands and executes. - Java Runtime Environment (JRE): The JRE is a subset of the JDK and is responsible for running Java applications. It includes the JVM and the Java class libraries. While you can install the JRE separately to simply run Java applications, you need the JDK to develop them.
- Java Virtual Machine (JVM): The JVM is the heart of the Java platform. It’s an abstract computing machine that provides the runtime environment in which Java bytecode can be executed. The JVM is platform-dependent, meaning there’s a different JVM for Windows, macOS, and Linux, but the bytecode it executes is platform-independent, achieving Java’s “write once, run anywhere” promise.
- Java API (Application Programming Interface): The JDK provides a rich set of pre-written classes and methods that you can use in your programs. These APIs cover a wide range of functionalities, from basic input/output operations and data structures to networking, graphical user interface (GUI) development, and much more.
- Debugging Tools (e.g., jdb): The JDK includes tools like the Java Debugger (
jdb) that help you identify and fix errors in your code. Debugging is an essential part of the development process, and these tools make it more efficient. - Archiving Tools (e.g., jar): The
jartool allows you to package multiple Java class files and associated resources into a single JAR (Java Archive) file. JAR files are commonly used for distributing Java applications and libraries.
JDK vs. JRE vs. JVM: Clarifying the Distinction
It’s common to hear these terms used interchangeably, but understanding their differences is crucial for accurate installation and development.
- JVM: The virtual machine that runs Java bytecode.
- JRE: The environment that contains the JVM and the necessary libraries to run Java applications. You need the JRE if you only want to execute Java programs.
- JDK: The complete development kit that includes the JRE, the JVM, and all the tools necessary to write, compile, debug, and package Java applications. You need the JDK if you intend to develop Java software.
For the purpose of this guide, we will focus on installing the JDK, as it encompasses all the requirements for development.
Choosing and Downloading the Right JDK Version
Oracle is the primary steward of the Java platform, and they provide official JDK builds. However, due to licensing changes, it’s important to be aware of different JDK distributions and their implications, especially in commercial environments. For most individual developers and learning purposes, the Oracle JDK or the OpenJDK (an open-source implementation) are excellent choices.
Understanding Java Editions and LTS Versions
Java has evolved significantly over the years, with major releases occurring regularly. It’s important to understand the different editions and the concept of Long-Term Support (LTS).
- Java SE (Standard Edition): This is the core Java platform for developing general-purpose applications.
- Java EE (Enterprise Edition): Now known as Jakarta EE, this is a set of specifications for enterprise-level applications, building upon Java SE.
- LTS (Long-Term Support) Versions: Oracle provides LTS versions of the JDK, which receive updates and support for a longer period. These are generally recommended for production environments and for developers who prefer stability. Notable LTS versions include Java 8, Java 11, Java 17, and the latest available LTS. Non-LTS versions are released more frequently and introduce newer features but have shorter support cycles.
Where to Download the JDK
-
Oracle JDK:
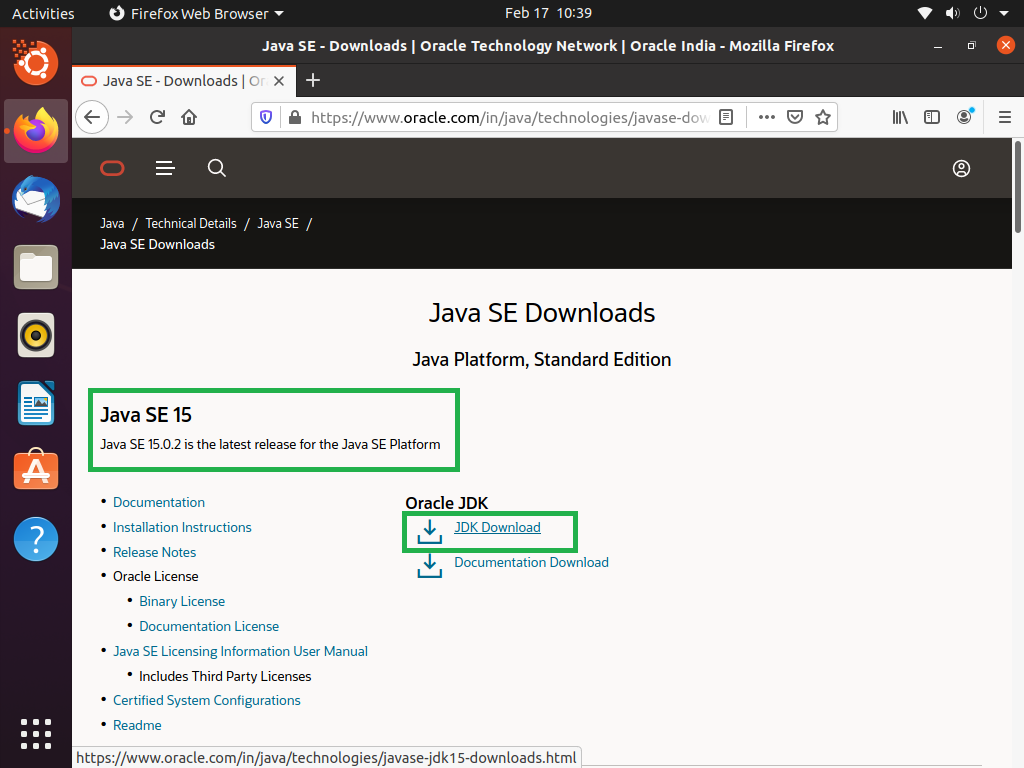
- Visit the official Oracle Java Downloads page: https://www.oracle.com/java/technologies/downloads/
- On this page, you’ll find links to download the latest JDK versions. You can choose between the “LTS” releases and the “Latest” releases.
- Select your operating system (Windows, macOS, Linux).
- Choose the appropriate installer for your system architecture (e.g., x64 for 64-bit systems).
- Important Note on Licensing: Be mindful of Oracle’s licensing for commercial use of Oracle JDK. For development and personal use, it’s generally free. However, for commercial deployment, you might need to review their license agreement or consider alternative distributions.
-
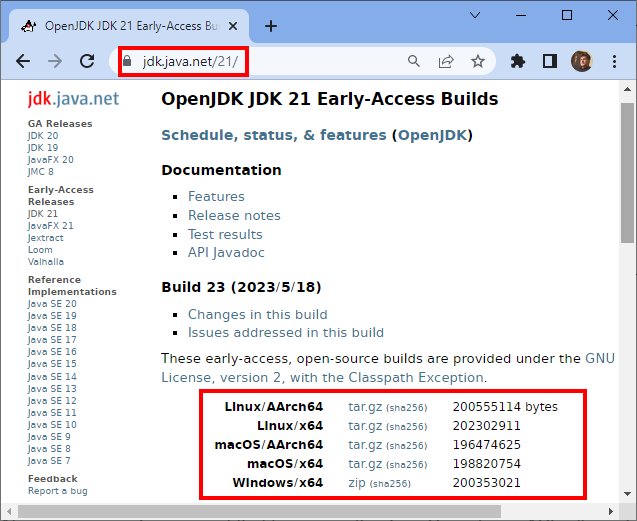
OpenJDK Distributions:
- Adoptium (Eclipse Temurin): This is a popular, vendor-neutral distribution of OpenJDK with good community support and a focus on LTS versions. You can download it from https://adoptium.net/.
- Amazon Corretto: Amazon’s free, multiplatform, production-ready distribution of OpenJDK. You can find it on their AWS website.
- Microsoft Build of OpenJDK: Microsoft’s distribution of OpenJDK.
- Azul Zulu: Azul offers both free and commercial OpenJDK builds.
For this tutorial, we will provide general instructions that apply to most JDK distributions. The core installation steps remain similar.
Installing the JDK on Different Operating Systems
The installation process for the JDK varies slightly depending on your operating system. We’ll cover the most common ones: Windows, macOS, and Linux.
Installing the JDK on Windows
-
Download the Installer: Go to the Oracle JDK downloads page (or your chosen OpenJDK distribution) and download the
.exeinstaller for Windows (usually a 64-bit version). -
Run the Installer: Locate the downloaded
.exefile and double-click it to start the installation wizard. -
Follow the Wizard:
- Click “Next” to proceed.
- You may be prompted to choose an installation directory. The default location (e.g.,
C:Program FilesJavajdk-x.x.x) is usually fine. You can customize this if you have specific organizational needs. - Important: The installer might also offer to install the JRE. Since the JDK already includes a JRE, you can typically decline this offer to avoid duplicate installations, or let it install if you’re unsure.
- Click “Next” and then “Close” when the installation is complete.
-
Set up Environment Variables (Crucial Step): For your system to recognize the JDK commands (like
javacandjava), you need to set up environment variables.- JAVA_HOME: This variable points to the root directory of your JDK installation.
- Search for “Environment Variables” in the Windows search bar and select “Edit the system environment variables.”
- Click the “Environment Variables…” button.
- Under “System variables,” click “New…”
- Variable name:
JAVA_HOME - Variable value: Browse to or type the path to your JDK installation directory (e.g.,
C:Program FilesJavajdk-17.0.1) – do not include thebinfolder. - Click “OK.”
- Path Variable: You need to add the
bindirectory of your JDK to the system’sPathvariable so that the command prompt can find the Java executables.- In the “System variables” list, find the
Pathvariable and select it. - Click “Edit…”
- Click “New” and add the following path:
%JAVA_HOME%bin - Click “OK” on all open “Environment Variables” windows to save the changes.
- In the “System variables” list, find the
- JAVA_HOME: This variable points to the root directory of your JDK installation.
-
Verify Installation:
- Open a new Command Prompt window (important, as existing windows won’t recognize the new environment variables).
- Type
java -versionand press Enter. - Type
javac -versionand press Enter. - If the installation was successful, you’ll see the versions of your Java runtime and compiler printed in the console.
Installing the JDK on macOS
-
Download the Installer: Navigate to the Oracle JDK downloads page (or your chosen OpenJDK distribution) and download the
.dmgor.pkginstaller for macOS. -
Run the Installer:
- If you downloaded a
.dmgfile, double-click it to mount the disk image. Then, double-click the.pkginstaller inside. - If you downloaded a
.pkgfile, double-click it directly.
- If you downloaded a
-
Follow the Installation Wizard:
- Click “Continue” and “Agree” to the license terms.
- The installer will guide you through the process. The default installation location is usually managed automatically by the OS.
- Enter your administrator password when prompted.
- Click “Close” when the installation is finished.
-
Environment Variables (Less manual on macOS): macOS typically handles the
JAVA_HOMEenvironment variable and the PATH for Java installations more automatically when using the standard installers. However, it’s good practice to verify.-
Open the Terminal application (Applications > Utilities > Terminal).
-
Type
java -versionand press Enter. -
Type
javac -versionand press Enter. -
If these commands work, your JDK is likely set up correctly.
-
For explicit
JAVA_HOMEconfiguration (if needed):- Open your shell profile file. This is often
~/.bash_profile,~/.zshrc(for newer macOS versions using Zsh), or~/.profile. You can edit it using a text editor likenano:
bash

nano ~/.zshrc # or ~/.bash_profile
- Add the following lines, replacing
/path/to/your/jdkwith the actual path to your JDK installation (you can usually find this by typingwhich javain the terminal):
bash

export JAVA_HOME="/path/to/your/jdk"

export PATH="$JAVA_HOME/bin:$PATH"
- Save the file (Ctrl+X, Y, Enter in nano) and exit the editor.
- Apply the changes by sourcing the file:
bash

source ~/.zshrc # or source ~/.bash_profile
- Open your shell profile file. This is often
-
-
Verify Installation: In the Terminal, run
java -versionandjavac -versionagain to confirm.
Installing the JDK on Linux
The installation process on Linux varies significantly based on your distribution (e.g., Ubuntu, Fedora, CentOS) and whether you’re using a package manager.
Method 1: Using a Package Manager (Recommended for most users)
-
For Debian/Ubuntu-based systems (e.g., Ubuntu, Mint):
- Open your Terminal.
- Update your package list:
bash

sudo apt update
- Install a specific JDK version (e.g., OpenJDK 17):
bash

sudo apt install openjdk-17-jdk
You can replaceopenjdk-17-jdkwith other available versions likeopenjdk-11-jdkoropenjdk-21-jdk. - To install the latest default JDK:
bash

sudo apt install default-jdk
- The package manager will handle setting up environment variables automatically.
-
For Fedora/RHEL/CentOS-based systems:
- Open your Terminal.
- Install a specific JDK version (e.g., OpenJDK 17):
bash

sudo dnf install java-17-openjdk-devel # For Fedora

# or

sudo yum install java-17-openjdk-devel # For RHEL/CentOS
- The package manager usually handles environment variables.
Method 2: Manual Installation (Downloading Tarball)
This method is more involved but gives you more control.
-
Download the Tarball: Go to the Oracle JDK or OpenJDK distribution website and download the
.tar.gzfile for Linux. -
Extract the Tarball:
- Create a directory to store your JDK installations (e.g.,
/usr/local/java).
bash

sudo mkdir -p /usr/local/java
- Extract the downloaded tarball into this directory:
bash

sudo tar -xzf jdk-x.x.x_linux-x64_bin.tar.gz -C /usr/local/java
Replacejdk-x.x.x_linux-x64_bin.tar.gzwith the actual name of your downloaded file.
- Create a directory to store your JDK installations (e.g.,
-
Set up Environment Variables:
- Open your shell profile file (e.g.,
~/.bashrcor~/.zshrc).
bash

nano ~/.bashrc # or ~/.zshrc
- Add the following lines, adjusting the
JAVA_HOMEpath to your actual installation directory:
bash

export JAVA_HOME=/usr/local/java/jdk-x.x.x # Replace with your JDK folder name

export PATH=$JAVA_HOME/bin:$PATH
- Save and exit the editor.
- Apply the changes:
bash

source ~/.bashrc # or source ~/.zshrc
- Open your shell profile file (e.g.,
-
Verify Installation: Open a new Terminal and run:
bash

java -version

javac -version
Verifying Your JDK Installation and Next Steps
A successful JDK installation is the first step towards becoming a proficient Java developer. Once verified, you’re ready to explore the vast possibilities of Java programming.
Checking Your JDK Setup
As demonstrated in the OS-specific sections, the most reliable way to confirm your JDK is installed and configured correctly is by opening a terminal or command prompt and running:
java -version
javac -version
If these commands return version numbers, your JDK is accessible system-wide. If you encounter “command not found” errors, it means your environment variables are not set up correctly, or the installation itself was incomplete. Double-check the steps for setting JAVA_HOME and adding the bin directory to your Path.
Your First Java Program: A Quick Start
With the JDK installed, you can now write and compile your first Java program.
-
Create a Directory: Create a new folder for your project, for example,
~/java_projects/hello_world. -
Create a Java File: Inside this folder, create a new text file named
HelloWorld.java. -
Write the Code: Open
HelloWorld.javain a text editor and paste the following code:public class HelloWorld { public static void main(String[] args) { System.out.println("Hello, World!"); } } -
Compile the Code: Open your terminal or command prompt, navigate to the
hello_worlddirectory, and compile the file:
bash

javac HelloWorld.java
This will create aHelloWorld.classfile, which contains the Java bytecode. -
Run the Program: Execute the compiled bytecode using the
javacommand:
bash

java HelloWorld
You should see the output:Hello, World!
This simple exercise confirms that your JDK is functional and ready for more complex development.
Beyond Installation: Embracing the Java Ecosystem
Now that you have the JDK installed, you’re equipped to:
- Learn Java Fundamentals: Dive into Java syntax, data types, control flow, object-oriented programming principles, and more.
- Explore Integrated Development Environments (IDEs): While you can code with a simple text editor, IDEs like IntelliJ IDEA, Eclipse, and VS Code with Java extensions significantly boost productivity by offering code completion, debugging tools, and project management features.
- Understand Build Tools: For larger projects, tools like Maven and Gradle are essential for managing dependencies, automating the build process, and packaging your applications.
- Contribute to Projects: Many open-source projects and commercial ventures rely on Java. Your new skills can open doors to exciting career opportunities or allow you to build your own innovative products.
Installing the JDK is more than just a technical step; it’s an investment in your ability to create, innovate, and participate in the ever-evolving world of technology. This foundation will empower you to explore countless possibilities in software development and beyond.
aViewFromTheCave is a participant in the Amazon Services LLC Associates Program, an affiliate advertising program designed to provide a means for sites to earn advertising fees by advertising and linking to Amazon.com. Amazon, the Amazon logo, AmazonSupply, and the AmazonSupply logo are trademarks of Amazon.com, Inc. or its affiliates. As an Amazon Associate we earn affiliate commissions from qualifying purchases.