
Java remains one of the most pervasive and vital programming languages and platforms in the modern technological landscape. From enterprise-level applications and big data processing to mobile development (Android) and web servers, Java’s “write once, run anywhere” philosophy has cemented its position as a cornerstone of software engineering. For Linux users, whether they are developers, system administrators, or simply enthusiasts running Java-based applications, installing and managing Java correctly is a fundamental skill.
This guide provides a detailed, step-by-step walkthrough on how to install Java on various Linux distributions. We will cover different installation methods, help you choose the right Java version, and ensure your system is properly configured, allowing you to harness the full power of Java within your Linux environment. By the end of this article, you’ll have a clear understanding of the installation process, equipped to set up Java efficiently and troubleshoot common issues.

Understanding Java on Linux: Why It Matters and What to Choose
Before diving into the installation process, it’s crucial to understand why Java is so significant for Linux users and to make an informed decision about which Java version best suits your needs. This foundational knowledge will streamline your installation and prevent potential compatibility issues down the line.
The Ubiquity of Java in Development and Applications
Linux, with its open-source nature and robust command-line interface, is a preferred operating system for developers, servers, and embedded systems. Java’s cross-platform compatibility makes it an ideal choice for developing applications that need to run seamlessly across different environments, including Linux. Many critical tools and applications, such as Apache Tomcat, Jenkins, Elasticsearch, Minecraft servers, and various Integrated Development Environments (IDEs) like Eclipse and IntelliJ IDEA, are built on Java or require a Java Runtime Environment (JRE) to function.
For developers, having a Java Development Kit (JDK) installed means they can compile, debug, and run Java code directly on their Linux machines. For users, a JRE enables them to run pre-compiled Java applications. Without Java properly configured, many essential software tools and services simply won’t work, limiting the functionality and utility of your Linux system.
Choosing the Right Java Version: JDK vs. JRE, OpenJDK vs. Oracle JDK
The Java ecosystem offers a few key choices that can impact your installation process and long-term usage. Understanding these distinctions is paramount:
-
JRE (Java Runtime Environment): This is what you need to run Java applications. It includes the Java Virtual Machine (JVM) and core libraries. If you only need to execute Java programs and are not a developer, JRE is sufficient.
-
JDK (Java Development Kit): This is a superset of JRE, providing all the tools necessary to develop, compile, and debug Java applications. It includes the JRE, along with compilers (javac), debuggers, and other development tools. Developers will always need a JDK.
Beyond JDK vs. JRE, you’ll also encounter different distributors of Java:
-
OpenJDK: This is the free and open-source implementation of the Java Platform, Standard Edition. It’s the reference implementation of Java and is widely adopted by Linux distributions due to its open-source nature. For most users and developers, OpenJDK is the recommended choice as it is actively maintained, stable, and comes with no licensing costs or restrictions.
-
Oracle JDK: This is Oracle’s proprietary implementation of Java. Historically, it was a very popular choice, but its licensing terms have changed, making it less suitable for commercial use without a subscription. While it sometimes offered slight performance advantages or specific features in the past, OpenJDK has largely caught up, making Oracle JDK a less common choice for general Linux users unless a specific application explicitly requires it.
For the purpose of this guide, we will primarily focus on installing OpenJDK, as it is the most common, recommended, and straightforward choice for Linux users and developers.
Preparing Your Linux System for Java Installation
Before initiating any installation, it’s good practice to prepare your system. This involves checking for any existing Java installations and ensuring your package manager and system are up-to-date. These preliminary steps help prevent conflicts and ensure a smooth installation process.
Checking for Existing Java Installations
It’s possible that your system already has a version of Java installed, perhaps as a dependency for another application. You can check this by opening your terminal and typing:
java -version
If Java is installed, this command will output the version details (e.g., openjdk version "11.0.12"). If it’s not installed or not configured in your PATH, you’ll likely see an error message like command not found.
Similarly, you can check for the javac compiler if you’re looking for a JDK:
javac -version
If you find an existing version, note it down. For most situations, installing a newer version will either replace it or allow you to configure alternatives. If you wish to completely remove an old version, you might use your distribution’s package manager (e.g., sudo apt remove openjdk-* on Debian/Ubuntu).
System Updates and Dependencies
A crucial step before installing any new software is to update your system’s package list and upgrade existing packages. This ensures you have access to the latest software versions and security patches, minimizing potential conflicts during installation.
For Debian/Ubuntu-based systems:
sudo apt update

sudo apt upgrade -y
For Fedora/RHEL-based systems:
sudo dnf check-update

sudo dnf upgrade -y
For Arch Linux:
sudo pacman -Syu
Performing these updates ensures that your system’s repositories are synchronized and that you have the most stable environment for new software installations.
Streamlined Installation with Package Managers
The easiest and most recommended method for installing OpenJDK on Linux is through your distribution’s native package manager. This method handles dependencies, PATH configuration, and updates automatically, making it ideal for most users. We’ll cover the steps for popular Linux distributions.
Installing OpenJDK on Debian/Ubuntu (APT)
Debian and Ubuntu, along with their derivatives (like Linux Mint), use the Advanced Package Tool (APT) for package management. OpenJDK packages are readily available in their official repositories.
To install the latest LTS (Long Term Support) version of OpenJDK (e.g., OpenJDK 17 or OpenJDK 11, depending on what’s designated as LTS by your distro at the time):
sudo apt install openjdk-17-jdk
If you only need the JRE:
sudo apt install openjdk-17-jre
You can replace 17 with any other specific version you require (e.g., openjdk-11-jdk). If you want the default JDK that your distribution considers stable, you can often use:
sudo apt install default-jdk
After installation, verify the version:
java -version

javac -version
Installing OpenJDK on Fedora/RHEL (DNF/YUM)
Fedora, Red Hat Enterprise Linux (RHEL), CentOS, and other RHEL-based distributions use DNF (Dandified YUM) or YUM for package management.
To install the latest OpenJDK JDK:
sudo dnf install java-latest-openjdk-devel
Or, for a specific version like OpenJDK 17:
sudo dnf install java-17-openjdk-devel
For the JRE only:
sudo dnf install java-17-openjdk
Verify the installation:
java -version

javac -version
Installing OpenJDK on Arch Linux (Pacman)
Arch Linux uses Pacman as its package manager, known for its simplicity and speed.
To install the latest OpenJDK JDK:
sudo pacman -S jdk-openjdk
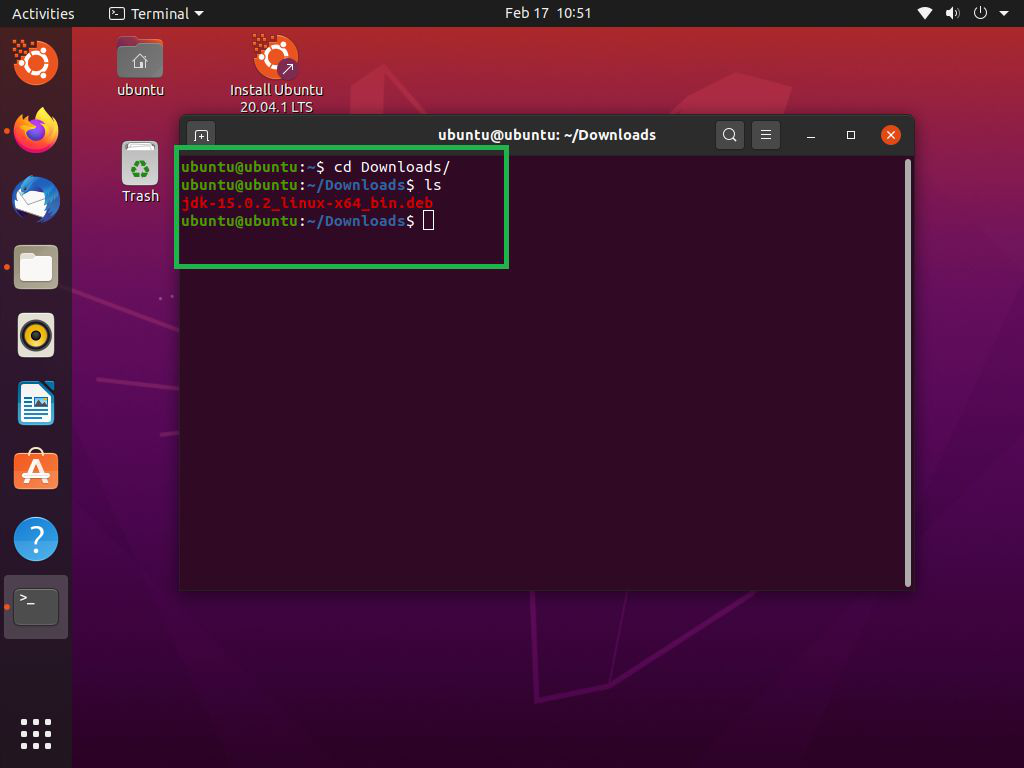
This command will typically install the latest stable OpenJDK version.
Verify the installation:
java -version

javac -version
Advanced Installation: Manual Setup of Oracle JDK
While OpenJDK through package managers is recommended for most, there might be specific scenarios where you need to install Oracle JDK manually, perhaps due to specific application requirements or a preference for a particular proprietary build. This method offers more control but is more involved, requiring manual configuration of system alternatives and environment variables.
Downloading the Oracle JDK Binary
-
Visit the Oracle Java Download Page: Navigate to the official Oracle Java SE Downloads page on the Oracle website.
-
Select Your Version: Choose the specific JDK version you need. Be mindful of Oracle’s licensing terms.
-
Download the Linux x64 Compressed Archive (.tar.gz): Download the
.tar.gzfile suitable for your Linux system. You’ll typically want thex64version.
Extracting and Placing the JDK Files
Once downloaded, you’ll need to extract the archive and move it to a suitable location. A common practice is to place it in /opt or /usr/local. For this example, we’ll use /opt/java.
-
Create a directory (if it doesn’t exist):
sudo mkdir -p /opt/java -
Move and extract the downloaded archive: Replace
jdk-XYZ_linux-x64_bin.tar.gzwith your downloaded filename.sudo mv ~/Downloads/jdk-XYZ_linux-x64_bin.tar.gz /opt/java/ cd /opt/java sudo tar -xvf jdk-XYZ_linux-x64_bin.tar.gzThis will extract the JDK into a directory like
jdk-XYZ(e.g.,jdk-17.0.1).
Configuring System-Wide Java Alternatives
To make your manually installed Java the default system-wide, you need to use the update-alternatives command on Debian/Ubuntu or alternatives on Fedora/RHEL. This command creates symbolic links for common Java commands like java, javac, and jar, allowing the system to switch between multiple installed Java versions.
For Debian/Ubuntu:
sudo update-alternatives --install "/usr/bin/java" "java" "/opt/java/jdk-XYZ/bin/java" 1

sudo update-alternatives --install "/usr/bin/javac" "javac" "/opt/java/jdk-XYZ/bin/javac" 1

sudo update-alternatives --install "/usr/bin/jar" "jar" "/opt/java/jdk-XYZ/bin/jar" 1

sudo update-alternatives --install "/usr/bin/javadoc" "javadoc" "/opt/java/jdk-XYZ/bin/javadoc" 1

# Add more if needed (e.g., javap, jconsole, etc.)
After adding the alternatives, you can select which Java version to use:
sudo update-alternatives --config java

sudo update-alternatives --config javac
Follow the prompts to choose your manually installed JDK.
For Fedora/RHEL:
sudo alternatives --install /usr/bin/java java /opt/java/jdk-XYZ/bin/java 1

sudo alternatives --install /usr/bin/javac javac /opt/java/jdk-XYZ/bin/javac 1

sudo alternatives --install /usr/bin/jar jar /opt/java/jdk-XYZ/bin/jar 1

# Add more if needed
Then, select your default Java version:
sudo alternatives --config java

sudo alternatives --config javac
Setting the JAVA_HOME Environment Variable
Many Java applications, especially build tools like Maven or Gradle, and application servers, rely on the JAVA_HOME environment variable to locate the JDK installation directory.
-
Find your JDK path: This will be
/opt/java/jdk-XYZ(e.g.,/opt/java/jdk-17.0.1). -
Edit your shell configuration file: Open
~/.bashrc,~/.profile, or~/.zshrc(depending on your shell) using a text editor:nano ~/.bashrc -
Add the following lines at the end of the file:
export JAVA_HOME=/opt/java/jdk-XYZ

export PATH=$PATH:$JAVA_HOME/bin
Replace
/opt/java/jdk-XYZwith your actual JDK path. -
Save and exit the editor.
-
Apply the changes:
source ~/.bashrc # or ~/.profile or ~/.zshrcYou can verify
JAVA_HOMEby typing:echo $JAVA_HOME
Verifying Your Java Installation and Post-Setup Steps
Once you’ve completed the installation, verifying that Java is correctly installed and configured is essential. This section also covers common troubleshooting steps and how to manage multiple Java versions effectively.
Confirming Java Version and Runtime
After either using a package manager or performing a manual installation, the first and most critical step is to confirm that Java is indeed installed and the correct version is active.
Open your terminal and execute:
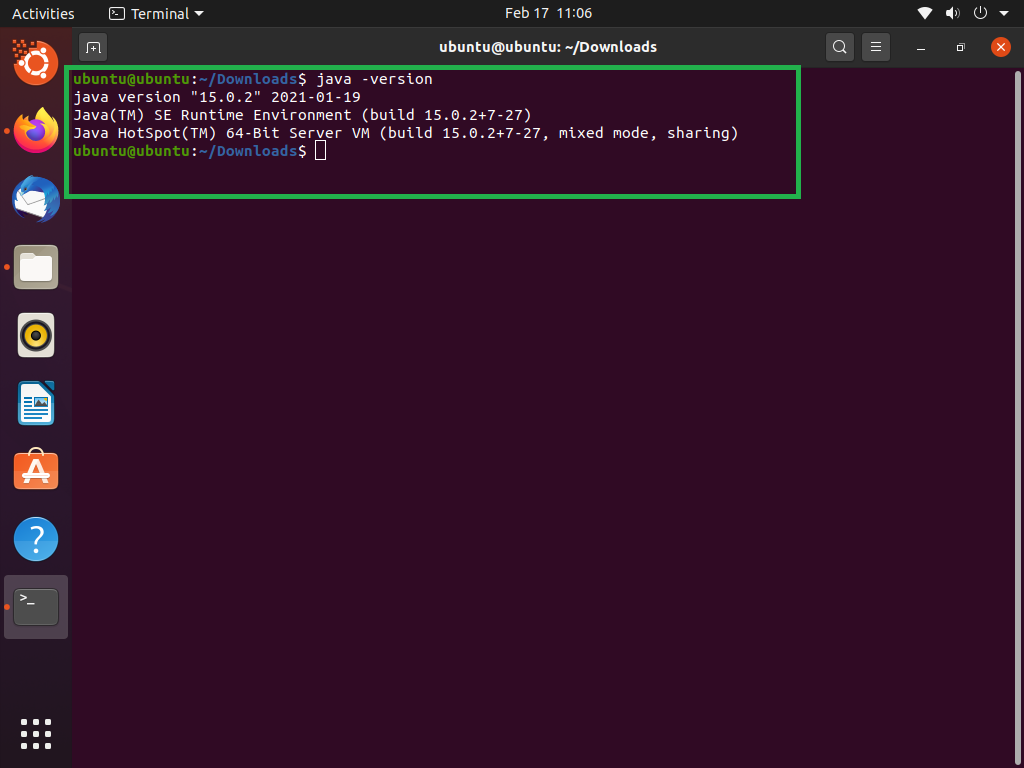
java -version
You should see output similar to this (adjusting for your specific version and vendor):
openjdk version "17.0.1" 2021-10-19

OpenJDK Runtime Environment (build 17.0.1+12-Ubuntu-121.04)

OpenJDK 64-Bit Server VM (build 17.0.1+12-Ubuntu-121.04, mixed mode, sharing)
If you installed the JDK, also verify the compiler:
javac -version
This should show:
javac 17.0.1
If these commands return the expected output, your Java installation is successful. If you encounter “command not found” or an incorrect version, proceed to the troubleshooting section.
Troubleshooting Common Installation Issues
-
“java: command not found” or “javac: command not found”:
-
PATH Issue: This usually means the
bindirectory of your Java installation is not in your system’sPATHenvironment variable. If using a package manager, it should handle this automatically. For manual installations, ensureexport PATH=$PATH:$JAVA_HOME/binis correctly set in your~/.bashrc(or equivalent) and sourced. -
Incorrect Installation: Double-check that the installation process completed without errors.
-
-
Wrong Java Version is Active: If
java -versionshows an older or different version than expected, especially after manual installation or when managing multiple versions:-
Package Manager: Ensure you removed older versions if they conflict, or use
update-alternatives --config java(Debian/Ubuntu) oralternatives --config java(Fedora/RHEL) to select the desired default. -
JAVA_HOME Conflict: If you set
JAVA_HOME, ensure it points to the correct desired JDK and that thePATHis updated to include$JAVA_HOME/bin.JAVA_HOMEoften takes precedence.
-
-
Permission Denied: If you manually moved files to
/optor/usr/localwithoutsudo, you might have permission issues. Ensure all file operations for system directories are performed withsudo. -
Corrupted Download: If manually installing, re-download the
.tar.gzfile and verify its integrity if problems persist.
Managing Multiple Java Versions
It’s common for developers or system administrators to require multiple Java versions on a single Linux machine. For instance, one project might need Java 8, while another demands Java 17.
-
Using
update-alternatives(Debian/Ubuntu) oralternatives(Fedora/RHEL):These tools are specifically designed to manage multiple versions of the same command. After installing different JDKs (either via package manager or manually), you can register each
java,javac, etc., with a priority. Then, you can interactively select the default:sudo update-alternatives --config javaThis will list all registered Java executables and allow you to choose which one is active.
-
Environment Variables for Specific Projects:
For project-specific needs, you can override the system-wide Java by setting
JAVA_HOMEdirectly within a project’sMakefile, build script, or IDE configuration. This ensures that the project uses its required Java version without affecting the system default. For example, in a shell script for a specific project:export JAVA_HOME="/usr/lib/jvm/java-8-openjdk-amd64" # Or your manual path export PATH="$JAVA_HOME/bin:$PATH" ./run_java_app.sh -
SDKMAN! (Software Development Kit Manager):
For developers, SDKMAN! is an incredibly powerful tool for managing multiple versions of Java, Gradle, Maven, Scala, and other SDKs. It allows you to install, switch, and remove SDKs with simple commands, making version management effortless.
curl -s "https://get.sdkman.io" | bash

source "$HOME/.sdkman/bin/sdkman-init.sh"

sdk install java 17.0.1-open # To install OpenJDK 17

sdk use java 11.0.13-open   # To switch to OpenJDK 11 for the current shell

sdk list java              # To see all installed Java versions
SDKMAN! is highly recommended for anyone frequently working with different Java versions.
Empowering Your Linux Environment with Java
Successfully installing Java on your Linux system is a critical step towards unlocking a vast ecosystem of applications, development tools, and server technologies. Whether you opt for the simplicity of a package manager with OpenJDK or navigate the nuances of a manual Oracle JDK installation, this guide has provided you with the knowledge and steps necessary to get Java up and running.
By understanding the differences between JDK and JRE, knowing when to choose OpenJDK over Oracle JDK, and mastering the installation and verification processes, you are now well-equipped to manage Java effectively. Remember to keep your system updated, verify your installations, and leverage tools like update-alternatives or SDKMAN! for seamless management of multiple Java versions. With Java properly configured, your Linux machine transforms into a powerful platform ready to handle everything from cutting-edge enterprise applications to robust development workflows.