For many long-time Apple users, iTunes was synonymous with their digital lives. It was the central hub for music, movies, podcasts, and device management, an essential application that seamlessly integrated entertainment with productivity. However, like many pioneering technologies, iTunes has evolved, and for users on modern macOS versions, the concept of “installing iTunes” requires a nuanced understanding. This comprehensive guide will navigate the landscape of iTunes, from its legacy to its modern replacements, ensuring you can manage your media and devices effectively, regardless of your Mac’s operating system.
At GlobalizeThis, we understand the dynamic nature of technology. Our mission, deeply rooted in Tech, Brand, and Money, is to empower you with the knowledge to thrive in the digital age. This article aligns perfectly with our Tech pillar, offering detailed tutorials, exploring software evolution, and enhancing your digital productivity. Whether you’re clinging to an older Mac that still runs iTunes or grappling with the new suite of apps on macOS Catalina and beyond, we’re here to clarify the process and optimize your experience.
The Legacy of iTunes: What It Was and Why It Evolved
To truly understand how to “install” iTunes on your Mac today, it’s crucial to first grasp what iTunes was and why Apple eventually disassembled it into separate applications. This historical context illuminates Apple’s strategic shift in media management and user experience.
The All-Encompassing Era of iTunes
From its inception in 2001, iTunes quickly became a cornerstone of the Apple ecosystem. It was a groundbreaking application that served multiple critical functions:
- Media Library: A comprehensive repository for your entire collection of music, movies, TV shows, and audiobooks, allowing for powerful organization, playlist creation, and metadata management.
- Media Store: The gateway to the iTunes Store, where users could legally purchase and download digital music, albums, films, and TV series, revolutionizing the entertainment industry and combating piracy.
- Podcast Directory: A robust platform for discovering, subscribing to, and managing podcasts, long before they became the cultural phenomenon they are today.
- Device Synchronization: The indispensable tool for syncing content (music, photos, videos, contacts, calendars) between your Mac and your iPod, iPhone, or iPad, ensuring your portable devices were always up-to-date with your personal library.
- App Management: For a period, iTunes even facilitated the browsing, purchasing, and synchronization of iOS apps, acting as a direct interface to the App Store for your mobile devices.
For nearly two decades, iTunes was the undisputed champion of digital media management on the Mac, an unparalleled example of software that combined diverse functionalities into a single, relatively intuitive interface. It defined a generation’s interaction with digital content.
The macOS Catalina Shift and Beyond: A New Era
As the digital landscape evolved, so did user expectations. Smartphones became primary content consumption devices, streaming services gained dominance, and the “one-app-does-it-all” model began to feel bloated and unwieldy. Apple recognized this shift and, with the release of macOS Catalina (version 10.15) in October 2019, made a monumental decision: they officially retired iTunes on the Mac.
Rather than trying to force a single application to adapt to an ever-expanding array of features, Apple chose to modularize its media services. iTunes’ functionalities were meticulously broken down and integrated into dedicated applications, each optimized for its specific purpose:
- Music App: Replaced iTunes’ music library, store, and Apple Music streaming integration. It provides a focused experience for all things audio.
- TV App: Took over movies and TV shows, offering a streamlined interface for purchased content, rentals, and access to Apple TV+ and other streaming services.
- Podcasts App: Dedicated to the world of podcasts, providing discovery, subscription, and playback features.
- Finder (for Device Management): Perhaps the most significant change for device synchronization. Connecting an iPhone, iPad, or iPod to your Mac now brings up its management interface directly within Finder, where you can back up, restore, update, and sync content, just as you once did with iTunes.
This strategic unbundling was designed to offer a more focused, faster, and more efficient user experience, mirroring the dedicated apps already present on iOS. It aligns with modern software design principles, emphasizing specialized tools for specialized tasks.
Why You Might Still Need iTunes (or its modern equivalent)
Despite its retirement on newer macOS versions, the search query “how to install iTunes on Mac” persists for several valid reasons:
- Older macOS Versions: Users running macOS Mojave (10.14) or earlier still have iTunes as a native application. For them, “installing” might mean reinstalling a corrupted version or ensuring it’s up-to-date.
- Legacy iPods: Some older iPod models (especially pre-iPod touch generations) rely exclusively on iTunes for synchronization and management. While Finder handles newer devices, older models might still necessitate a Mac running iTunes.
- Specific Third-Party Integrations: Certain older accessories, DJ software, or niche applications might have been designed to interface directly with iTunes, and migrating to the new apps might break compatibility.
- Familiarity and Workflow: Many users developed muscle memory and complex workflows around iTunes. The transition to multiple apps can feel disruptive, leading them to seek the “old way.”
- Digital Asset Management: Regardless of the app, the underlying need to organize, back up, and secure your purchased and personal media library remains paramount. For those heavily invested in digital content, effective management is key to protecting valuable assets.
Understanding these motivations is key to providing a truly helpful guide. The solution isn’t always to “install iTunes” but often to understand which tools now fulfill its former roles.
Determining Your Path: macOS Version and iTunes Compatibility
The most critical factor in answering “how to install iTunes on Mac” is your current macOS version. Apple’s fundamental change with Catalina means the process differs dramatically depending on whether your Mac is running an older or newer operating system.
Checking Your macOS Version
Before proceeding, identify your macOS version:
- Click the Apple menu () in the top-left corner of your screen.
- Select “About This Mac.”
- A window will appear displaying your macOS name and version number (e.g., “macOS Sonoma 14.2,” “macOS Mojave 10.14.6”).
Once you know your macOS version, you can determine the appropriate path:
- If your Mac is running macOS Mojave (10.14) or earlier: iTunes is either pre-installed or can be updated/reinstalled directly.
- If your Mac is running macOS Catalina (10.15) or later (Big Sur, Monterey, Ventura, Sonoma, etc.): iTunes no longer exists as a standalone application. Its functions have been distributed among the Music, TV, Podcasts apps, and Finder. Your focus will shift from “installing iTunes” to leveraging these new, dedicated tools.
Ensuring System Compatibility and Preparation
Regardless of your macOS version, a few preparatory steps are always recommended before making significant software changes:
- Backup Your Mac: This is paramount. Before any installation or major system alteration, create a full backup of your Mac. Use Time Machine, iCloud, or a third-party backup solution. This protects your data, including your precious media library, against unforeseen issues. This aligns with our focus on digital security and productivity – a well-backed-up system is a resilient and productive system.
- Free Up Disk Space: Ensure you have ample free space on your startup disk. While iTunes itself isn’t massive, your media library certainly can be. Adequate disk space prevents installation errors and ensures smooth operation.
- Update macOS (If Applicable): If you are on an older macOS version and intend to keep it, ensure it’s fully updated. Minor macOS updates often include iTunes updates that patch bugs and improve performance.
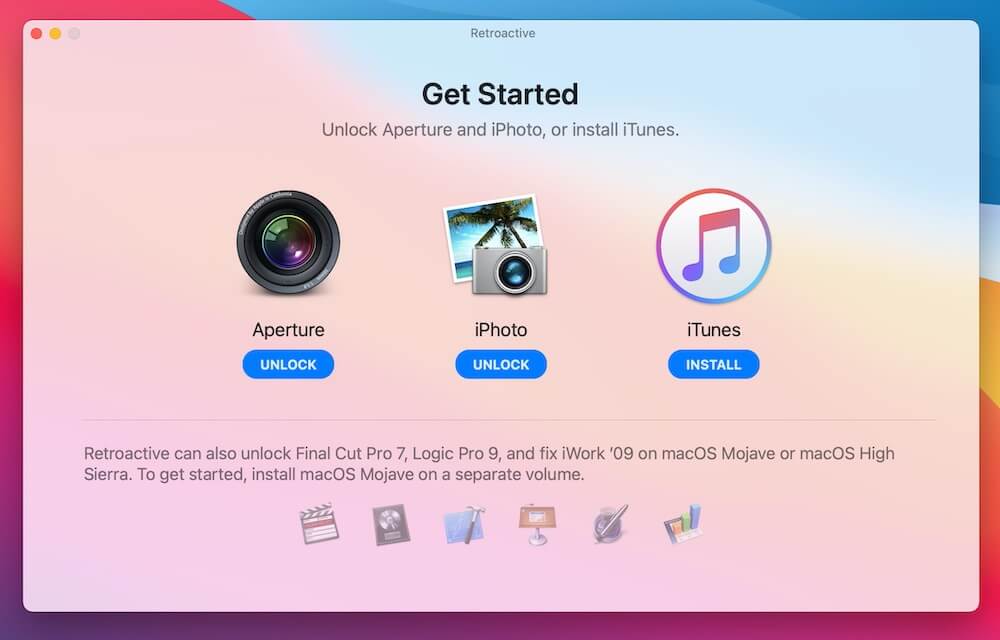
Installing or Updating iTunes on Older macOS (Mojave and Earlier)

If your Mac is running macOS Mojave (10.14) or an earlier version, iTunes is an integral part of your operating system. You don’t “install” it in the traditional sense of downloading a separate installer from a website (unless you’re dealing with a very specific, much older version). Instead, you ensure it’s up-to-date or re-enable it if it’s been problematic.
Checking for iTunes Updates
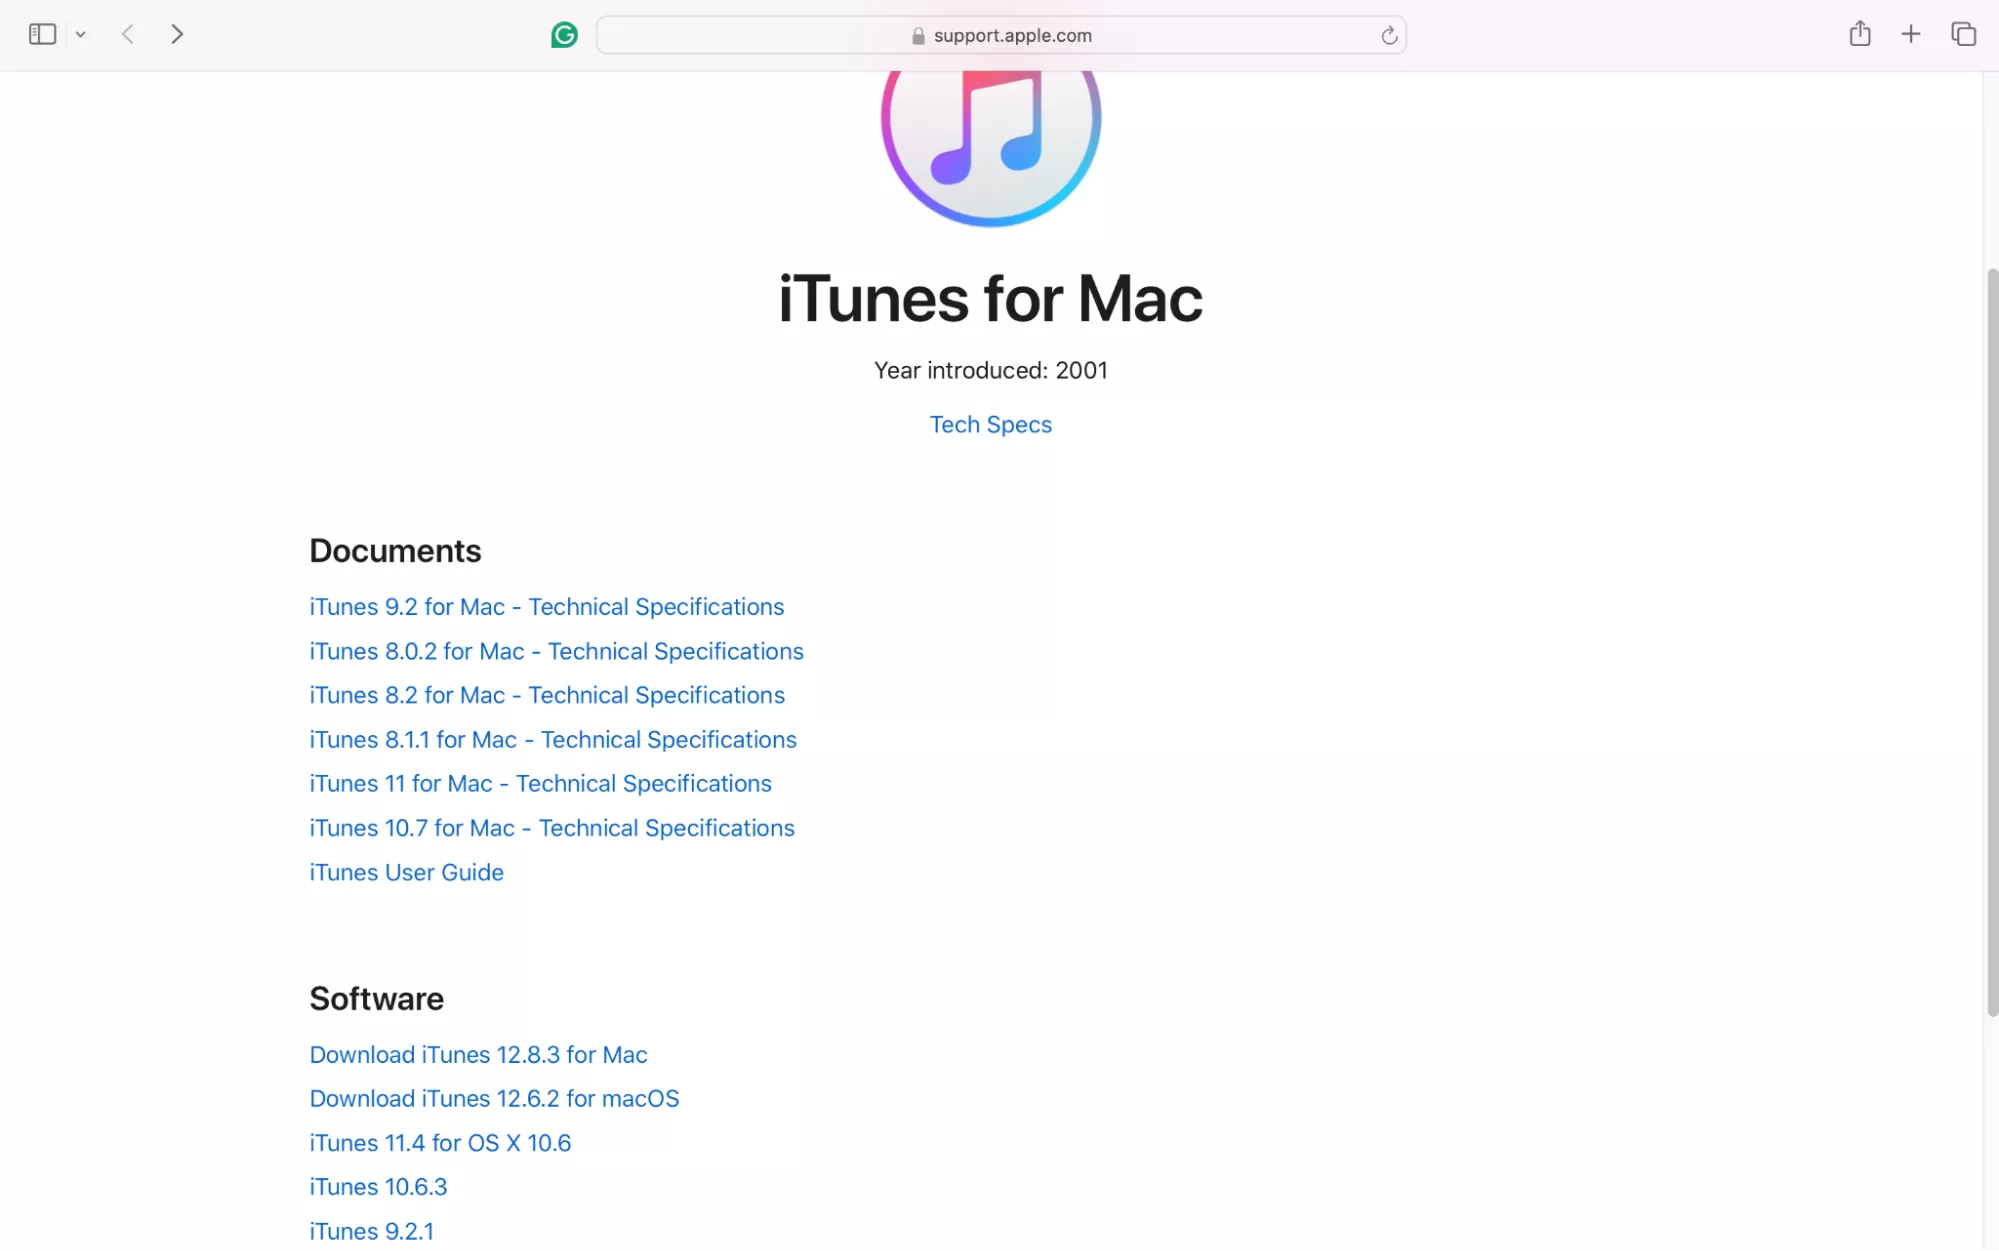
For macOS Mojave and earlier, iTunes updates are delivered through the Mac App Store:
- Open the App Store from your Applications folder or Dock.
- Click on “Updates” in the sidebar.
- If an iTunes update is available, you will see it listed. Click “Update” to install it.
- You may need to restart your Mac after the update.
Keeping iTunes updated ensures you have the latest features, bug fixes, and security patches, enhancing both your user experience and digital security.
Reinstalling iTunes (Troubleshooting)
If your iTunes application is corrupted, crashing, or behaving erratically on an older macOS, a direct “reinstall” can be tricky because it’s so integrated with the OS. However, you have a few options:
- Apply Latest macOS Combo Update: Downloading and installing the latest combo update for your specific macOS version can often replace corrupted system files, including those related to iTunes, without requiring a full OS reinstallation. You can find combo updates on Apple’s support website.
- Use macOS Recovery (More Advanced): Booting your Mac into macOS Recovery (Command-R during startup) and choosing “Reinstall macOS” will reinstall the operating system, which includes iTunes, without erasing your personal data. This is a more drastic step but can resolve deeper system issues.
- Download from Apple’s Archives (for specific older versions): In rare cases, if you need a very specific, much older version of iTunes for compatibility with extremely old hardware or software, Apple sometimes maintains archives on its support site. However, these are typically for older macOS versions (e.g., iTunes for OS X Leopard) and are not generally relevant for Mojave or later. Exercise caution and verify compatibility thoroughly.
Important Note: Do not attempt to drag the iTunes application from your Applications folder to the Trash on older macOS versions. This can destabilize your system because iTunes is deeply intertwined with the operating system.
Navigating the Post-iTunes Era: Music, TV, Podcasts, and Finder on Modern macOS
If your Mac is running macOS Catalina (10.15) or any newer version (Big Sur, Monterey, Ventura, Sonoma), the short answer to “how to install iTunes on Mac” is: you cannot. iTunes as a standalone application no longer exists on these operating systems. Instead, you’ll utilize a suite of specialized apps and the Finder for all your media and device management needs.
This transition, while initially disorienting for some, ultimately leads to a more focused and often more efficient experience.
Embracing the New Ecosystem: Music, TV, and Podcasts Apps
Your Mac now features dedicated applications that handle the various facets of what iTunes once did:
-
Music App:
- Functionality: This is your primary hub for all audio content. It manages your existing music library, allows you to purchase new music from the iTunes Store (now integrated within the Music app), and provides access to Apple Music streaming service.
- Migration: When you first upgrade to macOS Catalina or later, your existing iTunes library automatically migrates to the Music app. Your playlists, ratings, and play counts should all transfer seamlessly.
- Usage: Open the Music app from your Applications folder or Dock. You’ll find a familiar interface for browsing your library, creating playlists, and discovering new music.
-
TV App:
- Functionality: This app is dedicated to video content. It houses your purchased movies and TV shows from the iTunes Store (now integrated here), allows for rentals, and is the gateway to Apple TV+ and other integrated video channels.
- Migration: Your movie and TV show library from iTunes will automatically migrate to the TV app upon upgrading to a newer macOS.
- Usage: Launch the TV app. You’ll see your purchased content in the “Library” tab and options for browsing new content in the “Store” and “Watch Now” sections.
-
Podcasts App:
- Functionality: As its name suggests, this app is solely for podcasts. It allows you to search, subscribe, download, and listen to podcasts.
- Migration: Your podcast subscriptions and progress from iTunes will transfer to the Podcasts app.
- Usage: Open the Podcasts app to explore new shows, manage your subscriptions, and pick up where you left off on your favorite episodes.
Device Management with Finder
Perhaps the most significant change from a “utility” perspective is how you manage your Apple devices (iPhone, iPad, iPod touch). Finder now handles these tasks directly, making the process feel more integrated with the core macOS experience.
- Connecting Your Device: Connect your iPhone, iPad, or iPod touch to your Mac using a USB cable.
- Accessing Device Information: Open a Finder window (click the Finder icon in your Dock). In the sidebar, under “Locations,” you will see your connected device appear (e.g., “John’s iPhone”). Click on it.
- Device Management Interface: A new Finder pane will open, displaying various tabs at the top, similar to the old iTunes interface:
- General: Shows device information, allows for backups (to iCloud or this Mac), restores, and software updates.
- Music: Syncs music from your Music app library to your device.
- Movies: Syncs movies from your TV app library.
- TV Shows: Syncs TV shows from your TV app library.
- Podcasts: Syncs podcasts from your Podcasts app.
- Books: Syncs books and PDFs.
- Files: For transferring files to apps on your device that support file sharing.
- Photos: Syncs photos from the Photos app or a specified folder.
- Performing Syncs and Backups: Navigate through these tabs, select the content you wish to sync, and click “Apply” or “Sync” in the bottom-right corner. You can also manually back up your device here, which is a crucial step for data security and device recovery.
The transition to Finder for device management aims to streamline the process, making it feel less like interacting with a separate application and more like managing an external drive or network share, which aligns with the Mac’s core file management philosophy.
Troubleshooting and Maximizing Your Media Experience
Whether you’re on an older Mac with traditional iTunes or a newer one leveraging the distinct apps, a few tips can help you resolve common issues and make the most of your digital media.
Common Issues and Solutions
- “iTunes/Music Library Missing or Corrupt”:
- Solution: Hold down the Option (Alt) key when opening the Music app (or iTunes). You’ll be prompted to choose an existing library or create a new one. Navigate to your previous library file (usually named
iTunes Library.itlorMusic Library.musiclibraryin~/Music/iTunesor~/Music/Music). If multiple are present, try older ones. - Preventative: Regularly back up your entire
~/Musicfolder, especially before major macOS updates.
- Solution: Hold down the Option (Alt) key when opening the Music app (or iTunes). You’ll be prompted to choose an existing library or create a new one. Navigate to your previous library file (usually named
- “Cannot Sync Device”:
- Solution:
- Ensure both your Mac’s macOS and your device’s iOS/iPadOS are up-to-date.
- Try a different USB cable and/or USB port.
- Restart both your Mac and your device.
- If syncing wirelessly, ensure both are on the same Wi-Fi network.
- On your device, go to
Settings > General > Transfer or Reset iPhone/iPad > Reset > Reset Location & Privacy. You may need to “Trust” your computer again.
- Solution:
- “Purchased Content Not Appearing”:
- Solution: In the Music or TV app, go to
Account > Authorizations > Authorize This Computer...and ensure your Mac is authorized with the Apple ID used for purchases. You can authorize up to five computers. - Solution: Also, check
Account > Purchasedto see if your content is listed there and can be downloaded.
- Solution: In the Music or TV app, go to
- Performance Issues (Slowdowns, Crashes):
- Solution:
- Ensure your macOS is fully updated.
- Check for sufficient free disk space on your Mac.
- If your library is extremely large, consider moving some older media to an external drive (though the library file itself needs to stay on the main drive).
- Rebuild your library (as mentioned above, holding Option when opening the app).
- For iTunes (Mojave and earlier), try running First Aid on your disk using Disk Utility.
- Solution:
Best Practices for Digital Media Management
- Organize Your Library: Use consistent naming conventions, fill in metadata (artist, album, genre, year), and create smart playlists. A well-organized library saves time and enhances your enjoyment. This is pure productivity for your digital assets.
- Consolidate Your Media: Ensure all your music, movies, and TV shows are stored in the designated Music/TV folders (usually
~/Music/Musicand~/Movies/TV). This makes backups and migrations much simpler. - Regular Backups: Beyond system backups, consider dedicated backups for your media library. Your digital content has significant value, both monetary (purchased items) and sentimental (personal photos, home videos). Protect these assets diligently. This ties into both our Tech (digital security) and Money (asset protection) themes.
- Optimize Storage: If you have a large library and limited Mac storage, consider using “Optimize Storage” features within the Music app (for iCloud Music Library) or storing less frequently accessed content on external drives.
- Explore Cloud Solutions: Apple Music and Apple TV+ offer cloud-based libraries and streaming, reducing the need for local storage and making your content accessible across all your devices. For photos, iCloud Photos provides similar benefits.
Conclusion
The journey of iTunes on Mac reflects the broader evolution of technology: from monolithic applications to specialized, integrated services. For users on macOS Mojave and earlier, iTunes remains a central component, updated and maintained through the App Store. However, for the vast majority of Mac users today, the answer to “how to install iTunes on Mac” is to embrace the streamlined suite of apps – Music, TV, Podcasts, and the versatile Finder – that now collectively manage your digital media and devices.
This shift, while requiring an initial adjustment, offers a more focused, efficient, and ultimately more modern approach to digital life. By understanding the capabilities of these new applications and implementing best practices for media organization and backup, you can ensure a seamless and enjoyable digital experience on your Mac. At GlobalizeThis, we remain committed to guiding you through these technological transformations, empowering you to maximize your productivity and secure your digital assets in an ever-changing world.
aViewFromTheCave is a participant in the Amazon Services LLC Associates Program, an affiliate advertising program designed to provide a means for sites to earn advertising fees by advertising and linking to Amazon.com. Amazon, the Amazon logo, AmazonSupply, and the AmazonSupply logo are trademarks of Amazon.com, Inc. or its affiliates. As an Amazon Associate we earn affiliate commissions from qualifying purchases.