In the dynamic world of software development, efficient version control is not just a luxury; it’s an absolute necessity. At the heart of modern development workflows lies Git, a powerful, distributed version control system that has become the industry standard. For developers, data scientists, and even technical writers working on macOS, having Git properly installed and configured is the foundational step towards collaborative projects, robust code management, and streamlined workflows. This comprehensive guide will walk you through various methods to install Git on your macOS system, ensuring you’re equipped with the latest tools and best practices to supercharge your productivity and safeguard your intellectual property.
The Indispensable Role of Git in Modern Development
Before diving into the installation process, it’s crucial to understand why Git holds such a paramount position in the tech landscape. Git was created by Linus Torvalds in 2005 for the development of the Linux kernel, and it quickly revolutionized how teams manage changes to source code over time.
At its core, Git allows multiple developers to work on the same project simultaneously without overwriting each other’s changes. It meticulously tracks every modification, allowing you to revert to previous versions, branch out for new features, merge different lines of development, and resolve conflicts with remarkable precision. This distributed nature means that every developer has a complete copy of the project’s history on their local machine, enabling offline work and reducing reliance on a central server, which often proves to be a bottleneck in other version control systems.
For businesses, Git translates directly into efficiency and reduced risk. It prevents costly data loss by providing a robust safety net for all code changes. Its branching and merging capabilities accelerate feature development and experimentation, as developers can work in isolated environments without impacting the main codebase. When integrated with platforms like GitHub, GitLab, or Bitbucket, Git facilitates seamless collaboration, code reviews, and automated deployment pipelines, which are critical components of a high-performing software team. From a financial perspective, investing time in mastering Git directly contributes to the bottom line by minimizing errors, accelerating time-to-market, and fostering a more productive development environment.
On a personal level, for a macOS user delving into programming, Git is your digital safety net and collaboration tool. Whether you’re building an iOS app, developing a web service, or managing configuration files for your AI models, Git ensures that every line of code is accounted for, empowering you to experiment without fear and contribute to open-source projects with confidence.
Preparing Your macOS for Git Installation
Before proceeding with any installation method, it’s a good practice to ensure your macOS system is up to date. This minimizes potential compatibility issues and ensures you have access to the latest security patches.
-
Update macOS: Go to
System Settings(orSystem Preferenceson older versions) >General>Software Update. -
Ensure Administrative Privileges: You’ll need administrative rights to install software and command-line tools.
-
Check for Existing Git Installation: macOS sometimes comes with a pre-installed version of Git, often as part of the Xcode Command Line Tools. You can quickly check by opening your Terminal application (found in
Applications/Utilities/Terminal) and typing:git --versionIf Git is installed, you’ll see an output similar to
git version 2.39.2 (Apple Git-143). If it’s not installed, or if the version is significantly old, you’ll likely see a prompt to install Xcode Command Line Tools, or an error message indicatingcommand not found. Either way, you’ll need to proceed with one of the installation methods below.
Diverse Methods for Installing Git on macOS
There are several reliable ways to install Git on macOS, each with its own advantages. We’ll explore the most common and recommended methods, from the quickest built-in option to the flexible package manager approach.
1. The Quick Path: Installing Git via Xcode Command Line Tools
The simplest and often the first method macOS users encounter is installing Git as part of the Xcode Command Line Tools. While Xcode itself is a massive integrated development environment (IDE), the Command Line Tools package is a lightweight bundle of essential Unix tools, including Git, GCC, Clang, and Make.
How it works:
When you attempt to run a command like git or gcc in your Terminal, if the corresponding tool isn’t found, macOS often prompts you to install the necessary Xcode Command Line Tools.
Installation Steps:
-
Open your Terminal application.
-
Execute the following command:
xcode-select --install -
A software update window will appear, asking if you want to install the command-line developer tools. Click “Install.”
-
Agree to the software license agreement when prompted.
-
The tools will download and install. This process might take a few minutes depending on your internet connection.
-
Once the installation is complete, close and reopen your Terminal, then verify the installation:
git --versionYou should now see the Git version number.
Advantages: This method is straightforward and quickly provides a functional Git installation. It’s often sufficient for basic use cases and for users who prefer minimal setup.
Disadvantages: The version of Git provided by Xcode Command Line Tools might not always be the latest. If you need the bleeding-edge features or encounter issues specific to an older Git version, you might want to consider other methods.
2. The Recommended Approach: Installing Git with Homebrew
For many macOS developers, Homebrew is the de facto “missing package manager.” It simplifies the installation, updating, and management of thousands of open-source software packages, including Git. Using Homebrew ensures you get the latest stable version of Git and makes future updates incredibly easy.
Why Homebrew is Recommended:
Homebrew takes care of dependencies, installs software into its own prefix, and links files into /usr/local (or /opt/homebrew on Apple Silicon Macs), ensuring your system’s core utilities remain untouched. This clean management system is ideal for maintaining a clutter-free development environment.
Installation Steps (if Homebrew is not already installed):
-
Open your Terminal.
-
Paste the following command and press Enter. You might be asked for your administrator password.
/bin/bash -c "$(curl -fsSL https://raw.githubusercontent.com/Homebrew/install/HEAD/install.sh)" -
Follow the on-screen instructions. Homebrew will install its necessary components.
-
After the installation, Homebrew might recommend adding its executable to your PATH. For Apple Silicon Macs, this typically means adding
eval "$(/opt/homebrew/bin/brew shellenv)"to your shell profile (~/.zshrcor~/.bash_profile). Follow the instructions provided by the installer. -
Verify Homebrew installation by typing:
brew doctorThis command checks for potential issues and ensures Homebrew is ready.
Installing Git using Homebrew:
-
Once Homebrew is installed and configured, install Git with a single command:
brew install git -
Homebrew will download and compile (if necessary) the latest stable version of Git and its dependencies.
-
After installation, verify Git:
git --versionYou should now see the Git version installed by Homebrew, which will typically be newer than the Xcode Command Line Tools version.
Advantages: Provides the latest stable Git version, easy updates (brew upgrade git), excellent dependency management, and a clean environment. This is generally the preferred method for serious developers on macOS.
Disadvantages: Requires installing Homebrew first, which is an extra step if you don’t already use it.
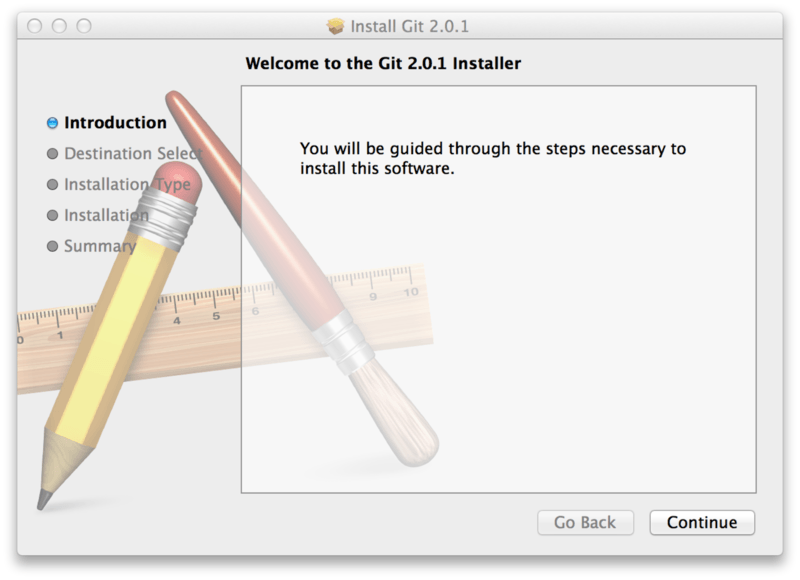
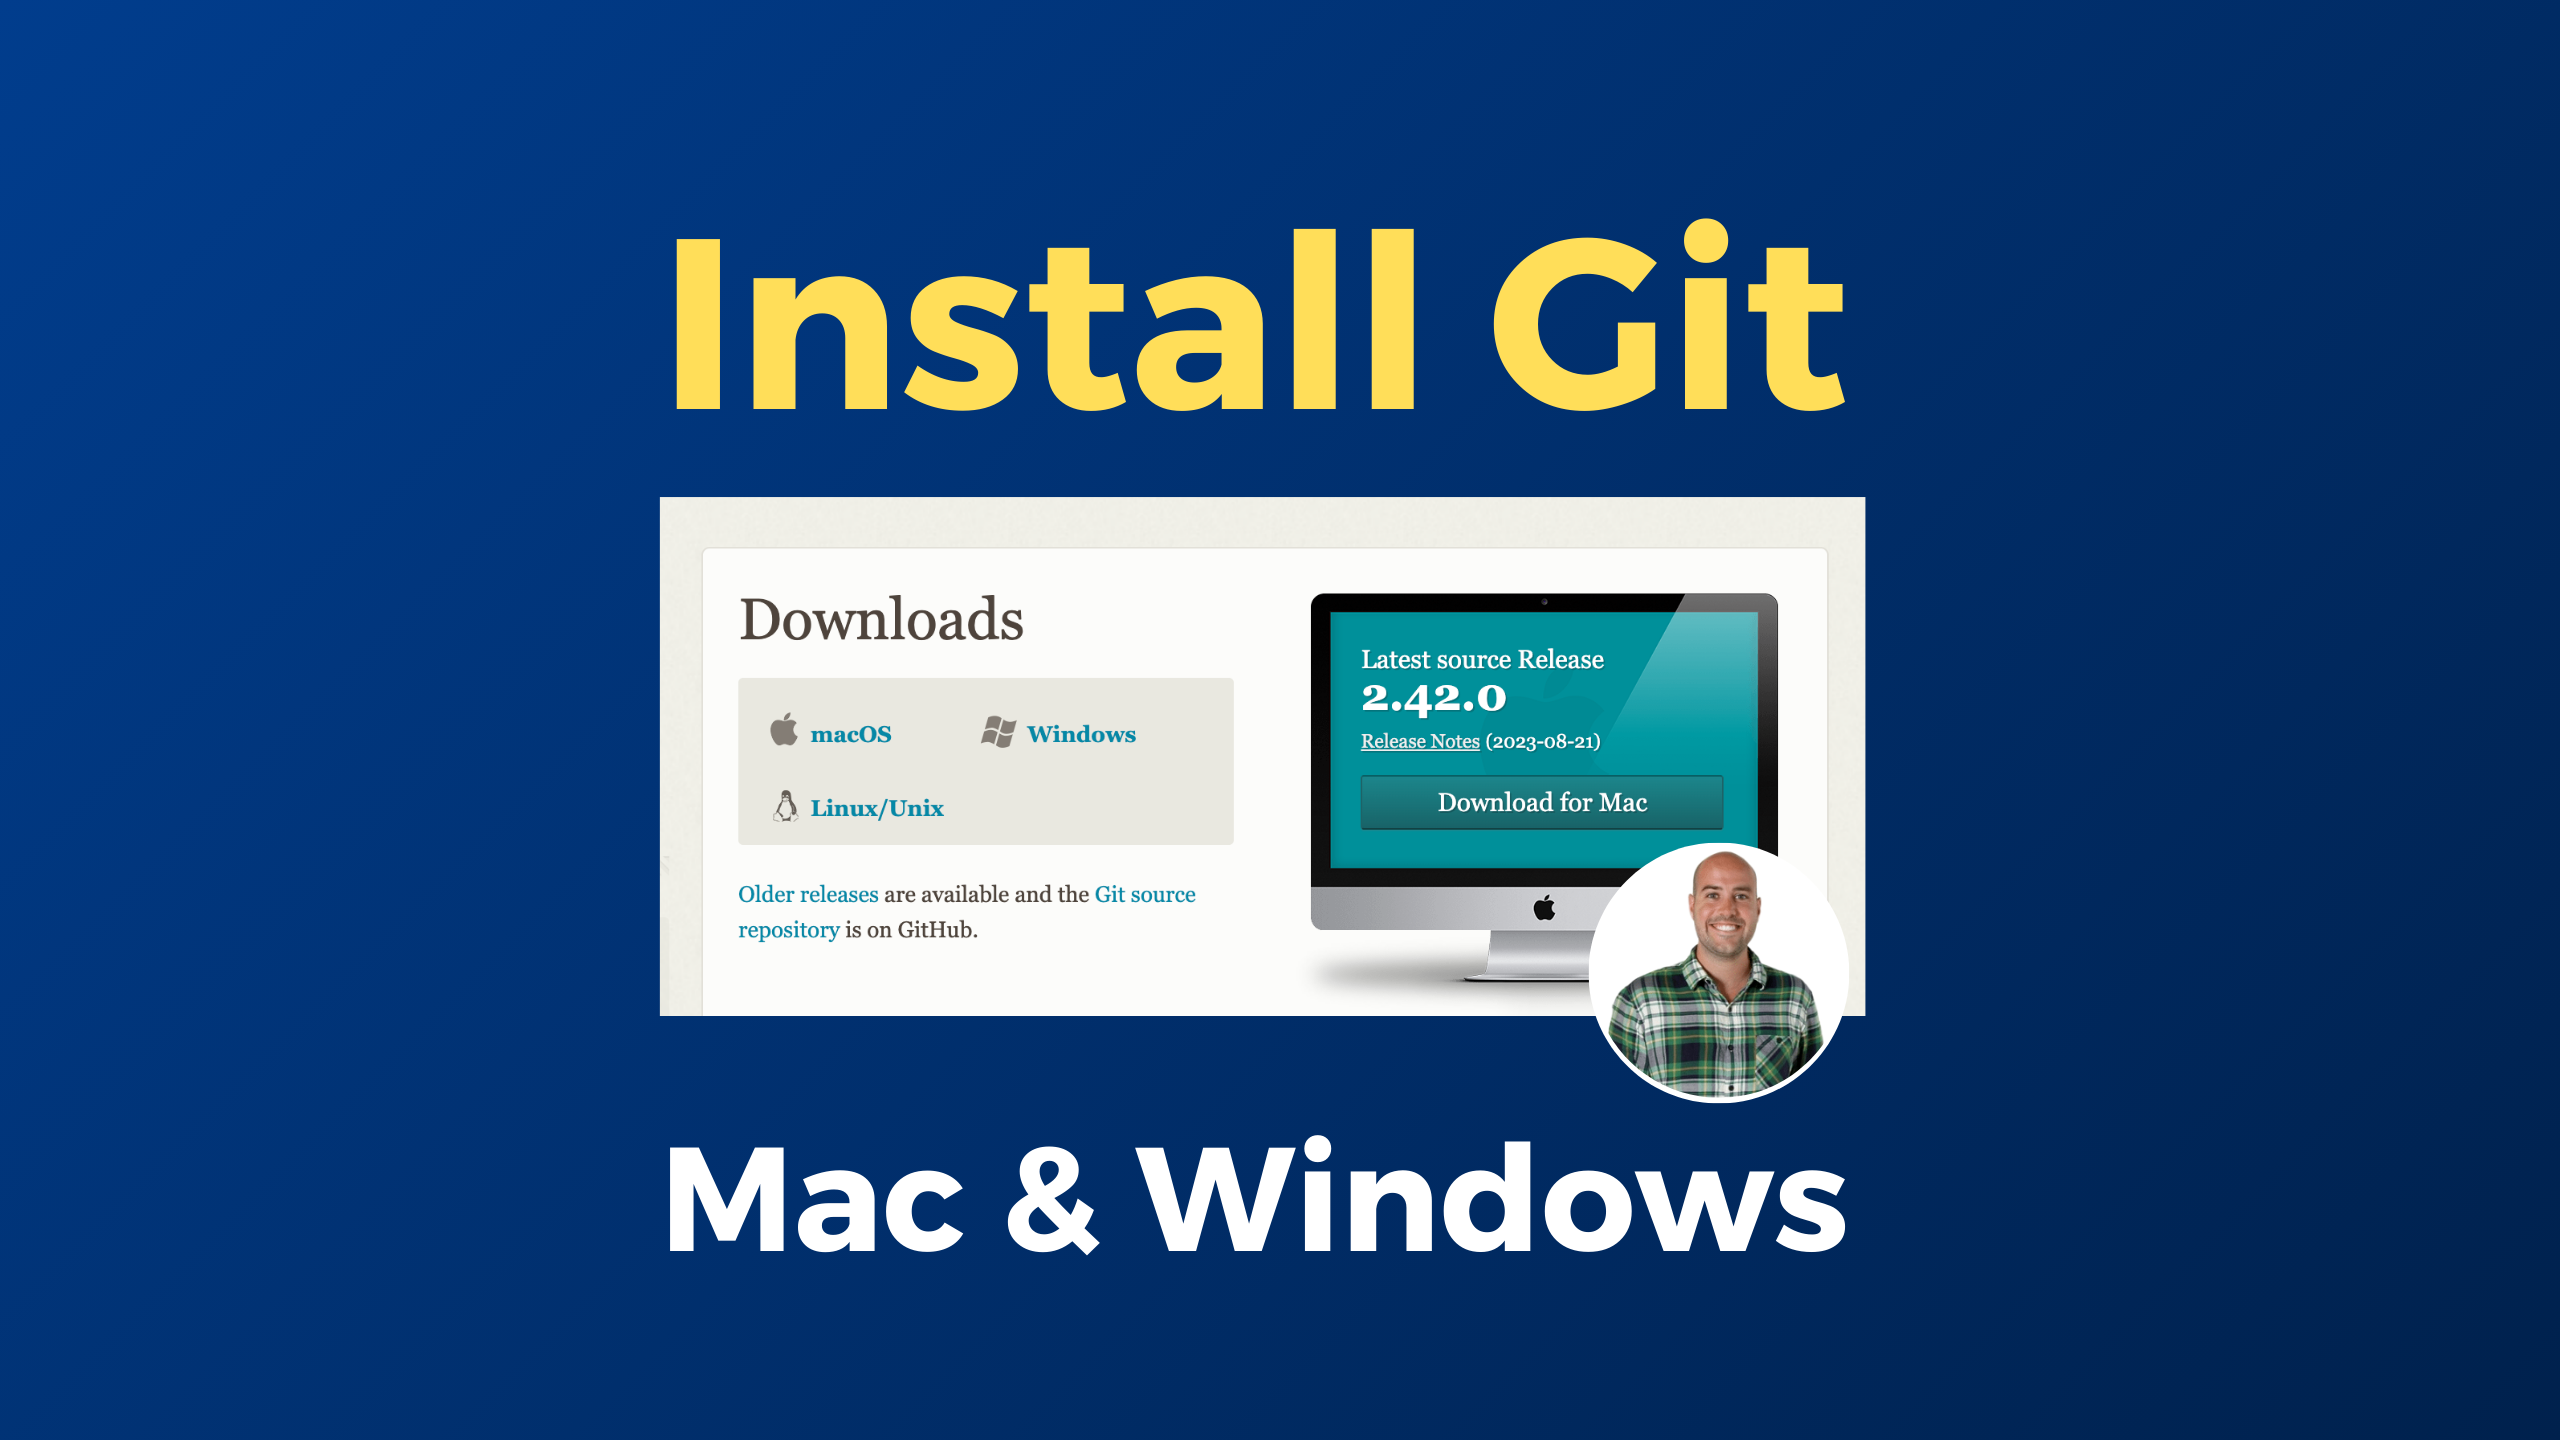
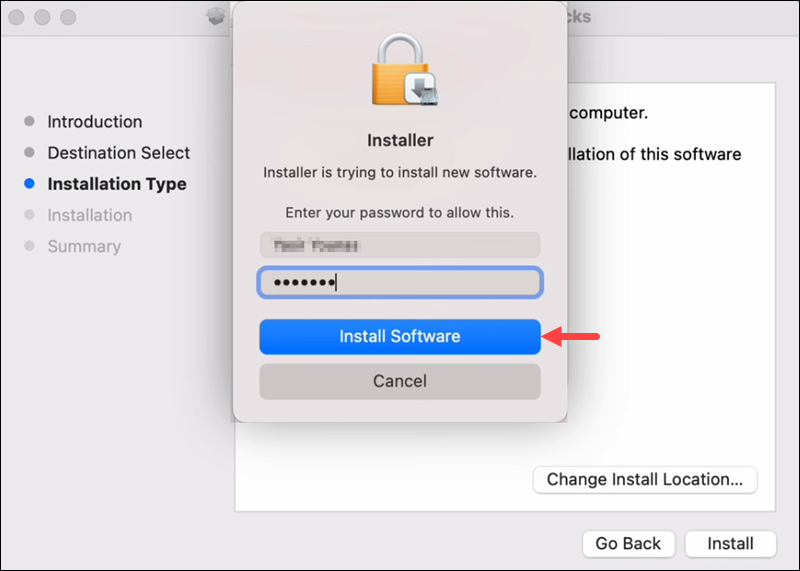
3. The Direct Route: Installing Git via the Official Installer
For users who prefer a traditional graphical installer or don’t wish to use command-line package managers like Homebrew, the official Git project provides a macOS installer.
Installation Steps:
- Open your web browser and navigate to the official Git website: https://git-scm.com/download/mac
- Click on the “macOS” link, which will typically lead you to a direct download or a package manager like Homebrew. Look for the “Installer” section, usually under “Binary installer” or “Official installer.” At the time of writing, it links to “MacPorts” and “Homebrew,” but also usually offers a direct
.pkgdownload link provided by the Git team themselves (often found via a link like “git for macOS installer”). Let’s assume there’s a direct.pkglink available. - Download the latest
.pkginstaller file. - Once downloaded, locate the file (usually in your
Downloadsfolder) and double-click it to start the installation wizard. - Follow the on-screen instructions:
- Click “Continue.”
- Agree to the license terms.
- Choose the installation location (usually the default).
- Enter your administrator password when prompted.
- The installer will place Git binaries in
/usr/local/git/binand create necessary symlinks. - After the installation completes, close and reopen your Terminal, then verify Git:
```bash
git --version
```
Advantages: Simple graphical interface, no command-line tools or package managers required. Provides a straightforward installation for users less comfortable with the Terminal.
Disadvantages: Future updates require downloading and running a new installer manually. It doesn’t integrate into a larger package management system like Homebrew.
4. For the Advanced User: Installing Git from Source
Compiling Git from its source code is generally reserved for advanced users who need a very specific version, want to contribute to Git development, or are debugging particular issues. For most users, one of the previous methods is sufficient and recommended.
Process Overview:
This method involves downloading the Git source code, installing compilation tools (often via Xcode Command Line Tools), and then running make commands to build and install Git. The official Git website (git-scm.com) provides detailed instructions for compiling from source.
Advantages: Absolute control over the Git version and compilation options.
Disadvantages: Complex, time-consuming, requires more technical expertise, and manual management of updates.
Verifying Your Git Installation
Regardless of the method you chose, it’s crucial to verify that Git is correctly installed and accessible from your Terminal.
-
Check Version:
git --versionThis command should display the version of Git currently installed. If it shows “command not found,” Git is either not installed correctly or its path is not configured in your shell.
-
Check Path (Optional but Useful):
which gitThis command tells you where the
gitexecutable is located on your system. For Homebrew installations on Apple Silicon Macs, it might be/opt/homebrew/bin/git. On Intel Macs or for official installers, it could be/usr/local/bin/gitor/usr/bin/git(for Xcode CLI tools). Understanding its path can be helpful for troubleshooting or ensuring the correct Git version is being used if you have multiple installations.
Essential Initial Git Configuration
Once Git is installed, the next crucial step is to configure your identity. Git uses this information to associate commits with you, which is vital for team collaboration and maintaining a clear commit history.
1. Setting Your User Name and Email
Every commit you make in Git is attributed to a user. Set your global user name and email address using these commands in your Terminal:
git config --global user.name "Your Name"
git config --global user.email "your_email@example.com"
- Replace
"Your Name"with your actual name (e.g.,"Jane Doe"). - Replace
"your_email@example.com"with the email address you use for Git (often the same one associated with your GitHub/GitLab account).
You can verify these settings by typing:
git config --global user.name
git config --global user.email
2. Configuring the Default Branch Name
Historically, the default branch in Git repositories was often named master. However, in recent years, the community has largely moved towards main for more inclusive language. It’s good practice to configure Git to use main as the default branch name for new repositories you initialize.
git config --global init.defaultBranch main
This ensures consistency with modern best practices, especially when working with popular platforms like GitHub, which now default to main.
3. Setting Up a Credential Helper
Dealing with passwords for Git hosting services (like GitHub or GitLab) can be tedious. macOS offers a convenient credential helper that stores your credentials securely in your system’s keychain, so you don’t have to enter them every time you interact with a remote repository.
git config --global credential.helper osxkeychain
This command configures Git to cache your username and password for HTTPS connections to Git repositories, making your workflow smoother and more productive. The credentials will be stored in the Keychain Access utility on your Mac.
4. Customizing Your Git Experience (Optional)
Git is highly configurable. You can set up aliases for frequently used commands, configure your preferred text editor for commit messages, and much more.
-
Set Default Editor:
git config --global core.editor "code --wait" # For VS Code git config --global core.editor "nano" # For Nano git config --global core.editor "vim" # For Vim -
Create Aliases (e.g., for
git status):git config --global alias.st statusNow, instead of
git status, you can just typegit st.
Troubleshooting Common Git Installation Issues
Even with careful steps, you might encounter issues. Here are a few common problems and their solutions:
- “git: command not found”: This usually means Git is not in your system’s PATH.
- Solution: Ensure Homebrew’s path is correctly set in your
~/.zshrcor~/.bash_profile. If you used the official installer, ensure its path (/usr/local/git/bin) is also in your PATH. Close and reopen your Terminal after making changes.
- Solution: Ensure Homebrew’s path is correctly set in your
- Old Git Version: If
git --versionshows an older version than expected, it might be due to a PATH conflict where an older Git (e.g., from Xcode CLI tools) is found before your newer Homebrew-installed Git.- Solution: Check
which gitto see which executable is being used. Ensure Homebrew’s path (/opt/homebrew/binor/usr/local/bin) is listed before/usr/binin your shell’s PATH variable. You can edit your~/.zshrcor~/.bash_profilefile.
- Solution: Check
- Permissions Issues: Sometimes, installations fail due to incorrect file permissions.
- Solution: Ensure your user account has administrative privileges. For Homebrew issues, running
brew doctoroften provides specific solutions.
- Solution: Ensure your user account has administrative privileges. For Homebrew issues, running
Staying Current and Best Practices
- Keep Git Updated: Regularly update your Git installation, especially if using Homebrew, by running
brew upgrade git. This ensures you benefit from the latest features, performance improvements, and security patches. - Learn Basic Commands: Once installed, familiarize yourself with fundamental Git commands like
git init,git clone,git add,git commit,git push,git pull,git branch, andgit checkout. - Explore Resources: Websites like
git-scm.comoffer excellent documentation, tutorials, and a comprehensive Pro Git book that’s freely available online. Interactive tutorials like “Learn Git Branching” can also be highly beneficial.
Conclusion
Installing Git on macOS is a gateway to a world of efficient version control, collaborative development, and robust code management. Whether you opt for the simplicity of Xcode Command Line Tools, the power and flexibility of Homebrew, or the straightforwardness of the official installer, having Git correctly set up is a non-negotiable step for anyone serious about software development or managing digital assets.
By following this guide, you’ve not only installed a powerful tool but also laid the groundwork for a more organized, collaborative, and ultimately more productive workflow. Embrace Git, and you’ll find that managing your projects becomes less about individual files and more about the evolution of your ideas, safeguarding your work, and streamlining your path to innovation. As you delve deeper, Git will prove to be an invaluable asset, enhancing your personal brand as a developer and contributing to the financial efficiency of any project you undertake.
aViewFromTheCave is a participant in the Amazon Services LLC Associates Program, an affiliate advertising program designed to provide a means for sites to earn advertising fees by advertising and linking to Amazon.com. Amazon, the Amazon logo, AmazonSupply, and the AmazonSupply logo are trademarks of Amazon.com, Inc. or its affiliates. As an Amazon Associate we earn affiliate commissions from qualifying purchases.