In the dynamic world of digital creation, visual appeal reigns supreme. Whether you’re a seasoned graphic designer crafting a stunning brand identity, a marketer strategizing a compelling campaign, or a tech enthusiast simply looking to personalize your digital workspace, fonts are an indispensable tool. They don’t just convey information; they shape perception, evoke emotion, and imbue your content with a unique personality. Windows 10, a ubiquitous operating system, offers a flexible platform for users to enhance their creative capabilities by installing a vast array of fonts. This comprehensive guide will walk you through the intricacies of installing fonts on your Windows 10 machine, catering to users from various backgrounds, including those focused on technology, branding, and finance.
Understanding Fonts and Their Impact
Before diving into the technicalities of installation, it’s crucial to appreciate the power of fonts. In the realm of Tech, fonts are fundamental to user interface (UI) and user experience (UX) design. A well-chosen font can make an application more legible, accessible, and aesthetically pleasing, directly impacting user engagement. AI tools are increasingly being developed to assist in font selection, analyzing trends and suggesting optimal typographies for specific applications. Digital security can also be influenced by font choices, with some fonts being more susceptible to rendering errors or visual manipulation. Furthermore, productivity apps often rely on clear and readable fonts to minimize eye strain and maximize efficiency during long work sessions.
For those immersed in Brand strategy, fonts are more than just characters; they are silent ambassadors of a company’s identity. The typography used in a logo, website, marketing collateral, or social media presence communicates a brand’s values, its target audience, and its overall personality. A luxury brand might opt for elegant serifs, while a tech startup might choose modern sans-serifs. Personal branding also benefits immensely from consistent font usage, helping individuals establish a recognizable and professional image across all their digital platforms. Case studies in marketing often highlight how a strategic shift in typography has revitalized a brand’s image and customer perception.
In the world of Money, fonts play a subtler yet equally important role. Financial reports, investment prospectuses, and business proposals all rely on clear, professional typography to convey complex information accurately and build trust. Personal finance blogs and online income platforms utilize fonts to create an approachable and informative tone, encouraging engagement from readers. The choice of font can subtly influence how readers perceive the credibility and authority of the financial advice or information presented.
The Anatomy of Font Installation: What You Need to Know
Installing fonts on Windows 10 is a straightforward process, but understanding the different font file types and their implications can be beneficial. The most common font file formats you’ll encounter are:
- TrueType Fonts (.ttf): This is one of the most prevalent font formats, widely supported across different operating systems and applications. TrueType fonts offer excellent scalability, meaning they look crisp and clear at various sizes, from small print to large headlines. They contain outline information, enabling them to be rendered smoothly on both screen and print.
- OpenType Fonts (.otf): An evolution of TrueType, OpenType fonts offer greater flexibility and advanced typographic features. They can include features like ligatures (where characters combine for better aesthetics, e.g., “fi”), alternate characters, and stylistic sets. OpenType fonts are also highly scalable and are increasingly becoming the standard for professional typography.
- Font Collections (.ttc): A TrueType Collection file can contain multiple fonts within a single file. This is often used for language support, where different character sets are bundled together.
Locating and Acquiring Fonts
Before you can install a font, you need to obtain it. Fortunately, there are numerous resources available, both free and paid:
- Free Font Resources: Websites like Google Fonts, DaFont, Font Squirrel, and Urban Fonts offer a vast library of free fonts for personal and commercial use (always check the specific license agreements). These are excellent starting points for most users.
- Paid Font Marketplaces: For premium and unique typographies, consider platforms like MyFonts, Adobe Fonts (included with Creative Cloud subscriptions), and Linotype. These sites offer curated collections from professional foundries, often with more extensive licensing options.
- Bundled Fonts: Many software applications, especially design suites like Adobe Creative Cloud, come with a substantial library of pre-installed fonts.
Important Note on Licensing: When acquiring fonts, always pay close attention to their licensing. Free fonts might have restrictions on commercial use, while paid fonts will have specific terms regarding installation on multiple devices or redistribution. Understanding these licenses is crucial for avoiding legal issues, especially in professional branding and marketing contexts.
Methods for Installing Fonts in Windows 10
Windows 10 provides several intuitive methods for installing new fonts. You can choose the method that best suits your workflow and preference.
Method 1: The “Drag and Drop” Method (Quickest for Single Fonts)
This is arguably the simplest and most direct way to install fonts.
Steps:
- Locate Your Font File: Navigate to the folder where you have downloaded or extracted your font files (.ttf or .otf).
- Open the Fonts Folder: Open File Explorer and navigate to
C:WindowsFonts. This is the default location for all system fonts. - Drag and Drop: Select the font file(s) you wish to install, and simply drag them into the
C:WindowsFontsfolder. - Installation Process: Windows will automatically recognize the font file and begin the installation process. You’ll see a progress indicator, and once complete, the font will be available for use in your applications.
This method is excellent for installing one or a few fonts at a time. It’s quick, efficient, and requires no further steps.
Method 2: Using the Font Settings Menu (More Organized)
Windows 10 offers a dedicated section within its Settings app for managing fonts, which can be more organized, especially when dealing with a larger number of fonts.
Steps:
- Access Settings: Click the Start button and select the “Settings” gear icon.
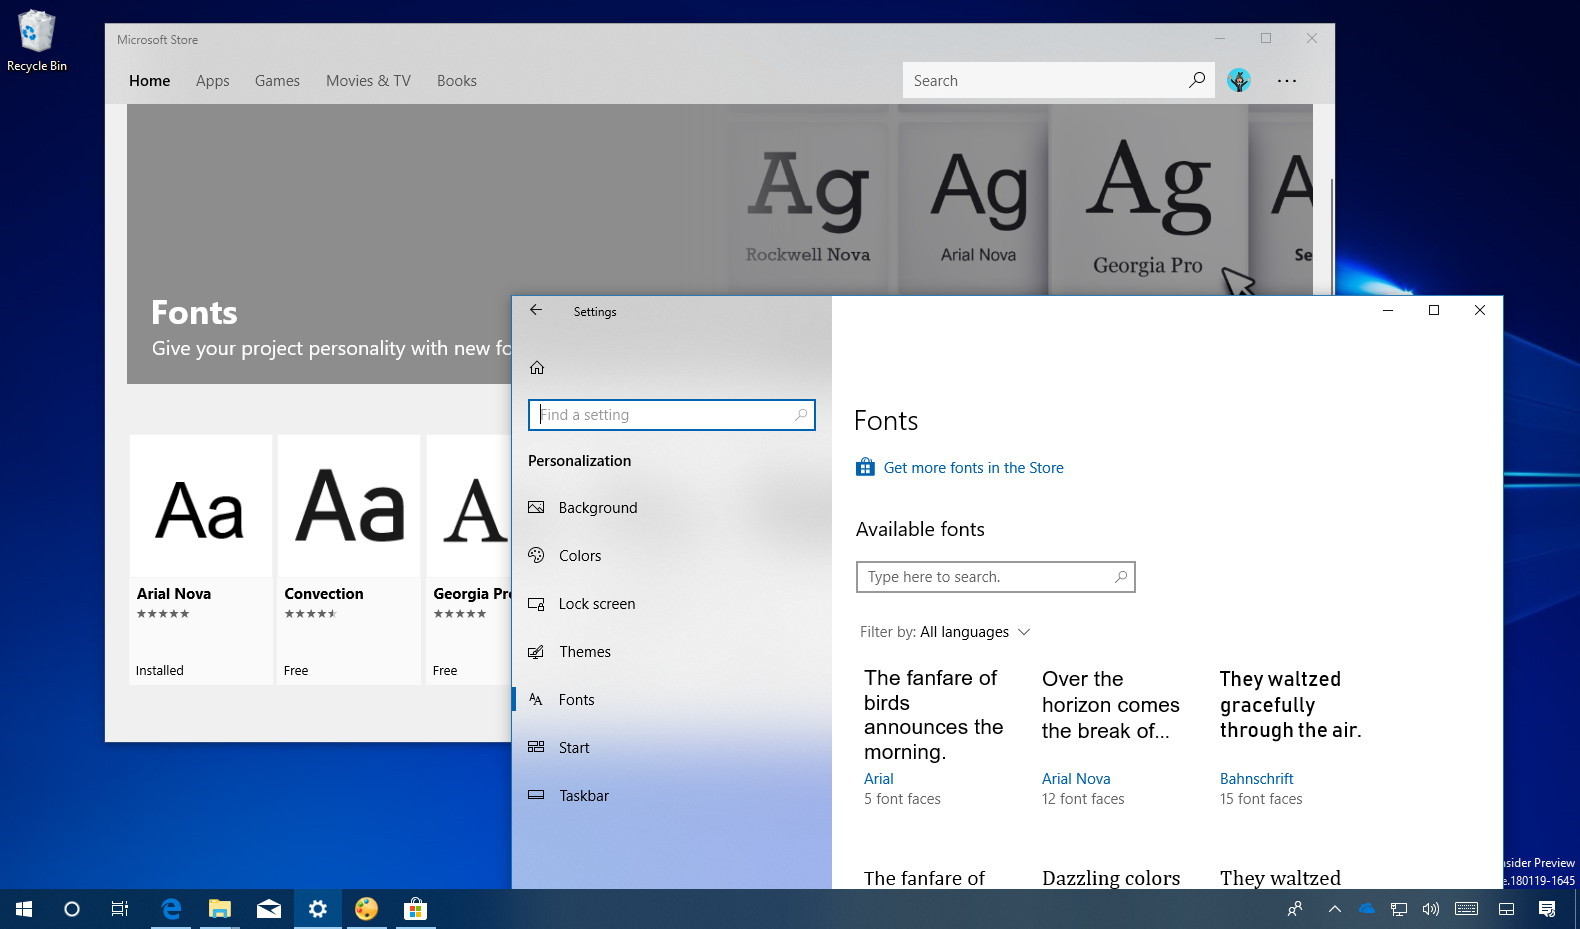
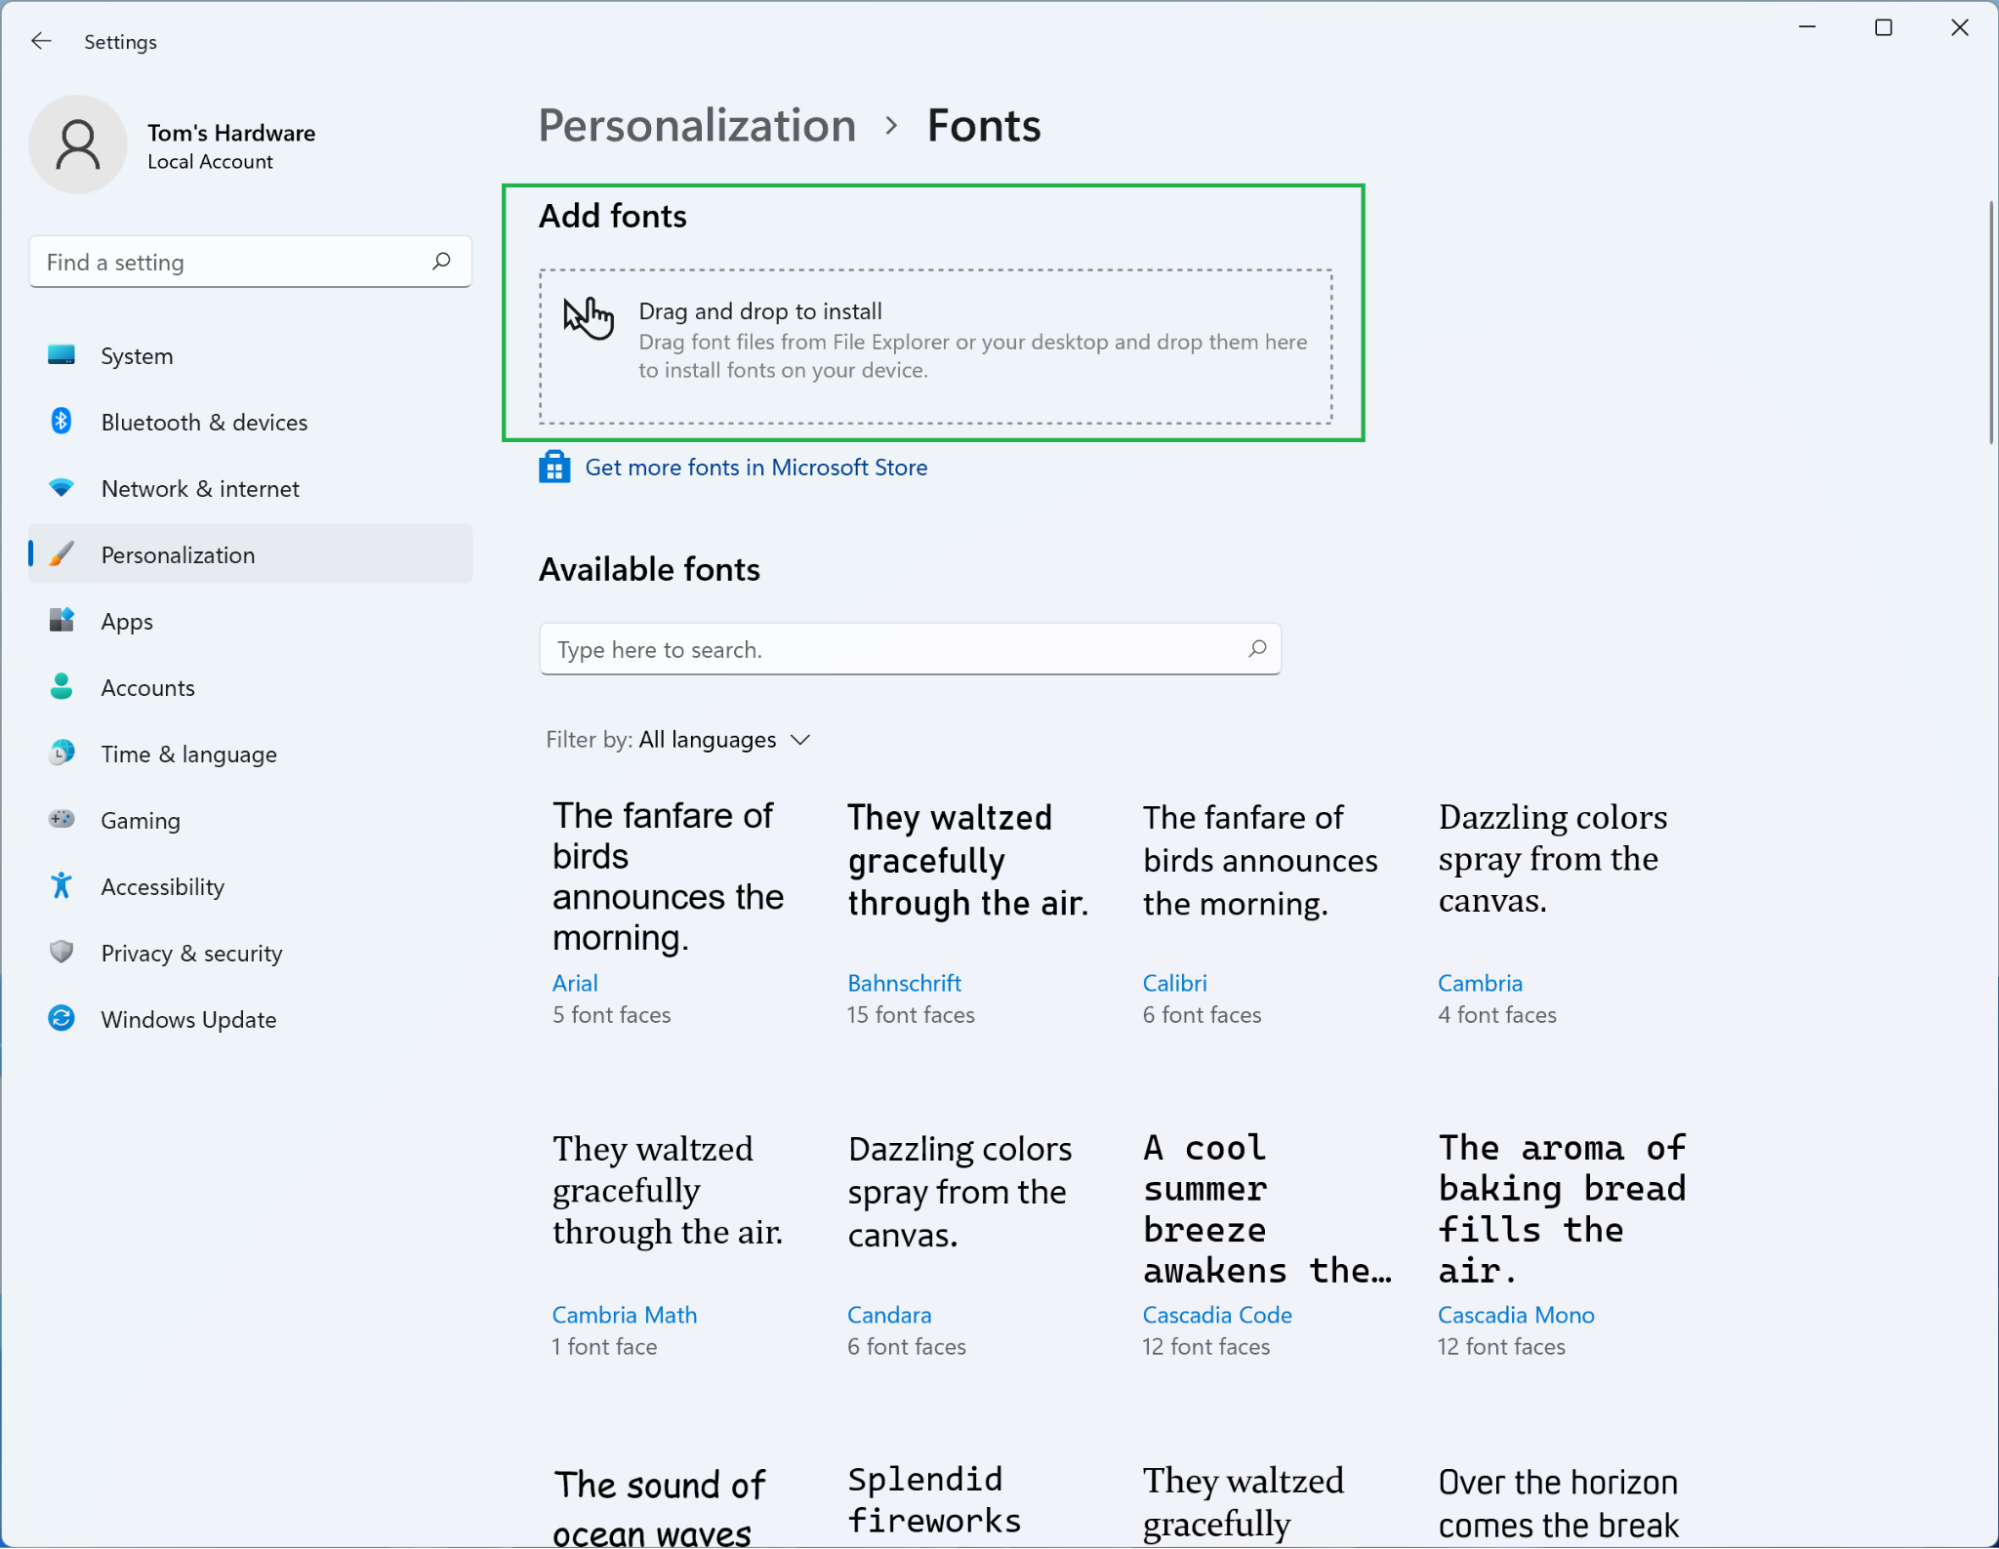
- Navigate to Personalization: In the Settings window, click on “Personalization.”
- Select Fonts: On the left-hand sidebar, click on “Fonts.”
- Install Fonts: At the top of the Fonts page, you’ll see a section labeled “Add fonts.” You can either:
- Drag and Drop: Drag your font file(s) directly onto the designated area on this page.
- Browse: Click the “Browse” button to open a File Explorer window, navigate to your font files, select them, and click “Open.”
- Confirmation: Windows will process the font(s) and add them to your system. You’ll see them listed below in the “Available fonts” section, along with information about their type and the applications they support.
This method provides a visual confirmation of your installed fonts and is a good way to keep track of your font library within Windows.
Method 3: Right-Click Installation (Convenient for Individual Files)
This is another quick and intuitive method for installing individual font files.

Steps:
- Locate Your Font File: Find the font file (.ttf or .otf) you want to install in File Explorer.
- Right-Click: Right-click on the font file.
- Select “Install”: From the context menu that appears, select the “Install” option.
- Administrator Approval (If Prompted): You may be prompted by User Account Control (UAC) to provide administrator permission. Click “Yes” or “Allow.”
- Installation: The font will be installed, and you’ll see a brief confirmation message.
This method is exceptionally handy when you’ve just downloaded a single font and want to add it to your system without navigating to the Fonts folder.
Method 4: Installing Font Collections
If you have a .ttc file, the installation process is essentially the same as installing .ttf or .otf files. You can use any of the methods described above – drag and drop into the C:WindowsFonts folder, use the Settings menu, or right-click and select “Install.” Windows will recognize the collection and install all the fonts contained within it.
Utilizing Newly Installed Fonts in Your Applications
Once you’ve successfully installed a font, it becomes available across most applications on your Windows 10 system that support font selection. This includes:
- Productivity Suites: Microsoft Word, Excel, PowerPoint, Google Docs, Sheets, Slides.
- Design Software: Adobe Photoshop, Illustrator, InDesign, GIMP, Inkscape.
- Web Browsers: While browsers primarily use system fonts, you can install fonts that web designers have embedded on websites, or use them in browser extensions.
- Content Creation Apps: Video editors, note-taking apps, and graphic design tools.
Important Note: For the newly installed font to appear in an application, you might need to restart the application. Some applications load their font list when they launch, so closing and reopening them after installing a font is often necessary. In some rare cases, you might even need to restart your computer, though this is less common with modern Windows updates.
Troubleshooting Common Font Installation Issues
While font installation is generally smooth, you might occasionally encounter issues. Here are some common problems and their solutions:
Font Not Appearing in Applications
- Restart the Application: As mentioned, this is the most common fix.
- Restart Your Computer: If restarting the application doesn’t work, a full system restart can sometimes resolve stubborn issues.
- Check Font Folder: Verify that the font file is indeed located in the
C:WindowsFontsfolder. - Corrupt Font File: The font file itself might be corrupted. Try re-downloading it from a reputable source.
- Font Conflicts: In rare cases, a newly installed font might conflict with an existing system font. This is more likely with poorly designed or unofficial fonts. You might need to uninstall problematic fonts.
“Install” Option is Grayed Out or Missing
- Administrator Privileges: Ensure you are logged in with an administrator account. You might need to right-click on the font file and select “Run as administrator” (though this is less common with direct font files).
- File Type: Confirm that the file is a valid font file format (.ttf, .otf).
Font Looks Jagged or Blurry
- Font Quality: The font itself might be of low quality or designed for a specific resolution that isn’t being met.
- ClearType Text Tuner: Windows has a “ClearType Text Tuner” that can help optimize text rendering on your screen. Search for “ClearType” in the Start menu and follow the on-screen instructions.
- Font Licensing Issues: Some fonts might have restrictions that affect their rendering in certain applications if not properly licensed.
Advanced Font Management and Best Practices
As your font library grows, especially for designers and brand strategists, managing your fonts efficiently becomes paramount.
Font Management Software
For extensive font collections, consider using dedicated font management software. These tools offer features such as:
- Organization: Categorize, tag, and group fonts.
- Previewing: View fonts in custom text or sample paragraphs.
- Activation/Deactivation: Temporarily activate only the fonts you need for a specific project, which can improve system performance.
- Troubleshooting: Identify duplicate or corrupt fonts.
Popular font management software includes FontBase, NexusFont, and Suitcase Fusion.
Maintaining a Clean Font Library
- Regular Audits: Periodically review your installed fonts. Uninstall any that you no longer use or that are causing issues.
- Beware of Free Font Repositories: While invaluable, free font sites can sometimes host poorly made or even malicious fonts. Stick to reputable sources.
- Backup Your Fonts: If you have a curated collection of paid or custom fonts, ensure you have backups in case of hardware failure.
Conclusion
Installing fonts on Windows 10 is an accessible yet powerful way to enhance your digital presence. Whether you’re leveraging technology to streamline your workflow, crafting a compelling brand narrative, or managing your personal finances with clarity, the right typography can make a significant difference. By understanding the different font types, mastering the installation methods, and employing good font management practices, you can unlock a world of creative possibilities and ensure your visual communication is always on point. So go ahead, explore the vast typographic landscape, and let your words and visuals speak volumes.
aViewFromTheCave is a participant in the Amazon Services LLC Associates Program, an affiliate advertising program designed to provide a means for sites to earn advertising fees by advertising and linking to Amazon.com. Amazon, the Amazon logo, AmazonSupply, and the AmazonSupply logo are trademarks of Amazon.com, Inc. or its affiliates. As an Amazon Associate we earn affiliate commissions from qualifying purchases.