
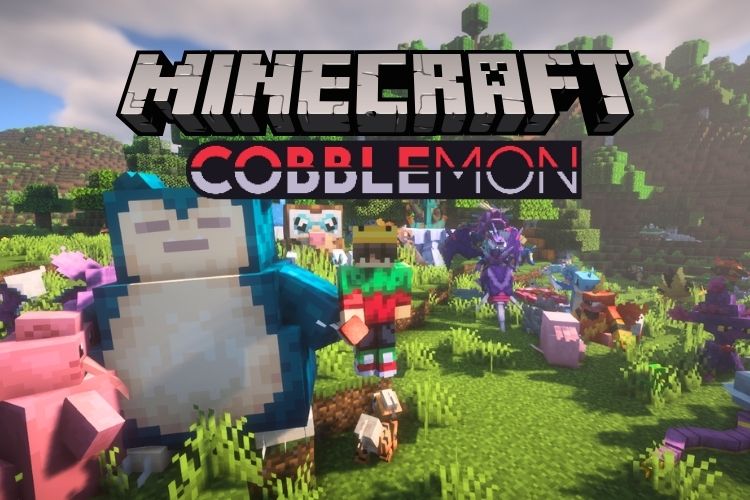
The intersection of classic monster-collection mechanics and the limitless sandbox of Minecraft has birthed one of the most significant open-source projects in the modding community: Cobblemon. Unlike its predecessors, Cobblemon is built with a focus on “vanilla-plus” aesthetics and high compatibility with modern Minecraft performance engines. However, for many users, transitioning from the base game to a modded environment involves a steep learning curve regarding file management, dependency resolution, and version control.
This guide provides an exhaustive technical breakdown of how to install Cobblemon, ranging from manual directory management to utilizing specialized instance launchers for a streamlined deployment.
1. Understanding the Technical Architecture and Prerequisites
Before initiating the installation process, it is vital to understand the underlying infrastructure required to run Cobblemon effectively. Because Cobblemon is a modern mod, it leverages specific loaders and APIs that differ from the traditional Forge-based ecosystem of the past decade.
Choosing Your Mod Loader: Fabric vs. Forge
While Cobblemon is available for both Fabric and Forge, the developer community largely recommends the Fabric Loader. Fabric is designed to be lightweight and modular, resulting in faster load times and better compatibility with performance-enhancing mods like Sodium. Quilt is also an option, as it is a fork of Fabric that maintains high compatibility. For the purpose of this guide, we will focus primarily on Fabric, as it offers the most stable environment for the current Cobblemon builds.
The Role of Java Runtime Environments (JRE)
Minecraft versions 1.18 and above require Java 17 or higher. Many installation failures occur because the system is utilizing an outdated version of Java (such as Java 8). When installing Cobblemon, ensure your system variables are pointed toward the correct JRE. If you are using a third-party launcher, these often bundle the correct Java version, but manual installations require a verified installation of the OpenJDK or Oracle Java 17/18/21.
Mandatory Dependencies: Architectury and Fabric API
Cobblemon does not function in isolation. It relies on the Fabric API, which provides the hooks necessary for the mod to interact with the game engine. Additionally, the Architectury API acts as an intermediary layer that allows the mod to function across different loaders. Without these two .jar files in your “mods” folder, the game will fail to initialize, likely resulting in a “missing dependency” crash report.
2. Manual Installation Protocol for the Minecraft Launcher
For users who prefer to maintain control over their file directory without the overhead of third-party software, a manual installation using the official Minecraft Launcher is the most direct route.
Setting Up the Fabric Environment
- Download the Fabric Installer: Navigate to the official Fabric website and download the universal
.jaror Windows.exeinstaller. - Execute the Installer: Run the application, selecting the specific version of Minecraft you intend to play (e.g., 1.20.1). Ensure the “Create Profile” checkbox is toggled.
- Launch and Initialize: Open the Minecraft Launcher, select the new “Fabric Loader” profile, and run the game once to allow the system to generate the necessary file structure within your
%appdata%.minecraftfolder.
Deploying the Mod Files
Once the directory is prepared, you must populate the “mods” folder.
- Accessing the Directory: Press
Win + R, type%appdata%, and navigate to.minecraft/mods. If the folder does not exist, create it manually. - Sourcing Files: Download the Cobblemon mod, the Fabric API, and the Architectury API from a verified source such as Modrinth or CurseForge.
- File Placement: Move these three
.jarfiles into themodsfolder. It is critical to ensure that the versions of these mods match the version of the Fabric Loader you installed. For instance, if you are running Minecraft 1.20.1, all three files must be the 1.20.1 compatible versions.
Memory Allocation and Optimization
By default, the Minecraft Launcher allocates only 2GB of RAM to the game. This is insufficient for Cobblemon, which features high-quality animations and complex entity AI.
- In the Minecraft Launcher, go to the “Installations” tab.
- Select your Fabric profile and click “More Options.”
- Locate the “JVM Arguments” field. Change
-Xmx2Gto-Xmx4Gor-Xmx6G, depending on your system’s total RAM. This ensures the Java Virtual Machine has enough overhead to handle the mod’s assets without constant “garbage collection” stutters.
3. Utilizing Instance Managers for Efficient Deployment
For users who wish to avoid the intricacies of manual file manipulation, third-party instance managers provide an automated, “one-click” style experience. These tools handle dependency resolution and Java versioning automatically.
The Modrinth App: The Modern Standard
Modrinth has quickly become the preferred platform for the Cobblemon community due to its clean UI and direct integration with the developers.
- Search and Install: Within the Modrinth App, simply search for “Cobblemon.” You can choose to install the mod as a standalone or as part of a “Modpack” (like the official Cobblemon Fabric pack).
- Automated Updates: The app will notify you when a new version of Cobblemon is released and update all dependencies simultaneously, mitigating the risk of version mismatch.
CurseForge and Prism Launcher
The CurseForge launcher remains a popular choice for its massive library, though it is often considered heavier on system resources than Modrinth. Alternatively, the Prism Launcher is a powerful, open-source tool for power users. Prism allows you to create isolated instances, making it easy to run a “Cobblemon 1.4” instance alongside a “Cobblemon 1.5” instance without any file overlap. Prism is particularly adept at handling multiple accounts and custom Java arguments, making it the technical gold standard for enthusiast modders.
4. Enhancing the User Experience: Performance and Graphics
Cobblemon is designed to look like a natural extension of Minecraft, but it can be visually transformed through the use of shaders and performance engines.
Implementing Sodium and Iris
To achieve high framerates, it is highly recommended to install Sodium. Sodium replaces the vanilla Minecraft rendering engine with a more efficient pipeline, often doubling or tripling FPS. When paired with Iris Shaders, you gain the ability to run beautiful shader packs (like Complementary or BSL) while maintaining the stability required for a smooth Cobblemon experience. These mods are installed exactly like Cobblemon—simply drop the .jar files into the mods folder.
Managing Resource Packs and Data Packs
Cobblemon utilizes a robust system for community-made assets.
- Resource Packs: These change the visual models or textures of the Pokémon. They are placed in the
resourcepacksfolder and must be activated in-game via the Options menu. - Data Packs: These can change spawn rates, add new moves, or alter evolution mechanics. Unlike resource packs, data packs are world-specific and must be placed within the
saves/[YourWorldName]/datapacksfolder.
5. Troubleshooting and System Optimization
Even with a perfect installation, technical hurdles can arise due to hardware limitations or software conflicts.
Resolving Common Error Codes
- “Exit Code: 1”: This is a generic error often caused by an incorrect Java version or a missing dependency. Double-check that both Fabric API and Architectury are present.
- “Incompatible Mod Set”: This occurs when a mod file is meant for a different version of Minecraft. Ensure every file in your folder matches the game version (e.g., all files should say “1.20.1”).
- Stuttering/Low FPS: Check your RAM allocation. If you have allocated 8GB+ and still see stutters, you may be experiencing “memory pressure.” Try reducing allocation to 6GB and ensuring Sodium is installed.
Server-Side vs. Client-Side Installation
If you are planning to play Cobblemon on a multiplayer server, the installation requirements change. The server must have the Cobblemon mod and its dependencies installed in its mods folder. However, visual mods like Sodium or Iris are “client-side only,” meaning they do not need to be on the server to work for the individual player. Conversely, any mod that adds new blocks or entities (like Cobblemon itself) must be present on both the client and the server to prevent a “Registry Mismatch” error.

Maintaining Your Environment
The world of Minecraft modding moves quickly. To keep your Cobblemon installation running optimally, it is a best practice to periodically clear your config folder if you are performing a major version upgrade (e.g., moving from Cobblemon 1.3 to 1.5). This forces the mod to generate new configuration files, preventing legacy settings from causing crashes with new features.
By following this technical roadmap, you ensure not only a successful installation but a high-performance environment that allows Cobblemon’s intricate animations and expansive world-building to shine. Whether you choose the granular control of a manual install or the streamlined efficiency of a dedicated launcher, the key to a stable experience lies in version consistency and proper resource allocation.
aViewFromTheCave is a participant in the Amazon Services LLC Associates Program, an affiliate advertising program designed to provide a means for sites to earn advertising fees by advertising and linking to Amazon.com. Amazon, the Amazon logo, AmazonSupply, and the AmazonSupply logo are trademarks of Amazon.com, Inc. or its affiliates. As an Amazon Associate we earn affiliate commissions from qualifying purchases.