In the ever-evolving landscape of PC gaming, enthusiasts are constantly searching for operating systems that not only deliver exceptional performance but also offer a seamless, user-friendly experience. While Windows has long been the dominant player, Linux distributions have made remarkable strides, particularly with the advent of Steam Deck and its underlying SteamOS. For those looking to bring that refined, gaming-centric experience to their desktop PC, Bazzite emerges as a compelling contender.
Bazzite is an immutable Linux operating system based on Fedora Atomic, designed from the ground up to provide an optimized gaming environment. It leverages the robustness of Fedora with a strong focus on containerization and immutability, ensuring stability and a predictable system state. If you’re ready to transform your PC into a dedicated gaming powerhouse, this guide will walk you through every step of installing Bazzite, from preparation to post-installation optimization.
What is Bazzite and Why Choose It?
Before diving into the technicalities of installation, it’s crucial to understand what Bazzite offers and why it might be the ideal choice for your gaming setup. Bazzite isn’t just another Linux distro; it’s a meticulously crafted environment built for gamers, by gamers, taking inspiration from the highly successful Steam Deck experience.
The Gaming OS Advantage
Traditional operating systems, whether Windows or general-purpose Linux distributions, often come with a myriad of background processes, unnecessary services, and system overhead that can subtly impact gaming performance. Bazzite, on the other hand, is streamlined. It’s built on the principle of an “immutable” operating system, meaning its core system files are read-only. This design choice dramatically enhances system stability, reduces the chances of breakage from misconfigurations or updates, and simplifies system rollbacks if something does go wrong.
For gamers, this immutability translates into a more reliable and consistent performance baseline. You spend less time troubleshooting system issues and more time enjoying your favorite titles. Furthermore, Bazzite comes pre-configured with many gaming-specific optimizations and tools that would typically require manual setup on other Linux distributions, making it an excellent choice for both newcomers to Linux gaming and seasoned veterans seeking convenience.
Key Features and Benefits
Bazzite packs a punch with a host of features tailored for the ultimate gaming experience:
- Immutable Core (Fedora Atomic): At its heart, Bazzite leverages Fedora Atomic’s OS/tree model, which provides a highly stable and reliable foundation. Updates are atomic, meaning they either succeed completely or roll back, preventing partial updates that can corrupt a system.
- Steam Deck Experience on PC: Bazzite aims to replicate the intuitive and seamless gaming experience of the Steam Deck. It offers out-of-the-box support for Proton, a compatibility layer that allows Windows games to run on Linux, and integrates deeply with Steam and other gaming launchers.
- Containerization with Flatpak and Distrobox: For applications and non-gaming software, Bazzite relies heavily on Flatpak. This sandboxed packaging format ensures applications run independently of the system, further enhancing stability and security. For command-line tools and development environments, Distrobox allows you to run other Linux distributions (like Ubuntu, Arch, etc.) in containers directly on Bazzite, giving you immense flexibility without compromising the base system.
- Optimized for Gaming Hardware: Bazzite includes the latest kernels and drivers, often bleeding-edge, to ensure maximum compatibility and performance with modern GPUs from NVIDIA, AMD, and Intel. This includes advanced features like Wayland support, which offers superior performance and tearing-free gaming compared to the older X11 server.
- Extensive Pre-installed Gaming Tools: From gaming launchers like Steam, Lutris, and Heroic Games Launcher to essential utilities like ProtonUp-Qt (for managing Proton versions) and MangoHUD (for in-game performance monitoring), Bazzite comes equipped with everything a gamer needs right out of the box.
- Regular Updates and Community Support: Being based on Fedora, Bazzite benefits from frequent updates that bring the latest software, security patches, and performance improvements. A vibrant community surrounds Fedora and by extension, Bazzite, providing ample resources and support.
Choosing Bazzite means opting for a system designed to get you into games faster, with fewer headaches and consistent performance, mirroring the best aspects of console-like simplicity while retaining the power and flexibility of a PC.
Preparing for Bazzite Installation
A smooth installation process begins with thorough preparation. This involves checking your system’s compatibility, backing up essential data, and creating the bootable media you’ll use to install Bazzite. Skipping these steps can lead to frustration or, worse, data loss.
System Requirements Check
While Bazzite is designed to be versatile, ensuring your PC meets the basic requirements will guarantee the best experience.
- Processor: A modern 64-bit multi-core processor (Intel or AMD).
- RAM: Minimum 8GB, but 16GB or more is highly recommended for modern gaming and multitasking.
- Storage: A Solid State Drive (SSD) is strongly advised for both the operating system and games. While Bazzite can function on HDDs, an SSD dramatically improves loading times and overall system responsiveness. Allocate at least 50GB for the OS, though 100GB+ is ideal, especially if you plan to install many Flatpak applications or games directly on the OS drive.
- Graphics Card: A dedicated GPU from NVIDIA, AMD, or Intel is essential for gaming. Bazzite supports proprietary NVIDIA drivers and open-source AMD/Intel drivers out of the box, but ensure your card is modern enough for the games you intend to play.
- Connectivity: Internet access is required during and after installation for updates and software downloads.
Before proceeding, confirm your hardware meets these recommendations to avoid performance bottlenecks or compatibility issues.
Essential Pre-installation Tasks
These steps are critical for safeguarding your data and ensuring a clean installation.
- Backup Your Data: This is paramount. If you have any important files, documents, photos, or games on your current operating system’s drive, copy them to an external hard drive, cloud storage, or another safe location. Installing a new operating system often involves formatting drives, which will erase all data.
- Free Up Disk Space: Decide where you want to install Bazzite. If you’re dual-booting with an existing OS (like Windows), you’ll need to shrink your current OS partition to create unallocated space for Bazzite. Tools like Windows’ Disk Management utility or GParted (which you can run from a live Linux USB) can assist with this. Aim for at least 100GB of free, unallocated space.
- Disable Secure Boot and Fast Boot (Optional but Recommended): While Bazzite can sometimes work with Secure Boot enabled, disabling it in your motherboard’s UEFI/BIOS settings can prevent potential boot issues. Similarly, disable “Fast Boot” in both your Windows settings (if dual-booting) and your UEFI/BIOS, as it can interfere with proper shutdown and boot detection for other operating systems.
- Gather Necessary Information: If you plan on a fresh install, ensure you have your Wi-Fi password handy, as you might need it during installation. Also, consider a desired username and strong password for your new Bazzite system.
Creating Your Bootable Bazzite USB
The installation medium for Bazzite is a bootable USB drive containing the Bazzite ISO image.
- Download the Bazzite ISO:
- Visit the official Bazzite website (usually
bazzite.ggor search for “Bazzite Linux”). - Navigate to the download section. You’ll typically find several versions: one for NVIDIA GPUs, one for AMD/Intel GPUs (or a universal one), and potentially Steam Deck specific versions. Ensure you download the correct ISO for your PC’s hardware, specifically matching your GPU vendor (NVIDIA or AMD/Intel). Download the standard desktop ISO.
- The ISO file will be several gigabytes in size, so allow sufficient time for the download.
- Visit the official Bazzite website (usually
- Choose a USB Flashing Tool: You’ll need a tool to “burn” the ISO image onto your USB drive, making it bootable.
- Ventoy: Highly recommended. Ventoy allows you to simply copy multiple ISO files onto a single USB drive, and it creates a boot menu for you. You don’t need to re-flash the USB for different ISOs.
- Rufus (Windows): A popular and reliable tool for Windows users.
- Balena Etcher (Windows, macOS, Linux): A user-friendly tool known for its simplicity across different operating systems.
- dd command (Linux/macOS): For advanced users comfortable with the command line.
- Prepare a USB Drive:
- Obtain a USB flash drive with a minimum capacity of 8GB (16GB or higher is safer).
- Crucially, back up any data on this USB drive. The flashing process will erase all its contents.
- Flash the ISO to the USB Drive (Using Etcher as an Example):
- Download and install Balena Etcher.
- Open Etcher.
- Click “Flash from file” and select the Bazzite ISO you downloaded.
- Click “Select target” and choose your USB drive (double-check you’ve selected the correct drive to avoid overwriting other storage devices!).
- Click “Flash!” and wait for the process to complete. Etcher will verify the flash, which may take some time.
Once the process is complete, you’ll have a bootable Bazzite USB drive ready for installation.
Step-by-Step Bazzite Installation Guide
With your bootable USB ready and pre-installation tasks complete, it’s time to begin the installation of Bazzite. The process is generally straightforward, utilizing the user-friendly Calamares installer.
Booting from the USB Drive
- Insert the Bazzite USB: Plug the bootable USB drive into an available USB port on your PC.
- Restart Your PC: Reboot your computer.
- Access the Boot Menu/UEFI Settings: As your PC starts, you’ll need to repeatedly press a specific key to enter your motherboard’s Boot Menu or UEFI/BIOS settings. Common keys include
F2,F10,F12,Del, orEsc. The exact key often flashes on the screen during startup. - Select the USB Drive: In the Boot Menu, select your USB drive (it might be listed by its brand name or as “UEFI USB Device”). If you enter the UEFI/BIOS settings, look for a “Boot Order” or “Boot Priority” section and set the USB drive as the primary boot device.
- Start Bazzite Live Environment: Your PC should now boot from the USB. You’ll typically see a GRUB boot menu. Select the option to “Try or Install Bazzite” or “Boot Bazzite Live.” This will load Bazzite into a live environment, allowing you to test it before installation and access the installer.
Navigating the Installer Interface
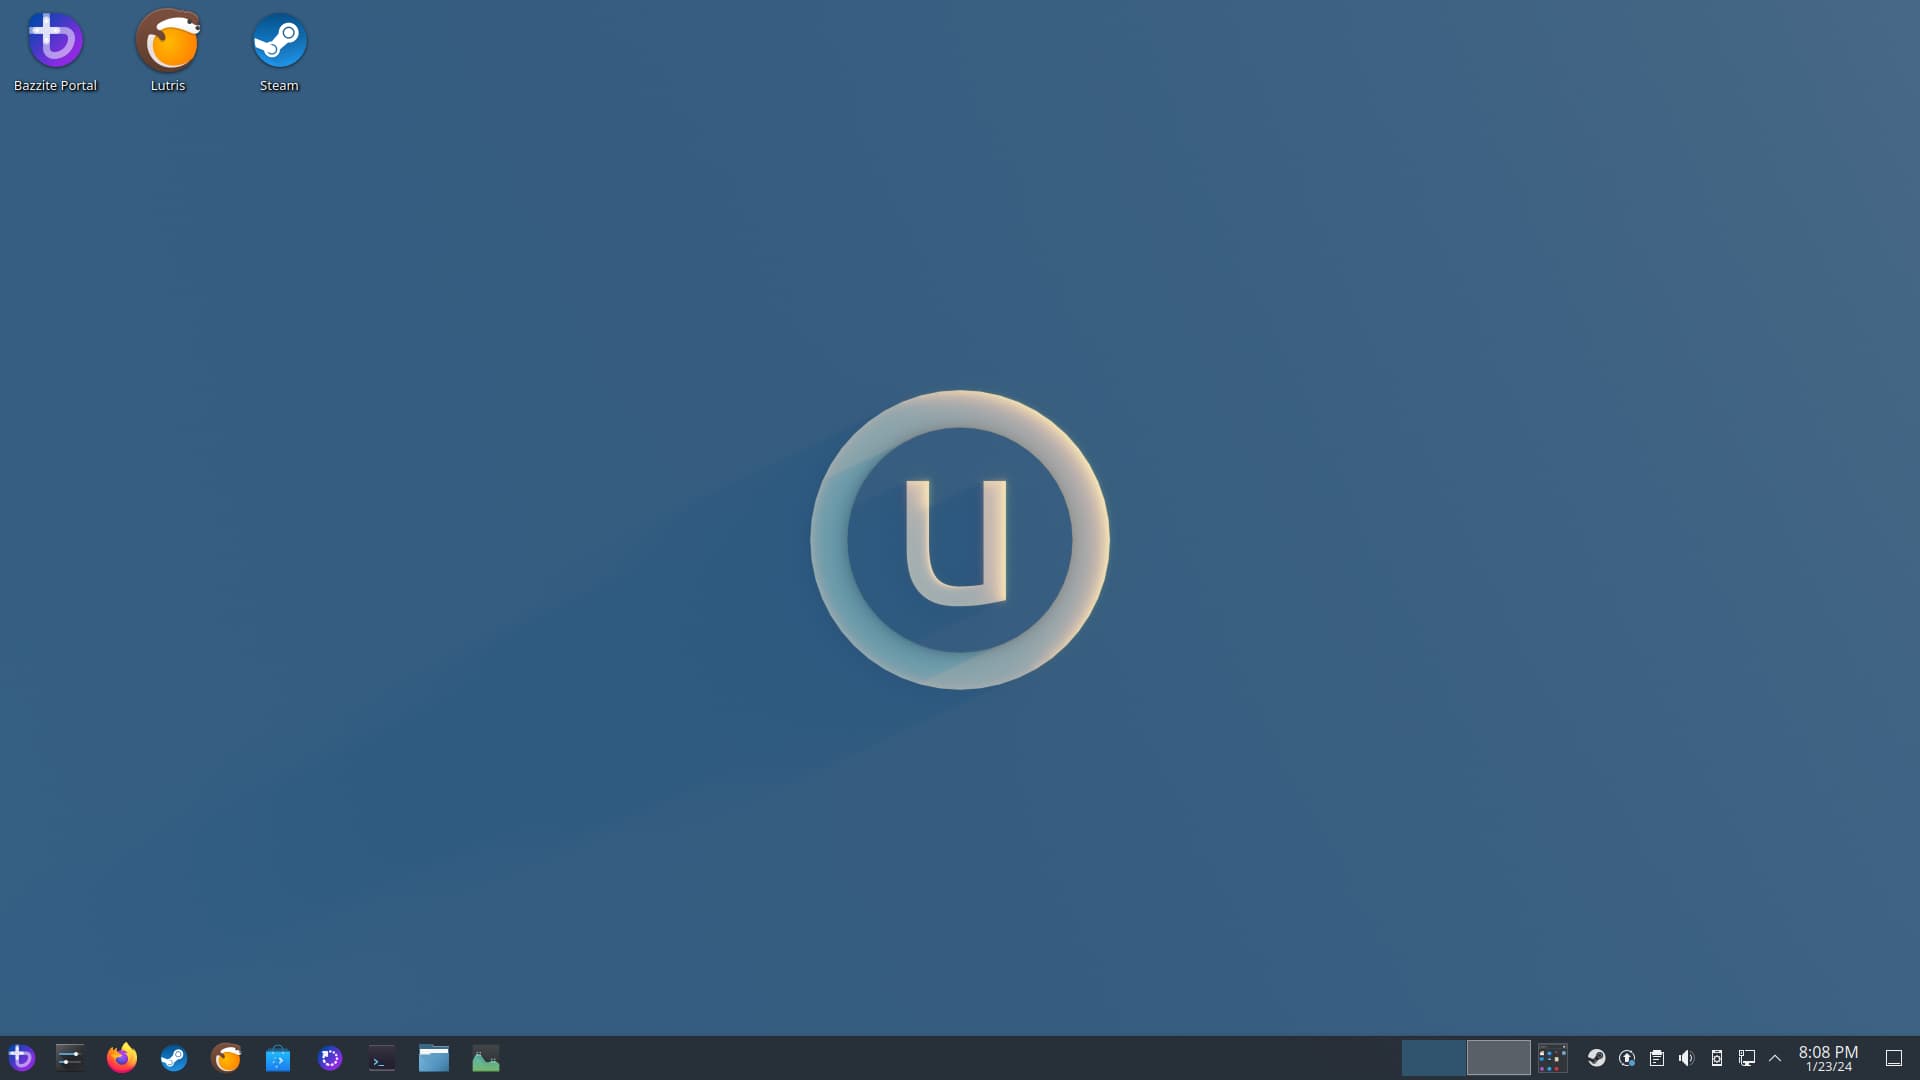
Once the live environment loads, you’ll see the Bazzite desktop. There should be an icon on the desktop, usually labeled “Install Bazzite” or “Install System.” Double-click this icon to launch the Calamares installer.
The installer will guide you through several steps:
- Welcome: Choose your preferred language for the installation process.
- Location: Select your region and timezone. This will automatically configure system time and date settings.
- Keyboard: Select your keyboard layout. You can test it in the provided text field to ensure it matches your physical keyboard.
Partitioning and User Setup
This is arguably the most critical part of the installation. Pay close attention to avoid accidentally erasing the wrong drive.
- Partitions:
- “Erase disk”: If you want to dedicate the entire hard drive to Bazzite and wipe everything else, select this option. Be absolutely certain this is what you want to do, as it will destroy all data on the selected drive.
- “Install alongside”: If you’re dual-booting with an existing OS (e.g., Windows), this option attempts to automatically shrink your existing OS partition and create space for Bazzite. This is usually the easiest option for dual-booters.
- “Manual partitioning”: This option gives you full control. It’s recommended for experienced users or if the automatic options don’t suit your needs. You’ll need to create partitions manually. For Bazzite, a basic setup would include:
/boot/efi(FAT32, ~500MB): The EFI System Partition (ESP) where bootloaders are stored. If you’re dual-booting, you likely already have one; simply select it and set its mount point to/boot/efiwithout formatting./(Btrfs or Ext4, at least 50GB): This is the root partition where the operating system will reside. Btrfs is often the default and recommended for its advanced features like snapshots, but Ext4 is also a stable choice.Swap(Optional, but recommended): A swap partition or file acts as virtual RAM. Its size can vary, but 8GB or more is a good starting point, especially if you have less RAM or often suspend your system.
- Crucial Note: Carefully review which drive you are selecting if you have multiple drives. The installer will typically list drives as
/dev/sda,/dev/sdb, etc. Identify your target drive correctly.
- User Information:
- Enter your full name, username (which will be used for login), and a strong password.
- Choose a name for your computer (hostname).
- Decide if you want to log in automatically without a password (not recommended for security) or if the administrator password should be the same as the user password.
Completing the Installation
- Summary: The installer will present a summary of your choices. Review this carefully, especially the partitioning details, before proceeding. Once you click “Install,” changes to the disk become permanent.
- Installation Process: Click “Install Now” to begin. The installer will copy files, set up partitions, and configure your system. This process can take anywhere from 15 to 45 minutes, depending on your system’s speed.
- Restart: Once the installation is complete, you’ll be prompted to restart your computer. Crucially, remove the USB installation media before restarting. If you don’t, your PC might boot back into the live environment instead of your newly installed Bazzite system.
Congratulations! Your PC should now boot into Bazzite. You’ll be greeted by the login screen or directly into the desktop environment you chose during installation (often GNOME or KDE Plasma, which Bazzite offers different spins for).
Post-Installation: Optimizing Your Bazzite Experience
Installing Bazzite is just the first step. To truly unlock its potential and ensure a smooth, high-performance gaming experience, some post-installation steps are necessary.
Initial System Update and Setup
Being an immutable system, Bazzite handles updates differently. It uses rpm-ostree to manage system layers.
- Open a Terminal: Access the terminal (usually by searching for “Terminal” in your applications menu).
- Update the System: Run the following commands to update your Bazzite system to the latest available packages:
bash

rpm-ostree update
This command downloads and stages the update. You will then need to reboot for the changes to take effect.
bash

systemctl reboot
Regularly runningrpm-ostree updateand rebooting is good practice to keep your system current and secure. - Install Flatpak Updates: Flatpak applications are managed separately.
bash

flatpak update
This ensures all your Flatpak apps are up-to-date. - Install Codecs and Multimedia: Bazzite generally comes with good codec support, but sometimes additional codecs might be beneficial. Check the official Bazzite documentation or community forums for specific commands to ensure full multimedia playback capabilities.
Installing Graphics Drivers and Essential Software
While Bazzite ISOs often include the latest drivers, a fresh update ensures you have the absolute newest versions.
- Graphics Drivers:
- AMD/Intel: For AMD and Intel GPUs, the open-source drivers are typically included and updated automatically with
rpm-ostree update. You generally don’t need to do anything extra. - NVIDIA: If you installed the NVIDIA-specific Bazzite ISO, the proprietary drivers should be pre-installed and updated via
rpm-ostree update. Verify they are working by checking your system settings or running a command likenvidia-smiin the terminal. If you installed a non-NVIDIA ISO on an NVIDIA card, you might need to rebase to the NVIDIA variant of Bazzite or follow specific instructions on the Bazzite website to install the drivers. This is why selecting the correct ISO from the start is critical.
- AMD/Intel: For AMD and Intel GPUs, the open-source drivers are typically included and updated automatically with
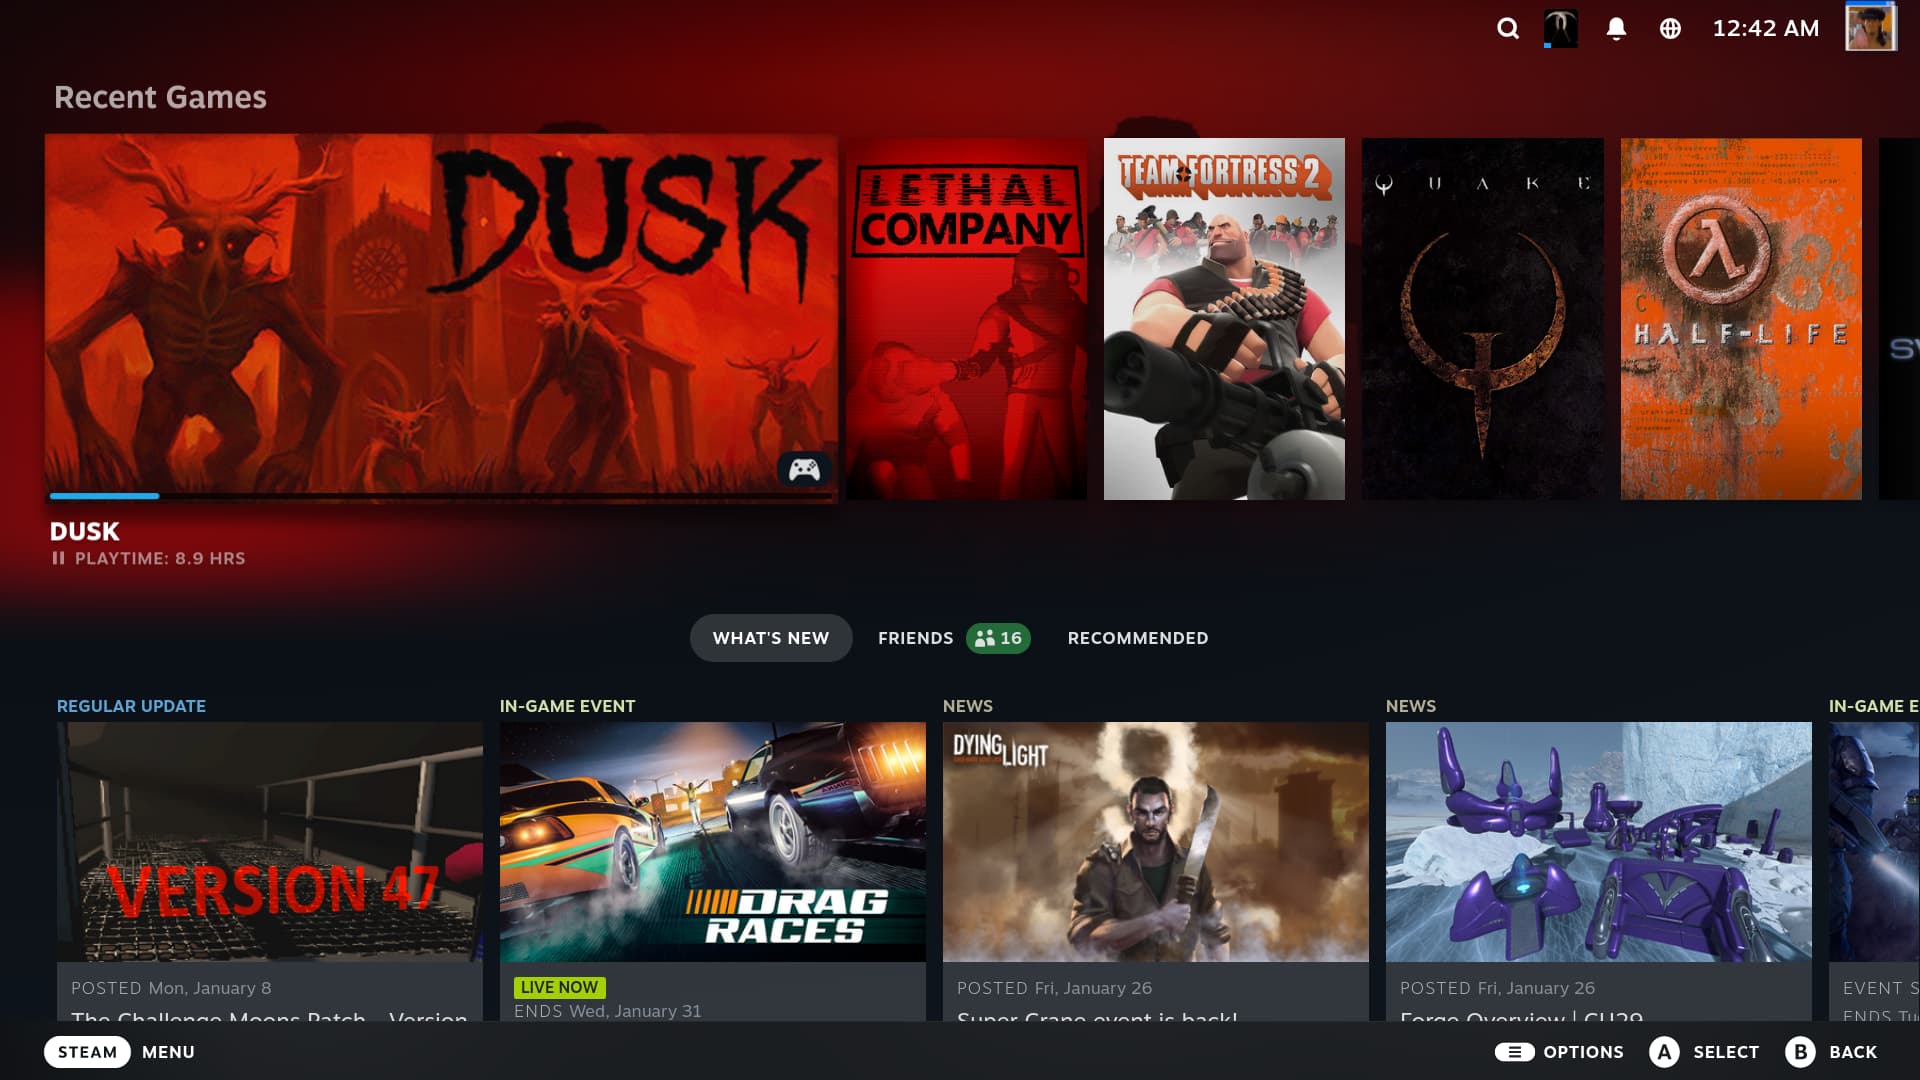
- Essential Gaming Launchers and Tools:
- Bazzite usually comes with Steam, Lutris, Heroic Games Launcher, and ProtonUp-Qt pre-installed as Flatpaks.
- Steam: Launch Steam, log in, and let it perform any initial updates. Head to Steam’s settings -> Steam Play to enable “Enable Steam Play for all other titles” and select a Proton version (Proton Experimental is often a good choice).
- Lutris: A powerful open-source gaming platform that manages game installations from various sources (GOG, Epic Games Store, Battle.net, etc.) using different runners (Wine, emulators).
- Heroic Games Launcher: An open-source launcher for Epic Games Store and GOG games, often providing a better experience than Lutris for these platforms.
- ProtonUp-Qt: A GUI tool to easily download and manage different versions of Proton, GloriousEggroll (GE) Proton, and Wine for use with Steam, Lutris, and Heroic. Keep your Proton versions updated for optimal compatibility with the latest games.
- Other Flatpak Applications: Bazzite strongly encourages Flatpaks for user applications. Use the graphical “Software Center” (like GNOME Software or KDE Discover) or the command line to install applications:
bash

flatpak install flathub com.discordapp.Discord
Replacecom.discordapp.Discordwith the Flatpak ID of the desired application. You can find Flatpak IDs on Flathub’s website.
Configuration Tips for Peak Performance
Fine-tuning your Bazzite system can yield significant performance gains and a more enjoyable experience.
- Wayland vs. X11: Bazzite generally defaults to Wayland, especially with KDE Plasma and GNOME. Wayland is the modern display server protocol offering smoother animations, better multi-monitor support, and tear-free gaming. If you experience issues with certain applications or games, you can often switch to an X11 session from the login screen. For most modern setups, Wayland is preferred.
- Game Mode (Gamemode): Bazzite typically includes
gamemode, a daemon that optimizes system performance for games on demand. Ensure it’s active. Many games will automatically trigger it. - Power Management: Go to your system’s power settings. For a gaming PC, especially a desktop, consider setting the power profile to “Performance” during gaming sessions to ensure your CPU and GPU aren’t throttled.
- Monitor Refresh Rate: Verify your monitor’s refresh rate is correctly set in your display settings. Linux can sometimes default to a lower refresh rate than your monitor supports.
- Shader Caching: Ensure shader caching is enabled in Steam settings (under
Shader Pre-Caching). This helps prevent stuttering during gameplay by pre-compiling shaders. - Kernel Parameters (Advanced): For extremely low-latency gaming, some users might explore custom kernel parameters to optimize scheduling or disable specific features. However, this is an advanced topic and not necessary for most users. Bazzite’s default kernel is already highly optimized.
- Explore Bazzite’s Features: Dive into the various customization options and tools Bazzite offers. From theme tweaks to Distrobox containers for specific development environments, there’s a lot to explore.
Troubleshooting Common Bazzite Installation Issues
Even with careful preparation, unforeseen issues can arise during or after installation. Here are some common problems and their potential solutions.
Boot Failures and USB Problems
- PC won’t boot from USB:
- Check Boot Order: Re-enter your UEFI/BIOS and ensure the USB drive is selected as the primary boot device.
- Secure Boot/Fast Boot: Make sure these are disabled in your UEFI/BIOS settings.
- USB Port: Try a different USB port (especially a USB 2.0 port if using an older motherboard).
- Re-flash USB: The ISO might be corrupted, or the flash wasn’t successful. Re-download the ISO and flash the USB again using a reliable tool like Ventoy or Etcher.
- ISO Integrity: Verify the downloaded ISO’s checksum against the official one (if provided) to ensure it wasn’t corrupted during download.
- “No bootable device found” after installation:
- Remove USB: Ensure you removed the USB drive after installation.
- UEFI/BIOS Settings: Check if your UEFI/BIOS boot order now correctly lists “Bazzite” or “Fedora” as the primary boot option.
- EFI Partition: If you manually partitioned, ensure the
/boot/efipartition was correctly set as FAT32, marked as a boot/EFI partition, and mounted to/boot/efiduring installation.
Driver-Related Glitches and Performance Woes
- No Display/Low Resolution after Install:
- NVIDIA Users: If you installed the non-NVIDIA Bazzite ISO on an NVIDIA card, you might encounter issues. Reboot and try to select an X11 session if available. The best solution is to re-install using the NVIDIA-specific Bazzite ISO.
- Generic: Ensure your monitor cables are securely connected. Sometimes, a reboot can resolve display issues.
- Stuttering or Poor Game Performance:
- Drivers: Verify your graphics drivers are correctly installed and up-to-date. (See “Installing Graphics Drivers” section).
- Proton Version: Try different Proton versions (including Proton GE) for specific games using ProtonUp-Qt. Some games perform better with older or experimental versions.
- Shader Caching: Ensure Steam’s shader pre-caching is enabled.
- Power Settings: Set your system to “Performance” mode.
- Wayland/X11: Experiment with switching between Wayland and X11 sessions from the login screen. While Wayland is generally better, some older games or applications might prefer X11.
- Game-Specific Settings: Reduce in-game graphics settings.
- Sound Issues:
- Check your system’s sound settings to ensure the correct output device is selected.
- Install additional audio codecs if necessary.
Seeking Community Support
If you encounter persistent issues, don’t hesitate to seek help from the Bazzite community:
- Official Bazzite Website/Discord: Look for links to their official Discord server, which is often the most active place for real-time support.
- Fedora Forums/Subreddit: As Bazzite is based on Fedora, many general Fedora troubleshooting tips might apply.
- Linux Gaming Subreddits/Forums: Communities like r/linux_gaming are excellent resources for general Linux gaming issues.
When asking for help, provide as much detail as possible: your hardware specifications (CPU, GPU, RAM), the exact issue, error messages, and any steps you’ve already tried.
Installing Bazzite on your PC opens up a world of optimized Linux gaming, offering a stable, high-performance, and feature-rich environment. While the initial setup might require a bit of attention, the rewards in terms of gaming satisfaction and system reliability are well worth the effort. With this guide, you now have the knowledge to successfully install Bazzite and begin your journey into a seamless Linux gaming experience. Enjoy your games!
aViewFromTheCave is a participant in the Amazon Services LLC Associates Program, an affiliate advertising program designed to provide a means for sites to earn advertising fees by advertising and linking to Amazon.com. Amazon, the Amazon logo, AmazonSupply, and the AmazonSupply logo are trademarks of Amazon.com, Inc. or its affiliates. As an Amazon Associate we earn affiliate commissions from qualifying purchases.