
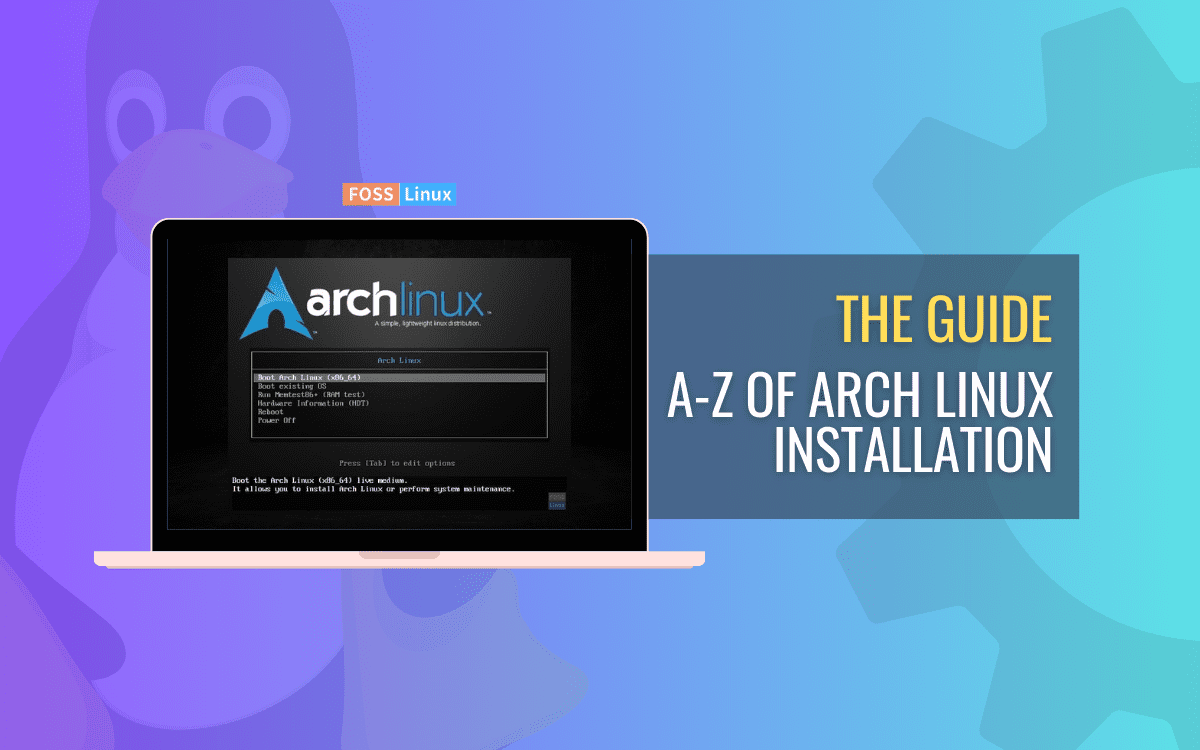
Welcome to the world of Arch Linux, a distribution renowned for its simplicity, minimalism, and the profound control it grants its users. Unlike many other Linux distributions that aim to be immediately user-friendly with graphical installers and pre-configured environments, Arch Linux offers a unique, hands-on installation process. This approach, while initially daunting for newcomers, is precisely what empowers users with an unparalleled understanding of their system from the ground up.
This guide is designed for intermediate to advanced Linux users, developers, and tech enthusiasts who are eager to delve deeper into the mechanics of their operating system. If you’re looking for a distribution that provides a rolling release model, a vast software repository, and the ultimate customization potential, Arch Linux is an excellent choice. By building your system piece by piece, you gain insights into how each component functions, leading to a leaner, faster, and more secure environment perfectly tailored to your productivity needs. This mastery over your system isn’t just about technical prowess; it’s about crafting a digital workspace that truly reflects your specific workflow, a testament to your technical “brand.”
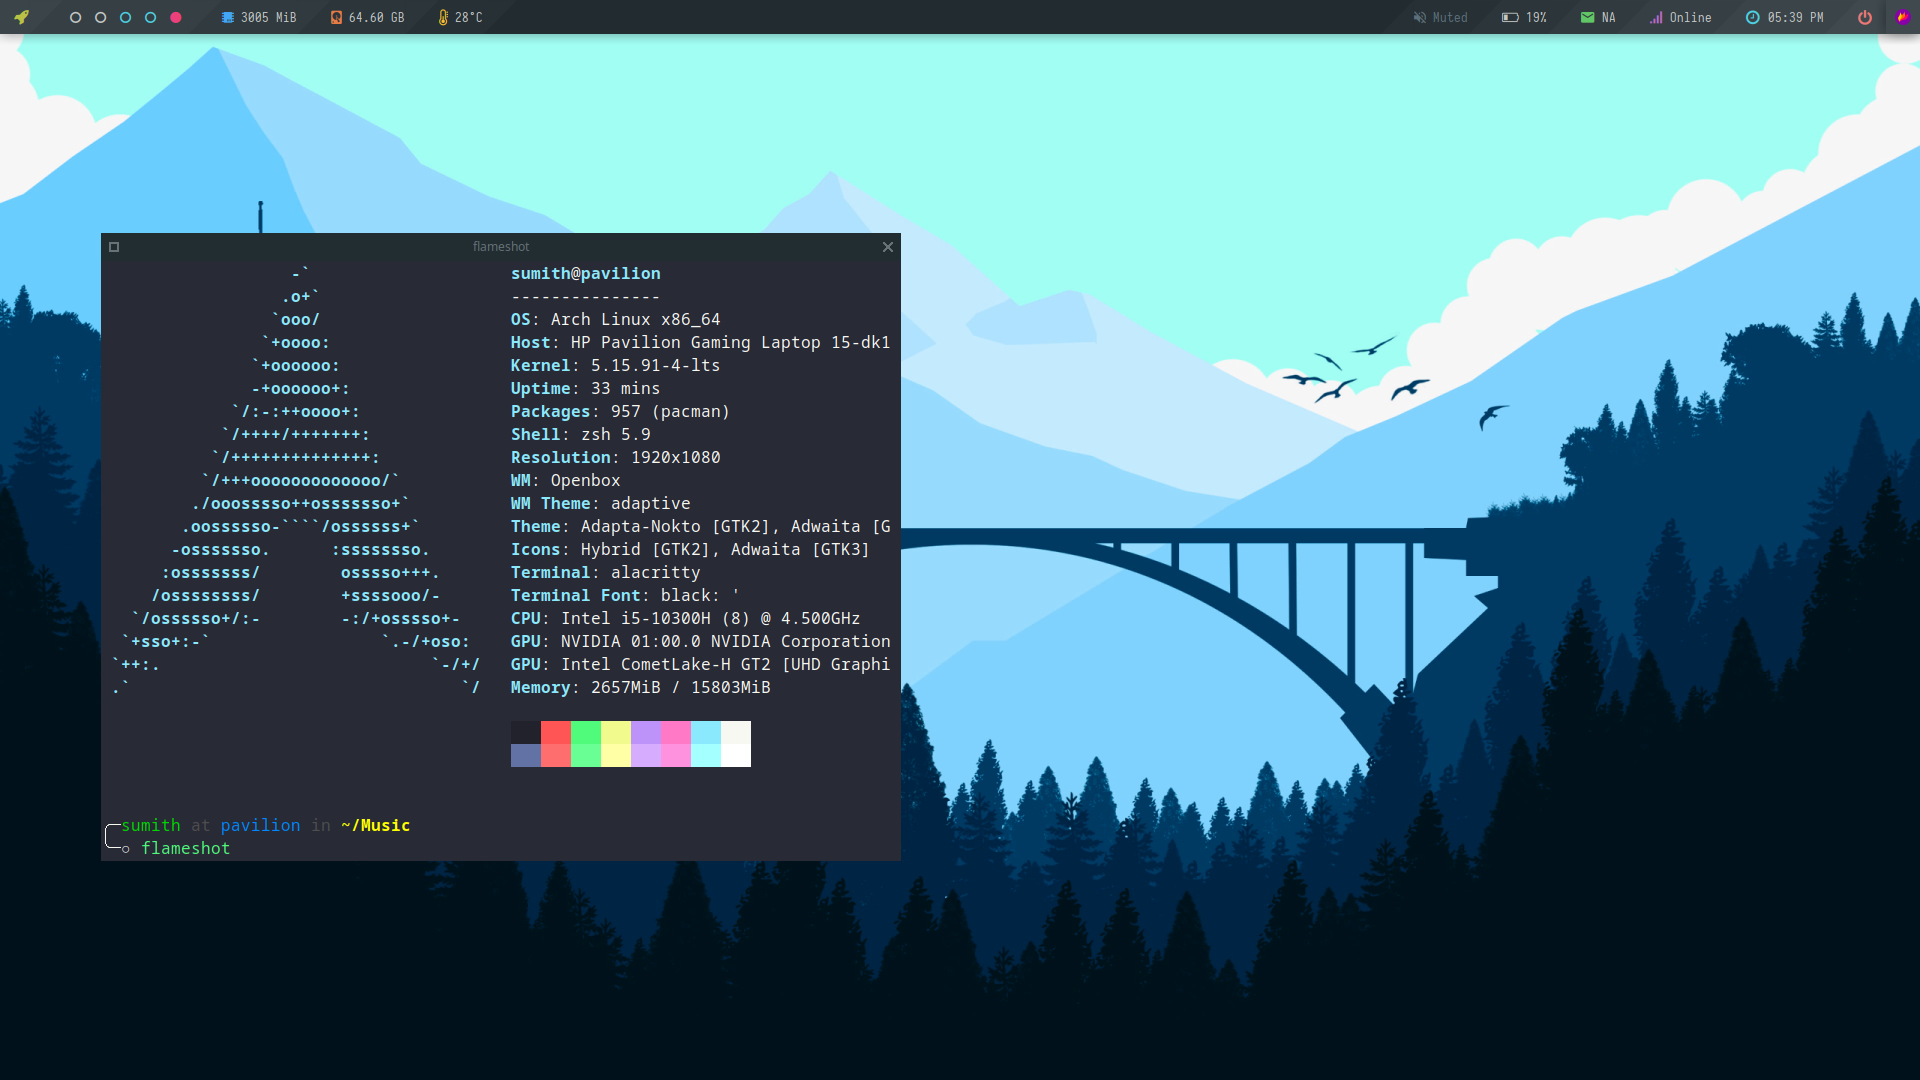
We’ll navigate through each critical step, from preparing your installation media to configuring your bootloader and setting up a desktop environment. While the process may seem extensive, the reward is a powerful, efficient, and deeply personal operating system. Let’s embark on this journey to build your ideal Arch Linux machine.
I. Laying the Foundation: Pre-Installation Essentials
Before we begin the actual installation, meticulous preparation is key. This initial phase ensures that your system is ready, your internet connection is stable, and your disk partitioning strategy is sound.
A. Gathering Your Tools: Preparing the Installation Media
The first step involves obtaining the Arch Linux installation image and preparing a bootable USB drive.
-
Download the Arch Linux ISO: Visit the official Arch Linux website (archlinux.org) and download the latest ISO image. It’s crucial to also download the corresponding PGP signature file (
.sig) to verify the integrity and authenticity of the ISO.- Tech Tip: Always verify the downloaded ISO using
gpg --keyserver hkps://keys.archlinux.org --recv-keys <key_id>(replace<key_id>with the key ID from the signature file) and thengpg --verify archlinux-*-x86_64.iso.sig. This step is a critical digital security practice to ensure your installation media hasn’t been tampered with.
- Tech Tip: Always verify the downloaded ISO using
-
Create a Bootable USB Drive:
- On Linux: The
ddcommand is a powerful tool. Replace/dev/sdXwith your USB drive’s device name (e.g.,/dev/sdb), being extremely careful not to choose your main hard drive.
bash

sudo dd bs=4M if=/path/to/archlinux-*.iso of=/dev/sdX status=progress && sync
- On Windows/macOS: Tools like Etcher (balenaEtcher) provide a user-friendly graphical interface for creating bootable USB drives safely.
- On Linux: The
-
Understand Boot Modes (UEFI vs. BIOS): Modern systems use UEFI (Unified Extensible Firmware Interface), while older ones use BIOS (Basic Input/Output System). Your installation process will slightly differ based on this, particularly concerning disk partitioning and bootloader setup. Knowing your system’s boot mode beforehand prevents common pitfalls. Most modern systems will default to UEFI.
B. Initial Boot-up and Connectivity
With your bootable media ready, it’s time to boot into the Arch Linux live environment.
- Boot from USB: Restart your computer and access your BIOS/UEFI settings (usually by pressing F2, F10, F12, or Del during startup) to select your USB drive as the primary boot device.
- Verify Boot Mode: Once booted into the Arch Linux prompt, confirm your boot mode:
- UEFI: If
ls /sys/firmware/efi/efivarsshows a directory listing, you are in UEFI mode. - BIOS: If the command returns an error or nothing, you are likely in BIOS (or CSM/Legacy) mode.
- UEFI: If
- Connect to the Internet: A stable internet connection is absolutely essential for downloading packages during installation.
- Wired (Ethernet): Typically, a wired connection is automatically configured via DHCP. You can test it with
ping google.com. If not, rundhcpcd. - Wireless (Wi-Fi): Use the
iwctlutility.
bash

iwctl

device list # Identify your Wi-Fi device (e.g., wlan0)

station wlan0 scan

station wlan0 get-networks # List available networks

station wlan0 connect "Your_SSID" # Connect to your network

# Enter password when prompted.

exit # Exit iwctl
- Test Connection: Again,
ping google.comto confirm connectivity.
- Wired (Ethernet): Typically, a wired connection is automatically configured via DHCP. You can test it with
- Update the System Clock: Accurate time synchronization is important for system stability and package validation.
bash

timedatectl set-ntp true
This command ensures that your system clock is synchronized with network time servers.
C. Strategic Disk Partitioning and Formatting
This is arguably the most critical step. A well-thought-out partitioning scheme is vital for performance, organization, and potential future upgrades.
- Identify Your Disk: Use
lsblkto list all available storage devices and their partitions. Identify your target hard drive (e.g.,/dev/sda,/dev/nvme0n1). - Choose a Partitioning Tool:
fdisk: For MBR (BIOS) partitioning.gdisk: For GPT (UEFI) partitioning, recommended for modern systems.cfdiskorparted: More user-friendly graphical interfaces for both MBR and GPT.- For this guide, we’ll assume a modern UEFI system using
gdiskfor GPT partitioning.
- Partition Scheme Recommendations (UEFI/GPT):
/dev/sdX1: EFI System Partition (ESP) – Minimum 300MB, FAT32 filesystem. This is essential for UEFI booting./dev/sdX2: Root Partition (/) – Minimum 20GB, recommended 50GB or more,ext4filesystem. This is where your entire Arch Linux system will reside./dev/sdX3: Swap Partition (optional) – Equal to or twice your RAM, or simply 4GB-8GB. Activated during installation, it acts as virtual memory. If you have plenty of RAM (16GB+), you might consider a swap file after installation instead of a dedicated partition./dev/sdX4: Home Partition (/home) – The rest of your disk space,ext4filesystem. Separating/homeallows you to reinstall the operating system without losing your personal data.
- Creating Partitions with
gdisk(Example for/dev/sda):
bash

gdisk /dev/sda

# Command: o (create new GPT partition table)

# Command: n (new partition)

#   Partition number: 1

#   First sector: default

#   Last sector: +512M (for 512MB EFI)

#   Hex code: ef00 (EFI System)

# Command: n (new partition)

#   Partition number: 2

#   First sector: default

#   Last sector: +60G (for 60GB root)

#   Hex code: 8300 (Linux filesystem)

# Command: n (new partition - for swap, e.g., 8GB)

#   Partition number: 3

#   First sector: default

#   Last sector: +8G

#   Hex code: 8200 (Linux swap)

# Command: n (new partition - for home, remaining space)

#   Partition number: 4

#   First sector: default

#   Last sector: default

#   Hex code: 8300 (Linux filesystem)

# Command: w (write table to disk and exit)

# Confirm with 'Y'
- Format Partitions: Now, apply the chosen filesystems to your newly created partitions.
bash

mkfs.fat -F 32 /dev/sda1   # EFI System Partition

mkfs.ext4 /dev/sda2        # Root Partition

mkswap /dev/sda3           # Swap Partition

swapon /dev/sda3           # Activate Swap

mkfs.ext4 /dev/sda4        # Home Partition
- Productivity Tip: While
ext4is reliable, considerbtrfsfor advanced features like snapshots and subvolumes, which can enhance data recovery and system flexibility, albeit with a steeper learning curve.
- Productivity Tip: While
- Mount the File Systems: This step makes your new partitions accessible to the live environment.
bash

mount /dev/sda2 /mnt         # Mount root partition

mkdir -p /mnt/boot/efi       # Create directory for EFI

mount /dev/sda1 /mnt/boot/efi  # Mount EFI partition

mkdir /mnt/home              # Create directory for home

mount /dev/sda4 /mnt/home    # Mount home partition
Double-check your mounts withlsblkordf -h. Incorrect mounting is a common source of installation issues.
II. Building the Core: Installing the Arch Base System
With your partitions prepared and mounted, we can now install the fundamental components of your Arch Linux system. This minimalist approach ensures that you only install what you truly need, reducing bloat and enhancing performance.
A. Installing Essential Packages
The pacstrap script is your primary tool here. It installs the base Arch Linux packages into your newly mounted root partition.
- Install Base Packages:
bash

pacstrap /mnt base linux linux-firmware
base: The minimal set of packages required to run Arch Linux.linux: The Arch Linux kernel.linux-firmware: Firmware files required for various hardware devices.- Tech Insight: Before running
pacstrap, you might want to edit/etc/pacman.d/mirrorliston the live environment to uncomment faster mirrors closer to your geographical location. This can significantly speed up package downloads.
- Install Essential Utilities: It’s wise to install a text editor, network utilities, and possibly
sudoat this stage, so they are available immediately after youchroot.
bash

pacstrap /mnt nano vim networkmanager sudo dhcpcd
nanoorvim: Essential for editing configuration files.networkmanager: A robust network management daemon, highly recommended for easier network configuration post-installation.sudo: Necessary for granting administrative privileges to regular users later.
B. Configuring the File System Table (fstab)
The fstab file (/etc/fstab) tells your system how to mount file systems at boot time. Generating it correctly is critical for your system to start properly.
- Generate
fstab:
bash

genfstab -U /mnt >> /mnt/etc/fstab
The-Uoption generates entries using UUIDs (Universally Unique Identifiers) for your partitions, which is more robust than using device names (like/dev/sda2) as device names can change. - Verify
fstab:
bash

cat /mnt/etc/fstab
Inspect the output carefully. Ensure all your partitions (root, EFI, home, swap) are listed correctly with the right mount points and filesystem types. Look forrw(read-write) anddefaultsoptions.
III. Customizing Your Environment: Post-Installation Configuration
Now that the core system is installed, we need to chroot into it and perform essential configurations that define your specific system’s identity and functionality.
A. Entering the New System and Setting Locale
- Chroot into the New System:
bash

arch-chroot /mnt
This command changes the root directory to your newly installed Arch system, allowing you to configure it as if you were already booted into it. - Set Time Zone:
bash

ln -sf /usr/share/zoneinfo/Region/City /etc/localtime

hwclock --systohc
ReplaceRegion/Citywith your specific time zone (e.g.,America/New_York). Thehwclockcommand sets the hardware clock to UTC. - Localization:
- Generate Locales: Uncomment your desired locales in
/etc/locale.gen(e.g.,en_US.UTF-8 UTF-8).
bash

nano /etc/locale.gen

locale-gen
- Set Default Locale: Create
/etc/locale.confand specify your default locale.
bash

echo "LANG=en_US.UTF-8" > /etc/locale.conf
- Console Keyboard Layout (Optional): If you need a specific keyboard layout for the console, create
/etc/vconsole.conf(e.g.,KEYMAP=de).
- Generate Locales: Uncomment your desired locales in
B. Network and User Management
- Network Configuration:
- Set Hostname: Choose a unique name for your computer.
bash

echo "myarchlinux" > /etc/hostname
- Configure Hosts File: Edit
/etc/hoststo associate your hostname with your local IP addresses.
bash

nano /etc/hosts

# Add the following lines:

# 127.0.0.1   localhost

# ::1         localhost

# 127.0.1.1   myarchlinux.localdomain myarchlinux
- Enable NetworkManager: Since we installed
networkmanagerearlier, enable its service.
bash

systemctl enable NetworkManager
This ensures your network connection is managed automatically after reboot.
- Set Hostname: Choose a unique name for your computer.
- Set Root Password: This is crucial for securing your system.
bash

passwd
Enter a strong, unique password when prompted. - Create a New User: Running as root constantly is a security risk. Create a regular user account for daily use.
bash

useradd -m -G wheel,users,audio,video,storage your_username

passwd your_username
Replaceyour_usernamewith your desired username. The-mflag creates the user’s home directory, and-G wheel,...adds the user to the specified groups, includingwheelforsudoaccess.- Digital Security Tip: The
wheelgroup is conventionally used for users who can executesudocommands.
- Digital Security Tip: The
- Configure
sudo: To allow your new user to run commands with administrative privileges, you need to configuresudo.
bash

EDITOR=nano visudo
Uncomment the line%wheel ALL=(ALL) ALL. This allows members of thewheelgroup to execute any command as any user. Save and exit.
C. Installing the Bootloader
The bootloader is responsible for loading the Linux kernel when your system starts. For UEFI systems, GRUB is a common and robust choice.
- Install GRUB and
efibootmgr:
bash

pacman -S grub efibootmgr
efibootmgris essential for managing UEFI boot entries. - Install GRUB to ESP:
bash

grub-install --target=x86_64-efi --efi-directory=/boot/efi --bootloader-id=ArchLinux --removable
--target=x86_64-efi: Specifies UEFI mode for 64-bit systems.--efi-directory=/boot/efi: Points to your EFI System Partition.--bootloader-id=ArchLinux: Creates a boot entry labeled “ArchLinux” in your UEFI firmware.--removable: (Optional, but often recommended for virtual machines or systems with problematic UEFI implementations) Installs a fallback bootloader path.
- Generate GRUB Configuration File:
bash

grub-mkconfig -o /boot/grub/grub.cfg
This command scans your system for operating systems and generates thegrub.cfgfile, which GRUB uses to present boot options.
IV. Final Touches and Beyond: Desktop and Productivity Enhancements
You’ve done the heavy lifting! The core Arch system is installed and configured. Now, it’s time to personalize your environment and add the components that will make your Arch Linux installation truly productive and enjoyable.
A. Exiting Chroot, Unmounting, and Rebooting
Before you reboot, gracefully exit the chroot environment and unmount your partitions.
- Exit
chroot:
bash

exit
- Unmount Partitions: It’s good practice to unmount all partitions before rebooting.
bash

umount -R /mnt
- Reboot Your System:
bash

reboot
Remember to remove the USB installation medium from your computer as it reboots, or ensure your boot order prioritizes your hard drive. If all steps were followed correctly, you should be greeted by the GRUB bootloader, and then the Arch Linux login prompt. Congratulations!
B. Setting Up Your Desktop Environment (Optional but Recommended)
A graphical environment is essential for most users. Arch Linux offers complete freedom to choose your preferred desktop environment (DE) or window manager (WM).
- Install a Display Server (Xorg): The X Window System (Xorg) is the foundation for most graphical environments on Linux.
bash

sudo pacman -S xorg
- Install Graphics Drivers: Proper graphics drivers are crucial for performance and display functionality.
- Open-source:
sudo pacman -S mesa(for AMD/Intel integrated graphics). - NVIDIA: Follow the Arch Wiki for NVIDIA drivers, as it can be more involved (
nvidia,nvidia-utils,nvidia-settings). - Intel: Generally covered by
mesaand thexf86-video-intelpackage.
- Open-source:
- Choose and Install a Desktop Environment (DE):
- GNOME: A modern, user-friendly, and highly polished DE.
bash

sudo pacman -S gnome gnome-extra

sudo systemctl enable gdm # GDM is GNOME's display manager
- KDE Plasma: A highly customizable and feature-rich DE.
bash

sudo pacman -S plasma kde-applications

sudo systemctl enable sddm # SDDM is KDE Plasma's display manager
- XFCE: A lightweight, fast, and stable DE, excellent for older hardware or minimalists.
bash

sudo pacman -S xfce4 xfce4-goodies

sudo systemctl enable lightdm # LightDM is a common display manager for XFCE
- Productivity & Brand: Your choice of DE heavily influences your daily productivity. GNOME offers a streamlined workflow, KDE provides unparalleled customization, and XFCE prioritizes speed and efficiency. Selecting one that aligns with your work style is part of building your personalized computing “brand.”
- GNOME: A modern, user-friendly, and highly polished DE.
- Reboot: After installing your DE and enabling its display manager, reboot for the changes to take effect. You should now be greeted by a graphical login screen.
C. Essential Utilities and Optimizations
With your desktop environment running, you can now install common applications and perform further optimizations.
- Sound Configuration:
- PulseAudio (Older but common):
bash

sudo pacman -S pulseaudio pulseaudio-alsa
- PipeWire (Newer, recommended): A modern audio/video server.
bash

sudo pacman -S pipewire pipewire-alsa pipewire-pulse pipewire-jack wireplumber

sudo systemctl --user enable pipewire pipewire-pulse wireplumber
- Test Sound: Ensure sound is working by playing some audio or running
aplay /usr/share/sounds/alsa/Front_Center.wav(ifalsa-utilsis installed).
- PulseAudio (Older but common):
- Install a Web Browser:
bash

sudo pacman -S firefox # Or chromium, brave, etc.
- Terminal Utilities:
bash

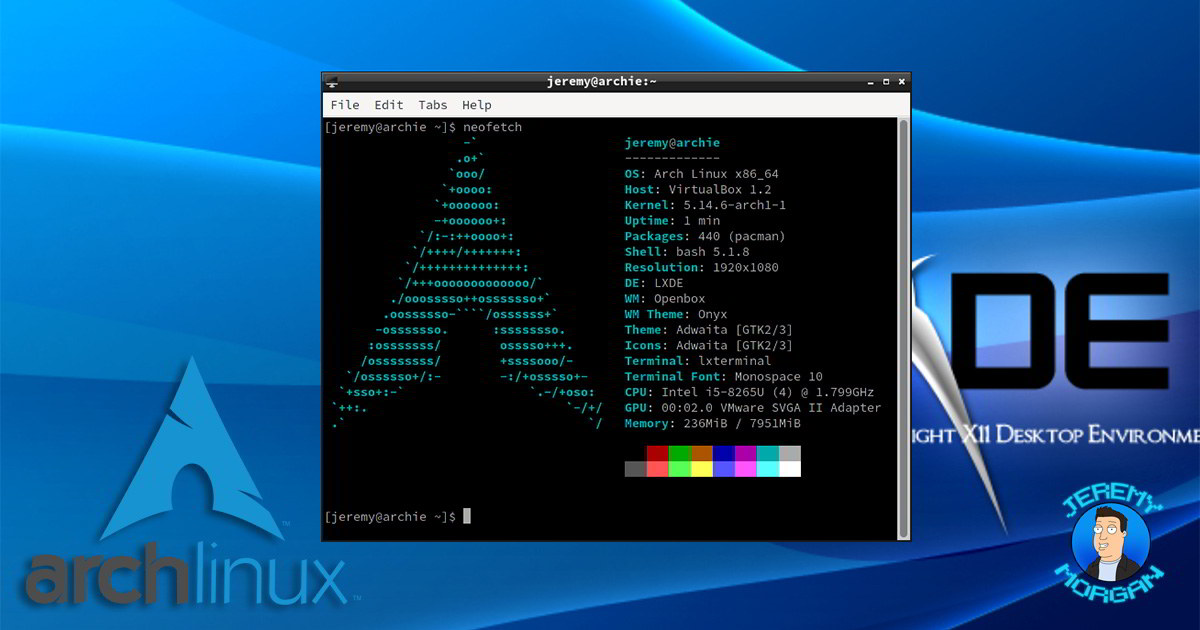
sudo pacman -S htop neofetch vim git tmux
These tools enhance your command-line productivity. - Enable Firewall (Digital Security): A firewall is crucial for protecting your system from unauthorized access.
UFW(Uncomplicated Firewall) is a user-friendly frontend foriptables.
bash

sudo pacman -S ufw

sudo ufw enable

sudo ufw allow ssh # If you plan to use SSH

sudo ufw status verbose
- Enable SSH Server (Optional): If you need to access your Arch system remotely.
bash

sudo pacman -S openssh

sudo systemctl enable sshd

sudo systemctl start sshd
- Digital Security Tip: Always configure SSH with key-based authentication and disable password login for enhanced security.
- Kernel Headers: Important for building kernel modules (e.g., VirtualBox Guest Additions, certain proprietary drivers).
bash

sudo pacman -S linux-headers
- Optimize
pacman:- Parallel Downloads: Edit
/etc/pacman.confand uncommentParallelDownloads = 5(or your preferred number) to speed up package downloads. - AUR Helper: Consider installing an AUR (Arch User Repository) helper like
yayorparuto easily install community-contributed packages. (Requires manual compilation initially, as it’s not in the official repositories.)
- Parallel Downloads: Edit
Conclusion
You have successfully installed and configured Arch Linux from scratch! This journey, while demanding, grants you an unparalleled understanding of your operating system. From managing partitions to configuring the bootloader and setting up your preferred desktop environment, every step has contributed to a system that is not just functional, but intimately yours.
The benefits of this process are numerous:
- Unmatched Control: You know exactly what’s on your system and how it works.
- Optimal Performance: A minimal install means no unnecessary bloat, leading to a faster, more efficient machine. This directly translates to enhanced productivity.
- Enhanced Security: A reduced attack surface due to fewer installed packages and a deeper understanding of your system’s configuration.
- Continuous Learning: Arch Linux encourages constant exploration and problem-solving, fostering a deeper technical expertise that becomes a part of your professional “brand.”
- Cost-Effectiveness: As a free and open-source operating system, Arch Linux represents a significant long-term saving compared to proprietary alternatives, enabling you to invest your money in hardware or other tools.
This is just the beginning. The Arch Linux Wiki is an invaluable resource for further customization, troubleshooting, and exploring the vast possibilities of your new system. Embrace the “Arch Way,” and continue to learn, customize, and optimize. Your personalized Arch Linux workstation is now a testament to your technical acumen, ready to power your next big project.
aViewFromTheCave is a participant in the Amazon Services LLC Associates Program, an affiliate advertising program designed to provide a means for sites to earn advertising fees by advertising and linking to Amazon.com. Amazon, the Amazon logo, AmazonSupply, and the AmazonSupply logo are trademarks of Amazon.com, Inc. or its affiliates. As an Amazon Associate we earn affiliate commissions from qualifying purchases.