The Mac ecosystem is renowned for its user-friendly interface and robust functionality. At the heart of this experience are the applications that empower you to work, create, play, and connect. While installing software on a Mac is generally straightforward, understanding the different methods and potential nuances can ensure a smooth and secure process. This guide will walk you through the primary ways to install applications on your Mac, covering everything from the most convenient App Store downloads to more traditional methods, and even touching on essential considerations for keeping your Mac secure and performing optimally.
Understanding App Installation Methods on macOS
Before diving into the step-by-step instructions, it’s beneficial to understand the general approaches Apple has designed for app installation. These methods cater to different types of applications and developer distribution strategies.
The Mac App Store: Apple’s Curated Ecosystem
The Mac App Store is the most direct and secure way to discover and install applications on your Mac. Think of it as the Apple equivalent of a digital marketplace, meticulously curated by Apple itself. This means every application available undergoes a review process, aiming to ensure a certain level of quality, security, and adherence to Apple’s guidelines.
Benefits of Using the Mac App Store:
- Security: Apps from the App Store are vetted by Apple, significantly reducing the risk of malware or unwanted software.
- Ease of Use: The interface is intuitive, making it simple to search, browse, and install applications with just a few clicks.
- Automatic Updates: Apps installed via the App Store can often be updated automatically in the background, ensuring you always have the latest features and security patches.
- One-Click Installation: Gone are the days of complex installers. With the App Store, it’s typically a single click to download and install.
How to Install Apps from the Mac App Store:
- Open the App Store: You can find the App Store icon in your Dock, or by searching for it using Spotlight (Cmd + Spacebar and type “App Store”).
- Search for Your App: Use the search bar at the top-left corner of the App Store window to find the app you’re looking for. You can also browse categories, featured apps, or charts to discover new software.
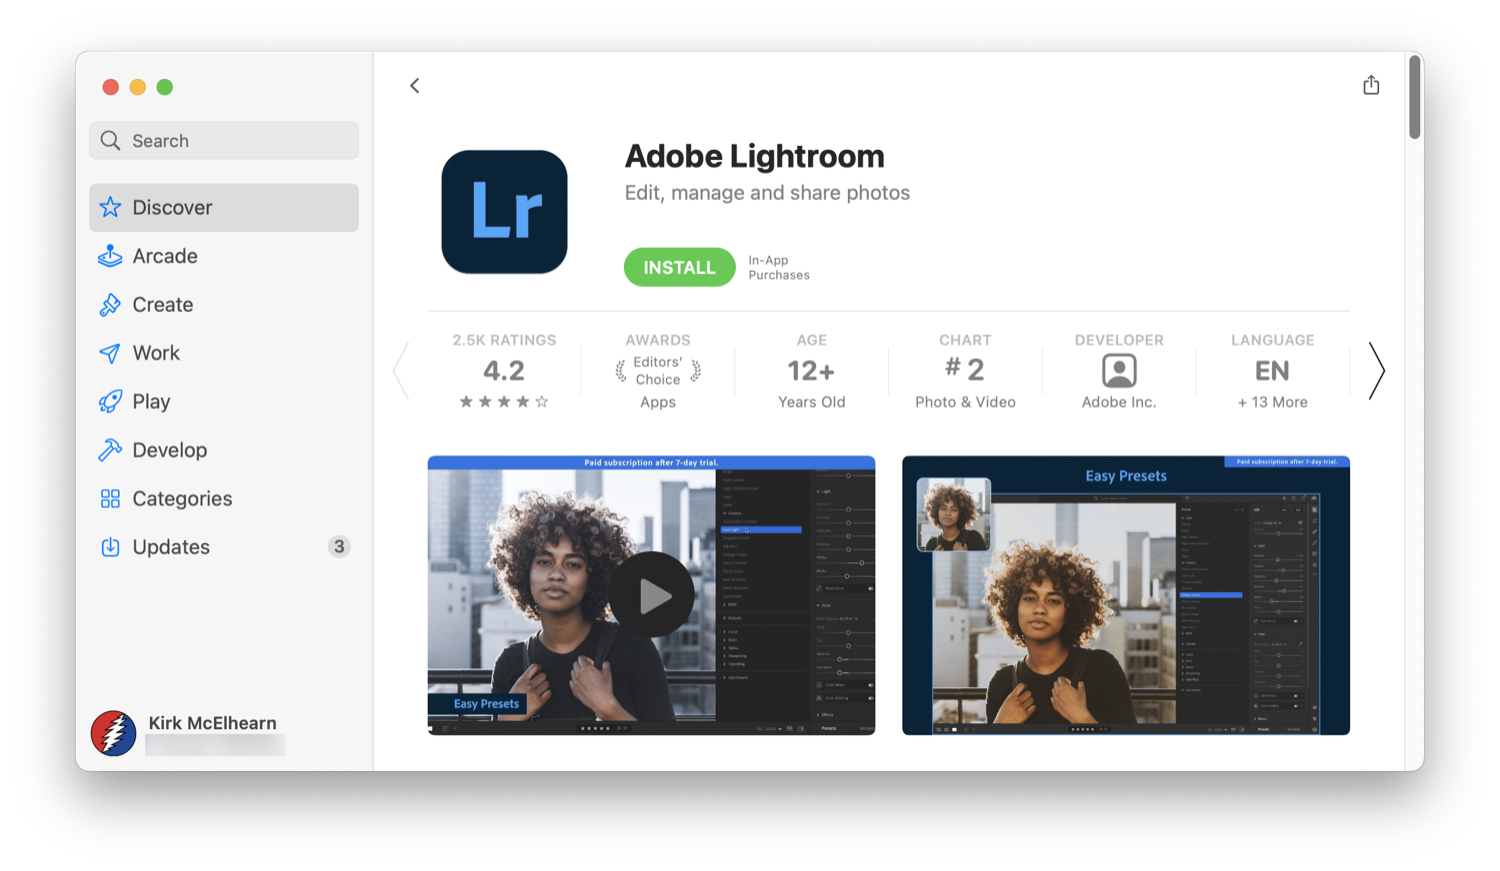
- View App Details: Click on an app to see its description, screenshots, user reviews, and system requirements.
- Click “Get” or “Buy”: If the app is free, you’ll see a “Get” button. For paid apps, it will display the price. Click the appropriate button.
- Install: For free apps, it will immediately start downloading and installing. For paid apps, you’ll be prompted to enter your Apple ID password or use Touch ID/Face ID to authorize the purchase.
- Launch the App: Once installed, the app will appear in your Applications folder and often as an icon in your Dock. You can launch it from either location.
Downloading Apps Directly from Developer Websites
While the App Store is convenient, many developers choose to distribute their applications directly from their own websites. This often gives developers more flexibility in terms of pricing, features, and update cycles. These applications are typically distributed as disk image files (.dmg).
Understanding .dmg Files:
A .dmg file is a compressed disk image that, when opened, mounts as a virtual drive on your Mac. It’s essentially a container for the application and any associated files.
How to Install Apps from .dmg Files:
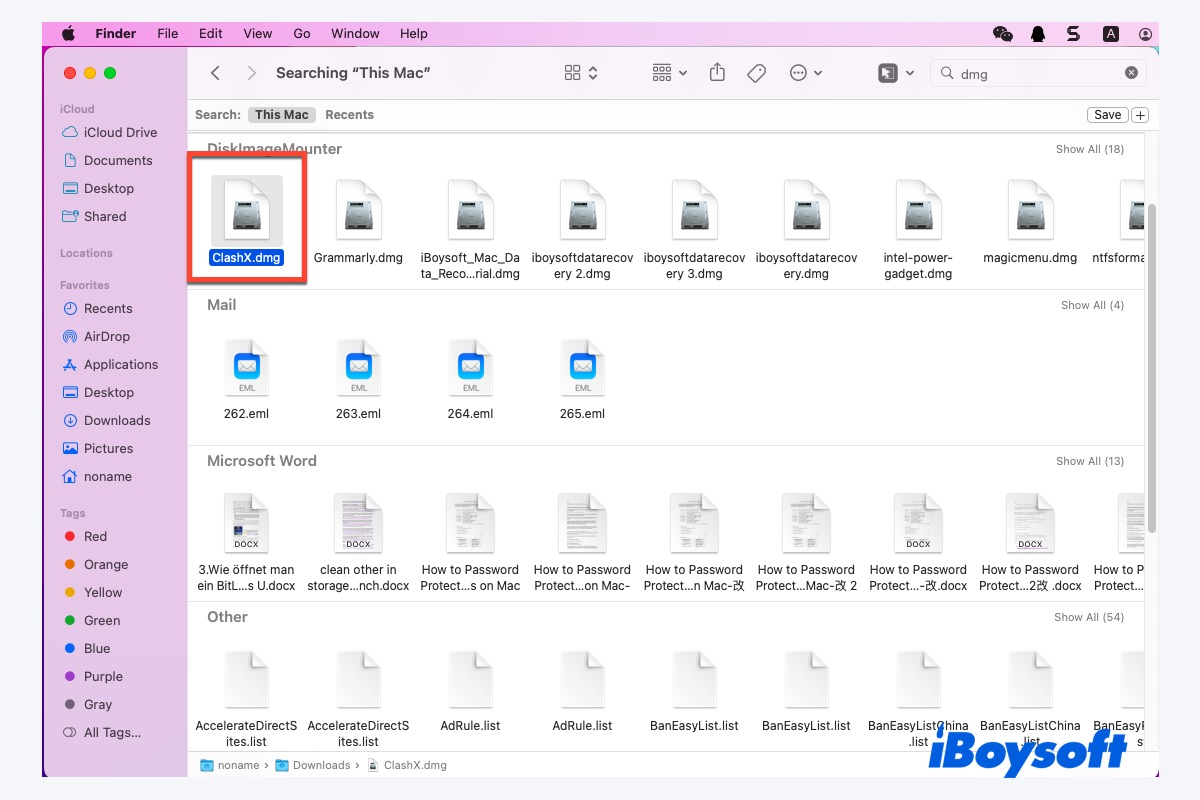
- Download the .dmg File: Navigate to the developer’s official website and locate the download link for the macOS version of the app. Click to download the .dmg file.
- Open the .dmg File: Once the download is complete, locate the .dmg file (usually in your Downloads folder). Double-click it.
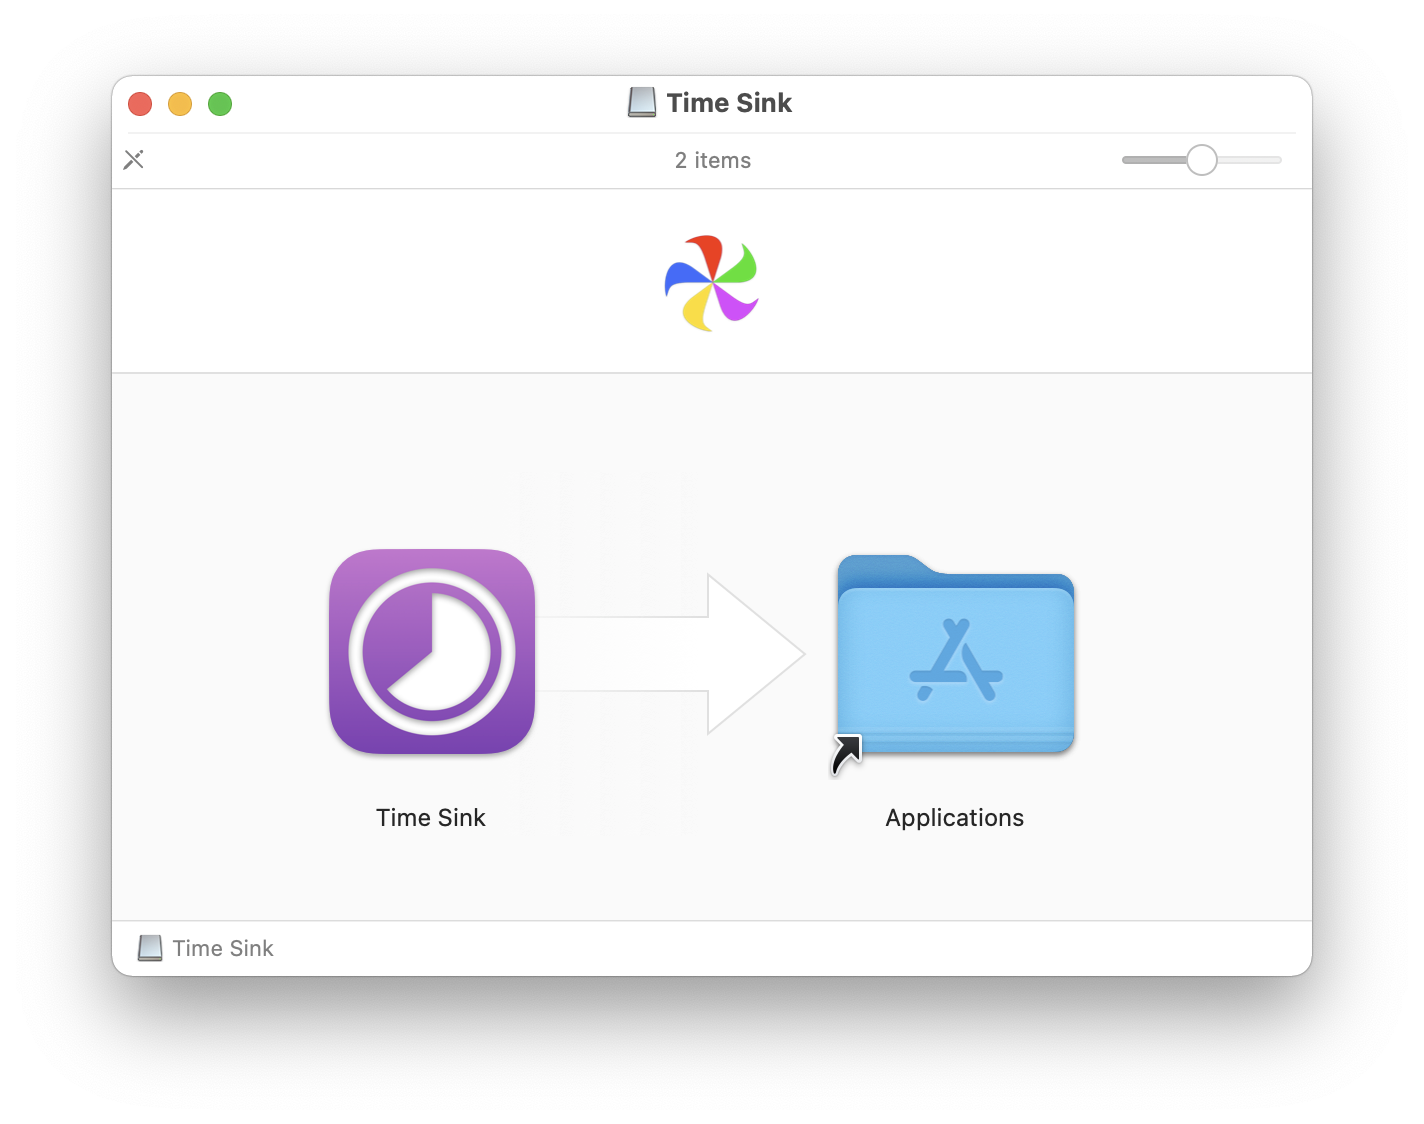
- Mount the Disk Image: The .dmg file will mount, and a new window will appear, often showing the application icon and a shortcut to your Applications folder.
- Drag to Applications Folder: The standard practice for .dmg installations is to drag the application icon from the mounted disk image window into the Applications folder shortcut provided within that window, or directly into your main Applications folder (accessible via Finder).
- Eject the Disk Image: After the application is copied, you should eject the virtual disk image. You can do this by clicking the eject icon next to the mounted disk’s name in the Finder sidebar, or by dragging its icon on your Desktop to the Trash.
- Launch the App: You can now find and launch the app from your Applications folder or by dragging its icon to your Dock.
Important Security Consideration for .dmg Files:
When downloading apps from outside the App Store, macOS has built-in security features to protect you. However, you might encounter a security warning or be unable to open the app the first time.
-
“App can’t be opened because it is from an unidentified developer.” If you see this message, it means the app wasn’t downloaded from the App Store and its developer hasn’t been identified by Apple.
-
To bypass this (use with caution):
- Go to System Settings (or System Preferences on older macOS versions).
- Navigate to Privacy & Security (or Security & Privacy).
- Scroll down to the Security section.
- You should see a message about the app you tried to open being blocked, with an option to “Open Anyway.” Click this button.
- You will be prompted to confirm that you want to open the application. Click “Open.”
-
Alternatively, you can right-click (or Control-click) on the application icon, select “Open,” and then click “Open” again in the dialog box. This tells macOS you specifically want to allow this particular application to run.
-
-
Gatekeeper: macOS has a feature called Gatekeeper, which checks apps for known malware and ensures they’re from identified developers. By default, Gatekeeper allows apps from the App Store and identified developers. You can adjust Gatekeeper settings in System Settings > Privacy & Security, but it’s generally recommended to leave these at their default settings for maximum security.
Installing Apps Using Package Managers (for advanced users)
For users who engage with more technical aspects of computing or require specific development tools, package managers offer a command-line interface for installing, updating, and managing software. Homebrew is the most popular package manager for macOS.
How to Install Apps Using Homebrew:
-
Install Homebrew: Open the Terminal application (found in Applications > Utilities, or by searching with Spotlight). Paste the following command into the Terminal and press Enter:
/bin/bash -c "$(curl -fsSL https://raw.githubusercontent.com/Homebrew/install/HEAD/install.sh)"Follow the on-screen instructions, which will include entering your administrator password.
-
Install an App: Once Homebrew is installed, you can install applications using the
brew installcommand. For example, to install the popular text editor Visual Studio Code, you would type:brew install --cask visual-studio-codeThe
--caskflag is used for graphical applications, whilebrew installwithout it is for command-line tools. -
Updating Apps: To update all your Homebrew-installed applications, run:
brew upgrade
When to Use Package Managers:
- Developers: For installing programming languages, compilers, libraries, and other development tools.
- System Administrators: For managing software on multiple machines.
- Power Users: For those who prefer a command-line workflow and want more control over their software.
Best Practices for App Installation and Management
Beyond the mechanics of installation, a few best practices will enhance your Mac experience and ensure its smooth operation and security.
Keep Your macOS Updated
Apple regularly releases updates for macOS that include new features, bug fixes, and critical security patches. Installing these updates is crucial for maintaining the stability and security of your Mac.
- How to Update: Go to System Settings (or System Preferences) > General > Software Update. Your Mac will check for available updates. If one is found, follow the prompts to download and install it.
Uninstalling Apps Properly
Just as installing apps is important, knowing how to remove them cleanly is equally vital. Simply dragging an app to the Trash doesn’t always remove all associated preference files and support data.
- For App Store Apps: Open the Launchpad (its icon is usually in your Dock). Click and hold on an app icon until they start jiggling. Click the “X” that appears over the app icon you wish to uninstall.
- For Apps Downloaded from the Web (.dmg):
- Open your Applications folder.
- Drag the application icon to the Trash.
- Empty the Trash.
- Advanced Uninstallation: For a more thorough removal, consider using third-party uninstaller applications (available both on the App Store and as standalone downloads). These tools scan for and remove associated preference files, caches, and other remnants left behind by an application.
Be Wary of “App Cleaners” and Optimizers
While the idea of an “app cleaner” or “Mac optimizer” might sound appealing, many of these tools can be more harmful than helpful. They often make aggressive changes to your system that can lead to instability, and some are even bundled with malware. Stick to the built-in macOS methods or reputable, well-researched third-party tools for uninstallation.
Regularly Review Your Installed Applications
Periodically, take a look at your Applications folder. Are there apps you haven’t used in months or even years? Uninstalling these can free up disk space and potentially reduce background processes that might be consuming resources.
Conclusion
Installing apps on your Mac is a fundamental part of customizing your computing experience. Whether you’re a beginner who relies on the Mac App Store for its simplicity and security, or an advanced user who leverages developer websites and package managers, understanding these methods ensures you can equip your Mac with the tools you need. By following best practices for installation, updates, and uninstallation, you’ll not only have a well-equipped Mac but also one that is secure, efficient, and a pleasure to use. Enjoy exploring the vast world of macOS applications!
aViewFromTheCave is a participant in the Amazon Services LLC Associates Program, an affiliate advertising program designed to provide a means for sites to earn advertising fees by advertising and linking to Amazon.com. Amazon, the Amazon logo, AmazonSupply, and the AmazonSupply logo are trademarks of Amazon.com, Inc. or its affiliates. As an Amazon Associate we earn affiliate commissions from qualifying purchases.