
Whether you’re a seasoned Mac user looking to upgrade to the latest version of Apple’s operating system or a newcomer eager to experience the renowned macOS ecosystem, the process of downloading and installing it is generally straightforward. This comprehensive guide will walk you through every step, from preparing your Mac to the final installation, ensuring a smooth and successful transition. We’ll also touch upon some essential considerations that fall under the broader umbrellas of technology and even a sprinkle of financial wisdom.
Preparing Your Mac for the macOS Upgrade
Before diving into the download and installation, proper preparation is crucial. This proactive approach minimizes the risk of data loss and ensures a seamless upgrade experience. Think of this as a vital step in your digital security and productivity journey.
Backing Up Your Mac: The Most Critical Step
The cardinal rule of any significant software update, especially an operating system, is to back up your data. While macOS upgrades are generally stable, unforeseen issues can arise. Losing your precious photos, important documents, or creative projects is a scenario no one wants to face.
Why Back Up?
- Data Recovery: In the unlikely event of an installation failure or data corruption, a backup is your lifeline.
- System Rollback: If you encounter compatibility issues with your existing software or hardware after the upgrade, a backup allows you to revert to your previous macOS version.
- Peace of Mind: Knowing your data is safe provides invaluable peace of mind throughout the upgrade process.
How to Back Up:
Apple offers a user-friendly built-in solution: Time Machine.
- Connect an External Drive: You’ll need an external hard drive with sufficient storage space to hold your entire Mac’s data. Apple recommends a drive at least twice the size of your Mac’s storage.
- Open Time Machine: Navigate to System Settings (or System Preferences on older macOS versions) > General > Time Machine.
- Select Backup Disk: Click “Add Backup Disk” or “Select Backup Disk” and choose your external drive.
- Automated Backups: Time Machine will automatically start creating hourly backups for the past 24 hours, daily backups for the past month, and weekly backups for all previous months. You can customize this frequency.
- Manual Backups: You can also initiate a manual backup by selecting “Back Up Now” from the Time Machine menu in the menu bar.
Other Backup Options:
While Time Machine is the recommended method, other options exist:
- Cloud Storage Services: Services like iCloud Drive, Google Drive, Dropbox, and OneDrive can sync your important files to the cloud. However, these are primarily for file syncing, not a full system backup.
- Third-Party Backup Software: Various third-party applications offer more advanced backup features, including disk imaging and incremental backups. Research and choose a reputable option if you require more specialized backup capabilities.
Checking System Requirements
Before you even think about downloading, ensure your Mac is compatible with the macOS version you intend to install. Apple periodically updates its hardware requirements, meaning older Macs might not support the latest operating system.
Where to Find System Requirements:
- Apple’s Official Website: The most reliable source for system requirements is Apple’s official macOS support pages. Search for the specific macOS version (e.g., “macOS Sonoma system requirements”).
- App Store: When you attempt to download macOS from the App Store, it will usually warn you if your Mac is incompatible.
General Compatibility Factors:
- Mac Model: Newer Mac models are generally more likely to be compatible.
- Processor: Certain macOS versions require specific Intel processors or Apple Silicon (M1, M2, etc.).
- RAM: Sufficient RAM is essential for smooth operation, and newer macOS versions often demand more.
- Storage Space: The installation process itself requires free disk space, and you’ll want ample room for the new OS and your applications.
Freeing Up Disk Space
macOS updates, especially major ones, can be substantial downloads and require significant free space on your startup disk for the installation process. Failing to do so can lead to installation errors or a sluggish system post-upgrade.
How to Free Up Space:
- Check Storage Usage: Go to System Settings (or System Preferences) > General > Storage. This provides a visual breakdown of what’s consuming your disk space.
- Delete Unnecessary Files: Go through your Downloads folder, Documents, Pictures, and other areas and delete files you no longer need.
- Empty the Trash: After deleting files, remember to empty your Trash.
- Uninstall Unused Applications: Applications can take up considerable space. Go to your Applications folder and drag unused apps to the Trash.
- Manage Large Files: Use the “Storage Management” tools within macOS to identify and manage large files, such as videos, virtual machine images, or extensive photo libraries. Consider moving these to an external drive or cloud storage.
- Clear Browser Cache and Data: Web browsers can accumulate significant cache data. Clear this regularly.
- Remove Duplicate Files: Utilize duplicate file finder apps (many are available on the App Store) to locate and remove redundant files.
Closing All Running Applications and Processes
To ensure a smooth and uninterrupted installation, it’s best practice to close all open applications before beginning the download and installation process. This prevents potential conflicts between running software and the installer.
- Quit Applications: Click on the application’s name in the menu bar and select “Quit,” or use the keyboard shortcut Command + Q.
- Check for Background Processes: Some applications have background processes that might continue running even after you quit the main application. You can use the Activity Monitor (Applications > Utilities) to identify and quit any unnecessary processes. However, be cautious when quitting processes in Activity Monitor; only terminate those you are certain are safe to close.
Downloading macOS
Once your Mac is prepared, you can proceed with downloading the macOS installer. Apple makes this process quite accessible, primarily through the Mac App Store.
Obtaining the macOS Installer from the App Store
The Mac App Store is the official and most straightforward channel for downloading macOS.
- Open the App Store: Click the App Store icon in your Dock or search for it using Spotlight (Command + Space).
- Search for macOS: In the App Store’s search bar, type the name of the macOS version you want to install (e.g., “macOS Sonoma,” “macOS Ventura”).
- Locate the Correct Application: You should see the official macOS installer listed. It will be presented as an application, often with a prominent “Get” or “Download” button.
- Initiate the Download: Click the “Get” button, and then click “Download.” You may be prompted to sign in with your Apple ID.
- Wait for the Download: The download size for macOS can be several gigabytes, so this process might take some time depending on your internet connection speed. You can monitor the download progress in the App Store or from its icon in the Dock.
Important Notes on Downloading:
- Internet Connection: A stable and reasonably fast internet connection is essential. A Wi-Fi connection is generally preferred over a wired Ethernet connection for stability.
- Power Source: Ensure your Mac is connected to a power source throughout the download and installation process. A sudden power loss could interrupt the process and lead to issues.
- App Store Account: You’ll need an Apple ID to download macOS from the App Store.
Understanding Different macOS Versions
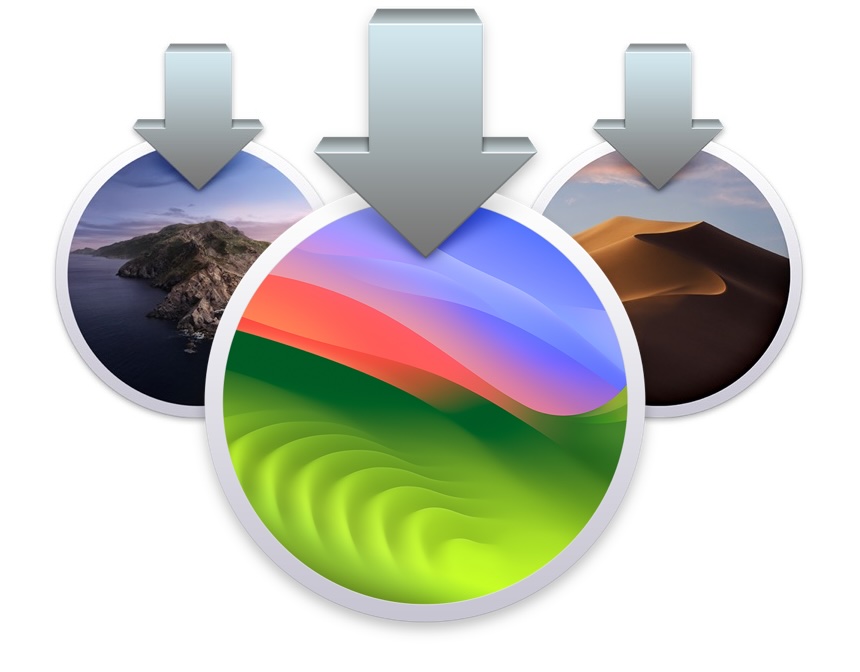
When you search the App Store, you might find different versions of macOS available. This is often because Apple keeps older, still-supported versions available for users who might need them for compatibility reasons.
- Latest Release: This is the most recent stable version of macOS. It typically offers the newest features, security updates, and performance enhancements.
- Previous Versions: Apple may continue to offer the previous one or two major macOS releases for a period. These can be useful if you have critical software or hardware that hasn’t yet been updated for the latest OS.
Choosing the Right Version:
For most users, downloading and installing the latest available version of macOS is recommended. It ensures you receive the most up-to-date security patches and benefit from the newest features. However, if you rely on older software or have specific hardware that you know isn’t compatible with the latest OS, you might consider a slightly older version. Always check compatibility before proceeding.
Installing macOS
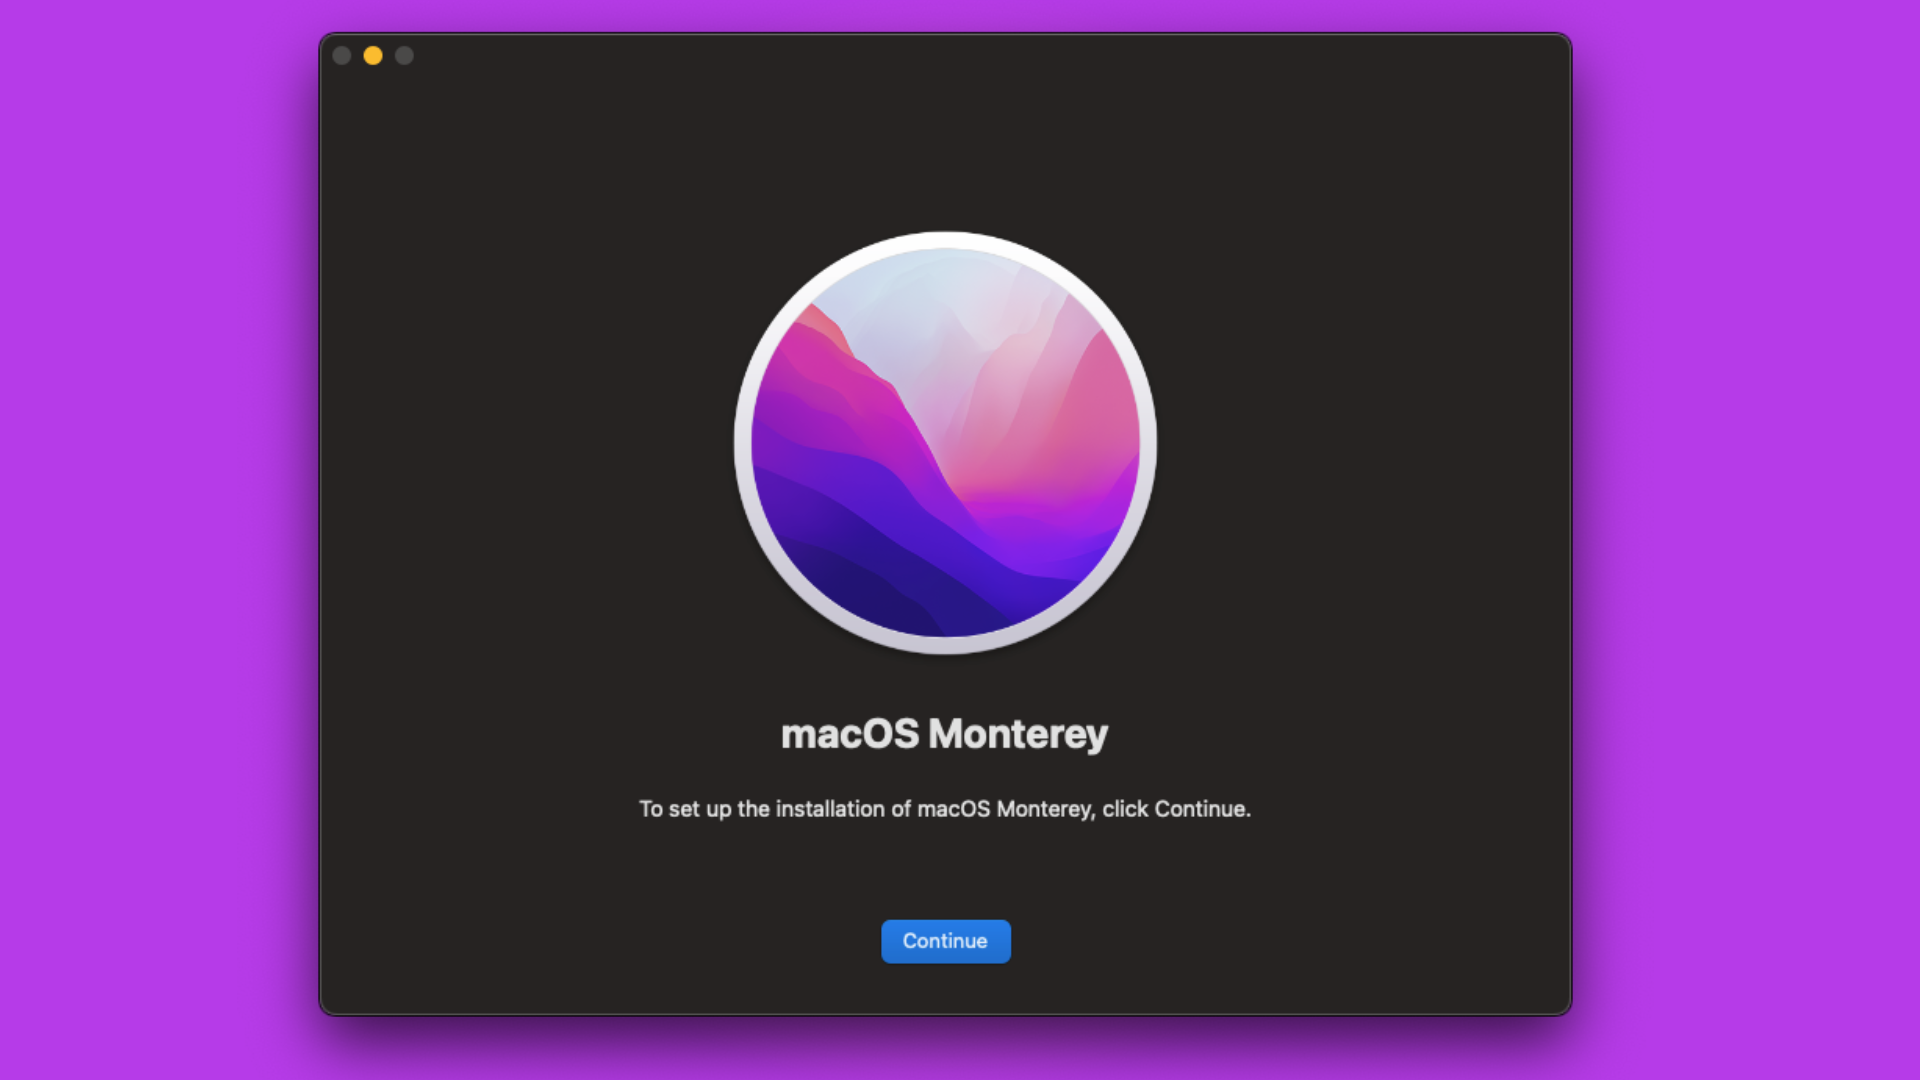
Once the macOS installer has downloaded, it will typically launch automatically, or you’ll find the installer application in your Applications folder. The installation process itself involves a series of steps that guide you through setting up the new operating system.
Running the Installer and Following On-Screen Prompts
- Launch the Installer: If the installer doesn’t launch automatically after the download, open your Applications folder and double-click the macOS installer application (e.g., “Install macOS Sonoma”).
- Agree to License Terms: You’ll be presented with the macOS software license agreement. Read it carefully and click “Agree” to proceed.
- Select Installation Destination: The installer will prompt you to choose where to install macOS. In most cases, you’ll install it on your startup disk (usually named “Macintosh HD”).
- Begin Installation: Click “Install” or “Continue.” You may be asked to enter your administrator password.
- Restart and Installation Progress: Your Mac will restart, and the installation process will begin. This is where the bulk of the work happens. You’ll see a progress bar indicating the installation status. Do not interrupt this process. Your Mac may restart several times during installation.
- Setup Assistant: Once the installation is complete, your Mac will boot into the Setup Assistant. This is where you’ll configure your new macOS environment.
Setup Assistant Steps:
- Country and Language: Select your region and preferred language.
- Wi-Fi Network: Connect to your Wi-Fi network.
- Data & Privacy: Review Apple’s privacy policy.
- Migration Assistant: This is a crucial step. You’ll have the option to transfer information from another Mac, a Time Machine backup, or a startup disk. If you backed up your previous system, this is where you’ll restore it.
- Apple ID: Sign in with your Apple ID to access iCloud services, the App Store, and other Apple features.
- Terms and Conditions: Agree to the latest terms and conditions.
- Create a Computer Account: Set up your user account with a full name, account name, and password.
- Express Set Up: Choose to enable or disable features like Siri, Apple Pay, and location services.
- Appearance: Select your preferred light or dark mode.
Troubleshooting Common Installation Issues
While macOS installations are generally reliable, occasional hiccups can occur. Being aware of common problems and their solutions can save you time and frustration.
-
Installation Stuck or Frozen:
- Wait Longer: Sometimes, the installer appears frozen but is still working in the background. Give it more time.
- Force Restart: If it’s truly stuck for an extended period (over an hour or two), you might need to force restart your Mac by holding down the power button. After restarting, the installer may resume, or you might need to re-run the installer.
- Check Disk Space: Ensure you have sufficient free disk space.
- Safe Mode: Try starting your Mac in Safe Mode, which can help identify software conflicts. To enter Safe Mode, restart your Mac and immediately press and hold the Shift key until you see the login window. Then, try running the installer.
-
“An Error Occurred While Preparing the Installation” or Similar Errors:
- Check Date and Time: Ensure your Mac’s date and time are set correctly. Go to System Settings (or System Preferences) > General > Date & Time.
- Repair Disk Permissions (Older macOS versions): On older versions of macOS, running Disk Utility and repairing disk permissions could resolve issues.
- Re-download the Installer: The installer file itself might be corrupted. Delete it from your Applications folder and download it again from the App Store.
- Internet Connection Issues: A weak or interrupted internet connection during the download phase can lead to a corrupted installer.
-
Compatibility Issues with Software or Hardware:
- Check Developer Websites: If a specific application or peripheral isn’t working after the upgrade, visit the manufacturer’s website for updates or compatibility information.
- Wait for Updates: Developers often release updates for their software shortly after a new macOS version is released.
-
Installer Not Appearing or Not Launching:
- Check Applications Folder: Ensure the installer application is in your Applications folder.
- Restart Your Mac: A simple restart can sometimes resolve minor glitches.
Post-Installation Tasks and Updates
After successfully installing macOS and completing the Setup Assistant, there are a few more steps to ensure your system is fully up-to-date and optimized. This is where your ongoing tech maintenance and digital security come into play.
-
Check for Software Updates: Even though you’ve just installed a new version of macOS, Apple often releases minor updates shortly after a major release to address bugs and security vulnerabilities.
- Go to System Settings (or System Preferences) > General > Software Update.
- If an update is available, download and install it.
-
Update Your Applications: Many of your installed applications might require updates to be fully compatible with the new macOS version.
- Open the App Store and check the “Updates” section.
- For non-App Store applications, visit the developer’s website or check within the application itself for update options.
-
Reinstall Essential Software (if necessary): In rare cases, some applications might not behave as expected after a major OS upgrade. If you encounter persistent issues with a particular app, try uninstalling it completely and then reinstalling the latest version.
-
Configure System Settings: Take some time to explore the new System Settings (or System Preferences) and customize your Mac to your liking. This includes adjusting display settings, sound preferences, privacy controls, and more.
-
Review and Organize Files: With a fresh OS, it’s a good opportunity to organize your files and declutter your digital workspace.

The Financial Aspect of Upgrading
While the macOS download and installation are technically free, there are implicit financial considerations and opportunities related to upgrading your operating system and the technology ecosystem.
- Hardware Lifespan: Upgrading your macOS can breathe new life into older hardware, potentially delaying the need for a costly new Mac purchase. This is a smart personal finance move.
- App Compatibility and Investment: Ensure your critical paid applications are compatible with the new macOS. If they aren’t, you might need to budget for updated versions or alternatives. This ties into your investment in your digital tools.
- App Store Purchases: Your Apple ID allows you to re-download apps you’ve previously purchased. This ensures you don’t have to repurchase software after an upgrade.
- Cloud Services and Storage: Depending on how you manage your data, you might need to consider if your current cloud storage plans are sufficient for your backed-up data or if you need to upgrade your subscription.
- Productivity Gains: A well-functioning, up-to-date operating system can significantly boost your productivity, which can have a positive impact on your earning potential, whether through a side hustle or your primary employment.
By following these steps, you can confidently download and install the latest version of macOS, ensuring your Mac is running smoothly, securely, and with all the latest features. Remember that preparation and patience are key to a successful upgrade experience.
aViewFromTheCave is a participant in the Amazon Services LLC Associates Program, an affiliate advertising program designed to provide a means for sites to earn advertising fees by advertising and linking to Amazon.com. Amazon, the Amazon logo, AmazonSupply, and the AmazonSupply logo are trademarks of Amazon.com, Inc. or its affiliates. As an Amazon Associate we earn affiliate commissions from qualifying purchases.