
A clean install of Windows 10 is a process that involves formatting your hard drive and installing a fresh copy of the operating system. This is a powerful way to resolve various system issues, boost performance, and start with a pristine digital environment. While the term “clean install” might sound daunting, it’s a manageable process with the right guidance. This article will walk you through the essential steps, ensuring you can effectively refresh your Windows 10 experience.
The beauty of a clean install lies in its ability to erase lingering problems. Over time, your Windows installation can accumulate clutter from uninstalled programs, leftover registry entries, temporary files, and even malware that might have evaded standard removal tools. These remnants can slow down your system, cause unexpected errors, and compromise your digital security. A clean install acts as a digital reset button, providing a fresh slate and often restoring your PC to its peak performance.

Beyond performance, a clean install is a fantastic way to prepare your computer for sale or donation. By wiping your drive completely, you ensure that your personal data is irretrievably gone, protecting your privacy. It’s also an excellent option when upgrading to a new, larger SSD or when experiencing persistent software conflicts that troubleshooting cannot resolve.
Preparing for Your Windows 10 Clean Install
Before you embark on the clean installation journey, thorough preparation is paramount. This isn’t just about downloading files; it’s about safeguarding your digital life and ensuring a smooth transition.
Backing Up Your Essential Data
The most critical step before any major system change is to back up your important data. A clean install will erase everything on your primary drive, so anything you want to keep must be moved to an external storage location. This includes:
- Documents and Personal Files: Photos, videos, music, Word documents, spreadsheets, presentations, and any other personal files stored on your desktop, in your Documents folder, Pictures, Videos, or Music libraries.
- Application Data and Settings: Some applications store crucial data and settings that you’ll want to preserve. This can include game saves, browser bookmarks and passwords (though browser sync features can often handle this), email archives, and custom configurations for certain software.
- Desktop Shortcuts and Customizations: While not strictly “data,” you might want to note down or take screenshots of your desktop layout and frequently used shortcuts for easier restoration.
External Hard Drives and Cloud Storage: The most common methods for backing up include using an external hard drive or a cloud storage service like OneDrive, Google Drive, or Dropbox. For large amounts of data, an external hard drive is often more practical and cost-effective. Ensure your backup is complete and that you can access the backed-up files before proceeding.
Gathering Your Software Licenses and Installation Media
A clean install means you’ll need to reinstall all your favorite applications. To avoid delays and potential frustration, it’s wise to gather what you need beforehand:
- Windows 10 Product Key: If your Windows 10 license is not tied to your Microsoft account or a digital entitlement on your hardware, you’ll need your product key. You can usually find this on the sticker of your PC, in your purchase confirmation email, or by using a product key finder tool (though be cautious with third-party tools). If you upgraded from a genuine Windows 7 or 8.1, Windows 10 should automatically activate upon reinstallation if you’re logged in with the same Microsoft account.
- Application Installers: Download the latest installers for your most-used software. This includes web browsers, office suites, media players, antivirus software (though Windows Defender is a capable built-in option), and any specialized programs you rely on.
- License Keys for Paid Software: For any paid applications, ensure you have their respective license keys readily available. Many software vendors provide access to these keys through their customer portals or in purchase confirmation emails.
Creating Windows 10 Installation Media
To perform a clean install, you’ll need a bootable USB drive or DVD containing the Windows 10 installation files. Microsoft provides a free tool called the “Media Creation Tool” for this purpose.
Using the Media Creation Tool:
- Download: Go to the official Microsoft Windows 10 download page and download the Media Creation Tool.
- Run the Tool: Execute the downloaded file and accept the license terms.
- Choose “Create installation media (USB flash drive, DVD, or ISO file) for another PC”: Select this option and click “Next.”
- Select Language, Edition, and Architecture: The tool will usually recommend options based on your current PC. You can uncheck “Use the recommended options for this PC” to choose different settings if needed. For most users, the default options are suitable.
- Choose Media Type: Select “USB flash drive.” You’ll need a USB drive with at least 8GB of space. Make sure there’s nothing important on the USB drive, as it will be completely erased.
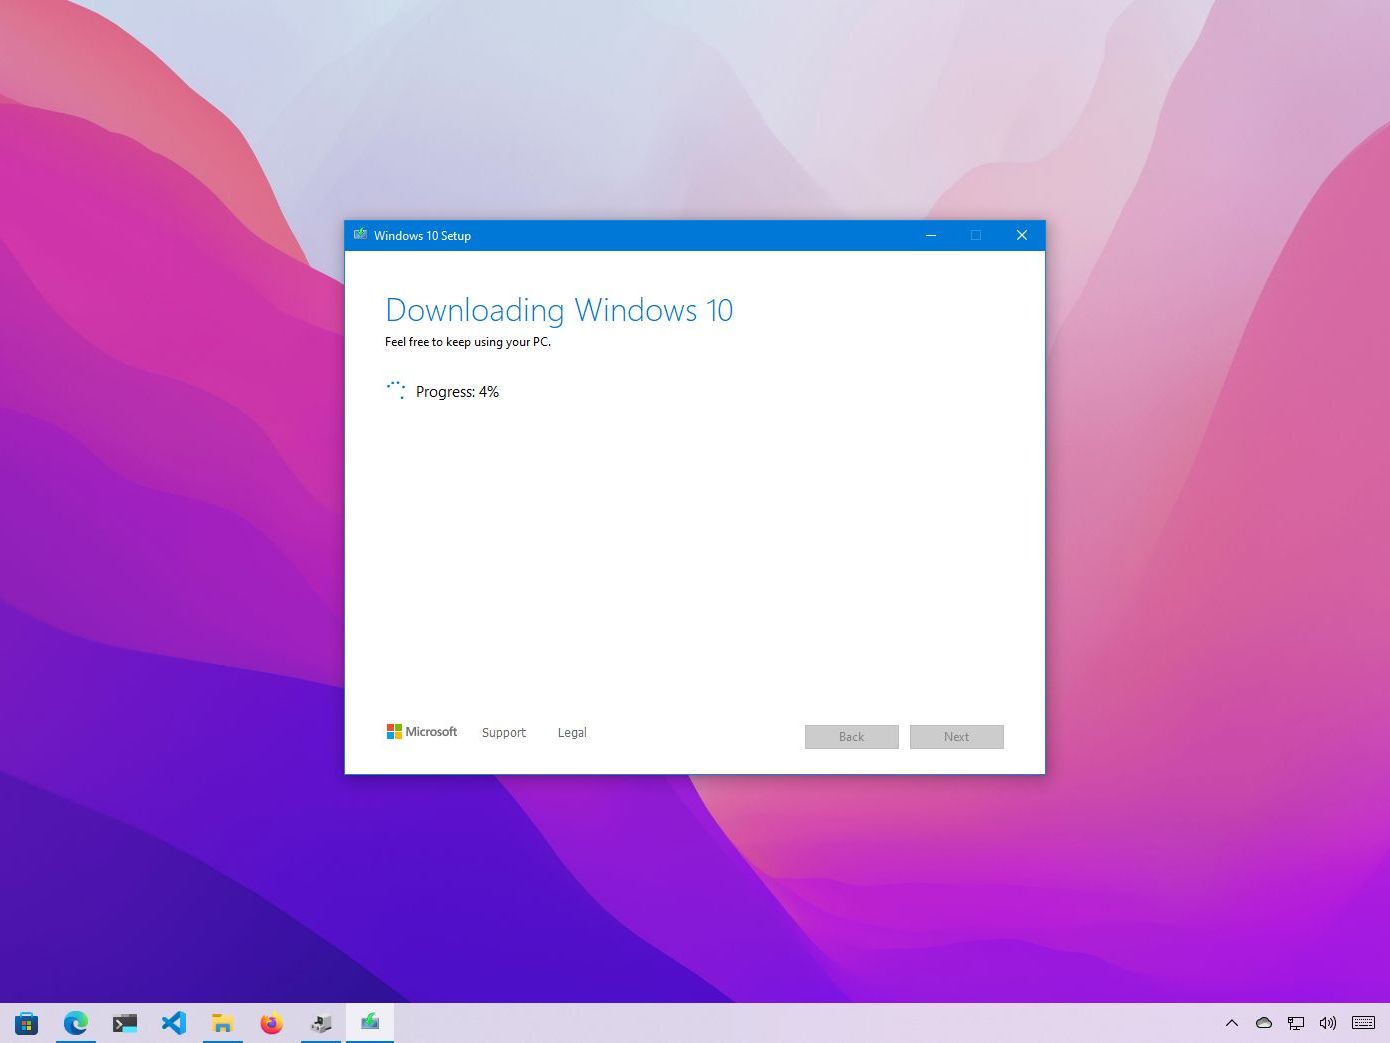
- Select Your USB Drive: Choose the correct USB drive from the list, and the tool will begin downloading Windows 10 and creating the bootable media. This process can take some time depending on your internet speed.
- Finish: Once the process is complete, you’ll have a bootable Windows 10 USB drive.
Alternatively, you can choose to create an ISO file, which you can then burn to a DVD or use with third-party tools to create a bootable USB.
Performing the Windows 10 Clean Install
With your data backed up and your installation media ready, you’re prepared to begin the actual installation process. This involves booting from your USB drive and following the on-screen prompts.
Booting from the Installation Media

The first hurdle is to instruct your computer to boot from the USB drive instead of its internal hard drive. This is done through the BIOS/UEFI settings.
- Insert the USB Drive: Plug your bootable Windows 10 USB drive into your computer.
- Restart Your PC: Reboot your computer.
- Access BIOS/UEFI: As your computer starts up, you’ll see a prompt on the screen indicating which key to press to enter Setup or BIOS/UEFI settings. Common keys include
Del,F2,F10,F12, orEsc. Press this key repeatedly as soon as you see the manufacturer’s logo. - Navigate to Boot Order: Once in the BIOS/UEFI, find the “Boot” or “Boot Order” section. The exact location and naming can vary depending on your motherboard manufacturer.
- Set USB as the First Boot Device: Change the boot order so that your USB drive (it might be listed by its brand name or as “USB HDD”) is the first device in the boot sequence.
- Save and Exit: Save your changes and exit the BIOS/UEFI. Your computer will restart.
If you’ve set the boot order correctly, your computer will now boot from the USB drive, and you’ll see the Windows 10 setup screen.
Installing Windows 10
The Windows 10 setup process is generally straightforward. Pay close attention to each step to ensure a successful installation.
- Windows Setup Screen: The first screen will ask for your language, time and currency format, and keyboard layout. Select your preferences and click “Next.”
- Install Now: Click the “Install now” button.
- Product Key: You’ll be prompted to enter your Windows product key. If you’re reinstalling on a PC that was previously activated with a digital license, you can click “I don’t have a product key” and Windows will activate automatically later when it connects to the internet.
- Select Operating System Version: If your installation media contains multiple versions of Windows 10 (e.g., Home, Pro), choose the version you have a license for.
- Accept License Terms: Read and accept the Microsoft license terms.
- Choose Installation Type: This is the crucial step for a clean install. Select “Custom: Install Windows only (advanced).”
- Drive Selection (Partitioning): This is where you’ll format your drive. You’ll see a list of all drives and partitions on your computer.
- Identify Your Primary Drive: This is usually “Drive 0” and will be the largest partition or the one where Windows is currently installed.
- Delete Existing Partitions: For a true clean install, you should delete all partitions related to your previous Windows installation. Select each partition and click “Delete.” Be absolutely certain you have backed up everything, as this action is irreversible and will erase all data on those partitions.
- Create a New Partition (Optional but Recommended): After deleting, you’ll have “Unallocated Space.” Select this unallocated space and click “New” to create a new partition for Windows. Windows will automatically create necessary system partitions.
- Select the Primary Partition: Once the partition is created, select it and click “Next.”
Windows will now begin installing. Your computer will restart several times during this process. Crucially, when the computer restarts for the first time after the initial file copying, you need to remove the USB drive or ensure your BIOS/UEFI boot order is set back to your hard drive. If you don’t, you might boot back into the setup process, and it can cause issues.
Initial Setup and Configuration
After the installation is complete, Windows 10 will guide you through the initial setup.
- Region and Keyboard Layout: Confirm your region and keyboard layout.
- Network Connection: Connect to your Wi-Fi or wired network. This is important for automatic driver downloads and Windows activation.
- Microsoft Account: Sign in with your Microsoft account. This links your PC to your Microsoft services, syncs settings, and allows for easier activation. You can also choose to create a local account if you prefer.
- Cortana and Privacy Settings: Configure Cortana’s settings and review your privacy preferences.
- Windows Updates: Once you reach the desktop, the first thing you should do is check for Windows Updates. Go to
Settings > Update & Security > Windows Updateand click “Check for updates.” This will download and install the latest security patches and feature updates, as well as essential drivers. - Install Drivers: While Windows Update often installs most necessary drivers, you may need to manually install drivers for specific hardware components like your graphics card, sound card, or motherboard. Visit your hardware manufacturer’s website to download the latest drivers.
- Reinstall Applications: Now, reinstall all the applications you backed up the installers for.
- Restore Your Data: Copy your backed-up personal files back to their appropriate locations on your PC.
Post-Installation Best Practices and Troubleshooting
After a successful clean install, a few extra steps and awareness of potential issues can ensure a smooth and secure computing experience.
Optimizing Your New Windows 10 Installation
A fresh install is a great opportunity to optimize your system for better performance and longevity.
- Disk Cleanup and Defragmentation: While Windows 10 is good at managing itself, running Disk Cleanup can remove temporary files and system junk. For traditional Hard Disk Drives (HDDs), defragmentation can improve file access times. For Solid State Drives (SSDs), Windows 10 automatically performs TRIM, which is the equivalent of defragmentation. You can access these tools by searching for “Disk Cleanup” and “Defragment and Optimize Drives” in the Start menu.
- Startup Programs: Many applications add themselves to the startup process, slowing down your boot time. Open Task Manager (
Ctrl + Shift + Esc), go to the “Startup” tab, and disable any non-essential programs. - Visual Effects: For older or less powerful hardware, disabling some visual effects can improve performance. Right-click on “This PC,” select “Properties,” then “Advanced system settings,” and under the “Performance” section, click “Settings.” Choose “Adjust for best performance” or customize as needed.
- Power Settings: Ensure your power plan is set to “Balanced” or “High performance” if you’re prioritizing speed, especially on desktops.
Common Issues and Troubleshooting Tips
Even with careful preparation, occasional issues can arise. Here are some common ones and how to address them:
- “No Boot Device Found” Error: This usually indicates that your BIOS/UEFI is not set to boot from the correct device, or the installation media is not properly recognized. Double-check your boot order and ensure the USB is firmly inserted.
- Driver Conflicts: If certain hardware isn’t working correctly (e.g., no sound, poor graphics), you likely need to manually install or update drivers from the manufacturer’s website. Sometimes, a driver installed by Windows Update can be incompatible, and you might need to roll back to a previous version.
- Activation Issues: If Windows doesn’t activate automatically, ensure you’re connected to the internet. If you have a product key, try entering it manually via
Settings > Update & Security > Activation. If you performed a significant hardware change or are unsure about your license, contact Microsoft Support. - Software Not Installing: Ensure your system meets the minimum requirements for the software. Check for compatibility issues or try downloading the installer again. Running the installer as an administrator (
Right-click > Run as administrator) can also resolve some installation problems. - Windows Update Errors: If Windows Update fails, try running the Windows Update Troubleshooter, which can often identify and fix common issues. Ensure you have a stable internet connection.
Maintaining Your Clean Install
A clean install isn’t a one-time fix; ongoing maintenance is key to keeping your system running smoothly.
- Regular Backups: Continue to back up your important data regularly. It’s a safety net you’ll be grateful for if anything unforeseen happens.
- Keep Windows Updated: Always install Windows updates promptly. They contain critical security patches and performance improvements.
- Be Mindful of Software: Install software from reputable sources only. Uninstall programs you no longer use, and avoid downloading free software bundles that often include unwanted adware or potentially harmful programs.
- Periodic Scans: Run regular scans with your antivirus software to detect and remove any potential threats.
By following these steps and best practices, you can successfully perform a Windows 10 clean install and enjoy a faster, more stable, and more secure computing experience.
aViewFromTheCave is a participant in the Amazon Services LLC Associates Program, an affiliate advertising program designed to provide a means for sites to earn advertising fees by advertising and linking to Amazon.com. Amazon, the Amazon logo, AmazonSupply, and the AmazonSupply logo are trademarks of Amazon.com, Inc. or its affiliates. As an Amazon Associate we earn affiliate commissions from qualifying purchases.