A fresh install of Windows, often referred to as a clean install, is a powerful way to revitalize your computer, resolve persistent software issues, and start with a completely blank slate. Whether you’re experiencing slowdowns, encountering recurring errors, or simply want to experience the latest version of Windows without any pre-existing baggage, a fresh install is the solution. This comprehensive guide will walk you through the entire process, from preparation to post-installation optimization, ensuring a smooth and successful experience. We’ll cover everything you need to know to get your system running like new again.
Understanding the Benefits of a Fresh Windows Install
Before diving into the technical steps, it’s crucial to understand why a fresh install is so beneficial. Unlike an upgrade, which attempts to retain your existing files and settings, a clean install wipes your drive clean and installs Windows from scratch. This process offers several key advantages:
Eliminating Performance Bottlenecks and Glitches
Over time, your Windows installation can accumulate a lot of digital clutter. This can include leftover program files, registry errors, temporary files, and corrupted system components. This “digital bloat” can significantly impact your computer’s performance, leading to slower boot times, sluggish application responsiveness, and frustrating glitches. A fresh install effectively removes all of this accumulated junk, allowing Windows to run with optimal efficiency. It’s like giving your computer a thorough deep clean, removing years of accumulated dust and grime.
Resolving Persistent Software Issues
Are you constantly battling with stubborn bugs, application crashes, or hardware driver conflicts that you just can’t seem to fix? A fresh install can be the ultimate cure. Many software-related problems stem from corrupted system files, conflicting applications, or problematic driver installations. By starting with a pristine Windows environment, you eliminate the possibility of these existing issues carrying over. This can save you hours of troubleshooting and frustration.
Preparing for a New Operating System or Hardware Upgrade
If you’re planning to upgrade to a newer version of Windows (e.g., from Windows 10 to Windows 11) or installing new hardware components, a fresh install is often the recommended approach. It ensures compatibility and avoids potential conflicts that can arise from an older, modified operating system interacting with new software or hardware. It’s a clean foundation that maximizes the chances of a smooth transition and optimal performance with your new additions.
Enhancing Digital Security
While not a guaranteed solution for all security threats, a fresh install can help mitigate certain risks. If your system has been compromised by malware or viruses that are difficult to remove, a clean install will effectively wipe them out. It also ensures you’re running the latest security patches and updates from Microsoft, providing a more secure baseline for your digital life.
Preparing for Your Fresh Windows Installation
A successful fresh install requires careful preparation to ensure you don’t lose any critical data and that you have everything you need readily available. Skipping this stage can lead to significant data loss or a frustrating installation process.
Backing Up Your Important Data: The Cornerstone of a Successful Install
This is arguably the most critical step. A fresh install will erase everything on your chosen drive, so backing up your personal files is non-negotiable.
- Identify Your Data: Determine what is essential to you. This typically includes documents, photos, videos, music, downloads, and any custom settings or project files.
- Choose Your Backup Method:
- External Hard Drive or USB Drive: This is a common and reliable method. Simply copy and paste your important folders to an external drive.
- Cloud Storage Services: Services like OneDrive, Google Drive, Dropbox, or iCloud can be excellent for backing up selected files and folders. Ensure you have enough storage space or consider upgrading your plan temporarily.
- Network Attached Storage (NAS): For a more robust home solution, a NAS device can offer centralized storage and backup capabilities.
- Verify Your Backup: After backing up, it’s crucial to verify that your files have been copied correctly and are accessible on your backup media. Don’t assume the backup is complete until you’ve checked it.
Gathering Necessary Information and Licenses
Before you wipe your system, make sure you have access to essential information:
- Windows Product Key: While Windows often activates automatically based on your hardware if it was previously activated, it’s good practice to have your product key handy, especially if you’re installing a retail version. You can usually find it in your Microsoft account or on a sticker on your computer.
- Application Licenses and Installers: List all the software you regularly use and ensure you have the installation media (download links, discs) and license keys for them. This includes productivity suites, creative software, games, and any specialized applications.
- Account Credentials: Keep your Microsoft account login details and any other important online service credentials readily accessible.
Creating Bootable Installation Media
To perform a fresh install, you’ll need to boot your computer from installation media. Microsoft provides a straightforward tool for this.
- Download the Media Creation Tool: Visit the official Microsoft website and download the “Media Creation Tool” for your desired Windows version (Windows 10 or Windows 11).
- Choose Your Media: The tool will prompt you to create either a USB flash drive (at least 8GB) or an ISO file that you can burn to a DVD. A USB drive is generally faster and more convenient.
- Follow the On-Screen Prompts: The Media Creation Tool is user-friendly. It will guide you through the process of downloading the Windows installation files and preparing your bootable media.
Executing the Fresh Windows Installation
With your data backed up and installation media ready, you can now proceed with the actual installation process. This section will guide you through the steps.

Booting from Your Installation Media
This is the first technical hurdle, but it’s straightforward once you know how.
- Insert Your Bootable Media: Plug in your USB drive or insert your Windows installation DVD into the computer you want to install Windows on.
- Restart Your Computer: Restart the computer. As it powers on, you’ll need to access your computer’s BIOS or UEFI settings.
- Accessing BIOS/UEFI: The key to press to enter BIOS/UEFI varies by manufacturer, but common keys include
F2,F10,F12,Delete, orEsc. You’ll usually see a message on the screen during boot indicating which key to press. - Changing the Boot Order: Within the BIOS/UEFI settings, navigate to the “Boot” or “Boot Order” section. You’ll need to change the boot priority so that your USB drive or DVD drive is listed before your hard drive.
- Save and Exit: Save the changes you’ve made in the BIOS/UEFI and exit. Your computer will restart again. This time, it should boot from your Windows installation media.
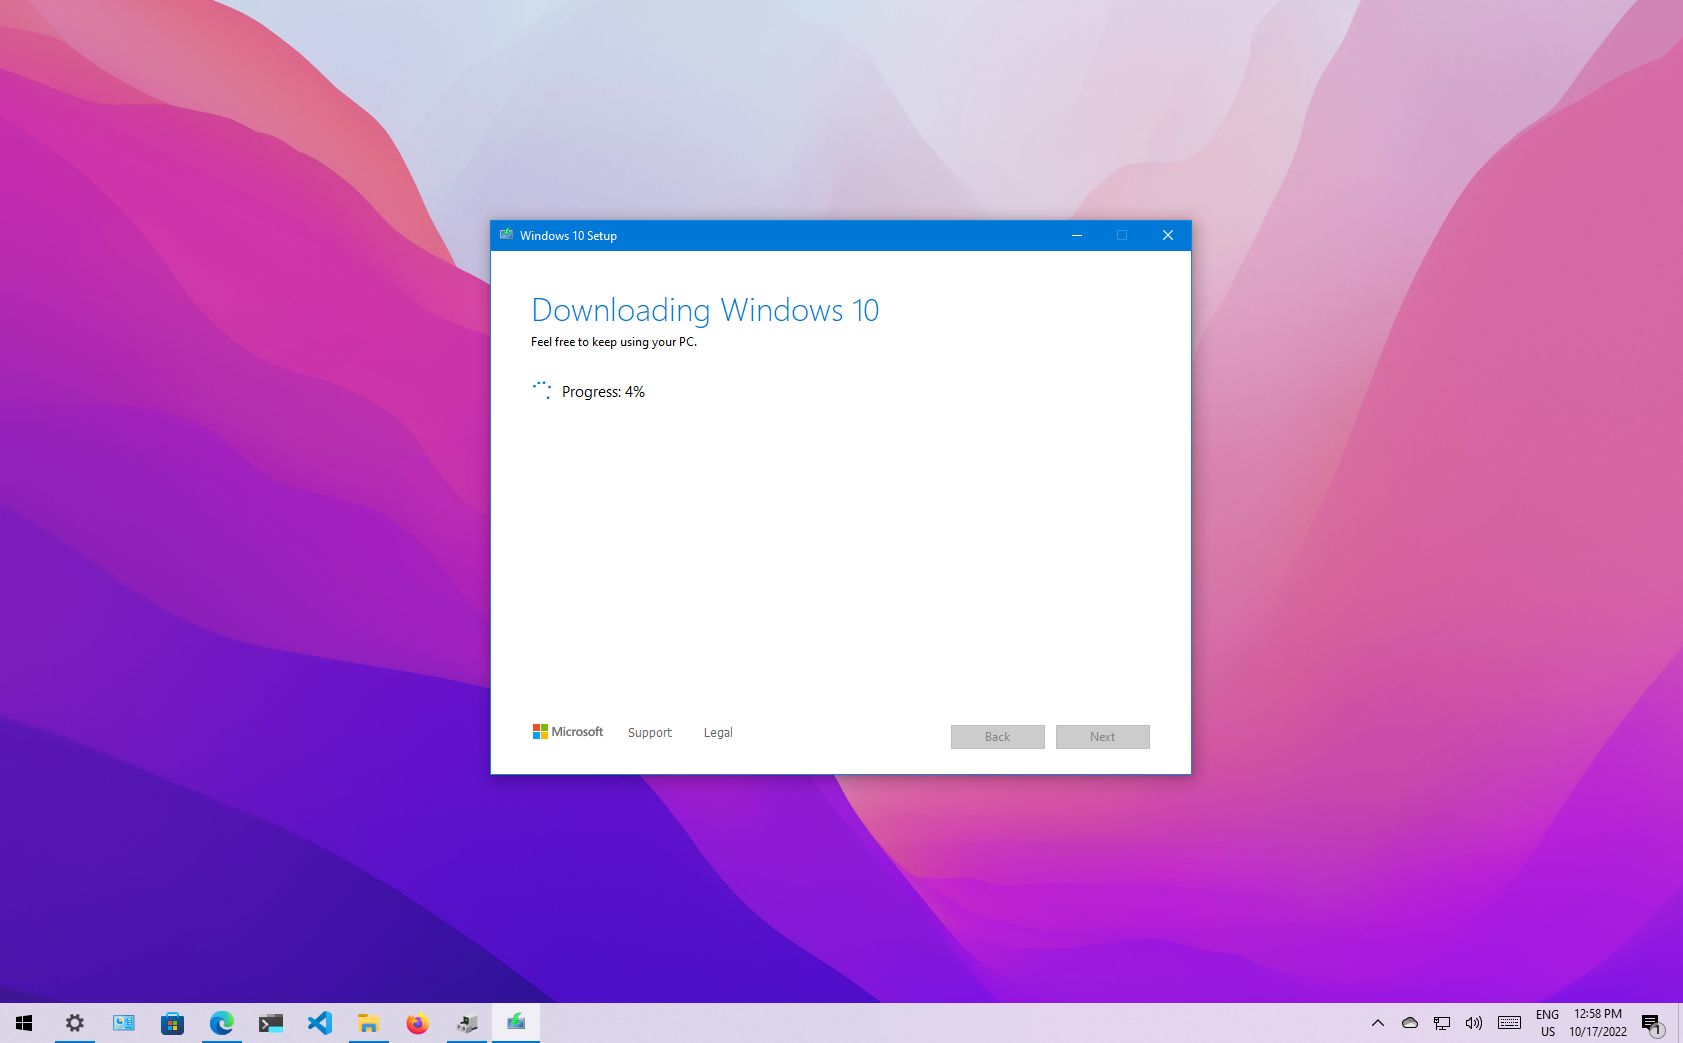
Navigating the Windows Setup Wizard
Once your computer boots from the installation media, you’ll be greeted by the familiar Windows setup wizard.
- Language, Time, and Keyboard Input: The first screen will ask you to select your preferred language, time format, and keyboard layout. Choose your settings and click “Next.”
- Install Now: Click the “Install now” button to begin the installation process.
- Product Key Entry: You’ll be prompted to enter your Windows product key. If you don’t have it handy or are reinstalling on a machine that was previously activated, you can often click “I don’t have a product key” and Windows will activate automatically later if your hardware is recognized.
- Select Your Windows Edition: Choose the edition of Windows you wish to install (e.g., Windows 10 Home, Windows 10 Pro). Ensure it matches your license.
- Accept License Terms: Read and accept the Microsoft license terms.
- Choose Installation Type: Custom (Advanced): This is the crucial step for a fresh install. Select “Custom: Install Windows only (advanced).” Do NOT choose “Upgrade” as this will not perform a clean install.
Partitioning and Formatting Your Drive
This is where the “fresh” aspect comes into play. You’ll be presented with a list of drives and partitions.
- Identify Your Target Drive: Carefully select the drive where you want to install Windows. This is usually your primary SSD or HDD.
- Delete Existing Partitions: For a true fresh install, it’s recommended to delete all existing partitions on your target drive. This will erase all data on that drive. If you have multiple drives, be absolutely certain you’re selecting the correct one. If you’re unsure, disconnect other drives temporarily.
- Create a New Partition: After deleting partitions, you’ll see “Unallocated Space.” Select this space and click “New” to create a new partition. Windows will typically create a primary partition and some smaller system partitions automatically.
- Format the Partition: Select the primary partition you just created and click “Format.” This prepares the drive for Windows installation.
- Select the Primary Partition and Install: Once formatted, select the primary partition where you want to install Windows and click “Next.” Windows will then begin copying files and installing.
Completing the Installation and Initial Setup
The installation process will involve several restarts. Let it complete without interruption.
- Region and Keyboard Layout: After the initial file copying, you’ll be prompted to set up your region and keyboard layout again.
- Network Connection: Connect to your Wi-Fi network or plug in an Ethernet cable.
- Account Setup:
- Microsoft Account: You can sign in with your Microsoft account. This is recommended for syncing settings, accessing the Microsoft Store, and other features.
- Local Account: You can also choose to create a local account if you prefer not to link your PC to a Microsoft account.
- Privacy Settings: Review and configure your privacy settings according to your preferences. Pay attention to location services, diagnostic data, and advertising ID.
- Cortana (Optional): You may be asked if you want to set up Cortana.
- Finalizing Setup: Windows will complete the final setup steps, and you’ll eventually be greeted by your new, clean desktop.
Post-Installation Tasks for an Optimized System
Your fresh install is complete, but the journey to an optimized system is not quite over. A few crucial steps will ensure your computer is running at its best and is secure.
Installing Essential Drivers
Windows often installs generic drivers during setup, but for optimal performance and compatibility, you’ll want to install the specific drivers for your hardware.
- Check Device Manager: Open “Device Manager” by searching for it in the Start menu. Look for any devices with yellow exclamation marks, indicating a missing or problematic driver.
- Motherboard Manufacturer Website: Visit your motherboard manufacturer’s website and download the latest drivers for your specific model. This often includes chipset drivers, audio drivers, and network drivers.
- Graphics Card Manufacturer Website: Download the latest drivers from NVIDIA, AMD, or Intel for your graphics card.
- Other Peripherals: Don’t forget drivers for printers, scanners, webcams, or any other external devices.
- Windows Update: Run Windows Update (Settings > Update & Security > Windows Update) repeatedly. It often finds and installs many necessary drivers automatically.
Running Windows Update and Security Scans
Keeping your operating system up-to-date is vital for security and performance.
- Full Windows Update: Go to Settings > Update & Security > Windows Update and click “Check for updates.” Install all available updates, including optional ones that might contain important driver updates. Restart your computer as prompted.
- Run a Full Antivirus Scan: Even though you’ve done a fresh install, it’s good practice to run a full scan with your preferred antivirus software to ensure your system is clean and to confirm your antivirus is working correctly.
Reinstalling Your Applications and Restoring Data
Now it’s time to bring your digital life back to your clean system.
- Install Your Applications: Reinstall your essential software applications from their original sources (downloaded installers, discs, or app stores).
- Restore Your Data: Copy your backed-up personal files back to their appropriate locations on your computer.
- Configure Application Settings: Reconfigure any custom settings or preferences within your applications.

System Optimization Tips
- Uninstall Unnecessary Software: During the reinstallation process, be mindful of any “bloatware” or unnecessary trial software that might come bundled with applications or your computer. Uninstall anything you don’t need.
- Adjust Power Settings: For laptops, consider adjusting power settings to balance performance and battery life.
- Disk Cleanup: Run the built-in Disk Cleanup utility (search for it in the Start menu) to remove temporary files and other system clutter that might accumulate after installations.
A fresh install of Windows is a powerful tool for maintaining a healthy, fast, and secure computer. By carefully preparing, following the installation steps, and completing the post-installation tasks, you can effectively breathe new life into your PC and enjoy a smooth, optimized computing experience.
aViewFromTheCave is a participant in the Amazon Services LLC Associates Program, an affiliate advertising program designed to provide a means for sites to earn advertising fees by advertising and linking to Amazon.com. Amazon, the Amazon logo, AmazonSupply, and the AmazonSupply logo are trademarks of Amazon.com, Inc. or its affiliates. As an Amazon Associate we earn affiliate commissions from qualifying purchases.