Is your Windows 10 PC feeling sluggish, riddled with unexplained errors, or simply cluttered with years of accumulated digital debris? A clean installation of Windows 10 isn’t just a troubleshooting step; it’s a powerful reset button that can breathe new life into your machine. Imagine a computer that boots faster, runs applications smoother, and responds to your commands without hesitation – that’s the promise of a clean install. This comprehensive guide will walk you through every critical step, from crucial preparations to post-installation optimization, ensuring a seamless and successful refresh of your system. Get ready to reclaim your PC’s peak performance and enjoy a pristine, efficient computing experience.

Why a Clean Windows 10 Install is Essential
Over time, even the most meticulously maintained operating system can accumulate digital clutter. Software installations, uninstallations, driver conflicts, system updates, and everyday usage can lead to a gradual degradation in performance and stability. A clean installation effectively wipes the slate clean, eliminating these accumulated issues and providing a fresh, optimized environment for your operating system. It’s akin to moving into a brand new house after years in a cluttered one; everything is organized, efficient, and ready for a fresh start.
Revitalize Your System Performance
One of the most immediate and noticeable benefits of a clean install is a dramatic improvement in system performance. Years of installed programs, background processes, leftover files from uninstalled software (often referred to as “bloatware”), and fragmented registries can bog down even powerful hardware. A clean install removes all this baggage, leaving only the essential Windows components. This results in faster boot times, snappier application launches, and smoother multitasking. For anyone struggling with a slow PC, this alone is a compelling reason to consider a fresh start.
Resolve Persistent Issues and Glitches
Are you plagued by random crashes, unexplained error messages, blue screens of death, or software conflicts that no amount of troubleshooting seems to fix? These persistent issues often stem from deeply embedded corruption within the operating system files, incompatible drivers, or malware that’s managed to evade detection. A clean install is the ultimate solution for such problems. By completely re-installing Windows from scratch, you eliminate the underlying causes of these issues, providing a stable and reliable foundation. It’s often the last resort for complex system problems, but frequently the most effective one.
Enhance Security and Stability
Starting with a clean slate also offers significant security benefits. Over time, your system might accumulate outdated software, unpatched vulnerabilities, or even remnants of past malware infections that continue to pose a risk. A clean install ensures that your operating system and core components are up-to-date from the get-go, with all the latest security patches. Furthermore, it removes any potentially compromised system files or hidden threats, creating a more secure computing environment right from the start. This fresh foundation simplifies future security management and reduces your exposure to potential threats.
A Fresh Start for Productivity
Beyond performance and security, a clean install offers an invaluable opportunity to declutter your digital life and optimize your workflow. It allows you to selectively reinstall only the applications you genuinely need and use, rather than carrying over years of forgotten software. This intentional approach to software management can significantly boost productivity by reducing distractions, freeing up disk space, and ensuring your system is tailored precisely to your current needs. It’s a chance to re-evaluate your digital habits and build a more efficient and focused computing environment.
Comprehensive Pre-Installation Preparation
Performing a clean install is a transformative process, but it requires careful preparation to ensure a smooth transition and prevent data loss. Skipping these crucial steps can lead to significant headaches, so take the time to organize and secure everything before you begin. Think of it as preparing for a major move; you wouldn’t just pick up and leave without packing your belongings.
Back Up Everything That Matters
This is arguably the most critical step. A clean install will erase everything on the drive where Windows is installed. If you have a single drive, this means all your personal files, photos, videos, documents, music, and installed applications will be lost forever if not backed up.
- Personal Files: Use an external hard drive, cloud storage (OneDrive, Google Drive, Dropbox), or a network-attached storage (NAS) device to copy all your irreplaceable documents, photos, videos, and music. Double-check your “Documents,” “Pictures,” “Videos,” and “Downloads” folders, and don’t forget desktop files.
- Browser Bookmarks/Passwords: Most modern browsers offer sync features. Ensure you’re signed in and syncing your data. Alternatively, export bookmarks manually. For passwords, consider a password manager like LastPass or 1Password.
- Email Data: If you use a desktop email client (like Outlook or Thunderbird), back up your PST or EML files. Webmail users generally don’t need to worry about this.
- Application Data: Some applications store important data in specific folders (e.g., game saves, financial software data). Research where your critical applications store their data and back those up too.
Gather Your Essential Tools and Information
Once your data is secure, you need to collect the necessary components for the reinstallation process.
- Windows 10 Product Key: If your Windows 10 license is linked to your Microsoft account (digital license), you generally won’t need the key during reinstallation, as it will reactivate automatically once you sign in online. However, it’s always good practice to have it on hand if you have a retail key. You can often find your key embedded in your UEFI firmware (for OEM systems) or stored in your current OS using third-party tools if needed.
- Essential Drivers: While Windows 10 has excellent built-in driver support, it’s highly recommended to download critical drivers beforehand, especially for your network adapter (Ethernet and Wi-Fi), graphics card, and chipset. Without a network driver, you might not be able to connect to the internet to download other drivers. Visit your PC manufacturer’s support website (for pre-built PCs) or your motherboard, graphics card, and other component manufacturers’ websites (for custom-built PCs) to download the latest Windows 10 compatible drivers. Save them to a separate USB drive or external hard drive.
- Stable Internet Connection: Required for downloading the Media Creation Tool, Windows updates, and potentially additional drivers post-installation.
- USB Flash Drive (8GB or larger): This will be used to create your bootable Windows 10 installation media. Ensure it has no important data on it, as it will be completely erased during the process.
- Power Source: If you’re using a laptop, ensure it’s plugged into a power outlet throughout the entire process to avoid unexpected shutdowns.
Creating Your Windows 10 Installation Media
The most straightforward and reliable way to create bootable Windows 10 installation media is by using Microsoft’s official Media Creation Tool.
- Download the Tool: Go to the official Microsoft Windows 10 download page (search “Windows 10 download” on Google) and click “Download tool now.”
- Run the Tool: Once downloaded, run the
MediaCreationTool.exefile. Accept the license terms. - Choose “Create installation media”: Select the option “Create installation media (USB flash drive, DVD, or ISO file) for another PC” and click Next.
- Select Language, Edition, and Architecture: The tool will usually recommend options based on your current PC. If you’re installing on a different PC or want different options, uncheck “Use the recommended options for this PC” and make your selections. Ensure you pick the correct architecture (64-bit is most common).
- Choose USB Flash Drive: Select “USB flash drive” as the media to use and click Next.
- Select Your USB Drive: From the list, choose the USB drive you prepared. Double-check that you’re selecting the correct drive, as all data on it will be erased.
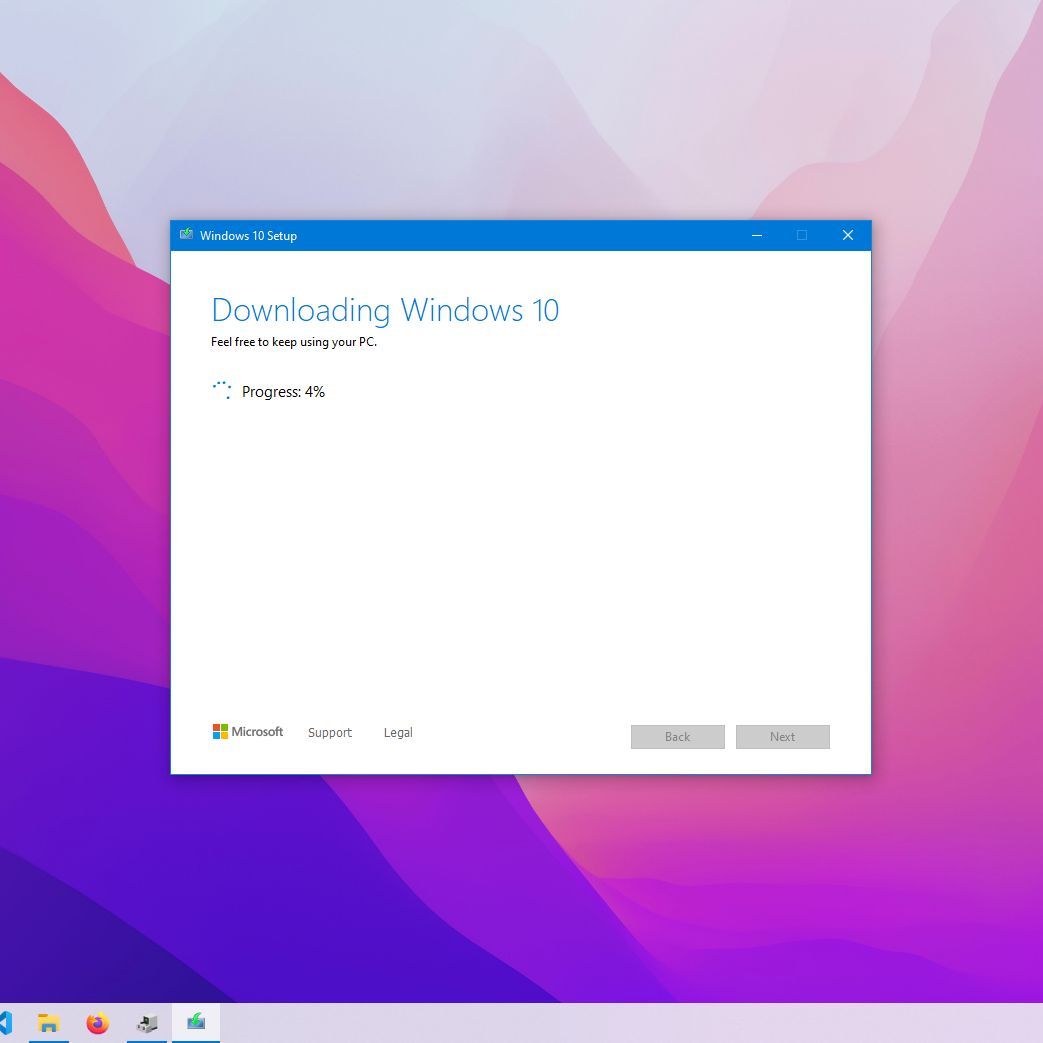
- Wait for Creation: The tool will now download the Windows 10 files and create the bootable USB drive. This process can take some time depending on your internet speed. Do not remove the USB drive until the process is complete.
- Finish: Once done, you’ll see a confirmation message. You can now safely remove the USB drive.
The Step-by-Step Clean Installation Process
With your preparations complete and your bootable USB drive ready, it’s time to embark on the actual installation. This section will guide you through booting from your media, partitioning your drive, and setting up the initial Windows environment.
Booting from the Installation Media
To start the installation, your computer needs to boot from the USB drive rather than its internal hard drive.
- Insert the USB Drive: Plug your created Windows 10 installation USB drive into an available USB port on your computer.
- Restart Your PC: Restart your computer. As it begins to boot up, you need to enter the BIOS/UEFI firmware settings or access the boot menu.
- Access BIOS/UEFI or Boot Menu: This typically involves pressing a specific key repeatedly during startup. Common keys include:
- Delete (Del)
- F2
- F10
- F12
- Escape (Esc)
Consult your computer’s manual or look for on-screen prompts during startup to find the correct key for your system (e.g., “Press F2 for Setup,” “Press F12 for Boot Menu”).
- Set Boot Order:
- Boot Menu (Recommended): If you can access a temporary boot menu, select your USB drive from the list (it might be labeled “USB-HDD,” “Removable Device,” or by its brand name) and press Enter. This will boot from the USB drive for this session only, without changing permanent settings.
- BIOS/UEFI Settings: If you enter the BIOS/UEFI setup, navigate to the “Boot” or “Boot Order” section. Change the boot order to prioritize your USB drive (or “Removable Device”) above your internal hard drive. Save changes (usually F10) and exit. The computer will then restart and boot from the USB drive. Remember to change the boot order back to your internal hard drive after installation if you made a permanent change.
Navigating the Windows Setup Wizard
Once your computer successfully boots from the USB drive, you’ll enter the Windows Setup wizard.
- Language and Region Settings: The first screen will ask you to select your language to install, time and currency format, and keyboard or input method. Make your selections and click “Next.”
- Install Now: On the next screen, click the “Install now” button.
- Product Key: You’ll be prompted to enter your Windows 10 product key.
- If you have a digital license linked to your Microsoft account, you can click “I don’t have a product key” and Windows will activate automatically once you connect to the internet and sign in with your Microsoft account later.
- If you have a physical product key, enter it here.
Click “Next.”
- License Terms: Read through the Microsoft Software License Terms. If you agree, check the “I accept the license terms” box and click “Next.”
Custom Installation and Disk Partitioning
This is where the “clean” part of the installation truly happens, involving the deletion of existing partitions. Be extremely careful in this step, as errors can lead to irreversible data loss if you haven’t backed up.
-
Choose Installation Type: You’ll be presented with two options:
- “Upgrade: Install Windows and keep files, settings, and applications” (this is NOT a clean install).
- “Custom: Install Windows only (advanced)” (this IS what you want for a clean install). Select “Custom.”
-
Select Where to Install Windows: This screen shows all the drives and partitions detected on your computer. This is the most crucial step.
- Identify Your Primary Drive: Look for the drive where your current Windows installation resides. It’s usually labeled “Drive 0” and will contain several partitions (e.g., “System,” “Recovery,” “Primary”).
- Delete Partitions: To ensure a truly clean install, you should delete all partitions associated with your old Windows installation. Select each partition on your target drive (e.g., “Drive 0 Partition 1,” “Drive 0 Partition 2,” etc.) and click “Delete.” Confirm the deletion when prompted. Repeat until your target drive shows as “Drive 0 Unallocated Space.”
- Create New Partition: Once the drive is entirely unallocated, select “Drive 0 Unallocated Space” and click “New.” You can choose to use the maximum available size (recommended for most users) or create smaller partitions if you prefer (e.g., one for Windows and one for data). Click “Apply.” Windows will then create the necessary system partitions (e.g., Recovery, System, MSR, and your primary partition).
- Select Target Partition: Select the newly created “Primary” partition (or the largest partition you just created) and click “Next.” This is where Windows will be installed.
-
Windows Installation: Windows will now begin installing. This involves copying files, installing features, and installing updates. Your computer will restart several times during this process. Just let it run its course. This phase can take anywhere from 15-45 minutes, depending on your system’s speed.
Initial Windows Configuration
After the installation files are copied and your PC restarts for the final time, you’ll be guided through the initial setup screens for your new Windows 10 environment.
- Region and Keyboard Layout: Select your country/region and confirm your keyboard layout. You can add a second keyboard layout if needed.
- Network Connection: If you have an Ethernet cable connected, your PC might connect automatically. For Wi-Fi, you’ll be prompted to select your network and enter the password. Connecting to the internet is important for activating Windows (if you have a digital license) and downloading initial updates.
- Sign in with Microsoft Account: Microsoft will prompt you to sign in with your Microsoft account.
- Recommended: Sign in with your Microsoft account to sync settings, access OneDrive, and activate your digital license.
- Local Account: If you prefer not to use a Microsoft account, look for an option like “Offline account” or “Domain join instead” (the wording changes with Windows versions). You can then create a local user account.
- Create PIN: You’ll be asked to create a PIN for faster sign-ins.
- Privacy Settings: Review the privacy settings (Location, Find my device, Diagnostic data, etc.). Choose your preferences. You can always adjust these later.
- Cortana Setup: You’ll have the option to enable or disable Cortana.
- Other Settings: You might see prompts for OneDrive setup, setting up Phone Link, or Xbox Game Pass. Make your choices or skip them for now.
Once you’ve completed these steps, you’ll be greeted by the Windows 10 desktop – a truly clean, fresh environment.
Post-Installation Essentials and Optimization
The installation process is complete, but your journey isn’t quite over. There are vital steps to take immediately after installation to ensure your system is secure, fully functional, and optimized for peak performance. Think of this as putting the finishing touches on your new digital home.
Update Windows Immediately
This is the very first thing you should do. While the installation media might contain relatively recent Windows files, there will almost certainly be new updates, security patches, and feature improvements released since that media was created.
- Open Windows Update: Go to
Settings > Update & Security > Windows Update. - Check for Updates: Click “Check for updates.”
- Install and Restart: Allow Windows to download and install all available updates. This might involve multiple restarts. Repeat the process of checking for updates until no new updates are found. This ensures your system is up-to-date and protected against the latest vulnerabilities.
Install Missing Drivers
Even though Windows 10 has excellent generic driver support, your system might still benefit from manufacturer-specific drivers, especially for graphics cards, chipsets, and specialized components.
- Check Device Manager: Press
Win + Xand select “Device Manager.” Look for any devices with a yellow exclamation mark, indicating a missing or problematic driver. - Install Pre-Downloaded Drivers: Use the drivers you wisely downloaded during the preparation phase. Start with the chipset driver, then the network driver (if you’re not already online), and finally the graphics driver.
- Manufacturer’s Website: If you missed any drivers or Windows Update doesn’t provide them, visit your PC manufacturer’s support website (or individual component manufacturers for custom builds) and download the latest drivers for your specific model.
- Graphics Drivers: For dedicated graphics cards (NVIDIA, AMD), downloading the latest drivers directly from their respective websites is always recommended for optimal performance and feature support.
Reinstall Essential Software
Now it’s time to bring back the applications you rely on. Be selective; this is your chance to only install what you truly need, avoiding past bloat.
- Web Browser: Download your preferred web browser (Chrome, Firefox, Edge, Brave, etc.).
- Office Suite: Install Microsoft Office, LibreOffice, or whatever productivity suite you use.
- Security Software: While Windows Defender provides robust protection, if you prefer a third-party antivirus, install it now.
- Other Core Applications: Reinstall video players, image editors, communication tools (Zoom, Discord), and any development tools or creative software you use regularly.
- Use a Package Manager (Optional but Recommended): Tools like Ninite.com allow you to select multiple popular applications and install them all at once with a single installer, saving time and effort.
Restore Your Backed-Up Data
Once your essential software is in place, you can start transferring your personal files back onto your newly installed system.
- External Drive/Cloud: Copy your documents, photos, videos, and other personal files from your external backup drive or download them from your cloud storage. Organize them into your preferred folders.
- Application-Specific Data: Restore any application-specific data (like game saves or email archives) to their correct locations.

Optimize for Peak Performance
A clean install is a great starting point, but a few additional tweaks can further enhance your system’s performance and usability.
- Uninstall Unnecessary Apps (Bloatware): Even a clean Windows install can come with some pre-installed apps you don’t need (e.g., Candy Crush, Microsoft Teams if you don’t use it). Go to
Settings > Apps > Apps & featuresand uninstall anything you won’t use. - Adjust Privacy Settings: Revisit
Settings > Privacyand fine-tune your preferences for data collection, app permissions, and more. - Disk Cleanup: After installing updates and software, run Disk Cleanup (
search "Disk Cleanup") to remove temporary files, old Windows update files, and other unnecessary data to free up space. - Create System Restore Point: Once your system is fully set up and running smoothly, create a system restore point (
search "Create a restore point"). This provides a quick way to revert to this stable state if future updates or software installations cause problems. - Personalize Your Desktop: Set your wallpaper, theme, and organize your desktop shortcuts to make your new system feel like home.
Performing a clean Windows 10 install is a rewarding process that can significantly improve your computer’s speed, stability, and security. While it requires careful planning and execution, the benefits of a fresh, optimized system are well worth the effort. By following this comprehensive guide, you’ve not only revitalized your PC but also gained a deeper understanding of its inner workings, empowering you to maintain a healthy digital environment for years to come. Enjoy your refreshed Windows 10 experience!
aViewFromTheCave is a participant in the Amazon Services LLC Associates Program, an affiliate advertising program designed to provide a means for sites to earn advertising fees by advertising and linking to Amazon.com. Amazon, the Amazon logo, AmazonSupply, and the AmazonSupply logo are trademarks of Amazon.com, Inc. or its affiliates. As an Amazon Associate we earn affiliate commissions from qualifying purchases.