In the ever-evolving landscape of technology, maintaining a robust and efficient operating system is paramount for both personal productivity and digital security. Over time, even the most meticulously managed Windows 10 installations can accumulate digital clutter, corrupted files, remnants of uninstalled software, and perhaps even insidious malware. This digital detritus can lead to decreased performance, system instability, frustrating errors, and a general degradation of your computing experience. If your once-snappy PC now feels sluggish, takes ages to boot, or crashes unexpectedly, a clean install of Windows 10 isn’t just a troubleshooting step—it’s often the ultimate rejuvenation for your machine.

A clean install, as the name suggests, involves wiping your hard drive completely and installing a fresh copy of Windows 10 from scratch. Unlike an upgrade or a reset that might retain some old files or configurations, a clean install offers a pristine environment, free from past issues and bloatware. It’s akin to giving your computer a complete overhaul, restoring it to its factory-fresh state, but with the latest updates and only the software you truly need. This comprehensive guide will walk you through every critical step of performing a clean install, ensuring a smooth transition to a faster, more secure, and more reliable Windows 10 experience. We’ll delve into essential preparations, the installation process itself, and crucial post-installation steps to optimize your newly refreshed system, aligning perfectly with our focus on leveraging technology for enhanced productivity and digital well-being.
Before You Begin: Essential Preparations
Embarking on a clean install of Windows 10 is a significant undertaking that requires careful planning and preparation. Skipping these crucial preliminary steps can lead to data loss, activation headaches, or a frustratingly incomplete installation. Think of this phase as laying a solid foundation for your renewed digital workspace; diligence here ensures a seamless transition and a powerful start for your optimized system.
Backing Up Your Data
This is arguably the most critical step in the entire process. A clean install will erase everything on your primary drive, meaning all your personal files, documents, photos, videos, music, and installed applications will be permanently deleted. Do not proceed until you are absolutely certain that all irreplaceable data has been securely backed up.
Start by identifying all critical files and folders. These typically include your “Documents,” “Pictures,” “Videos,” “Music,” and “Downloads” folders, as well as any custom folders where you store important projects or personal archives. Consider files from specific applications that might store data outside these common locations, such as financial software databases, game saves, or browser bookmarks (which can often be synced or exported).
You have several options for backing up your data:
- External Hard Drive or USB Drive: This is a straightforward and reliable method. Simply connect an external drive with sufficient storage capacity and drag-and-drop or copy-paste your essential files and folders onto it.
- Cloud Storage Services: Services like OneDrive, Google Drive, Dropbox, or iCloud offer convenient ways to back up data. Many provide a decent amount of free storage, with paid plans for larger capacities. Cloud backups offer the advantage of accessibility from anywhere and protection against local hardware failures.
- Network-Attached Storage (NAS): If you have a home network server, you can back up your files to your NAS device. This is often preferred by users with large data libraries or those who need a centralized storage solution.
Whichever method you choose, double-check that your backup is complete and accessible before proceeding. A common pitfall is backing up only C: drive documents and forgetting critical files on other partitions or desktop.
Gathering Your Windows 10 License Key
For a clean install, you’ll need a valid Windows 10 license to activate your operating system. While modern Windows 10 installations often use a “digital license” linked to your Microsoft account or hardware, having your product key handy can prevent activation issues, especially if you’re making significant hardware changes.
Here’s how to find your key:
- Digital License: If your Windows 10 was pre-installed or upgraded from a genuine Windows 7/8/8.1, you likely have a digital license tied to your hardware. When you reinstall, Windows 10 should automatically activate once connected to the internet. If you sign in with the Microsoft account linked to the digital license, this further aids activation.
- Product Key Sticker: Look for a sticker on your computer’s chassis (especially older pre-built systems), laptop underside, or inside the battery compartment.
- Email Confirmation: If you purchased Windows 10 digitally, check your email for the purchase confirmation which often includes the product key.
- Third-Party Tools: Software like NirSoft’s ProduKey can sometimes retrieve keys from your current installation, but this is less reliable for digital licenses.
It’s wise to write down your 25-character product key and store it in a safe place, or take a screenshot and save it to your backup drive.
Creating a Windows 10 Installation Medium
To install Windows 10, you’ll need a bootable installation medium. This is typically a USB flash drive (at least 8GB recommended) or a DVD. Microsoft provides a free tool for this purpose: the Media Creation Tool.
- Download the Media Creation Tool: Visit the official Microsoft Windows 10 download page from a working computer and download the tool.
- Run the Tool: Execute the downloaded file. Accept the license terms.
- Choose “Create installation media (USB flash drive, DVD, or ISO file) for another PC.”
- Select Language, Edition, and Architecture: The tool usually recommends options based on your current PC, but you can deselect “Use recommended options for this PC” if you need to create media for a different system (e.g., 32-bit vs. 64-bit). For modern systems, 64-bit is almost always the correct choice.
- Choose Media Type: Select “USB flash drive” and follow the prompts to choose your connected USB drive. The tool will download the Windows 10 ISO and create the bootable drive. If you prefer a DVD, select “ISO file,” download it, and then burn it to a DVD using burning software.
This process will erase all data on the chosen USB drive, so ensure it doesn’t contain any important files.
Checking System Requirements and Drivers
While most modern PCs comfortably meet Windows 10’s minimum requirements, it’s good practice to quickly confirm. You’ll need:
- Processor: 1 GHz or faster compatible processor
- RAM: 1 GB for 32-bit or 2 GB for 64-bit (more is highly recommended for smooth operation)
- Hard disk space: 32 GB for 64-bit OS or 16 GB for 32-bit OS
- Graphics card: DirectX 9 or later with WDDM 1.0 driver
- Display: 800×600 resolution
More importantly, identify critical drivers for your hardware, especially network adapters (Ethernet and Wi-Fi), graphics cards, and chipsets. While Windows 10 usually has good built-in driver support, having the latest manufacturer-specific drivers ready on your backup drive can save you headaches, especially if your network drivers aren’t automatically recognized post-installation. Visit your PC manufacturer’s support website (Dell, HP, Lenovo, ASUS, Acer, etc.) or individual component manufacturers (NVIDIA, AMD, Intel) to download the latest drivers for your specific model.
The Step-by-Step Clean Installation Process
With your preparations complete, it’s time to dive into the core of the process: installing Windows 10. This phase involves booting your computer from the installation media, making crucial choices within the setup wizard, and finally letting Windows do its work. Precision in these steps ensures a truly clean and optimized installation.
Booting from the Installation Medium
To begin the installation, your computer needs to start from the USB drive or DVD you created, rather than its internal hard drive.
- Connect the Installation Medium: Insert your bootable USB flash drive into an available port or the Windows 10 installation DVD into your optical drive.
- Restart Your PC: Reboot your computer.
- Access Boot Menu or BIOS/UEFI Settings: As your computer starts up, you’ll need to press a specific key repeatedly to either:
- Enter the Boot Menu: This allows you to select the boot device for the current session. Common keys are F12, F10, F9, or Esc.
- Enter BIOS/UEFI Setup: This allows you to permanently change the boot order. Common keys are Del, F2, F1, F10, or F12.
The exact key varies by manufacturer (e.g., Dell usually F2 for BIOS, F12 for boot menu; HP often F10 for BIOS, Esc for boot menu; Lenovo F1 or F2 for BIOS, F12 for boot menu). Watch for on-screen prompts during startup.
- Select Your Installation Medium: Once in the boot menu or BIOS/UEFI settings, navigate to the “Boot” tab or section. Select your USB drive (often listed as “USB HDD,” “Removable Device,” or the drive’s brand name) or DVD drive as the primary boot device. If changing the boot order in BIOS/UEFI, make sure to save your changes before exiting.
- Start Windows Setup: Your computer should now boot from the installation media. You’ll likely see a “Press any key to boot from CD or DVD…” or similar message. Press a key to proceed.

Navigating the Windows Setup Wizard
Once the Windows Setup screen appears, you’ll be guided through a series of choices.
- Language, Time, and Keyboard: On the first screen, select your preferred language, time and currency format, and keyboard or input method. Click “Next.”
- Install Now: Click the “Install now” button in the center of the screen.
- Enter Product Key: If prompted, enter your 25-character Windows 10 product key. If you have a digital license and plan to activate online later, you can click “I don’t have a product key” and proceed.
- Select Operating System (if applicable): If your installation media contains multiple versions of Windows 10 (e.g., Home and Pro), select the edition you own and click “Next.”
- Accept License Terms: Read and accept the Microsoft Software License Terms. Click “Next.”
- Choose Installation Type: This is a crucial step.
- “Upgrade: Install Windows and keep files, settings, and applications” – Do NOT select this for a clean install. This option performs an in-place upgrade, which defeats the purpose of starting fresh.
- “Custom: Install Windows only (advanced)” – Select this option for a clean install. This allows you to manage disk partitions and ensure a complete wipe.
Partitioning and Formatting Your Drive
This is where you’ll delete existing partitions and create new ones for your fresh Windows 10 installation. Exercise extreme caution here, as incorrect steps can lead to data loss on other drives if not correctly identified.
- Identify the Target Drive: You’ll see a list of drives and their partitions. If you have multiple physical hard drives, ensure you select the correct one you intend to wipe. It’s often “Drive 0,” but check the total size to confirm.
- Delete Existing Partitions: For a truly clean install, you’ll want to delete all partitions related to your previous Windows installation. Select each partition on your target drive (e.g., “Drive 0 Partition 1,” “Drive 0 Partition 2,” “Recovery,” “System,” “MSR”) and click “Delete.” Confirm any warnings. Continue until the entire drive is listed as “Drive X Unallocated Space.”
- Note: If you have a separate data drive you do not want to wipe, be extremely careful not to delete its partitions. Identify it by its size or previous label.
- Create New Partition: Select the “Drive X Unallocated Space” and click “New.” Windows will usually suggest the maximum available size for your primary partition. Click “Apply” to create the primary partition and any small system partitions Windows needs (like Recovery, System, MSR).
- Format the Primary Partition: Select the largest newly created partition (usually “Drive X Partition Y: Primary”) and click “Format.” This prepares the partition for Windows.
- Select Primary Partition for Installation: With the primary partition selected and formatted, click “Next” to begin the installation.
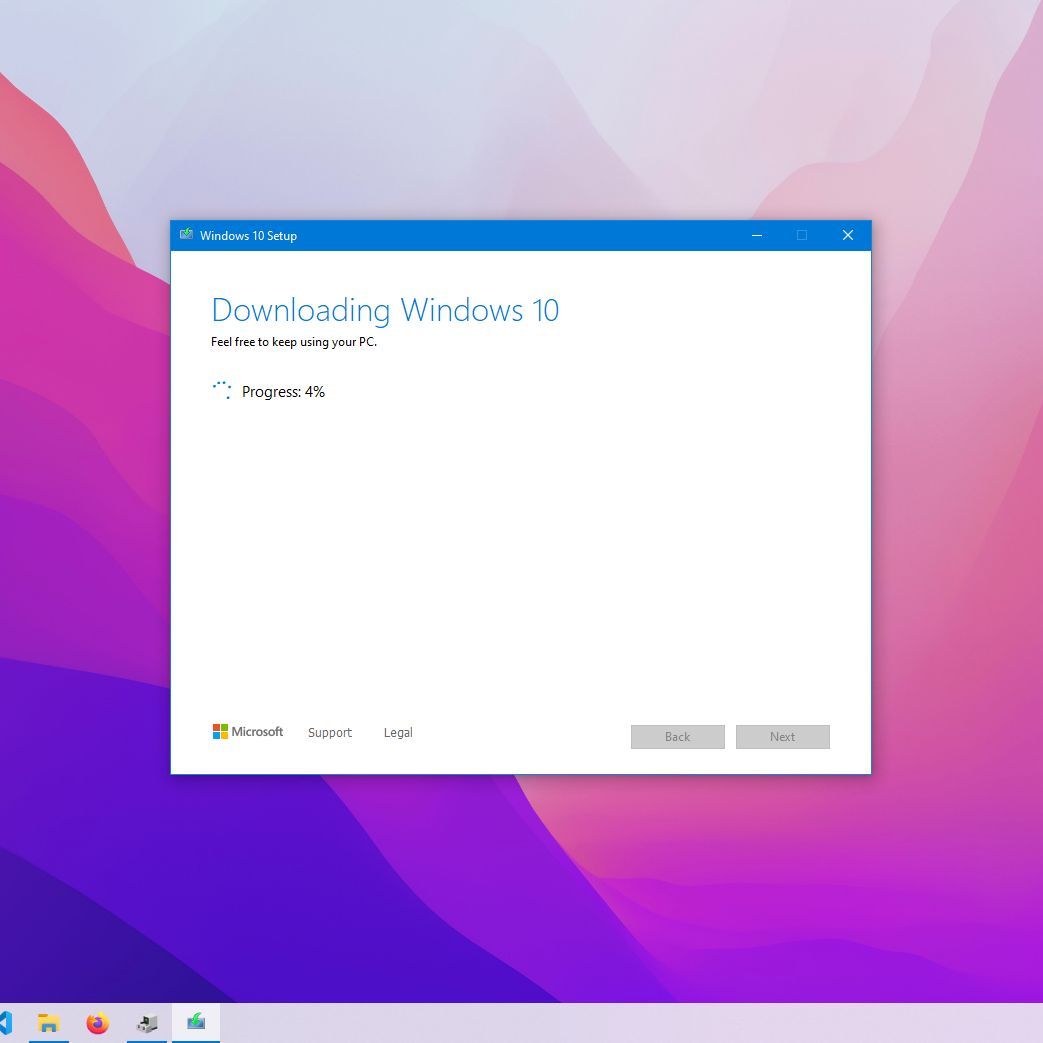
Completing the Installation
Windows will now begin copying files and installing the operating system. This process can take anywhere from 15 to 45 minutes, depending on your computer’s speed and the installation media.
- Your PC will restart multiple times during this phase. Do NOT remove the USB drive/DVD until the setup is complete and you see the Windows 10 initial setup screen (the Out-Of-Box Experience or OOBE).
- After the final reboot, you’ll be greeted by the Windows 10 OOBE. Follow the on-screen prompts to:
- Select your region and keyboard layout.
- Connect to a Wi-Fi network (if applicable).
- Sign in with your Microsoft account (recommended for digital license activation and syncing settings). If you prefer a local account, there’s usually an option for “Offline account” or “Domain join instead.”
- Create a PIN for faster sign-in.
- Choose privacy settings (Microsoft recommends certain settings, but you can customize them to your preference).
- Set up Cortana (optional).
Once you’ve completed these steps, you’ll be taken to your brand-new Windows 10 desktop! Congratulations, you’ve successfully performed a clean install.
Post-Installation Checklist: Optimizing Your Fresh System
A clean install provides a blank slate, but the work isn’t entirely done. To fully capitalize on your renewed system’s potential, several crucial steps remain. These post-installation tasks ensure your system is secure, fully functional, and tailored to your specific needs, translating directly into enhanced digital security and productivity.
Installing Drivers and Updates
This is paramount. While Windows 10 is good at finding generic drivers, manufacturer-specific drivers often provide better performance, stability, and access to all hardware features.
- Run Windows Update: The first thing you should do after connecting to the internet is to run Windows Update. Go to
Settings > Update & Security > Windows Updateand click “Check for updates.” Install all available updates, including cumulative updates, feature updates, and driver updates. This might require several restarts. This ensures your system is patched against the latest security vulnerabilities, a critical aspect of digital security. - Install Critical Drivers: Even after Windows Update, you may need to manually install drivers you downloaded in the preparation phase. Start with chipset drivers, then graphics card drivers, followed by network (if not already working optimally), audio, and any other peripheral drivers. Device Manager (
right-click Start button > Device Manager) can help identify any devices with missing or problematic drivers (indicated by yellow exclamation marks). - Manufacturer Utilities: Consider installing any essential utilities provided by your PC manufacturer (e.g., power management tools, keyboard hotkey software for laptops). Be selective to avoid unnecessary bloatware.
Reinstalling Essential Software
With a fresh system, you have the opportunity to be intentional about what you install, avoiding unnecessary applications that hog resources.
- Web Browser: Install your preferred web browser (Chrome, Firefox, Edge, Brave, etc.).
- Productivity Suite: Install your office productivity software (Microsoft 365, LibreOffice, Google Docs desktop apps).
- Antivirus/Security Software: While Windows Defender is integrated and generally robust, if you prefer a third-party antivirus, install it now. Ensure your firewall is active (Windows Firewall is usually sufficient). This is a cornerstone of maintaining strong digital security.
- Communication Tools: Install essential communication apps like Slack, Discord, Zoom, or Microsoft Teams.
- Creative/Professional Software: Reinstall any specialized software you use for work or hobbies (e.g., Photoshop, CAD software, video editors).
- Utilities: Consider installing useful utilities like a file archiver (7-Zip, WinRAR), cloud storage clients (if not already integrated), or a PDF reader.
Install software gradually, testing after each major installation to ensure compatibility and stability. This mindful approach to software installation contributes directly to a more productive and streamlined workflow.
Restoring Your Backed-Up Data
Now you can bring your personal files back onto your newly installed system.
- Connect Your Backup Device: Connect your external hard drive, USB drive, or access your cloud storage.
- Copy Files Back: Carefully copy your backed-up files and folders to their appropriate locations on your new C: drive (e.g., Documents to
C:UsersYourUsernameDocuments). - Organize and Clean Up: This is an excellent opportunity to declutter. Don’t copy back files you no longer need. Organize your folders logically to improve accessibility and future productivity.
Customizing and Securing Your PC
Once your core software and data are in place, take time to personalize and further secure your system.
- Personalization:
- Set your desktop background and lock screen.
- Adjust display settings (resolution, scaling).
- Customize your Start Menu and Taskbar with frequently used apps.
- Configure sound settings and power options.
- Security Enhancements:
- User Accounts: If multiple people use the PC, set up separate standard user accounts (avoiding admin privileges for daily use).
- Strong Passwords/PIN: Ensure you’re using a strong password for your Microsoft account and a robust PIN for local sign-in. Consider enabling two-factor authentication for your Microsoft account.
- Privacy Settings: Revisit Windows 10’s privacy settings (
Settings > Privacy) to ensure they align with your preferences regarding data sharing, location services, and app permissions. - Disk Encryption: If your PC supports it (often with Windows 10 Pro or Enterprise), enable BitLocker for full disk encryption, adding another layer of security against unauthorized access.
- System Maintenance:
- Create a Restore Point: Once everything is set up to your liking, create a system restore point (
search "Create a restore point") as a safety net. - Schedule Backups: Implement a regular backup strategy for your new system, leveraging either Windows’ built-in tools (File History, Backup and Restore) or third-party solutions.
- Disk Cleanup: Periodically run Disk Cleanup (search for it in the Start Menu) to remove temporary files and other unnecessary data.
- Create a Restore Point: Once everything is set up to your liking, create a system restore point (
A clean install of Windows 10 is more than just a fix for a slow computer; it’s an investment in your digital future. By meticulously following these steps, you not only restore your system to peak performance but also establish a secure, streamlined, and highly productive computing environment. This systematic approach embodies the core principles of effective technology management, ensuring that your digital tools serve you, rather than hinder you. Embrace the refreshed speed and stability, and enjoy a more efficient and secure Windows 10 experience that supports all your tech-driven endeavors.
aViewFromTheCave is a participant in the Amazon Services LLC Associates Program, an affiliate advertising program designed to provide a means for sites to earn advertising fees by advertising and linking to Amazon.com. Amazon, the Amazon logo, AmazonSupply, and the AmazonSupply logo are trademarks of Amazon.com, Inc. or its affiliates. As an Amazon Associate we earn affiliate commissions from qualifying purchases.