
In today’s digitally driven world, peer-to-peer (P2P) payment platforms have become indispensable tools for managing personal finances, splitting bills, and facilitating quick transactions. Among these, Venmo stands out as a leading application, renowned for its user-friendly interface and social payment features. For many, navigating the initial steps of setting up an account and, crucially, accepting payments can seem daunting. This comprehensive guide demystifies the process, offering a clear, step-by-step tutorial on how to seamlessly accept a Venmo payment, ensuring you harness the full potential of this powerful app.
Navigating the Venmo Landscape: An Introduction
Venmo, a service owned by PayPal, has revolutionized how millions of people send and receive money. More than just a payment app, it integrates social features, allowing users to share payment details (or keep them private) with friends, making financial interactions feel more connected. Understanding its core functionality is the first step toward becoming a proficient user.

What is Venmo and Why Use It?
At its heart, Venmo is a mobile payment service that enables fast, easy money transfers between individuals. Users can link their bank accounts, debit cards, or credit cards to their Venmo profile, allowing them to send money directly from their linked sources or from their Venmo balance. The appeal of Venmo lies in its instant nature for P2P transactions (though transferring funds out to a bank account can take longer without a fee) and its low transaction costs, particularly for using a bank account or debit card. It’s an ideal solution for splitting dinner bills, sharing rent, paying back friends, or even accepting payments for casual services. Its robust app design ensures a smooth user experience, making it a staple for digital-native financial interactions.
Eligibility and Account Requirements
Before you can accept a Venmo payment, you must first meet the platform’s basic eligibility criteria and set up your account. Venmo is primarily designed for users within the United States. To create an account, you must:
- Be at least 18 years old.
- Reside physically in the United States.
- Have a US phone number that can send/receive texts.
- Possess a valid email address.
- Link a US bank account, a debit card, or a major credit card (Visa, MasterCard, American Express, Discover) to your profile. While a linked financial instrument is crucial for sending money, and eventually transferring received funds, you can initially set up an account without it, though functionality will be limited. It’s highly recommended to link a bank account or debit card for full functionality, especially for accepting and withdrawing funds.
Preparing Your Account for Incoming Funds
Setting up your Venmo account correctly is paramount to ensure a smooth payment acceptance process. This involves initial profile creation, linking your financial instruments, and, importantly, verifying your identity and managing privacy settings.
The Initial Setup: Creating Your Profile
Creating a Venmo account is straightforward and can be done via the mobile app (available on iOS and Android) or the Venmo website.
- Download the App: Search for “Venmo” in your device’s app store and download it.
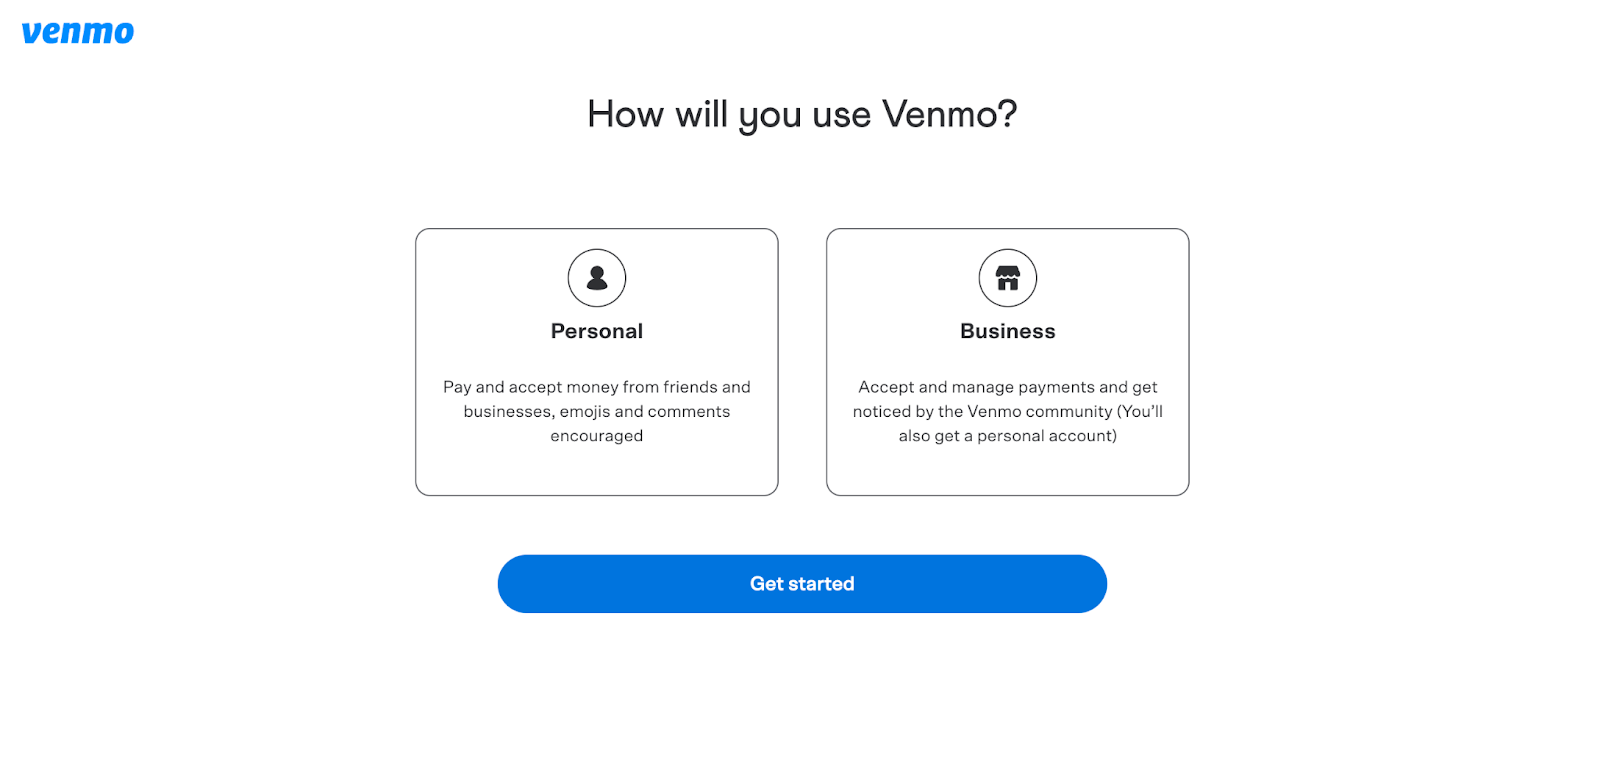
- Sign Up: Open the app and tap “Sign up.” You’ll be prompted to enter your phone number, email address, and create a strong password.
- Verify Your Phone Number: Venmo will send a verification code to your registered phone number. Enter this code in the app to proceed.
- Enter Personal Details: Provide your legal first name, last name, and date of birth. This information is crucial for identity verification.
- Choose a Username: Select a unique username. This is how others will find and send money to you.
- Grant Permissions: Allow Venmo to access your contacts (optional, but makes finding friends easier) and enable push notifications (highly recommended for payment alerts).
Linking Essential Financial Instruments
To fully utilize Venmo, especially for withdrawing funds or sending money, you’ll need to link a funding source.
- Navigate to Settings: From the Venmo app, tap the three horizontal lines (or your profile picture) to open the menu, then select “Settings.”
- Go to Payment Methods: Under “Preferences,” tap “Payment Methods.”
- Add a Bank or Card: Choose to “Add a bank or card.”
- Bank Account: You can either instantly link your bank account by logging into your online banking portal through Venmo’s secure integration (recommended for speed and convenience) or manually enter your bank’s routing and account numbers. Manual verification involves Venmo sending two small deposits to your account, which you’ll need to confirm in the app, a process that can take a few business days.
- Debit/Credit Card: Enter your card number, expiration date, CVV, and billing zip code. Note that while debit card transactions typically incur no fees for sending, credit card transactions for sending money usually come with a 3% fee. Receiving money is generally free, regardless of the sender’s payment method.
Verifying Your Identity for Enhanced Security
Identity verification is a critical step, especially for those who plan to transact frequently or move larger sums of money. Venmo requires verification to comply with federal regulations and to protect users from fraud. Without a verified identity, you may face limitations on how much money you can send, receive, or transfer to your bank.
- Access Verification: In “Settings,” look for “Identity Verification” or “Complete ID Verification.”
- Provide Details: You’ll typically be asked to provide your Social Security number (SSN), your full legal name, date of birth, and mailing address.
- Photo ID (Optional): In some cases, Venmo might request a photo of a government-issued ID (like a driver’s license or passport) for further verification.
Completing this process significantly increases your transaction limits and unlocks all of Venmo’s features, making it a more robust tool for managing payments.
Privacy Settings: Controlling Your Digital Footprint
Venmo has a unique social feed where transactions are displayed. By default, transactions are public, meaning anyone on Venmo can see the sender, receiver, and transaction note. However, you have full control over your privacy settings.
- Access Privacy Settings: Go to “Settings,” then “Privacy.”
- Choose Your Default: You can set your default privacy for future payments to “Public,” “Friends,” or “Private.”
- Public: Visible to everyone on Venmo.
- Friends: Visible only to your Venmo friends.
- Private: Visible only to the sender and receiver.
- Adjust Past Transactions: You can also change the privacy settings for individual past transactions. It’s advisable to review these settings, especially if you’re receiving payments that you prefer to keep confidential.
The Core Mechanics: Accepting a Payment Request or Direct Send
The fundamental act of accepting a Venmo payment is surprisingly simple. Once your account is set up and verified, funds sent to you will generally appear almost instantly in your Venmo balance.
Understanding Different Payment Scenarios
Payments on Venmo primarily occur in two ways that result in you accepting funds:
- Direct Send: Someone simply sends money to your Venmo username, phone number, or email address. This is the most common scenario.
- Payment Request: You send a “request” for money to another Venmo user, and they fulfill it. While the title focuses on you accepting a payment, rather than you requesting one, it’s a common interaction where the user receives funds after a request.
Receiving a Direct Payment: Notifications and Confirmation
When someone sends you money via Venmo, the process is largely automated on your end.
- Notification: You will typically receive a push notification on your phone (if enabled), an email, and/or a text message alerting you to the incoming payment.
- Check Your Feed: Open the Venmo app. The transaction will appear in your personal feed (the “You” tab).
- Verify Your Balance: The funds will be added to your Venmo balance, which is displayed prominently at the top of the “You” tab. There is no explicit “accept” button to tap; the funds are automatically added upon receipt. You’ll see the amount, the sender, and any accompanying note they included.
Locating Your Venmo Balance
Your Venmo balance is essentially a digital wallet within the app where all received funds are held until you decide to transfer them out or use them for other Venmo payments.
- “You” Tab: In the Venmo app, tap on the “You” tab (usually an icon with a person) at the bottom. Your current Venmo balance will be displayed prominently at the top of this screen. This screen also lists all your recent transactions, both sent and received.
Understanding Payment Statuses
While most Venmo payments are instant, it’s good to be aware of different statuses:
- Completed: The payment has been successfully processed and the funds are available in your Venmo balance.
- Pending: Very rarely, a payment might show as pending if there’s a delay with the sender’s bank or payment method, or if Venmo’s security system flags it for review. This is uncommon for standard P2P payments.
- Disputed/Refunded: If a sender disputes a payment (e.g., unauthorized transaction), or if they initiated a refund, the funds may be removed from your balance. Venmo has dispute resolution processes in place for such occurrences.
Managing Your Funds: Post-Acceptance Actions
Once you’ve accepted a payment and the funds are in your Venmo balance, you have several options for how to manage and utilize those funds.
Keeping Funds in Your Venmo Balance
You can choose to let the funds reside in your Venmo balance indefinitely.
- Pros: This allows for instant use of the funds to pay other Venmo users or make purchases with merchants that accept Venmo. It’s convenient for frequent users.
- Cons: Funds in your Venmo balance are not FDIC insured. While Venmo is a secure platform, for larger sums, it’s generally recommended to transfer money to an FDIC-insured bank account.
Transferring Funds to Your Bank Account
This is a crucial step for many users who wish to access their received funds outside of the Venmo ecosystem.
- Initiate Transfer: From the “You” tab, tap the “Transfer” button.
- Enter Amount: Input the amount you wish to transfer.
- Choose Transfer Speed:
- Standard Transfer (Free): Funds typically arrive in your linked bank account within 1-3 business days. This option is free of charge.
- Instant Transfer (Fee Applied): For a small fee (typically 1.75% of the transferred amount, with a minimum of $0.25 and a maximum of $25), funds can be transferred to your linked debit card or bank account, usually within minutes (though it can take up to 30 minutes).
- Confirm Transfer: Review the details and confirm the transfer.
Ensure your linked bank account details are correct to avoid delays or issues with the transfer.
Using the Venmo Debit Card
For even quicker access to your Venmo balance, consider the Venmo Debit Card. This Mastercard-branded debit card is directly linked to your Venmo balance.
- Spend Directly: You can use the Venmo Debit Card anywhere Mastercard is accepted, drawing directly from your Venmo balance. If your balance is insufficient, you can set it to pull from a linked bank account.
- ATM Access: It also allows you to withdraw cash from ATMs (fees may apply).
- Ordering: You can apply for the Venmo Debit Card directly through the Venmo app. This offers a convenient way to spend your received funds without needing to transfer them to a separate bank account first.
Troubleshooting Common Payment Acceptance Issues
While Venmo is generally reliable, you might occasionally encounter minor issues:
- Delayed Notifications: Check your email spam folder or Venmo app directly if you don’t receive a notification. Ensure app notifications are enabled in your phone’s settings.
- Incorrect Amount/Sender: If the amount is wrong or from an unexpected sender, contact the sender directly to resolve it. If it’s a suspicious payment, do not interact with it and report it to Venmo support.
- Payment Limits: Ensure you haven’t hit any daily or weekly receiving limits, especially if your identity isn’t fully verified. Check Venmo’s limits in the app settings or on their help page.
- Account Holds: Rarely, Venmo might place a hold on funds if they detect suspicious activity. In such cases, contact Venmo Support immediately to resolve the issue.
Maximizing Security and Efficiency on Venmo
Beyond simply accepting payments, understanding Venmo’s security features and best practices for efficient use is critical for a safe and seamless experience.
Safeguarding Your Account: Best Practices
Digital security is paramount for any financial app.
- Strong, Unique Password: Use a complex password that isn’t reused on other sites.
- Two-Factor Authentication (2FA): Always enable 2FA for an extra layer of security. This requires a code from your phone in addition to your password for login.
- Recognize Scams: Be wary of unsolicited payments from unknown individuals, especially if they request you to send money back. Venmo transactions are generally irreversible; once you send money, it’s gone. If you receive a suspicious payment, do not touch it and contact Venmo support.
- Monitor Activity: Regularly check your transaction history for any unauthorized activity.
- Secure Wi-Fi: Avoid accessing Venmo on public, unsecured Wi-Fi networks where data can be intercepted.
Understanding Transaction Limits
Venmo implements various limits for sending, receiving, and transferring money. These limits vary based on whether your identity is verified and the type of transaction.
- Unverified Accounts: Typically have lower limits (e.g., $299.99 for total transactions weekly).
- Verified Accounts: Have significantly higher limits (e.g., $4,999.99 weekly for sending P2P payments, higher limits for bank transfers). Always check Venmo’s official support pages or your app’s settings for the most current limits applicable to your account. Being aware of these limits helps avoid unexpected transaction failures.
Leveraging Business Profiles
For those who accept payments for goods or services, Venmo offers “business profiles.” While the core process of accepting a payment remains similar, using a business profile provides several advantages:
- Distinct Profile: Separates personal and business transactions.
- Tax Documentation: Venmo provides tax documentation (e.g., 1099-K) for business accounts that meet certain thresholds, simplifying tax reporting.
- Enhanced Features: Often comes with QR codes for easy payments, and potentially dispute resolution tailored for business transactions.
- Fees: Note that business payments typically incur a small seller transaction fee (e.g., 1.9% + $0.10), unlike free personal P2P payments.
If you regularly receive payments for sales, services, or freelancing, upgrading to a business profile is a technically sound and often legally prudent move.

Staying Updated with Venmo Features
The digital landscape evolves rapidly, and so do payment apps.
- Regular App Updates: Always ensure your Venmo app is updated to the latest version. Updates often include critical security patches, bug fixes, and new features that enhance user experience and safety.
- Read Venmo Communications: Pay attention to emails or in-app notifications from Venmo regarding changes in policies, features, or security alerts. Staying informed ensures you are always using the platform optimally and securely.
Accepting a Venmo payment is designed to be a frictionless experience, integrating seamlessly into your digital life. By understanding the setup process, being aware of privacy and security settings, and knowing how to manage your funds post-acceptance, you can confidently leverage Venmo as a powerful tool for all your personal payment needs.
aViewFromTheCave is a participant in the Amazon Services LLC Associates Program, an affiliate advertising program designed to provide a means for sites to earn advertising fees by advertising and linking to Amazon.com. Amazon, the Amazon logo, AmazonSupply, and the AmazonSupply logo are trademarks of Amazon.com, Inc. or its affiliates. As an Amazon Associate we earn affiliate commissions from qualifying purchases.