One of the most common questions new users ask when considering a shift to Linux, or even just exploring a dual-boot setup, is “how long does Ubuntu take to install?” It’s a perfectly valid inquiry, driven by a desire to plan, manage expectations, and perhaps compare the installation experience with other operating systems. The short answer, frustratingly, is: “it depends.” However, this seemingly vague response opens the door to a deeper understanding of the various elements that influence the installation duration.
Ubuntu, a popular and user-friendly Linux distribution, is known for its relatively straightforward installation process. Yet, the time it takes can range from a brisk 10-15 minutes on a modern, high-performance machine to upwards of an hour on older hardware or with specific configuration choices. For anyone venturing into the world of open-source operating systems, understanding these variables isn’t just about curiosity; it’s about setting realistic expectations and even optimizing the process for a faster, smoother transition.

In this comprehensive guide, we’ll delve into the myriad factors that determine Ubuntu’s installation time, offer typical timelines for different scenarios, and provide actionable tips to help you achieve the quickest possible setup. Whether you’re a seasoned tech enthusiast or a complete novice, this information will equip you to tackle your Ubuntu installation with confidence and efficiency.
The Core Determinants of Ubuntu Installation Speed
The installation of any operating system is a complex interplay of hardware capabilities, software choices, and network conditions. Ubuntu is no exception. By understanding these fundamental factors, you can better anticipate your installation time and even make informed decisions to accelerate the process.
Hardware Specifications: The Foundation of Performance
Undoubtedly, your computer’s hardware is the single most significant factor in how long Ubuntu will take to install. Faster, more modern components translate directly into quicker operations.
Storage Drive: SSD vs. HDD
This is arguably the most critical hardware component influencing installation speed.
- Solid State Drives (SSDs): If your computer boasts an SSD, you’re in for a treat. SSDs offer dramatically faster read and write speeds compared to traditional hard disk drives. When installing Ubuntu, a substantial amount of data needs to be copied from the installation media to your permanent storage. An SSD can complete this file transfer phase in a fraction of the time an HDD would require, often bringing the total installation time down to 10-20 minutes. The rapid random access times of SSDs also speed up the unpacking of compressed files and the creation of system directories.
- Hard Disk Drives (HDDs): On the other hand, if your system relies on an HDD, expect the installation to take considerably longer. HDDs are mechanical devices with spinning platters and read/write heads, making them inherently slower. Installation times can easily stretch to 30-60 minutes, or even more on older, slower HDDs. The bottleneck here is almost always the sustained data transfer rates and the seek times during the file copying and system configuration phases.
Processor and RAM
While storage is primary, your CPU (processor) and RAM (random access memory) also play crucial supporting roles.
- Processor (CPU): A faster multi-core processor will handle the decompression of installation files, execution of scripts, and overall system configuration more quickly. While not as dominant a factor as storage, an older, slower CPU can add several minutes to the process. Modern multi-core CPUs (Intel Core i5/i7/i9, AMD Ryzen 5/7/9 or similar generations) make quick work of these tasks.
- RAM (Random Access Memory): Sufficient RAM (4GB or more is recommended for modern Ubuntu versions) ensures that the installer can operate smoothly without constantly swapping data to slower storage. If you have minimal RAM, the system might slow down as it struggles to hold all necessary processes in memory, potentially increasing the installation time. However, for most users with at least 2GB of RAM, this factor is less of a bottleneck than storage or CPU.
USB Drive Speed and Quality
The medium from which you install Ubuntu also matters.
- USB 3.0 vs. USB 2.0: Most modern computers have USB 3.0 (or even 3.1/3.2) ports, which offer significantly higher data transfer rates than the older USB 2.0 standard. If your bootable USB drive is plugged into a USB 3.0 port (and is itself a USB 3.0 drive), the initial boot-up of the installer and the transfer of temporary files will be noticeably faster. Using a USB 2.0 drive in a USB 2.0 port will inevitably slow down the initial phase of the installation.
- Quality of USB Drive: Not all USB drives are created equal. Cheap, low-quality USB sticks can have abysmal read/write speeds, turning them into a bottleneck even if your ports are fast. Investing in a decent quality USB 3.0 flash drive (e.g., from reputable brands like SanDisk, Kingston, Crucial) can save you precious minutes.
Software Choices and Network Connectivity
Beyond hardware, the decisions you make during the installation process and the state of your internet connection can also impact the overall time.
Ubuntu Version and Installation Options
- Ubuntu Desktop vs. Server: Installing Ubuntu Desktop, with its full graphical environment and pre-installed applications, will naturally take longer than installing Ubuntu Server, which is a command-line interface (CLI) only system with a minimal set of packages. The server version requires fewer files to be copied and configured.
- Minimal Installation vs. Normal Installation: The Ubuntu installer typically offers “Normal installation” (which includes a web browser, office suite, media players, and games) and “Minimal installation” (only a web browser and basic utilities). Choosing “Minimal” will reduce the number of packages to be downloaded and installed, thus shortening the time.
- Third-Party Software and Drivers: During installation, you’re usually given an option to install “third-party software for graphics and Wi-Fi hardware and additional media formats.” While highly recommended for compatibility, checking this box means additional downloads and installations, which will extend the process.
Internet Connection and Updates
- “Download updates while installing Ubuntu”: This checkbox is a double-edged sword. On one hand, it ensures your system is up-to-date from the get-go, reducing post-installation tasks. On the other hand, it requires an active internet connection and will add the time it takes to download potentially hundreds of megabytes of updates. If your internet connection is slow or unstable, this can significantly prolong the installation.
- No Internet Connection: If you choose not to download updates or are installing offline, the process will be faster as it skips the network communication and download phases. You’ll simply need to update your system manually after installation.
Installation Method and User Interaction
How you choose to install Ubuntu and the decisions you make during the setup wizard also play a role.
Clean Install vs. Dual Boot vs. Virtual Machine
- Clean Install (Erase Disk): This is often the fastest method if you’re dedicating the entire drive to Ubuntu. The installer can automatically partition and format the disk without needing to resize existing partitions or navigate complex dual-boot configurations.
- Dual Boot (Install Ubuntu alongside Windows/macOS): Setting up a dual-boot system involves resizing existing partitions, which can be a time-consuming operation, especially on large, fragmented HDDs. The installer needs to ensure data integrity during this process, making it slower than a clean install.
- Virtual Machine (VM): Installing Ubuntu in a virtual machine (using software like VirtualBox or VMware Workstation) depends heavily on the host machine’s resources (CPU, RAM, storage allocated to the VM). While often very fast on a powerful host, the overhead of virtualization can add a few minutes compared to a bare-metal install on similar hardware.
Partitioning and Encryption Decisions
- Manual Partitioning: If you opt for “Something else” to manually partition your disk, the time spent interacting with the installer will increase. However, the actual file copying time won’t change dramatically unless your manual choices are inefficient.
- Disk Encryption: Encrypting your entire Ubuntu installation (using tools like LUKS) adds an extra layer of security but introduces an overhead during setup. The system needs to set up the encryption scheme, which can add a few minutes to the installation process, especially during the partitioning and file copying stages.
- LVM (Logical Volume Management): Using LVM provides flexibility for managing disk space later, but configuring it during installation can also add a slight amount of time due to the extra setup steps involved.
Demystifying the Installation Timeline: Typical Scenarios
To provide a more concrete idea, let’s look at typical installation times across various common setups. These are estimates and can still fluctuate based on the specific factors discussed above.
Modern System with an SSD: The Express Lane
- Hardware: Intel Core i5/i7 (8th Gen or newer) or AMD Ryzen 5/7, 8GB+ RAM, NVMe or SATA SSD, USB 3.0 drive, fast internet.
- Choices: Normal installation, download updates, install third-party drivers.
- Estimated Time: 15 to 25 minutes.
- Booting from USB and initial setup: 1-3 minutes.
- Connecting to Wi-Fi, selecting options: 2-4 minutes.
- File copying, package installation, update download: 10-15 minutes (SSD is key here).
- Bootloader installation and finalization: 1-2 minutes.
- Reboot: Less than 1 minute.
This scenario represents the ideal and is what many users experience on newer machines.
Traditional System with an HDD: A More Measured Pace
- Hardware: Intel Core i3 (older generation) or AMD A-series, 4GB RAM, 5400 RPM HDD, USB 2.0 drive, average internet.
- Choices: Normal installation, download updates, install third-party drivers.
- Estimated Time: 40 to 75 minutes.
- Booting from USB and initial setup: 3-5 minutes.
- Connecting to Wi-Fi, selecting options: 3-5 minutes.
- File copying, package installation, update download: 30-60 minutes (HDD is the major bottleneck).
- Bootloader installation and finalization: 3-5 minutes.
- Reboot: 1-2 minutes.
On older hardware, especially with a slow HDD, patience is a virtue.
Minimal Installs and Virtual Environments
- Ubuntu Minimal/Server:
- Hardware: Any decent system.
- Choices: Minimal installation, no GUI, no third-party software.
- Estimated Time: 10 to 20 minutes. Less data to copy, fewer packages to configure.
- Virtual Machine Installation:
- Hardware: Powerful host machine (SSD, good CPU, plenty of RAM allocated to VM).
- Choices: Normal installation in a VM.
- Estimated Time: 20 to 35 minutes. Similar to a modern system, but with some virtualization overhead. Performance can degrade if the host is underpowered or the VM isn’t allocated enough resources.
A Step-by-Step Journey: What Happens During Ubuntu Installation?
To further clarify why the time varies, let’s break down the general phases of an Ubuntu installation and highlight where the time is typically spent.
Pre-Installation Preparations: Setting the Stage
These steps happen before the main installer even launches, but are crucial for a smooth process.
- Downloading the ISO Image (Variable): The Ubuntu ISO file is typically around 3-5GB. The time this takes depends entirely on your internet download speed. (e.g., 5GB on a 100 Mbps connection is ~7 minutes; on a 10 Mbps connection, it’s ~70 minutes).
- Creating a Bootable USB Drive (5-15 minutes): Using tools like Rufus (Windows), Etcher (cross-platform), or the
ddcommand (Linux), you’ll “burn” the ISO image to a USB flash drive. The speed here depends on your USB drive’s write speed and whether you’re using USB 2.0 or 3.0. - Configuring BIOS/UEFI (2-5 minutes): You’ll need to enter your computer’s BIOS/UEFI settings (usually by pressing F2, F10, F12, or Del during boot) to change the boot order, ensuring your computer boots from the USB drive instead of your internal hard drive.
The Core Installation Process: From Boot to Desktop
This is where the actual “installation time” clock starts ticking.
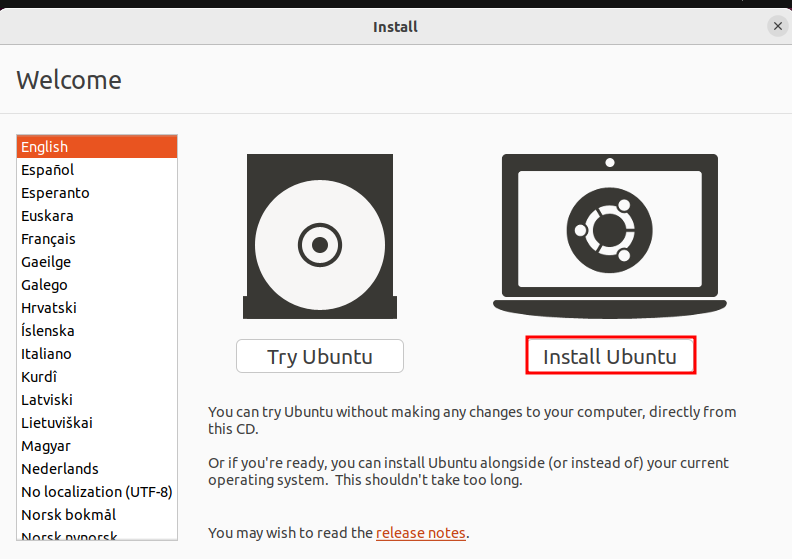
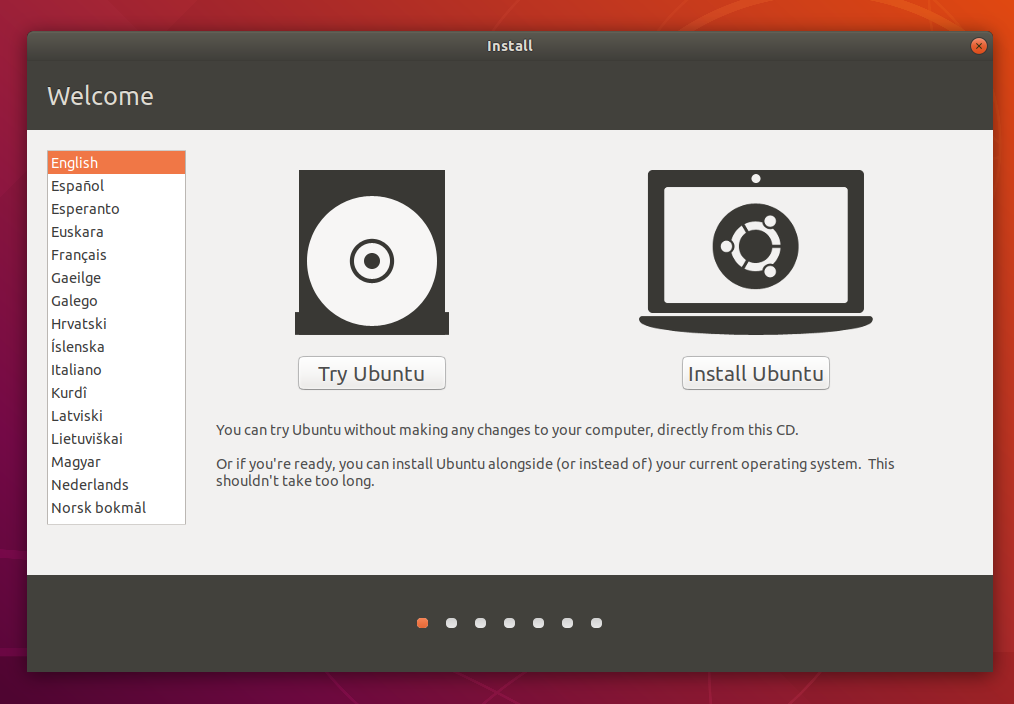
- Booting from USB and Initial Selections (2-5 minutes):
- Your computer boots into the Ubuntu installer environment.
- You choose “Try Ubuntu” (to live boot) or “Install Ubuntu.” Opting to install directly saves a bit of time.
- You select your language, keyboard layout, and whether to connect to Wi-Fi. Connecting to Wi-Fi allows for updates to be downloaded during installation.
- Preparing to Install Ubuntu (3-10 minutes):
- The installer checks for minimum system requirements (disk space, internet connection if chosen).
- You choose “Normal installation” or “Minimal installation.”
- You decide whether to “Download updates while installing Ubuntu” and “Install third-party software.” These choices significantly impact download time.
- Installation Type and Disk Operations (5-60 minutes):
- This is often the longest phase. You choose how Ubuntu interacts with your disk:
- “Erase disk and install Ubuntu”: The fastest option for a clean install. The installer handles partitioning.
- “Install Ubuntu alongside Windows”: The installer resizes existing partitions. This can take longer, especially on fragmented HDDs.
- “Something else”: Manual partitioning. The time taken here depends on user interaction and the complexity of your scheme.
- If you choose encryption or LVM, additional setup time is factored in.
- Once you confirm, the installer begins copying files, creating partitions, and formatting.
- This is often the longest phase. You choose how Ubuntu interacts with your disk:
- Copying Files and Installing System Components (5-45 minutes):
- This is the bulk of the process. The installer copies all necessary system files, applications, and configurations from the USB drive to your internal storage. This stage is heavily dependent on your storage drive’s write speed (SSD vs. HDD) and the overall system performance.
- During this time, if chosen, updates and third-party drivers are downloaded and integrated.
- User Setup and Final Touches (2-5 minutes):
- While files are copying, you’ll be prompted to set up your user account (name, username, password), choose a computer name, and select your time zone.
- The installer then configures GRUB (the bootloader), sets up initial system services, and performs final configurations.
- Installation Complete and Reboot (1-2 minutes):
- Once all files are copied and configured, you’ll receive a notification that the installation is complete and be prompted to restart your computer. You’ll typically remove the USB drive at this point.
Optimizing Your Ubuntu Installation for Speed and Efficiency
While some factors are immutable (like your hardware), there are several strategies you can employ to minimize the time Ubuntu takes to install and ensure a smooth experience.
Strategic Hardware Upgrades and Preparations
- Upgrade to an SSD: If you’re still using an HDD as your primary drive, an upgrade to an SSD will provide the most dramatic speed improvement, not just for installation but for overall system performance. This is a worthwhile investment for any computer user.
- Use a Fast USB Drive: Invest in a reputable USB 3.0 flash drive (at least 8GB, preferably 16GB) and plug it into a USB 3.0 port on your computer. This ensures the fastest possible read speeds for the installation media.
- Check RAM: Ensure you have at least 4GB of RAM. While Ubuntu can technically run on less, more RAM helps the installer work more efficiently.
- Clean Up Disk (if dual-booting): If you’re dual-booting and resizing an existing Windows partition, defragment your Windows drive beforehand. This can make the resizing process faster and safer.
Smart Choices During the Installation Wizard
- Choose “Minimal Installation”: If you prefer a leaner system and want to install only the applications you need, choosing “Minimal installation” will save time by reducing the number of packages transferred and configured. You can always install more software later using the Ubuntu Software Center or the command line.
- Skip Updates During Installation (If Internet is Slow): If you have a slow internet connection, uncheck “Download updates while installing Ubuntu” and “Install third-party software.” This will significantly speed up the core installation. You can easily update your system and install necessary drivers after the first boot.
- Disconnect from the Internet (Optional): To guarantee no delays from network issues, you can temporarily disconnect your computer from the internet (unplug Ethernet, turn off Wi-Fi) during the initial phases of the installer. You’ll still get a fast offline install, and then connect to update later.
- Consider a Clean Install: If you don’t need to preserve existing data or other operating systems on a particular drive, choosing “Erase disk and install Ubuntu” is often the quickest and most straightforward path.
Post-Installation Productivity Boosters
While not part of the installation time, getting your system ready for work quickly is part of the overall “setup experience.”
- Run Updates Immediately: After the first boot, immediately open the “Software Updater” or run
sudo apt update && sudo apt upgrade -yin the terminal to fetch and install all available updates and security patches. - Install Essential Software: Use the Ubuntu Software Center to quickly install common applications like web browsers (Chrome, Firefox), office suites (LibreOffice is pre-installed, but you might want WPS Office), media players (VLC), and communication apps.
- Install Drivers: If you skipped third-party drivers during installation, navigate to “Software & Updates” -> “Additional Drivers” to install proprietary graphics drivers for NVIDIA or AMD GPUs, or specialized Wi-Fi adapters.
Final Thoughts: Embracing the Ubuntu Experience
The question “how long does Ubuntu take to install?” is multi-faceted, with answers ranging from under 15 minutes to over an hour, depending on a multitude of factors. While specific hardware, internet speed, and choices made during the installation process all play a role, a well-prepared user can significantly influence the outcome.
Ubuntu’s robust installer is designed for ease of use, making the process generally painless even for beginners. By understanding the core determinants of installation speed and applying the optimization tips outlined above, you can ensure your transition to Ubuntu is as quick and smooth as possible. Once installed, you’ll open the door to a powerful, customizable, and secure operating system that empowers productivity and innovation. Welcome to the vibrant world of Linux!
aViewFromTheCave is a participant in the Amazon Services LLC Associates Program, an affiliate advertising program designed to provide a means for sites to earn advertising fees by advertising and linking to Amazon.com. Amazon, the Amazon logo, AmazonSupply, and the AmazonSupply logo are trademarks of Amazon.com, Inc. or its affiliates. As an Amazon Associate we earn affiliate commissions from qualifying purchases.