
In an increasingly digital world, where virtual meetings, online content creation, remote work, and distance learning have become integral parts of our daily lives, a reliable and high-quality webcam is no longer a luxury but a necessity. Logitech, a brand synonymous with innovation and excellence in computer peripherals, stands out as a top choice for many. Their webcams are renowned for their superior image quality, robust build, and user-friendly features, making them a popular staple for both professionals and casual users alike.
While the plug-and-play nature of modern technology often makes installing devices straightforward, maximizing the potential of your Logitech webcam involves a few crucial steps and considerations. This guide will walk you through the entire process, from initial setup to advanced optimization and troubleshooting, ensuring you get the most out of your investment. By understanding the nuances of installation and configuration, you’ll be well-equipped to leverage your new camera for crystal-clear communication, captivating content, and an enhanced digital experience. Whether you’re upgrading an old device, setting up a new workstation, or diving into the world of streaming, a proper installation is the first step toward unlocking your Logitech webcam’s full capabilities.
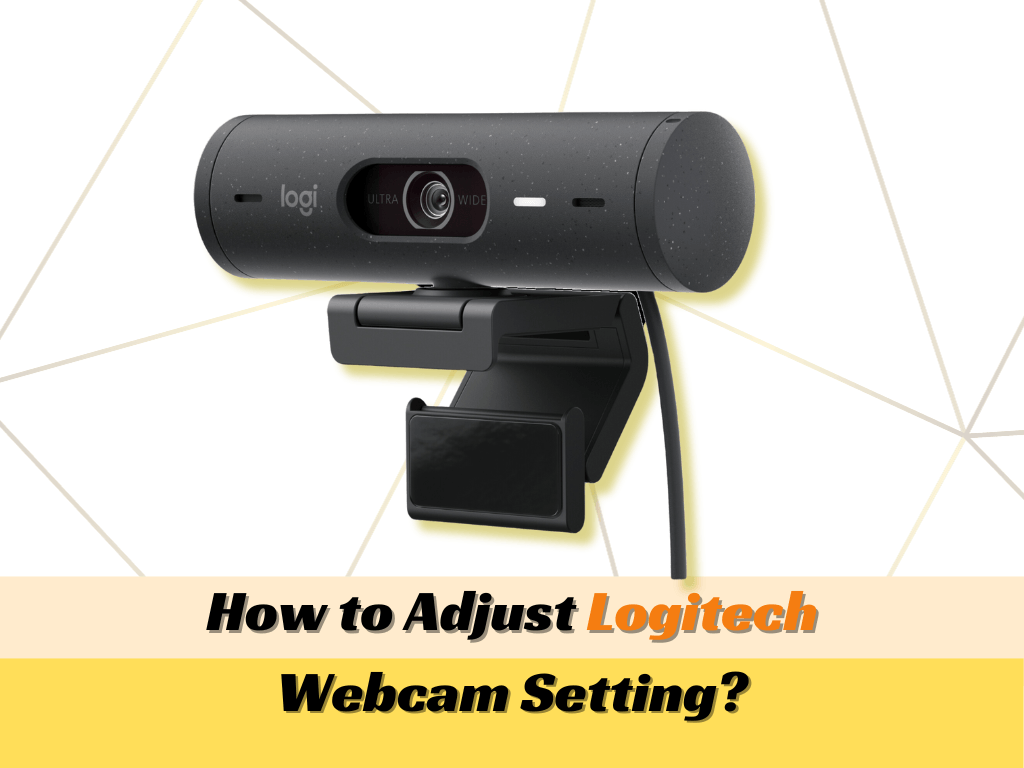
Preparing for Your Logitech Webcam Installation
Before you even plug in your new Logitech webcam, a little preparation can go a long way in ensuring a smooth and hassle-free installation process. Taking these preliminary steps helps you avoid common pitfalls and sets the stage for optimal performance.
Unboxing and Initial Checks
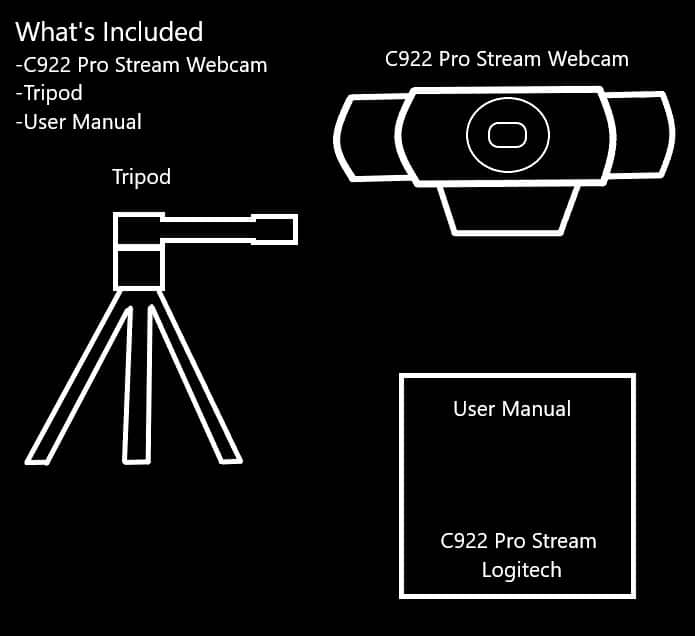
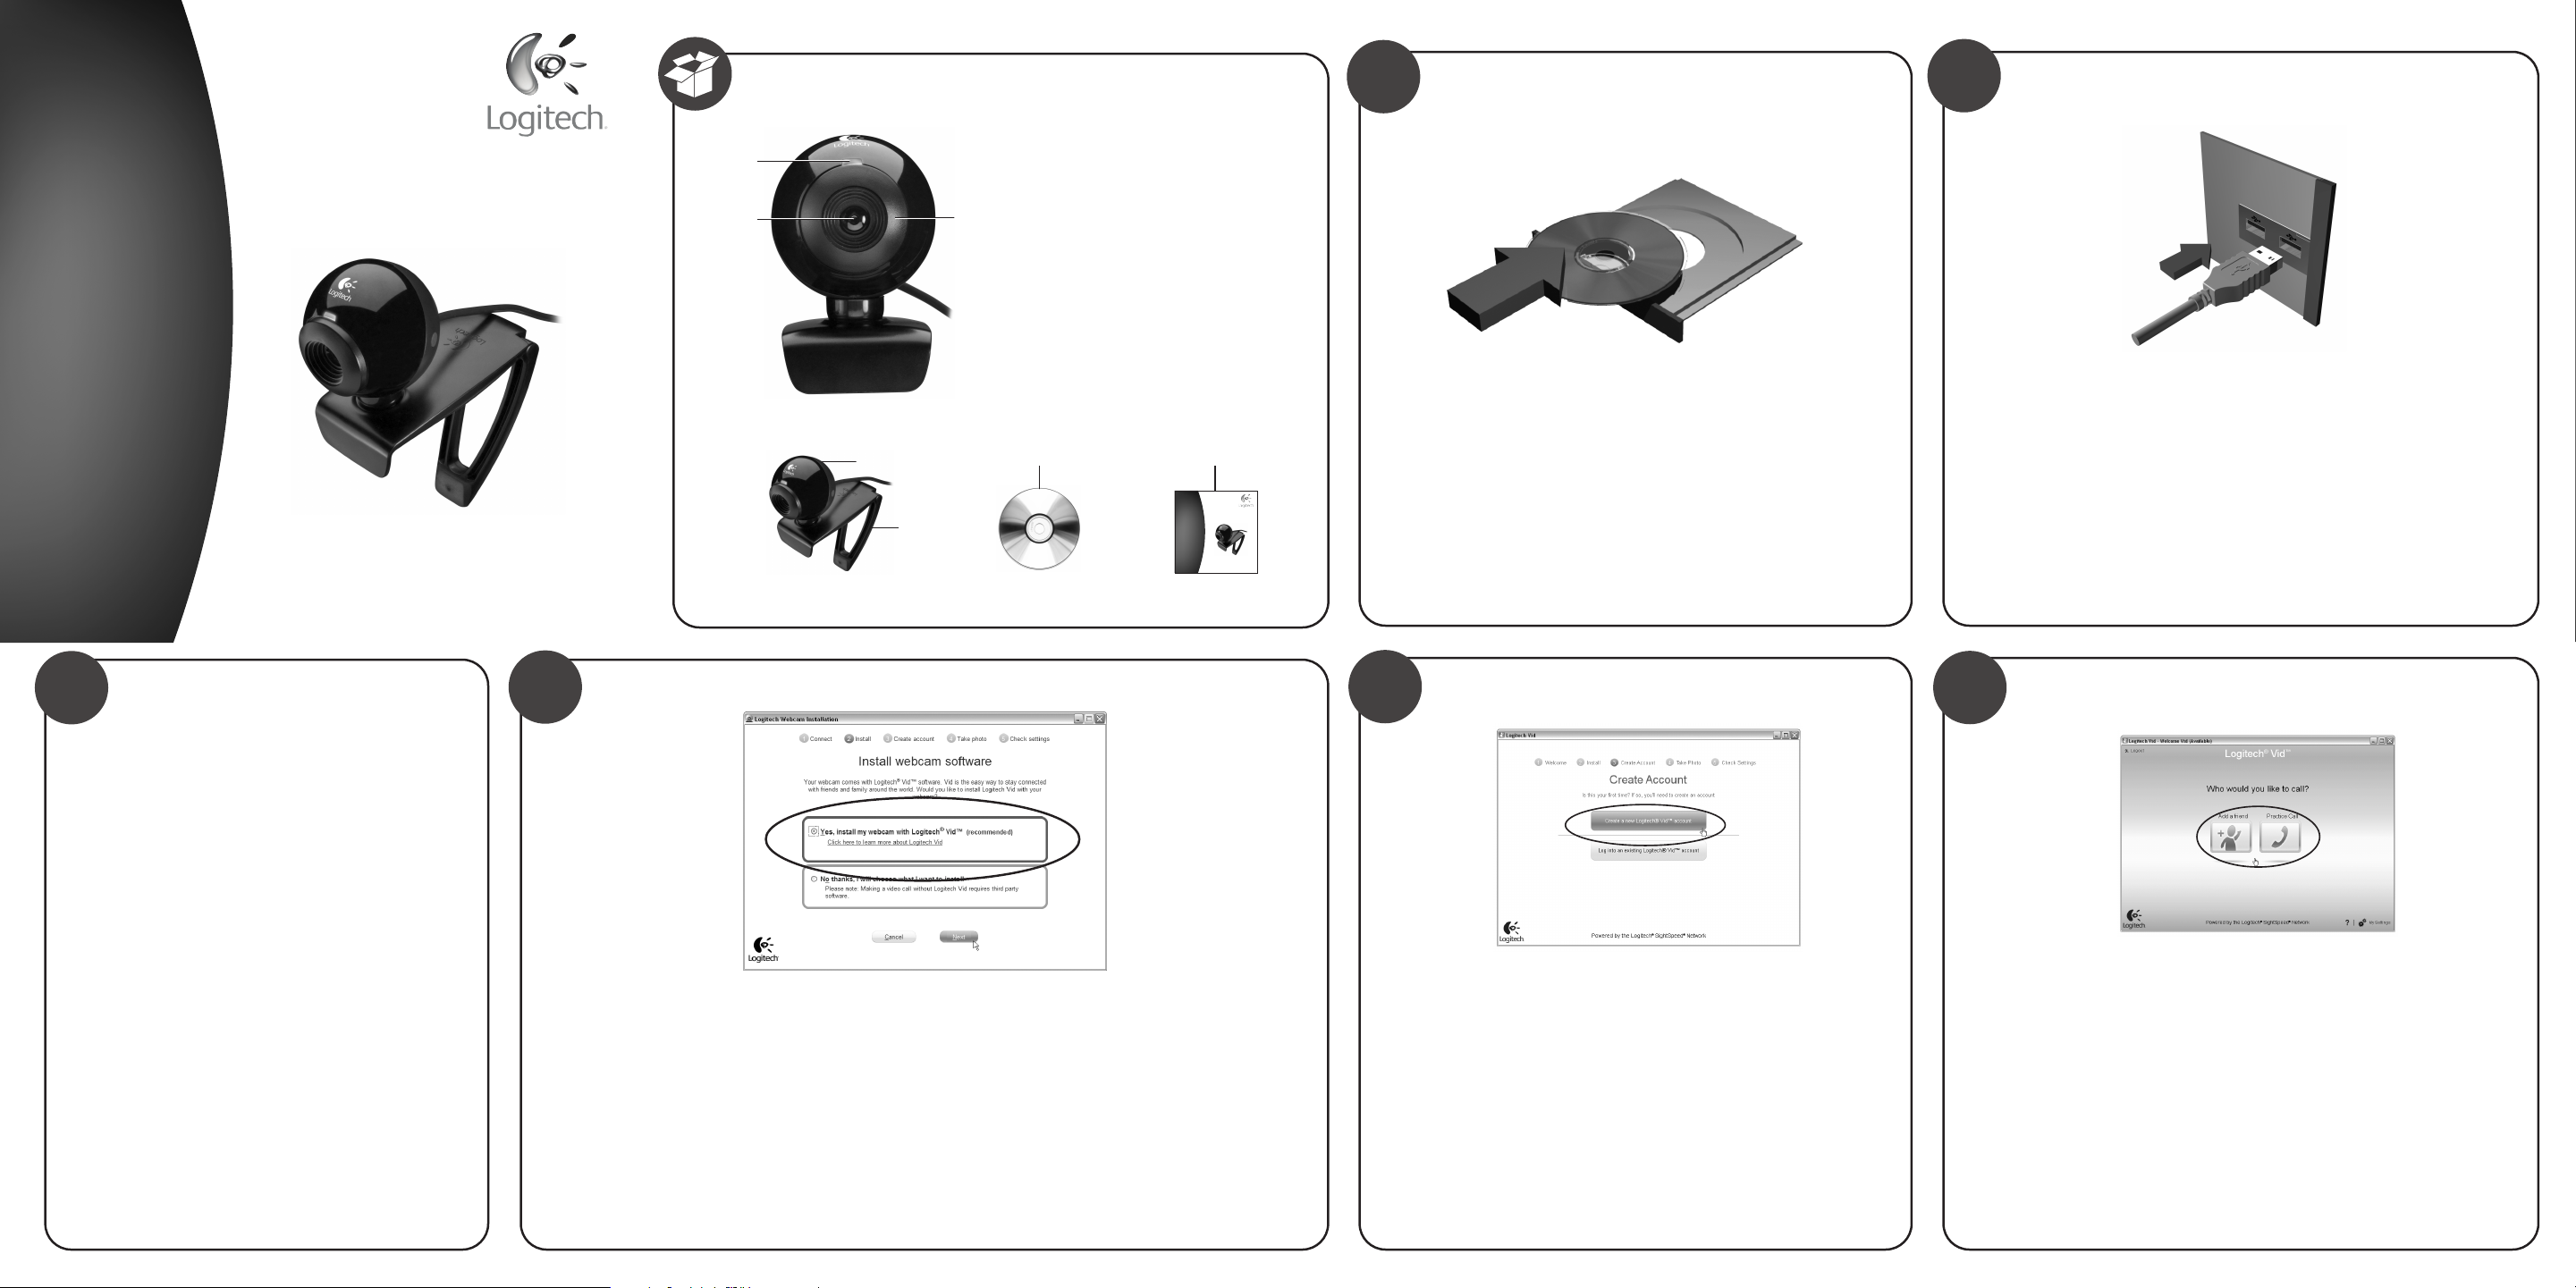
The excitement of unboxing new tech is undeniable, but it’s also an opportune moment for a quick inspection. Carefully open the packaging and ensure all expected components are present. Typically, a Logitech webcam box contains the webcam unit itself, an integrated USB cable (though some models may have detachable ones), and a quick start guide or warranty information.
Take a moment to visually inspect the webcam and its cable for any signs of physical damage. Look for bent connectors, frayed wires, or cracks on the camera lens or body. While manufacturing defects are rare with a reputable brand like Logitech, identifying any issues at this stage allows for immediate replacement or support, preventing frustration down the line. Familiarize yourself with the webcam’s design, noting its clip mechanism (for monitors) or tripod mount if applicable. This initial check ensures that your device is ready for use and free from any shipping-related damage.
System Requirements and Compatibility
Understanding your computer’s specifications and ensuring compatibility is a critical preparatory step. Logitech webcams, while broadly compatible, perform best within certain parameters.
- Operating System: Confirm your operating system meets the minimum requirements. Logitech webcams generally support Windows (10 or later), macOS (10.14 or later), and Chrome OS. While many basic functions might work on older versions, full feature sets and software compatibility usually require more recent OS updates.
- USB Port Type: Most Logitech webcams connect via USB. Newer models often utilize USB 2.0 or 3.0 for better data transfer speeds, which can impact video quality, especially at higher resolutions (e.g., 1080p or 4K). Ensure your computer has an available USB port of the appropriate type. If you have a USB-C only laptop, you may need a reliable USB-A to USB-C adapter. Using a high-quality adapter is essential to avoid data transfer bottlenecks.
- Processor and RAM: While webcams don’t demand extreme processing power, recording or streaming high-resolution video (like 1080p at 60fps or 4K) can tax your CPU and RAM. A dual-core processor (Intel Core i5 or AMD Ryzen 5 equivalent) and at least 8GB of RAM are generally recommended for smooth performance, especially if you’re running other applications simultaneously.
- Internet Connection: An internet connection is crucial for downloading necessary drivers, Logitech’s proprietary software (like Logitech G HUB or Logitech Capture), and any firmware updates. Ensure your connection is stable before proceeding with software installations.
By verifying these system requirements, you can preemptively address any potential compatibility issues and ensure your computer is ready to handle the webcam’s capabilities without performance bottlenecks.
Choosing the Right Location
The physical placement of your webcam significantly impacts your video quality and overall presence. Thoughtful positioning can enhance your professional image or improve your streaming setup.
- Monitor/Laptop Screen: The most common placement is atop your monitor or laptop screen. Most Logitech webcams come with an adjustable clip that securely grips the top edge. Position it at eye level or slightly above to create a natural and engaging viewing angle. Avoid placing it too low, which can result in an unflattering upward angle.
- Tripod Mounting: For more flexibility, many Logitech webcams (especially higher-end models) include a standard tripod thread. This allows you to mount the camera on a small desk tripod or a larger stand, providing precise control over height and angle. This is particularly useful for streamers or content creators who need specific framing.
- Considerations:
- Lighting: Position yourself to have soft, even light illuminating your face from the front. Avoid strong backlighting (e.g., a window directly behind you), which can silhouette you and make your face dark. Natural light is excellent, but supplementary lighting like a ring light or desk lamp can significantly improve image quality, reducing graininess and enhancing clarity.
- Background: Be mindful of what’s behind you. A cluttered or distracting background can detract from your message. Opt for a clean, neutral background or utilize virtual backgrounds if your software supports it. Some Logitech webcams feature advanced background replacement capabilities, which work best with good lighting and a relatively uniform background.
- Proximity to Computer: While USB cables are generally long enough, keeping the webcam reasonably close to your computer’s USB port can help maintain a stable connection, especially with older or longer cables that might experience signal degradation.
Careful consideration of these factors before installation will ensure your Logitech webcam not only functions correctly but also presents you in the best possible light.
The Step-by-Step Installation Process
With your preparations complete, it’s time to physically install and set up your Logitech webcam. This process is generally straightforward, thanks to modern plug-and-play technology, but a few steps ensure full functionality.
Connecting the Webcam
The initial connection is often the simplest part of the installation.
- Plug-and-Play Functionality: Modern operating systems like Windows and macOS are designed to automatically detect and install basic drivers for most USB devices. Once you plug in your Logitech webcam, your computer should recognize it almost immediately. You might see a notification indicating that a new device has been detected and is being set up.
- Choosing the Correct USB Port: As discussed in the preparation phase, select an available USB port that matches or exceeds the webcam’s requirements (e.g., USB 3.0 for higher bandwidth webcams). If your computer has multiple USB controllers, trying different ports (e.g., ports directly on the motherboard for desktops, or different sides of a laptop) can sometimes resolve detection issues. Avoid using unpowered USB hubs if possible, as they might not provide sufficient power or bandwidth for optimal webcam operation.
- Ensuring a Secure Connection: Gently but firmly insert the USB connector into the chosen port. Ensure it’s fully seated and not loose. A secure physical connection is fundamental for the computer to maintain a stable communication link with the webcam. Once connected, place the webcam securely on your monitor or preferred mount, positioning it according to your earlier decisions about optimal angles and lighting.
Driver Installation and Software Setup
While basic functionality often works with generic drivers, Logitech provides dedicated software to unlock the full potential of your webcam.
- Automatic Driver Installation: For most users, when you plug in your Logitech webcam, Windows Update or macOS will automatically download and install the necessary basic drivers. You can often verify this by checking your Device Manager (Windows) or System Information > USB (macOS).
- Downloading Logitech G HUB or Logitech Capture: To access advanced features, customization options, and firmware updates, you’ll need Logitech’s proprietary software.
- Logitech G HUB: This unified software manages many Logitech devices, including some webcams (e.g., StreamCam, Brio). It allows you to customize video settings, apply filters, and manage profiles for different applications.
- Logitech Capture: Designed specifically for content creators, Logitech Capture offers more advanced camera controls, multi-source recording, live text overlays, and direct integration with streaming platforms.
- Visit the official Logitech support website for your specific webcam model to download the recommended software. Avoid third-party sites to ensure you get genuine and malware-free versions.
- Benefits of Proprietary Software: These applications offer a wealth of features that significantly enhance your webcam experience:
- Customization: Adjust brightness, contrast, white balance, saturation, sharpness, and exposure.
- Advanced Settings: Access features like field of view (FOV) adjustment, pan, tilt, and zoom (PTZ), autofocus control, and even chroma key (green screen) functionality for some models.
- Profiles: Save different configurations for various use cases (e.g., one for professional meetings, another for gaming streams).
- Firmware Updates: The software keeps your webcam’s firmware up to date, improving performance and adding new features.
- Importance of Keeping Software Updated: Regularly check for updates within Logitech G HUB or Capture. Updates often include bug fixes, performance improvements, and compatibility enhancements, ensuring your webcam performs optimally with the latest operating systems and applications.
Initial Configuration and Testing
After connecting and installing the drivers and software, it’s crucial to test your webcam to ensure everything is working correctly and to make initial adjustments.
- Opening Camera App:
- Windows: Search for “Camera” in the Start Menu and open the built-in Windows Camera app.
- macOS: Open “Photo Booth” from your Applications folder.
- Alternatively, you can test it directly within common video conferencing apps like Zoom, Microsoft Teams, or Google Meet by going into their video settings.
- Basic Picture and Video Testing: In your chosen camera app, you should see your webcam’s live feed. Take a few still pictures and record a short video clip. Pay attention to the clarity, color accuracy, and overall image quality.
- Microphone Testing (if integrated): Most Logitech webcams come with integrated microphones. Test the audio by speaking while recording a video or using the microphone testing feature in your communication app’s settings. Ensure your Logitech webcam’s microphone is selected as the default input device in your system sound settings and within any application you plan to use.
- Adjusting Focus, Brightness, and Contrast: Within the Logitech software (G HUB or Capture) or even within some communication apps, you can fine-tune these settings.
- Autofocus: Most Logitech webcams have excellent autofocus. If it struggles, ensure there’s enough light, or temporarily switch to manual focus if available.
- Brightness/Exposure: Adjust to ensure your face is well-lit without being overexposed or too dark.
- Contrast: Fine-tune for richer blacks and brighter whites.
- White Balance: Ensure colors look natural, not too warm (orange) or too cool (blue).
- Field of View (FOV): If your webcam supports it, adjust the FOV to frame yourself appropriately – a wider view for showing more of your environment, a narrower view for a tighter focus on your face.
By meticulously going through these installation and testing steps, you ensure your Logitech webcam is not only functional but also configured to deliver the best possible performance for your needs.
Optimizing Your Logitech Webcam Experience
Installing your Logitech webcam is just the beginning. To truly unlock its potential and ensure it consistently delivers exceptional performance, optimizing its settings and environment is key. This involves delving into advanced software features, mastering lighting techniques, and knowing how to troubleshoot common issues.
Advanced Settings and Customization
Logitech’s dedicated software (G HUB, Capture) is where the true power of your webcam lies, offering a suite of tools for fine-tuning your video feed.
- Exploring Logitech Software Features: Don’t just stick to the default settings. Take time to explore every menu and option within Logitech G HUB or Capture.
- Field of View (FOV): Many Logitech webcams, especially higher-end models, allow you to adjust the FOV. This is incredibly useful for framing. A wider FOV (e.g., 90 degrees) is great for group calls or showing more of your background, while a narrower FOV (e.g., 78 or 65 degrees) is ideal for a more focused, professional headshot.
- Pan/Tilt/Zoom (PTZ): Digital PTZ allows you to virtually move the camera’s view without physically touching the webcam, perfect for adjusting your frame during a live session.
- Chroma Key: For content creators, this feature enables virtual background replacement, even without a physical green screen, though a dedicated green screen significantly improves results.
- Filters and Effects: Experiment with built-in filters to enhance your appearance or add creative flair.
- Resolution and Frame Rate: Set your preferred resolution (e.g., 1080p, 720p) and frame rate (e.g., 30fps, 60fps) based on your internet bandwidth and application requirements. Higher settings provide better quality but demand more system resources and bandwidth.
- Presets for Different Use Cases: One of the most powerful features is the ability to create and save custom profiles or presets. For example, you might have:
- A “Meeting” preset with a tighter FOV, natural lighting, and standard resolution.
- A “Streaming” preset with optimized brightness, contrast, specific color grading, and a wider FOV.
- A “Casual” preset for family calls, perhaps with some playful filters.
Switching between these presets quickly saves time and ensures you’re always presenting your best self.
- Privacy Settings: Remember to configure privacy settings. Logitech software often includes options to quickly disable the camera or microphone when not in use. Physically covering your webcam with a privacy shutter (if included) or a simple sticky note is also a good habit for ultimate peace of mind.
Lighting and Environment Tips
Even the best webcam can’t overcome poor lighting. Optimizing your environment is crucial for professional-looking video.
- Importance of Good Lighting: The single biggest factor affecting webcam quality is lighting.
- Front-facing Light: Position a light source directly in front of you, slightly above eye level. This illuminates your face evenly, minimizes shadows, and makes you look clear and vibrant.
- Avoid Backlighting: Never have a bright window or lamp directly behind you. This will silhouette you, making your face appear dark and underexposed as the camera tries to compensate for the bright background.
- Soft, Diffused Light: Harsh, direct light can create unflattering shadows. Use diffused light sources (e.g., lights with diffusers, softboxes, or bouncing light off a wall). Ring lights are popular for providing soft, even front lighting.
- Using External Lights: Investing in an inexpensive ring light or a couple of small LED panel lights can dramatically improve your video quality, making you look more professional and presentable. Adjust their brightness and color temperature to match your environment.
- Minimizing Background Distractions: A clean and tidy background conveys professionalism and minimizes distractions for your audience.
- Declutter: Remove any unnecessary items from your camera’s view.
- Neutral Background: A plain wall, a bookshelf, or a well-organized office corner works best.
- Virtual Backgrounds: If your software or communication app supports it, virtual backgrounds can be a good solution, but they often work best with consistent lighting and, ideally, a green screen.
Troubleshooting Common Issues
Despite careful installation and optimization, you might occasionally encounter issues. Here’s how to troubleshoot some common problems:
- Webcam Not Detected:
- Check Connections: Ensure the USB cable is securely plugged into both the webcam and the computer. Try a different USB port.
- Restart Computer: A simple restart can often resolve driver conflicts or recognition issues.
- Device Manager (Windows) / System Information (macOS): Check if the webcam appears in your system’s device list. If it has a yellow exclamation mark, there’s a driver issue.
- USB Hubs: If using a USB hub, try plugging the webcam directly into the computer.
- Poor Image Quality:
- Lighting: Revisit your lighting setup. Lack of light is the most common cause of grainy, dark images.
- Focus: Ensure autofocus is working, or manually adjust focus within the Logitech software.
- Software Settings: Check brightness, contrast, white balance, and exposure settings in Logitech G HUB/Capture. Reset to defaults if you’ve made too many changes.
- Resolution/Frame Rate: Ensure you’re not trying to stream/record at a resolution or frame rate that your internet or system can’t handle. Lowering it slightly might improve quality.
- Microphone Issues:
- Input Device: Ensure the Logitech webcam’s microphone is selected as the default input device in your operating system’s sound settings and within the specific application you are using (Zoom, Teams, etc.).
- Volume Levels: Check input volume levels in your sound settings.
- Mute Button: Ensure the microphone isn’t physically muted on the webcam or virtually muted in your software.
- Outdated Drivers/Software: Always ensure your Logitech G HUB/Capture software and webcam firmware are up to date. Outdated versions can lead to compatibility issues or bugs.
- Conflicting Applications: Sometimes, another application might be hogging the webcam. Close any other apps that might be trying to use the camera.
By understanding these optimization techniques and troubleshooting strategies, you can maintain a consistently high-quality video presence and resolve most issues quickly, ensuring your Logitech webcam remains a reliable tool for all your digital interactions.
The Logitech Advantage: Why Choose Their Webcams?
While numerous webcam brands populate the market, Logitech has consistently maintained its position as a leader, earning a strong reputation among consumers and professionals alike. Understanding why Logitech webcams are a preferred choice underscores the value of your installation and optimization efforts.
Innovation and Quality
Logitech’s legacy in computer peripherals is built on a foundation of continuous innovation and unwavering commitment to quality. This philosophy extends directly to their webcam line.
- Logitech’s Reputation: For decades, Logitech has been synonymous with reliable and high-performance input devices. This brand recognition isn’t just marketing; it’s earned through consistent product delivery.
- Focus on Image Quality: Logitech webcams are engineered with superior optics and image sensors, often featuring glass lenses instead of plastic, which contributes to sharper images, better color reproduction, and improved low-light performance. Technologies like RightLight™ (Logitech’s automatic light correction) ensure you look good even in challenging lighting conditions.
- Audio Excellence: Many Logitech webcams incorporate dual omnidirectional microphones with noise reduction technology, providing clear audio pickup and minimizing background distractions, which is crucial for effective communication.
- Durability and Reliability: Logitech products are known for their robust build quality. A Logitech webcam is an investment designed to withstand daily use and provide consistent performance over many years, reducing the need for frequent replacements.
Versatility Across Use Cases
Logitech offers a diverse range of webcams, each designed with specific user needs in mind, highlighting their adaptability for various digital activities.
- Gaming and Streaming: Models like the StreamCam or Brio are tailored for streamers and content creators, offering high frame rates (e.g., 1080p 60fps), advanced software features like facial tracking, and seamless integration with streaming platforms.
- Professional Meetings: The popular C920 series and its successors (C922, C930e) are workhorses for business professionals, delivering crisp 1080p video, reliable autofocus, and wide compatibility with enterprise-grade video conferencing software. The focus here is on clear, consistent communication.
- Content Creation: Whether for YouTube tutorials, social media content, or online courses, Logitech webcams provide the clarity and customization needed to produce high-quality video content without requiring complex, expensive camera setups.
- Family Calls and Online Learning: Even for casual users, the enhanced clarity and audio quality elevate family video calls and make online learning experiences more engaging and effective compared to basic built-in laptop cameras.
Long-term Value and Support
Choosing a Logitech webcam is not just about the initial purchase; it’s about investing in a device that offers long-term value and dependable support.
- Investment in Quality Tech: While some budget webcams exist, a Logitech webcam represents a smart investment. Its superior performance, durability, and feature set mean it won’t need to be replaced as frequently, ultimately offering better value for money over its lifespan. The improved video and audio quality also elevate your digital presence, which can translate into professional advantages or more engaging personal interactions.
- Software Updates and Customer Support: Logitech provides regular software updates (G HUB, Capture) and firmware updates for their webcams, ensuring compatibility with new operating systems and applications, introducing new features, and patching bugs. This ongoing support extends the useful life of the device. Furthermore, Logitech’s customer support is generally well-regarded, offering assistance for troubleshooting or warranty claims.
- Cost-Effectiveness Over Alternatives: When considering the total cost of ownership, a slightly higher upfront investment in a Logitech webcam often proves more cost-effective than repeatedly buying cheaper, less reliable alternatives that quickly become obsolete or frustrating to use. The peace of mind that comes with a reliable, high-performance device is invaluable.
In essence, selecting a Logitech webcam means opting for a product that combines cutting-edge technology with user-centric design, backed by a brand known for its commitment to excellence. The comprehensive installation and optimization steps detailed in this guide empower you to fully harness these advantages, transforming your digital interactions and content creation endeavors into seamless, high-quality experiences.
Conclusion
Installing a Logitech webcam is a straightforward yet incredibly impactful step toward enhancing your digital life. From the moment you unbox your device to the final fine-tuning of its advanced settings, each stage plays a vital role in unlocking the full potential of this powerful peripheral. By meticulously following the preparation guidelines, connecting your camera correctly, installing the necessary software, and conducting thorough initial tests, you lay the groundwork for a superior video and audio experience.
Furthermore, optimizing your webcam’s performance through advanced customization in Logitech G HUB or Capture, paying close attention to your lighting and background, and knowing how to troubleshoot common issues ensures that your digital presence is consistently polished and professional. The inherent advantages of choosing a Logitech webcam – from its innovative features and robust quality to its versatility across diverse use cases and long-term value – solidify its position as a top-tier investment for anyone navigating the modern digital landscape.
In an era where remote collaboration, online education, and digital content creation are paramount, a properly installed and optimized Logitech webcam empowers you to communicate with clarity, create with confidence, and connect authentically. Embrace the full capabilities of your new device, and seamlessly integrate it into your digital workflow to transform every virtual interaction into a crystal-clear, engaging, and impactful experience.
aViewFromTheCave is a participant in the Amazon Services LLC Associates Program, an affiliate advertising program designed to provide a means for sites to earn advertising fees by advertising and linking to Amazon.com. Amazon, the Amazon logo, AmazonSupply, and the AmazonSupply logo are trademarks of Amazon.com, Inc. or its affiliates. As an Amazon Associate we earn affiliate commissions from qualifying purchases.