In the ever-evolving landscape of technology, keeping our operating systems optimized and running smoothly is paramount. Whether you’re a seasoned tech enthusiast or a casual user looking to refresh your computing experience, a clean install of Windows 10 can be a remarkably effective solution. This process involves completely wiping your existing Windows installation and starting fresh with a new, uncorrupted system. This isn’t just about erasing old files; it’s about reclaiming performance, resolving stubborn software conflicts, and setting a pristine foundation for your digital life.
While the idea of a clean install might seem daunting, especially if you’re not inherently tech-savvy, it’s a process that has become significantly more accessible with modern operating systems. This guide will walk you through each essential step, demystifying the process and empowering you to achieve a truly optimized Windows 10 environment. We’ll cover everything from preparing your data to the final configuration, ensuring a smooth transition.

Understanding the Benefits of a Clean Install
Before diving into the technicalities, it’s crucial to understand why a clean install is often the best remedy for various computing woes. Think of it like renovating your home: sometimes, a fresh coat of paint isn’t enough to fix underlying structural issues. A clean install is a more comprehensive approach that tackles those deeper problems.
Revitalizing Performance
Over time, your Windows installation can accumulate a significant amount of digital clutter. Temporary files, leftover program remnants, registry bloat, and fragmented data can all contribute to a sluggish system. These issues manifest as longer boot times, slower application launches, and a general sense of unresponsiveness. A clean install effectively eradicates this digital detritus, returning your system to its factory-fresh performance levels. Imagine your computer breathing freely again – that’s the power of a clean slate.
Resolving Software Conflicts and Glitches
One of the most common reasons for a clean install is to fix persistent software problems. Corrupted system files, incompatible driver updates, or aggressive malware can all lead to unpredictable behavior, application crashes, and system instability. While troubleshooting these issues can be a painstaking and often fruitless endeavor, a clean install bypasses this entirely. By starting with a fresh operating system, you eliminate the possibility of pre-existing software conflicts, ensuring a stable and reliable platform for your applications.
Enhancing Digital Security
While not a direct replacement for robust antivirus software, a clean install can serve as a powerful reset for your digital security posture. If you suspect your system has been compromised by malware or persistent adware that’s difficult to remove, a clean install effectively wipes these threats away. It’s like hitting a hard reset on your digital hygiene, ensuring that no hidden malicious software lingers on your drives.
Embracing New Software and Hardware
When upgrading to new hardware or installing major new software suites, a clean install can often lead to a more seamless integration. Older configurations and drivers can sometimes interfere with new installations, leading to compatibility issues. A fresh Windows installation provides an unadulterated environment where new software and hardware can be installed without the baggage of past configurations.
Preparing for the Clean Install: Crucial Steps
embarking on a clean install, meticulous preparation is absolutely essential. This isn’t a step you can afford to rush. The most critical aspect of this preparation is safeguarding your valuable data.
Backing Up Your Data: The Cornerstone of a Successful Install
This is, without a doubt, the most important step. A clean install will erase everything on your primary drive (usually the C: drive). Therefore, before you proceed, you must back up all your important files, documents, photos, videos, music, and any other personal data.
- External Hard Drives: The most straightforward method is to copy your essential files to an external hard drive. Ensure the drive has sufficient capacity.
- Cloud Storage: Services like OneDrive, Google Drive, Dropbox, or iCloud are excellent for backing up documents and smaller files. For larger media collections, consider dedicated cloud backup services.
- Network Attached Storage (NAS): If you have a NAS device, this can be a robust solution for centralized data backup.
- Specific Application Data: Some applications store their data in specific folders. For example, your browser bookmarks, email client data, and game saves might require individual attention. Research where these are stored for the applications you use most.
Crucially, do not rely on a single backup method. Employ at least two different backup strategies for maximum security.
Gathering Your Software Licenses and Installation Media
After backing up your data, you’ll need to reinstall your essential applications. To do this efficiently, gather all your software licenses, product keys, and installation files or download links.
- Windows License Key: While Windows 10 often reactivates automatically if your system was previously activated with a digital license linked to your Microsoft account, it’s always wise to have your product key handy, especially if you purchased a retail copy.
- Microsoft Office and Other Paid Software: Locate your product keys or login credentials for any paid software you intend to reinstall.
- Free Software: Make a list of your preferred free applications and bookmark their official download pages.
Creating Windows 10 Installation Media
To perform a clean install, you’ll need a bootable USB drive or DVD containing the Windows 10 installation files. Microsoft provides a free tool for this purpose.
- Download the Media Creation Tool: Visit the official Microsoft Windows 10 download page and download the “Media Creation Tool.”
- Run the Tool: Execute the downloaded file.
- Accept the License Terms: Read and accept the terms and conditions.
- Choose “Create installation media (USB flash drive, DVD, or ISO file) for another PC”: Select this option.
- Select Language, Edition, and Architecture: Ensure you choose the correct options for your system (usually Windows 10, the appropriate language, and 64-bit for most modern computers).
- Choose Media Type: Select “USB flash drive” and ensure you have a USB drive with at least 8GB of storage. The tool will format the drive, so ensure there’s no important data on it. Alternatively, you can choose “ISO file” to burn to a DVD later.
- Wait for the Download and Creation: The tool will download the Windows 10 files and create the bootable media. This can take some time depending on your internet speed.
Understanding Your PC’s Boot Order and BIOS/UEFI Settings
To boot from your USB drive or DVD, you’ll need to adjust your computer’s boot order in the BIOS (Basic Input/Output System) or UEFI (Unified Extensible Firmware Interface) settings.
- Restart your PC: As soon as your computer starts to boot up, repeatedly press the key that enters the BIOS/UEFI setup. This key varies by manufacturer but is often one of these:
Del,F2,F10,F12, orEsc. The startup screen usually displays which key to press. - Navigate to Boot Settings: Once in the BIOS/UEFI, look for a section labeled “Boot,” “Boot Order,” “Boot Options,” or similar.
- Change the Boot Priority: Set your USB drive or DVD drive as the first boot device.
- Save and Exit: Save your changes (usually by pressing
F10) and exit the BIOS/UEFI. Your computer will restart.

The Clean Installation Process: Step-by-Step
With your preparation complete, you’re ready to begin the actual clean install. This process is largely guided by on-screen prompts.
Booting from Your Installation Media
- Insert the Bootable Media: Ensure your prepared USB drive or DVD is connected to your computer.
- Restart Your PC: If you haven’t already, restart your computer. It should now attempt to boot from the USB drive or DVD.
- Press Any Key to Boot: You might see a message like “Press any key to boot from CD or DVD…” or similar. Press any key to proceed. If you miss this prompt, you may need to restart and try again, ensuring your boot order is correct.
Initial Setup and Language Selection
- Windows Setup: The Windows 10 setup screen will appear.
- Language, Time, and Keyboard: Select your preferred language, time and currency format, and keyboard layout. Click “Next.”
- Install Now: Click the “Install Now” button.
Entering Your Product Key (or Skipping)
- Product Key: You’ll be prompted to enter your Windows product key. If you have it, enter it now.
- If you don’t have a product key or want to activate later: You can click “I don’t have a product key.” Windows 10 will still install, and you can activate it later using your Microsoft account or a product key. If your PC was previously activated with a digital license, it should reactivate automatically after installation.
- Select Operating System: If you skipped the product key, you might be asked to select the edition of Windows 10 you want to install (e.g., Home, Pro). Ensure you choose the edition you have a license for.
Accepting License Terms and Choosing Installation Type
- License Terms: Read and accept the Microsoft software license terms. Click “Next.”
- Choose Installation Type: This is the critical step. You will see two options:
- Upgrade: This option attempts to install Windows while keeping your files, settings, and applications. This is NOT a clean install.
- Custom: Install Windows only (advanced): Select this option for a clean install.
Partition Management: Wiping Your Drive
This is where the “clean” aspect comes into play. You’ll be presented with a list of drives and partitions.
- Identify Your Primary Drive: This is typically labeled as “Drive 0” and will contain your existing Windows installation (often the largest partition).
- Delete Existing Partitions: For a true clean install, you need to delete all partitions associated with your old Windows installation on the drive you intend to install Windows on.
- Select each partition related to your old Windows installation.
- Click “Delete.”
- WARNING: Deleting partitions permanently erases all data on them. Ensure you have backed up everything important before this step.
- Create a New Partition (Optional but Recommended): Once all old partitions are deleted, you’ll have “Unallocated Space.”
- Select the “Unallocated Space.”
- Click “New.” Windows will automatically suggest a size. You can usually accept the default for a single, large partition to install Windows on.
- Click “Apply.” Windows will create the necessary system partitions and your primary partition.
- Select the Primary Partition: Select the newly created primary partition (which will now show as “Primary”).
- Click “Next”: Windows will now begin installing onto this clean partition.
The Installation Process
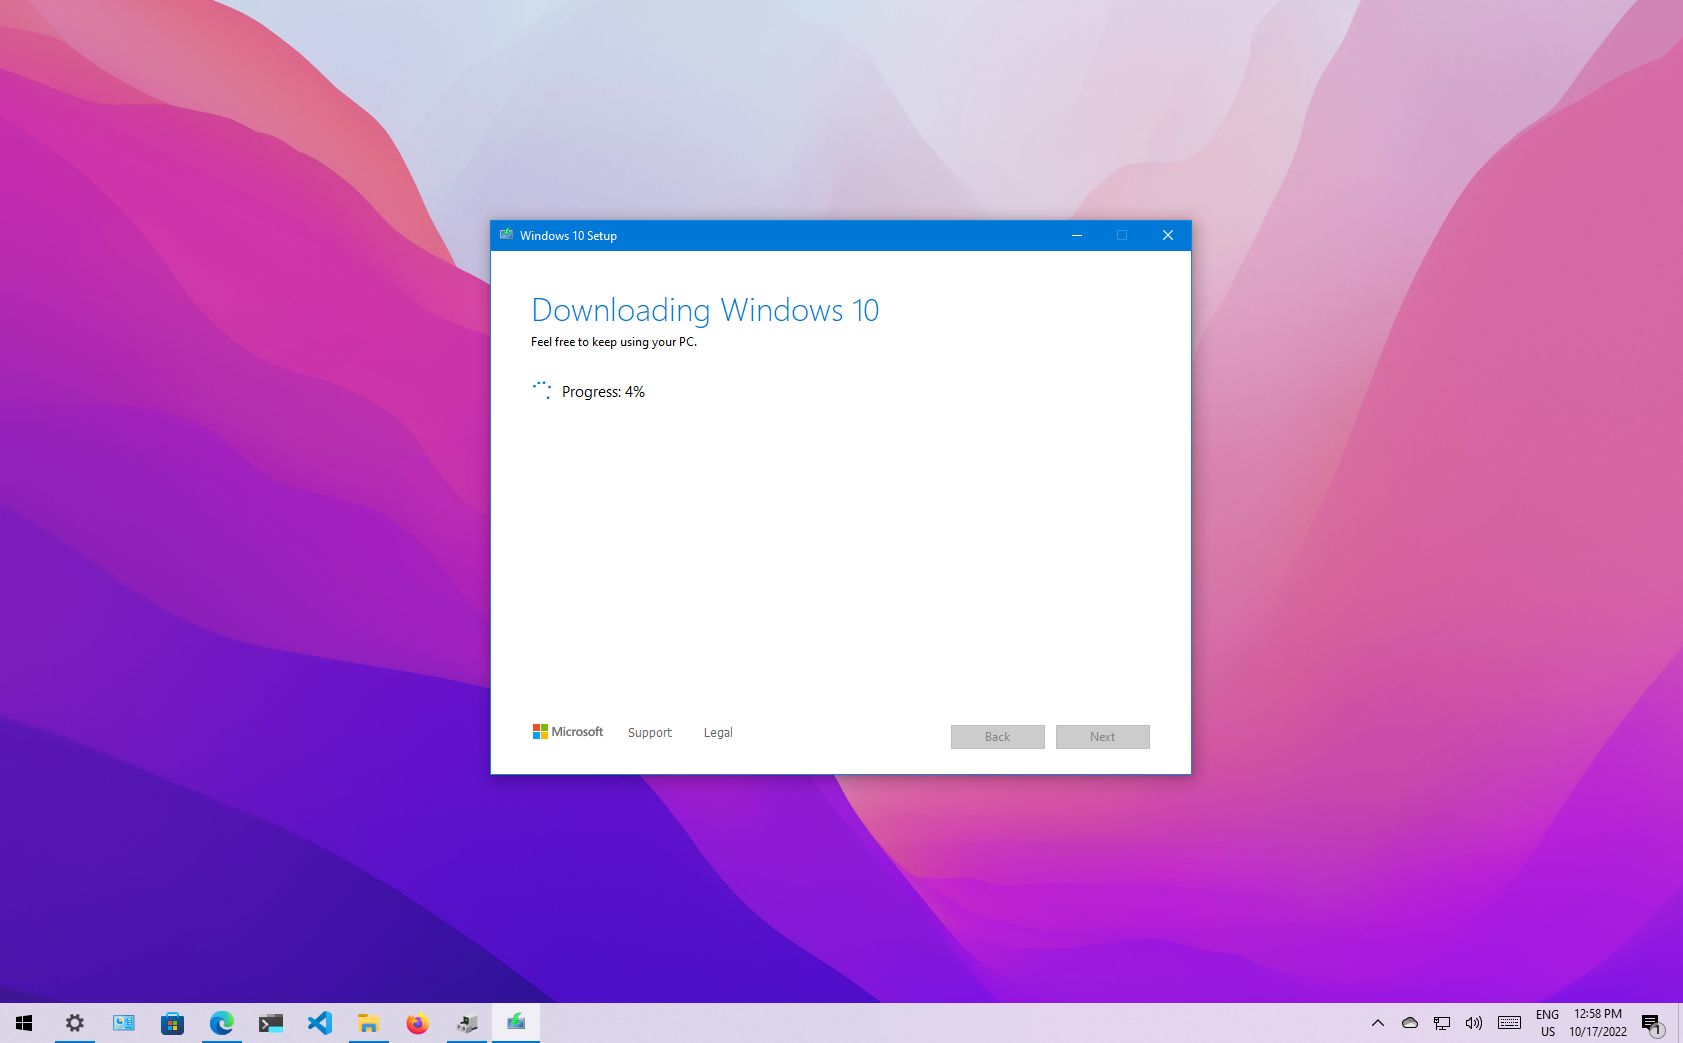
- Installing Windows: Windows will now copy files, install features and updates, and configure settings. This process can take a significant amount of time. Your computer will restart several times during this phase. Do not remove your USB drive or DVD during this process.
- First Boot After Installation: After the final restart, Windows will boot into its initial setup phase. You’ll be guided through creating a user account, setting up privacy settings, and connecting to your network.
Post-Installation Configuration and Optimization
Once Windows 10 is installed, your work isn’t quite done. A few crucial post-installation steps will ensure your system is secure, up-to-date, and running optimally.
Initial Windows Updates and Driver Installation
- Windows Updates: The first thing you should do is check for and install all available Windows updates.
- Go to
Settings>Update & Security>Windows Update. - Click
Check for updatesand install everything that is offered. This is vital for security patches and system stability.
- Go to
- Driver Installation: While Windows Update often installs generic drivers, it’s best practice to install the latest drivers for your specific hardware, especially for your graphics card, chipset, and network adapter.
- Motherboard Drivers: Visit your motherboard manufacturer’s website and download the latest chipset, audio, and network drivers.
- Graphics Card Drivers: Go to the NVIDIA, AMD, or Intel website (depending on your graphics card) and download the latest drivers.
- Other Peripherals: Install drivers for any other devices you use.
Reinstalling Your Applications and Restoring Data
Now it’s time to bring your digital life back onto your fresh Windows installation.
- Reinstall Applications: Go through your list of desired applications and install them one by one from their official sources.
- Restore Your Data: Connect your external drive or access your cloud storage and copy your backed-up files back to their appropriate locations on your computer.
- Configure Application Settings: Reconfigure the settings for your applications as needed.
Personalizing Your Windows 10 Experience
With your system re-established, you can now personalize it to your liking.
- Desktop Background and Theme: Set your preferred wallpaper and theme.
- Taskbar and Start Menu: Customize the taskbar and Start menu for quick access to your most-used apps.
- Privacy Settings: Review and adjust your Windows privacy settings to your comfort level.
System Maintenance for Longevity
To keep your clean-installed Windows 10 running smoothly long-term, adopt good digital hygiene habits.
- Regular Windows Updates: Always keep Windows updated.
- Antivirus and Malware Protection: Maintain an up-to-date antivirus solution.
- Disk Cleanup: Periodically run Disk Cleanup (
Cleanmgr.exe) to remove temporary files and system clutter. - Defragmentation (for HDDs): If you have a traditional Hard Disk Drive (HDD), periodically defragment it. SSDs do not require defragmentation.
- Backup Regularly: Continue with your regular backup schedule.
A clean install of Windows 10 is a powerful tool for revitalizing your PC, resolving issues, and enhancing your digital experience. By following these steps diligently, you can ensure a smooth and successful transition to a fresh, optimized operating system.
aViewFromTheCave is a participant in the Amazon Services LLC Associates Program, an affiliate advertising program designed to provide a means for sites to earn advertising fees by advertising and linking to Amazon.com. Amazon, the Amazon logo, AmazonSupply, and the AmazonSupply logo are trademarks of Amazon.com, Inc. or its affiliates. As an Amazon Associate we earn affiliate commissions from qualifying purchases.