
In the contemporary landscape of financial technology, peer-to-peer (P2P) payment applications have transitioned from luxury conveniences to essential digital tools. Among these, Venmo stands as a dominant force, blending social networking elements with robust financial transfer protocols. However, setting up a Venmo account involves more than just a simple download; it requires a systematic approach to technical configuration, identity verification, and digital security. This guide provides a comprehensive, step-by-step technical walkthrough for users looking to integrate Venmo into their digital ecosystem.
Getting Started: Hardware and Software Requirements
Before initiating the setup process, it is vital to ensure that your hardware and software environment are compatible with Venmo’s architecture. As a mobile-first platform, Venmo is optimized for specific operating systems and security standards.
Supported Devices and Operating Systems
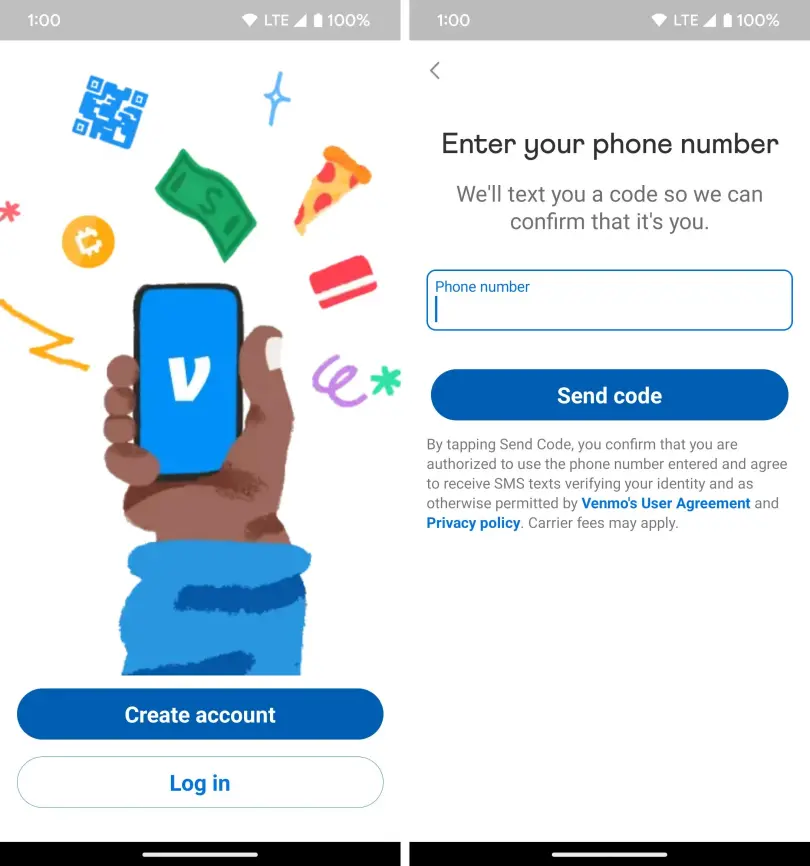
Venmo is primarily designed as a mobile application. To ensure a seamless user experience and access to the latest security patches, your device should run on a modern operating system. For iOS users, this typically means having a relatively recent version of iOS (usually within the last two major releases). Android users should ensure their devices are running a version that supports Google Play Services and modern encryption standards. While a web-based version exists for viewing transactions, the core functionality—including the initial setup—must be performed via the mobile app.
Network Requirements and Regional Constraints
A stable internet connection (4G, 5G, or secure Wi-Fi) is necessary for the initial synchronization of your data with Venmo’s servers. It is also important to note that Venmo is currently restricted to users located within the United States. Attempting to set up an account using a VPN (Virtual Private Network) that routes through international servers may trigger automated security flags, leading to immediate account suspension or verification failures.
Downloading the Application
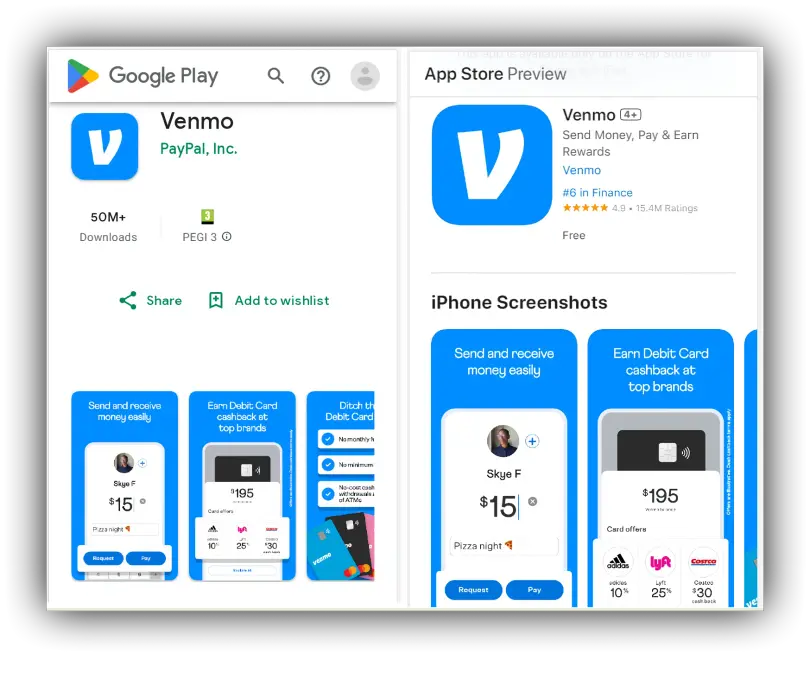
Always source the application directly from the official Apple App Store or Google Play Store. Avoid third-party APKs or side-loading the app, as these versions may contain compromised code that could jeopardize your financial data. Once downloaded, ensure that the app is granted the necessary permissions, such as access to contacts (if you wish to find friends) and camera (for scanning QR codes or checks).
The Step-by-Step Registration Workflow
The registration process is a multi-layered procedure designed to establish a unique digital identity for the user. Each step is critical for ensuring that the account remains compliant with federal regulations and internal security policies.
Creating Your User Profile
Upon launching the app, you will be prompted to choose between a “Personal” or “Business” account. For most users, the Personal account is the standard choice. You will need to provide a valid email address and a mobile phone number that can receive SMS messages. Venmo uses short-code SMS for two-factor authentication during the setup, so VoIP numbers (like Google Voice) are frequently rejected by the system to prevent bot creation.
Selecting a Unique Username
The username, or “handle” (preceded by the @ symbol), is how other users will identify you within the Venmo ecosystem. From a technical standpoint, this is your primary public identifier. It must be unique across the entire database. If your preferred name is taken, the system will suggest alphanumeric variations. Once selected, this handle becomes your digital address for receiving funds.
Verifying Your Identity and Contact Information
Venmo is required by law (under the USA PATRIOT Act) to implement “Know Your Customer” (KYC) protocols. This means that as you progress through the setup, you will be asked to verify your legal name, date of birth, and Social Security Number (SSN). This data is encrypted and used to prevent money laundering and identity theft. Failure to provide this information may limit your ability to carry a Venmo balance or transfer larger sums of money.
Integrating Financial Backend and Bank Synchronization
A P2P app is only as useful as the financial instruments connected to it. Venmo acts as a layer between your traditional banking institution and the digital marketplace.
Linking Bank Accounts vs. Debit/Credit Cards
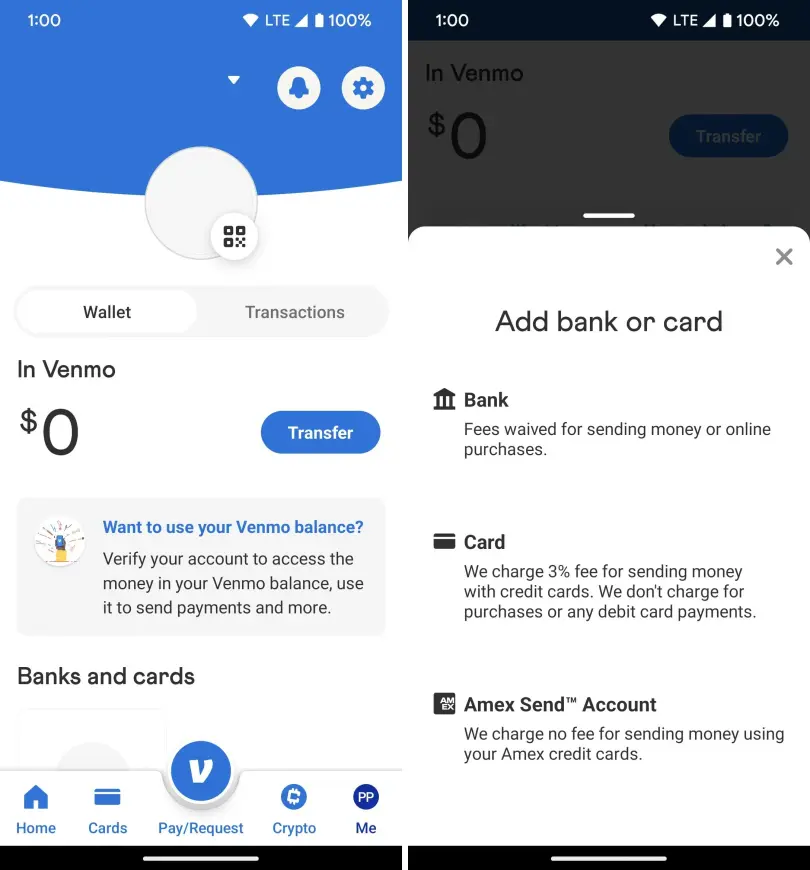
Users have the option to link a bank account directly or use a debit or credit card. From a technical and cost-efficiency perspective, linking a bank account or a debit card is preferred. Credit card transactions on Venmo typically incur a 3% processing fee, whereas bank transfers and debit card transactions are generally free.
Utilizing Plaid for Instant Verification
Venmo often utilizes “Plaid,” a third-party API that acts as a secure bridge between the app and your bank. When you select your bank from the provided list, you will be asked to enter your banking credentials through the Plaid interface. This allows for near-instant verification of your account. If your bank is not supported by Plaid, you will have to opt for “Manual Verification,” which involves Venmo sending two micro-deposits (usually less than $1.00) to your account. You must then check your bank statement and enter those exact amounts into the Venmo app to confirm ownership.
Understanding the Transfer Protocols
Once your bank is linked, it is important to understand the two types of transfers: Standard and Instant. Standard transfers use the ACH (Automated Clearing House) network, which typically takes 1–3 business days but is free of charge. Instant transfers utilize the Real-Time Payments (RTP) network or push-to-card technology, allowing funds to arrive in minutes for a small percentage-based fee.
Advanced Digital Security and Privacy Configurations
Given that Venmo is a financial application, security should be the user’s highest priority. The default settings are often designed for social engagement, but a tech-savvy user should customize these for maximum protection.
Implementing Multi-Factor Authentication (MFA)
One of the most effective ways to secure your account is by enabling biometric authentication. Under the “Settings” and “Security” menus, you can toggle on FaceID, TouchID, or a dedicated PIN code. This ensures that even if someone gains physical access to your unlocked phone, they cannot open the Venmo app or authorize a payment without your secondary biometric signature.
Managing Privacy Settings and Transaction Visibility
Venmo’s unique “social feed” allows users to see transaction descriptions between friends. However, from a privacy and security standpoint, many users prefer to restrict this. You can navigate to “Settings” > “Privacy” to change your default transaction visibility to “Private.” This ensures that only you and the recipient can see the transaction details. It is highly recommended to retroactively apply these settings to all past transactions as well.
Device Management and Session Control
Venmo allows you to see which devices are currently logged into your account. In the security settings, you can review “Remembered Devices.” If you see a device you do not recognize, or if you have recently lost a phone, you can remotely de-authorize that session. This is a critical technical safeguard against unauthorized account access.
Troubleshooting Common Setup Errors and API Latency
Even with a streamlined app, technical hurdles can occur during the setup phase. Understanding the common points of failure can help you resolve issues without lengthy calls to customer support.
Resolving Phone Number and Email Conflicts
The most common error during setup is the “Phone number already in use” message. This usually happens if you created an account years ago and forgot about it, or if your recycled phone number was previously linked to another user. To resolve this, you must use the “Forgot Password” workflow or contact Venmo support to prove ownership of the number. Similarly, email addresses must be unique to a single account.
Dealing with Verification Lag
If you are performing manual bank verification, there can be a delay of up to 72 hours for micro-deposits to appear. If they do not appear, it is usually due to an incorrect routing or account number. Double-check your bank’s ACH routing number, as it is sometimes different from the wire routing number found on the bottom of a check.
App Crashes and Synchronization Issues
If the app freezes during the KYC (identity verification) process, it is often due to a cache conflict or an unstable network. Clearing the app cache (on Android) or deleting and reinstalling the app (on iOS) often resolves these UI-level glitches. Additionally, ensure that you are not running any “Ad-Blocker” or “Firewall” apps on your phone that might be preventing the Venmo app from communicating with its verification servers.
By following these technical guidelines, you can ensure that your Venmo account is not only functional but also optimized for speed and secured against potential digital threats. As the fintech space continues to evolve, maintaining a rigorous approach to app setup and security remains the best defense for your digital assets.
aViewFromTheCave is a participant in the Amazon Services LLC Associates Program, an affiliate advertising program designed to provide a means for sites to earn advertising fees by advertising and linking to Amazon.com. Amazon, the Amazon logo, AmazonSupply, and the AmazonSupply logo are trademarks of Amazon.com, Inc. or its affiliates. As an Amazon Associate we earn affiliate commissions from qualifying purchases.