
A fresh install of Windows 10 is a powerful way to revitalize your computer, troubleshoot persistent issues, and ensure you’re starting with a clean, optimized operating system. Whether your PC is sluggish, plagued by errors, or you simply want to experience Windows 10 as it was intended, this guide will walk you through the entire process. We’ll cover everything from understanding why you might need a fresh install to the step-by-step instructions for achieving it, ensuring you have a smooth and successful experience.
Why Opt for a Fresh Install of Windows 10?
In the fast-paced world of technology, our computers often accumulate a digital baggage over time. Software installations and uninstalls, temporary files, registry entries, and even malware can all contribute to a system that feels slow, unstable, and prone to errors. A fresh install, also known as a clean install, is the digital equivalent of a deep spring cleaning for your PC. It completely wipes the slate clean, removing all existing operating system files, installed applications, and user data, and then installs a brand-new copy of Windows 10.

Common Scenarios Warranting a Fresh Install:
- Performance Degradation: If your computer has become noticeably slower over time, with long boot-up times, applications that take ages to load, and general sluggishness, a fresh install can often restore it to its former glory.
- Persistent Errors and Crashes: Frequent Blue Screen of Death (BSOD) errors, application crashes, or general instability can be a sign of corrupted system files or software conflicts that a fresh install can resolve.
- Malware or Virus Infections: While antivirus software is essential, some stubborn malware can deeply embed itself in the system, making it difficult to remove completely. A fresh install guarantees that all malicious software is eradicated.
- Software Compatibility Issues: Sometimes, installing new software can lead to conflicts with existing applications or system components. A clean slate ensures a more stable environment for new installations.
- Preparing to Sell or Give Away Your PC: Before parting with your computer, it’s crucial to ensure all your personal data is securely erased. A fresh install effectively wipes your hard drive, making it ready for a new owner.
- Upgrading Hardware: When you upgrade major components like your motherboard or CPU, a fresh install can prevent potential driver conflicts and ensure optimal performance with the new hardware.
Preparing for Your Windows 10 Fresh Install
Embarking on a fresh install is a significant undertaking, and proper preparation is key to a seamless transition. The most crucial aspect of preparation is backing up your data. Since a fresh install will erase everything on your primary drive, it’s imperative to save all your important files, documents, photos, videos, and any other personal data to an external storage device, cloud storage service, or a different partition on your hard drive.
Essential Preparatory Steps:
-
Back Up Your Data: This is non-negotiable.
- External Hard Drive: Copy your important files to an external hard drive.
- Cloud Storage: Utilize services like OneDrive, Google Drive, or Dropbox for cloud backups.
- USB Flash Drives: For smaller sets of data, USB drives can be useful.
- External Media: Consider DVDs or Blu-rays for archiving large amounts of data if you have the hardware.
- Data Recovery Software: In some cases, if you’ve overlooked backing up certain files, specialized data recovery software might be a last resort, but it’s far better to back up proactively.
-
Gather Your Product Key (if applicable): While Windows 10 often activates automatically if it was previously activated on that hardware, it’s a good idea to have your product key handy. You can usually find it on a sticker on your computer, in your purchase confirmation email, or by using a product key finder tool (though these should be used with caution and from reputable sources). If you upgraded from Windows 7 or 8.1, your digital license should link to your Microsoft account.
-
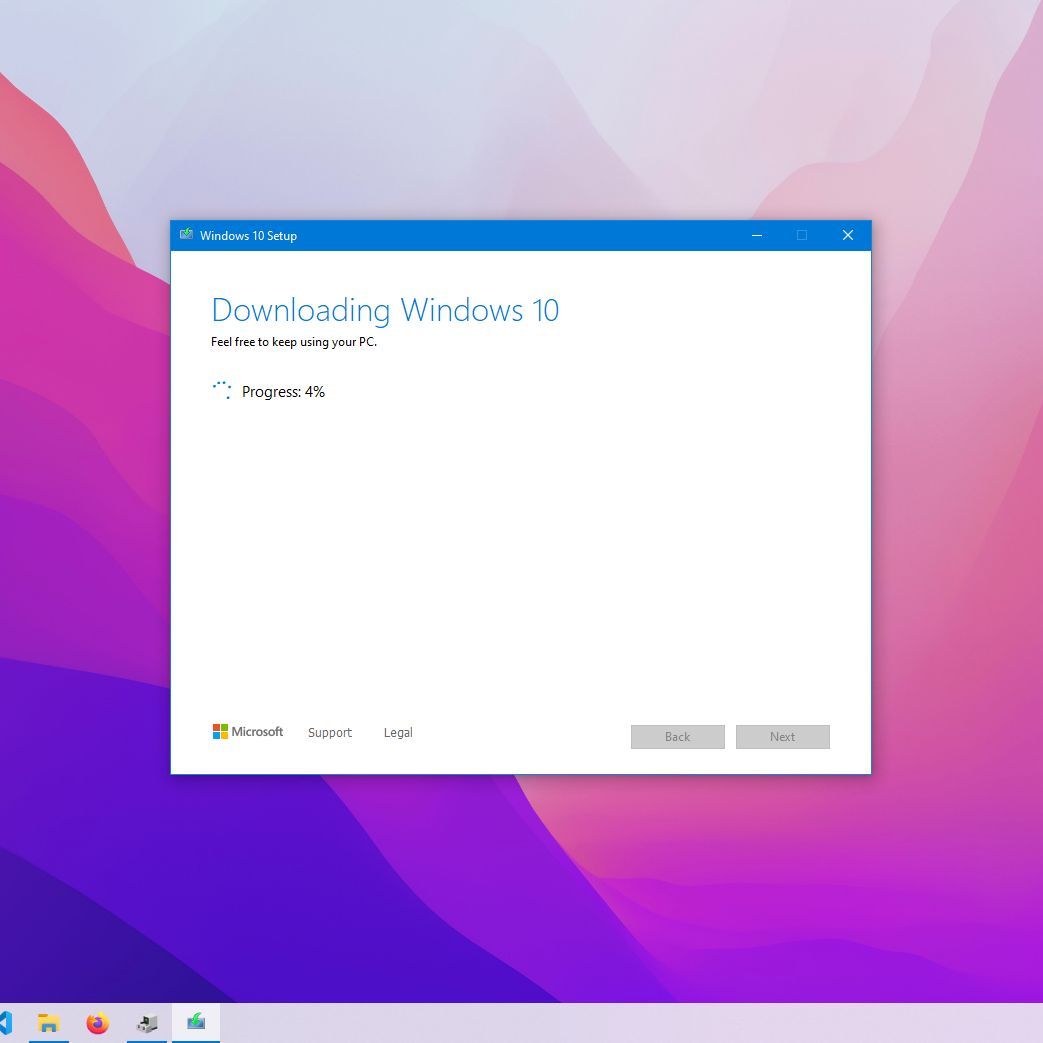
Download the Windows 10 Media Creation Tool: Microsoft provides a free tool that allows you to create a bootable USB drive or DVD for installing Windows 10. This is the official and recommended method.
- Visit the official Microsoft website and search for the “Windows 10 Media Creation Tool.”
- Download and run the tool.
- Choose to “Create installation media (USB flash drive, DVD, or ISO file) for another PC.”
- Select your language, edition (Windows 10 Home, Pro, etc.), and architecture (32-bit or 64-bit). Ensure these match your current system or the desired setup.
- Choose “USB flash drive” and select your USB drive (ensure it has at least 8GB of space and that all data on it will be erased). The tool will then download the necessary Windows 10 files and make your USB drive bootable.
-
Identify and Download Essential Drivers: While Windows 10 has broad driver support, some hardware components might require specific drivers for optimal performance. Before you begin the installation, it’s wise to visit the manufacturer’s website for your motherboard, graphics card, network adapter, and any other crucial hardware and download the latest drivers. Save these drivers to a separate USB drive or an accessible partition that won’t be formatted. This is particularly important for network drivers, as you’ll need them to connect to the internet after installation.
-
Note Down Installed Applications and Settings: Make a list of all the applications you regularly use. This will help you remember what to reinstall after the fresh install. You might also want to note down specific settings or configurations you’ve made to applications or Windows itself.
-
Ensure Your PC is Plugged In: A fresh install can take a significant amount of time. Make sure your laptop is plugged into a power source or your desktop PC is connected to a reliable power outlet to avoid any interruptions during the process.
Performing the Fresh Windows 10 Installation
With all your preparations complete, you’re ready to begin the actual installation. This process involves booting your computer from the installation media you created and following the on-screen prompts.
Step-by-Step Installation Guide:
- Boot from the Installation Media:
- Insert the bootable USB drive or DVD you created into your computer.
- Restart your computer.
- As your computer starts to boot, you’ll need to enter the BIOS/UEFI settings. The key to press varies by manufacturer, but it’s commonly
F2,F10,F12,Del, orEsc. Watch for prompts on your screen during the initial boot sequence. - Once in the BIOS/UEFI, navigate to the “Boot Order” or “Boot Priority” settings.
- Change the boot order so that your USB drive or DVD drive is listed as the first boot device.
- Save the changes and exit the BIOS/UEFI. Your computer will now restart and should boot from the installation media.
-
Windows Setup Starts:
- When the Windows Setup screen appears, select your language, time and currency format, and keyboard input method. Click “Next.”
- Click “Install now.”
-
Enter Product Key (if prompted):
- If you have a product key, enter it now. If you don’t have one or if you’re reinstalling on a PC that was previously activated, you can click “I don’t have a product key.” Windows will activate automatically later if it recognizes your hardware or Microsoft account.
-
Select Operating System Version:
- Choose the edition of Windows 10 you want to install (e.g., Windows 10 Home, Windows 10 Pro). Ensure this matches the edition you previously had or the license you own. Click “Next.”
-
Accept License Terms:
- Read the license terms, check the box that says “I accept the license terms,” and click “Next.”
-
Choose Installation Type:
- This is a critical step. Select “Custom: Install Windows only (advanced).” Do not choose “Upgrade” as this is not a fresh install.
-
Partitioning and Formatting the Drive:
- You will now see a list of drives and partitions on your computer.
- Identify your primary drive (where Windows is currently installed). It’s usually labeled as “Drive 0” and will have the largest capacity.
- To perform a true fresh install, you need to format this drive. Select each partition on your primary drive one by one and click “Delete.” Be absolutely sure you are deleting partitions on the correct drive, as this will permanently erase all data on them.
- Once you have deleted all the partitions on your primary drive, select the “Unallocated Space” that is now available on that drive.
- Click “New” to create a new partition. Windows will typically create a primary partition for the OS and some smaller system partitions. You can choose to create multiple partitions if you wish, but for a simple fresh install, letting Windows create them automatically is fine.
- Select the newly created primary partition (which should be the largest one) and click “Next.”
-
Windows Installation Process:
- Windows will now begin copying files and installing the operating system. This process can take a while, and your computer will restart several times. Do not remove the installation media until prompted or until the initial setup phase is complete.
-
Initial Setup (Out-of-Box Experience – OOBE):
- After the restarts, Windows 10 will boot into its initial setup screen. You’ll be guided through:
- Region and Keyboard Layout: Select your region and preferred keyboard layout.
- Network Connection: Connect to your Wi-Fi network or plug in an Ethernet cable.
- Microsoft Account: Sign in with your Microsoft account. This is recommended for syncing settings, accessing the Microsoft Store, and using features like OneDrive. You can also create a local account if you prefer, but it’s generally less feature-rich.
- Cortana: Choose whether to enable or disable Cortana, Microsoft’s virtual assistant.
- Privacy Settings: Review and configure your privacy settings, such as location services, diagnostic data, and tailored experiences.
- Create a PIN: Set up a PIN for faster login.
- After the restarts, Windows 10 will boot into its initial setup screen. You’ll be guided through:
Post-Installation: Optimizing Your Fresh Windows 10 System
Congratulations! You’ve successfully performed a fresh install of Windows 10. Now it’s time to fine-tune your system to ensure it’s running optimally and to get your digital life back in order.

Essential Post-Installation Tasks:
-
Install Drivers:
- Even though Windows 10 automatically installs many drivers, it’s crucial to install the latest ones for your hardware.
- Start with your network driver if it wasn’t automatically detected, so you can access the internet.
- Visit the manufacturer’s websites for your graphics card (NVIDIA, AMD, Intel), sound card, motherboard chipset, and any other peripherals to download and install the latest drivers.
- You can also use Windows Update (which we’ll get to next) as it often provides driver updates.
-
Run Windows Update:
- Windows Update is essential for security and stability. Go to
Settings>Update & Security>Windows Update. - Click “Check for updates” and install all available updates. This may require several restarts. Keep checking until no more critical updates are found.
- Windows Update is essential for security and stability. Go to
-
Reinstall Your Applications:
- Now is the time to reinstall all the software you use.
- Refer to the list you made earlier.
- Download applications from their official websites to ensure you’re getting legitimate and secure versions.
- Be mindful of installing unnecessary bloatware that some software installers may try to bundle.
-
Restore Your Data:
- Connect your external hard drive or access your cloud storage and copy your backed-up files back to your computer.
- Organize your files into their appropriate folders.
-
Configure Settings and Personalize:
- Go through Windows settings and customize them to your preferences. This includes display settings, power options, notification settings, and taskbar customization.
- Personalize your desktop background, themes, and screensaver.
-
Security Software:
- Windows 10 comes with built-in Windows Security, which is quite robust. Ensure it’s enabled and updated.
- If you prefer a third-party antivirus, install it now.
-
Review Startup Programs:
- Some applications add themselves to startup, slowing down your boot time.
- Press
Ctrl + Shift + Escto open Task Manager. - Go to the “Startup” tab.
- Disable any programs you don’t need to run immediately when Windows starts.
-
System Maintenance:
- Regularly run Disk Cleanup and Defragmentation (though SSDs don’t require defragmentation, Windows handles this optimization automatically).
- Keep your Windows and all applications updated.
A fresh install of Windows 10 is a rewarding process that can significantly improve your computer’s performance and stability. By following these steps meticulously, you can ensure a smooth, error-free installation and enjoy a clean, optimized computing experience.
aViewFromTheCave is a participant in the Amazon Services LLC Associates Program, an affiliate advertising program designed to provide a means for sites to earn advertising fees by advertising and linking to Amazon.com. Amazon, the Amazon logo, AmazonSupply, and the AmazonSupply logo are trademarks of Amazon.com, Inc. or its affiliates. As an Amazon Associate we earn affiliate commissions from qualifying purchases.