
A clean installation of Windows 10 is the digital equivalent of a fresh start for your computer. It involves completely wiping your hard drive and installing a brand-new copy of the operating system. This process eliminates any accumulated digital clutter, potential software conflicts, lingering malware, or corrupted system files that might be slowing down your PC or causing unexpected issues. Whether you’re preparing to sell your computer, troubleshooting persistent problems, or simply want to optimize performance, a clean install is often the most effective solution.
This guide will walk you through the entire process, from understanding what a clean install entails to the actual steps involved in getting your Windows 10 system running like new again. We’ll cover everything you need to prepare, the installation itself, and the crucial post-installation steps to ensure a smooth and secure computing experience.

Why Opt for a Clean Install?
Before diving into the technicalities, it’s essential to understand the benefits of a clean install. Unlike an upgrade, which attempts to preserve your files and applications, a clean install provides a truly pristine environment.
Clearing the Digital Cobwebs
Over time, your Windows installation can become bogged down. This is due to a variety of factors:
- Software Remnants: Uninstalling programs rarely removes every single file and registry entry associated with them. These lingering bits can accumulate and cause conflicts or consume resources.
- Temporary Files and Cache: Windows and various applications create temporary files and caches to speed up operations. While useful, these can sometimes become corrupted or grow to an unmanageable size.
- Driver Issues: Outdated, incorrect, or corrupted device drivers are a common source of system instability and performance degradation. A clean install ensures you start with fresh drivers.
- Malware and Viruses: While antivirus software is crucial, some deeply embedded malware can be difficult to remove entirely. A clean install effectively eradicates any malicious software.
- Registry Bloat: The Windows Registry is a complex database of settings. Over years of use, it can become fragmented or contain invalid entries, impacting performance.
- System File Corruption: Sometimes, essential Windows system files can become corrupted due to unexpected shutdowns, software bugs, or hardware issues, leading to errors and instability.
The Advantages of a Fresh Start
By choosing a clean install, you gain several significant advantages:
- Enhanced Performance: A fresh installation means no legacy bloat, optimized file system, and a clean registry. This often translates to a noticeably faster and more responsive computer.
- Improved Stability: Eliminating potential software conflicts and corrupted files significantly reduces the likelihood of crashes, freezes, and other frustrating system errors.
- Security Boost: Starting with a clean slate ensures that no hidden malware or unwanted programs are present. You can then build your digital security from the ground up.
- Troubleshooting Effectiveness: If you’re experiencing persistent issues that standard troubleshooting methods haven’t resolved, a clean install is often the most definitive solution.
- Optimal for New Hardware: When upgrading components or installing Windows on a new drive, a clean install ensures optimal compatibility and performance with the new hardware.
- Preparing to Sell or Give Away: Before parting with your computer, a clean install is essential for protecting your personal data and providing the new owner with a fresh, functional system.
Preparing for Your Clean Install
A successful clean install requires careful preparation. Skipping this stage can lead to data loss or a frustrating installation process.
Backing Up Your Data: The Most Critical Step
This cannot be stressed enough: back up all your important personal files before proceeding. A clean install will erase everything on the drive where Windows is installed. This includes documents, photos, videos, music, downloads, and any other files you want to keep.
Consider these backup methods:
- External Hard Drive or SSD: This is a reliable and common method. Copy and paste your important folders to an external storage device.
- Cloud Storage Services: Services like OneDrive, Google Drive, Dropbox, or iCloud are excellent for backing up essential documents and photos. Ensure your files are fully synced before proceeding.
- Network Attached Storage (NAS): If you have a NAS device on your home network, it can serve as a central backup location for all your devices.
- USB Flash Drives: For smaller amounts of data, USB drives can be a convenient option.
What to Back Up:
- Documents: (e.g., Word files, PDFs, spreadsheets)
- Photos and Videos:
- Music:
- Downloads Folder:
- Desktop: Any files or shortcuts on your desktop.
- Application Data: Some applications store settings or data in specific folders (e.g., game saves, browser profiles). You might need to research these on a per-application basis.
Gathering Necessary Information and Tools
Besides your data, you’ll need a few other things:
- Windows 10 Installation Media: You’ll need a bootable USB drive or DVD containing the Windows 10 installation files.
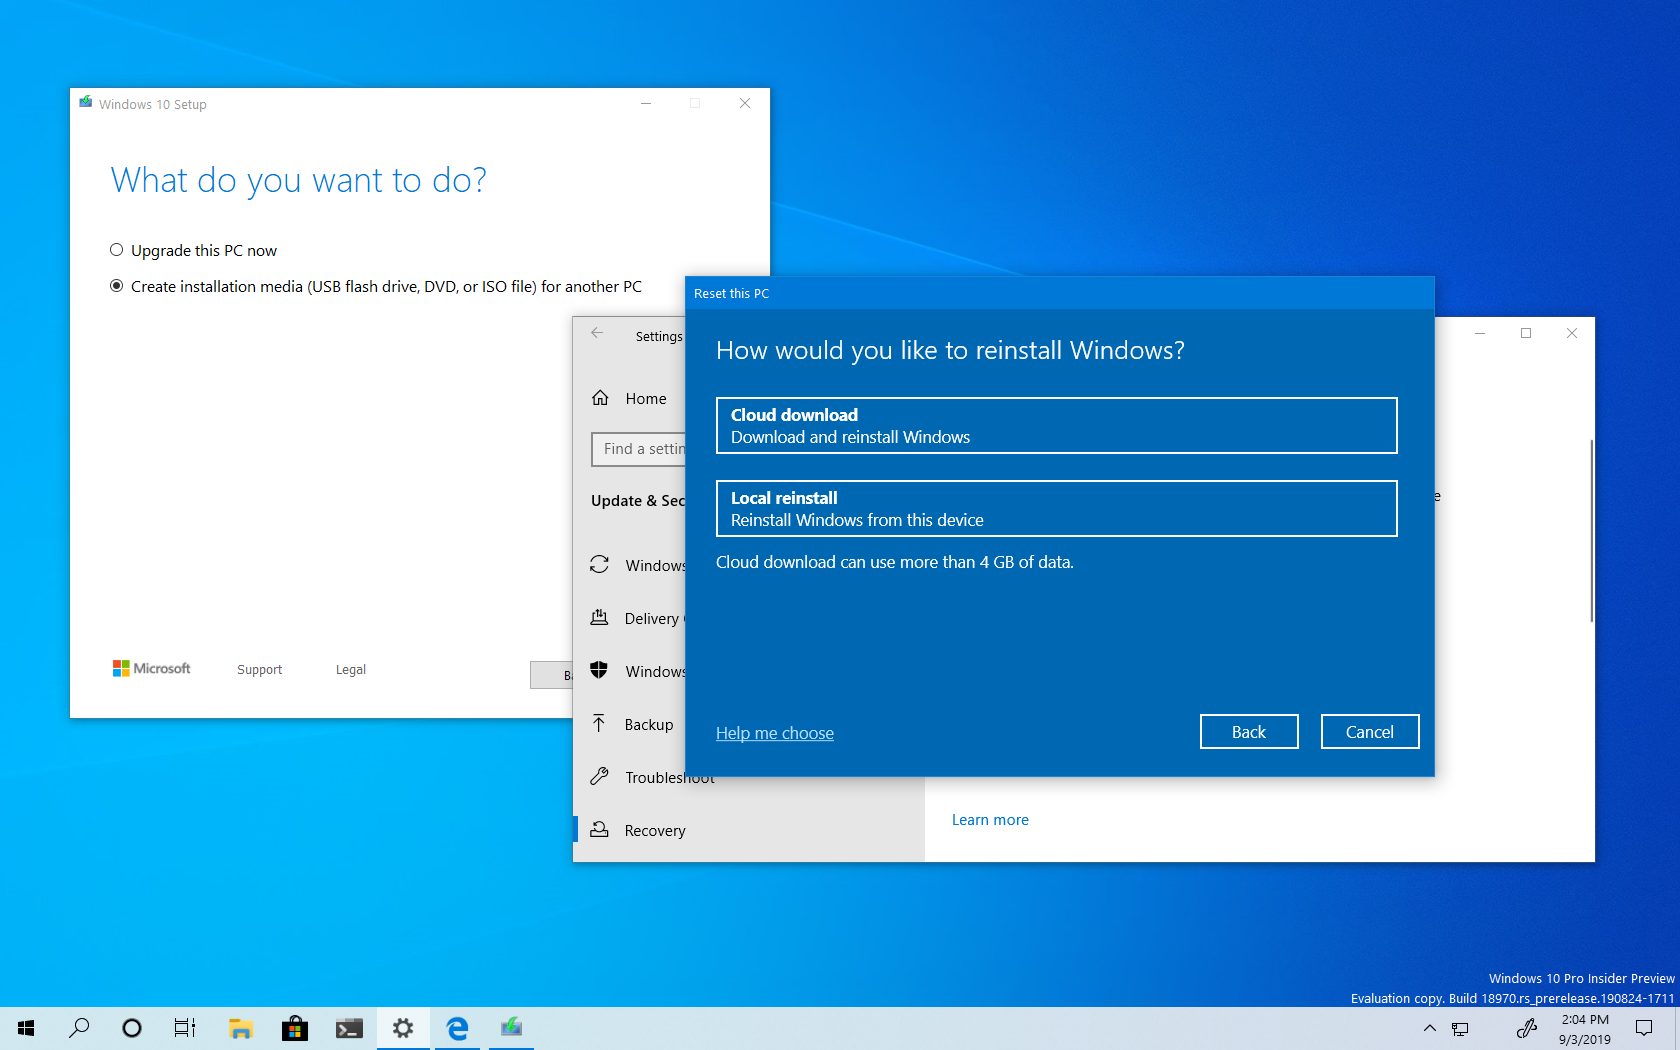
- Creating Installation Media: The easiest way to get this is by using the Media Creation Tool from Microsoft’s official website. This tool allows you to download Windows 10 and create a bootable USB drive (at least 8GB) or an ISO file to burn to a DVD.
- Product Key (If Applicable): If you’re installing Windows 10 on a new machine or have a retail copy of Windows 10, you may need your product key. However, if you’re reinstalling Windows 10 on a computer that has previously been activated, it will likely reactivate automatically using a digital license linked to your hardware. You can usually find your product key on a sticker on your computer, in your purchase confirmation email, or within your Microsoft account.
- Essential Drivers: While Windows 10 is good at detecting hardware and installing generic drivers, it’s wise to have the latest drivers for your critical components, especially your network adapter (Wi-Fi or Ethernet), motherboard chipset, and graphics card. You can usually download these from the manufacturer’s website (e.g., Dell, HP, Lenovo for pre-built systems; ASUS, Gigabyte, MSI for motherboards; NVIDIA, AMD for graphics cards). Download these drivers to a separate USB drive or have them ready to download immediately after the installation.
- List of Software: Make a list of all the applications you regularly use. This will help you remember what to reinstall after the clean install.
Understanding Boot Order and BIOS/UEFI Settings
To boot from your USB drive or DVD, you’ll need to access your computer’s BIOS or UEFI settings and change the boot order.
- Accessing BIOS/UEFI: The key to access these settings varies by manufacturer but is typically one of the following keys pressed repeatedly during startup:
Del,F2,F10,F12, orEsc. Look for on-screen prompts during the initial boot sequence. - Changing Boot Order: Once in the BIOS/UEFI menu, navigate to the “Boot” or “Boot Order” section. You’ll need to prioritize your USB drive or DVD drive over your hard drive.
- Saving Changes: After making the change, remember to save your settings (usually by pressing
F10) and exit the BIOS/UEFI.
The Clean Installation Process

With your preparations complete, you’re ready to begin the clean installation.
Booting from Installation Media
- Insert the bootable USB drive or DVD into your computer.
- Restart your computer.
- As the computer starts, press the designated key (e.g.,
F2,Del) to enter BIOS/UEFI. - Navigate to the Boot Order settings and set your USB drive or DVD drive as the first boot device.
- Save changes and exit BIOS/UEFI.
- Your computer will restart again. If prompted, press any key to boot from USB/DVD.
Running the Windows 10 Setup
- Language, Time, and Keyboard: The Windows Setup screen will appear. Select your desired language, time and currency format, and keyboard layout. Click “Next.”
- Install Now: Click the “Install now” button.
- Product Key: If prompted for a product key, enter it. If you don’t have it or are reinstalling on an activated machine, click “I don’t have a product key.” Windows will activate later if your hardware has a digital license.
- Select Operating System: If you have multiple editions of Windows 10 on your media (e.g., Home, Pro), select the edition you want to install.
- Accept License Terms: Read and accept the license terms. Click “Next.”
- Choose Installation Type: This is a crucial step. Select “Custom: Install Windows only (advanced).” This option allows for a clean install.
- Partition Management (The Wipe): You will now see a list of drives and partitions on your computer. This is where the clean install happens, and all data on the selected drive will be erased.
- Identify the drive where you want to install Windows (usually “Drive 0”).
- Select each partition on that drive one by one and click “Delete.” Be extremely careful to delete partitions only from the drive you intend to install Windows on. If you have multiple hard drives, ensure you are not deleting data from a secondary drive containing important files.
- Once all partitions on the target drive are deleted, you will have “Unallocated Space.” Select this unallocated space.
- Click “Next.” Windows will automatically create the necessary partitions and begin the installation.
- Installation Progress: Windows will now copy files, install features, and install updates. Your computer will restart several times during this process. Do not remove the USB drive or DVD until you are prompted to do so or until the initial setup screens begin (after the first restart).
Initial Windows 10 Setup (Out-of-Box Experience – OOBE)
After the installation files are copied and the system restarts for the final time, you’ll go through the Out-of-Box Experience (OOBE):
- Region and Keyboard Layout: Confirm your region and keyboard layout.
- Connect to a Network: Connect to your Wi-Fi network or plug in an Ethernet cable.
- Account Setup:
- Microsoft Account: You’ll be prompted to sign in with a Microsoft account. This is recommended for accessing services like OneDrive, the Microsoft Store, and syncing settings across devices.
- Local Account: If you prefer not to use a Microsoft account, look for an option like “Offline account” or “Skip for now” (the exact wording can vary). You’ll then be able to create a local user account with a username and password.
- PIN Setup: You’ll likely be asked to set up a PIN for faster logins.
- Privacy Settings: Review and configure your privacy settings (location, diagnostics, tailored experiences, etc.). It’s generally a good idea to review these carefully and disable anything you’re not comfortable with.
- Cortana: You may be asked if you want to set up Cortana, Microsoft’s virtual assistant.
- Finalizing: Windows will apply your settings and prepare your desktop. This may take a few minutes.
Post-Installation Essentials
Your clean install is complete, but there are a few crucial steps to ensure your system is secure, up-to-date, and performing optimally.
Installing Drivers
Even though Windows 10 installs many drivers automatically, it’s essential to install the latest versions for optimal performance and stability.
- Network Driver: If your internet isn’t working, you’ll need to install your network adapter driver first. Use the driver you downloaded earlier or connect to the internet via an alternative method if possible.
- Device Manager: Right-click the Start button and select “Device Manager.” Look for any devices with a yellow exclamation mark next to them, indicating a driver issue.
- Install Manufacturer Drivers: Install drivers for your chipset, graphics card, audio, network, and any other peripherals from their respective manufacturer websites.
- Windows Update: Even after installing specific drivers, run Windows Update to ensure you have the latest cumulative updates and driver updates that Microsoft provides.
Running Windows Update
Microsoft regularly releases updates that include security patches, performance improvements, and bug fixes.
- Go to
Settings>Update & Security>Windows Update. - Click “Check for updates.”
- Install all available updates. This may require several restarts. Repeat this process until no more critical updates are found.
Installing Your Essential Software
Now is the time to reinstall the applications you rely on.
- Antivirus/Antimalware: Install your preferred security software.
- Web Browsers: Install Chrome, Firefox, or any other browser you use.
- Productivity Software: Reinstall Microsoft Office, LibreOffice, or other productivity suites.
- Media Players: Install VLC Media Player or similar.
- Utilities: Reinstall any other essential software like PDF readers, image editors, or system utilities.
Restoring Your Data
With your system set up and secure, you can now restore your backed-up personal files.
- Connect your external drive or access your cloud storage.
- Copy your important documents, photos, videos, and other files back to their appropriate locations on your computer.
Personalizing and Optimizing
Take some time to personalize your Windows 10 experience and perform some final optimizations.
- Desktop Background and Theme: Set your preferred wallpaper and theme.
- Taskbar and Start Menu: Customize the taskbar and Start menu to your liking.
- Power Settings: Adjust power options for optimal performance or battery life, depending on your needs.
- Disk Cleanup (Optional): While a clean install is inherently clean, you can run Disk Cleanup (search for it in the Start menu) to remove any temporary files that might have accumulated during the installation process.
A clean install of Windows 10 is a powerful tool for revitalizing your computer. By following these steps carefully, you can ensure a smooth and successful process, leading to a faster, more stable, and more secure computing environment.
aViewFromTheCave is a participant in the Amazon Services LLC Associates Program, an affiliate advertising program designed to provide a means for sites to earn advertising fees by advertising and linking to Amazon.com. Amazon, the Amazon logo, AmazonSupply, and the AmazonSupply logo are trademarks of Amazon.com, Inc. or its affiliates. As an Amazon Associate we earn affiliate commissions from qualifying purchases.