
Navigating the intricate and often punishing environments of advanced software applications can present significant challenges. Within the sprawling digital landscape of Elden Ring, few encounters test a user’s strategic prowess and system mastery more than the Godskin Duo. This guide provides a technical breakdown of their vulnerabilities and outlines optimal strategies for their successful deactivation, framed as a comprehensive tutorial for mastering a critical software module.
Deconstructing the Dual-Core Challenge: An Algorithmic Analysis
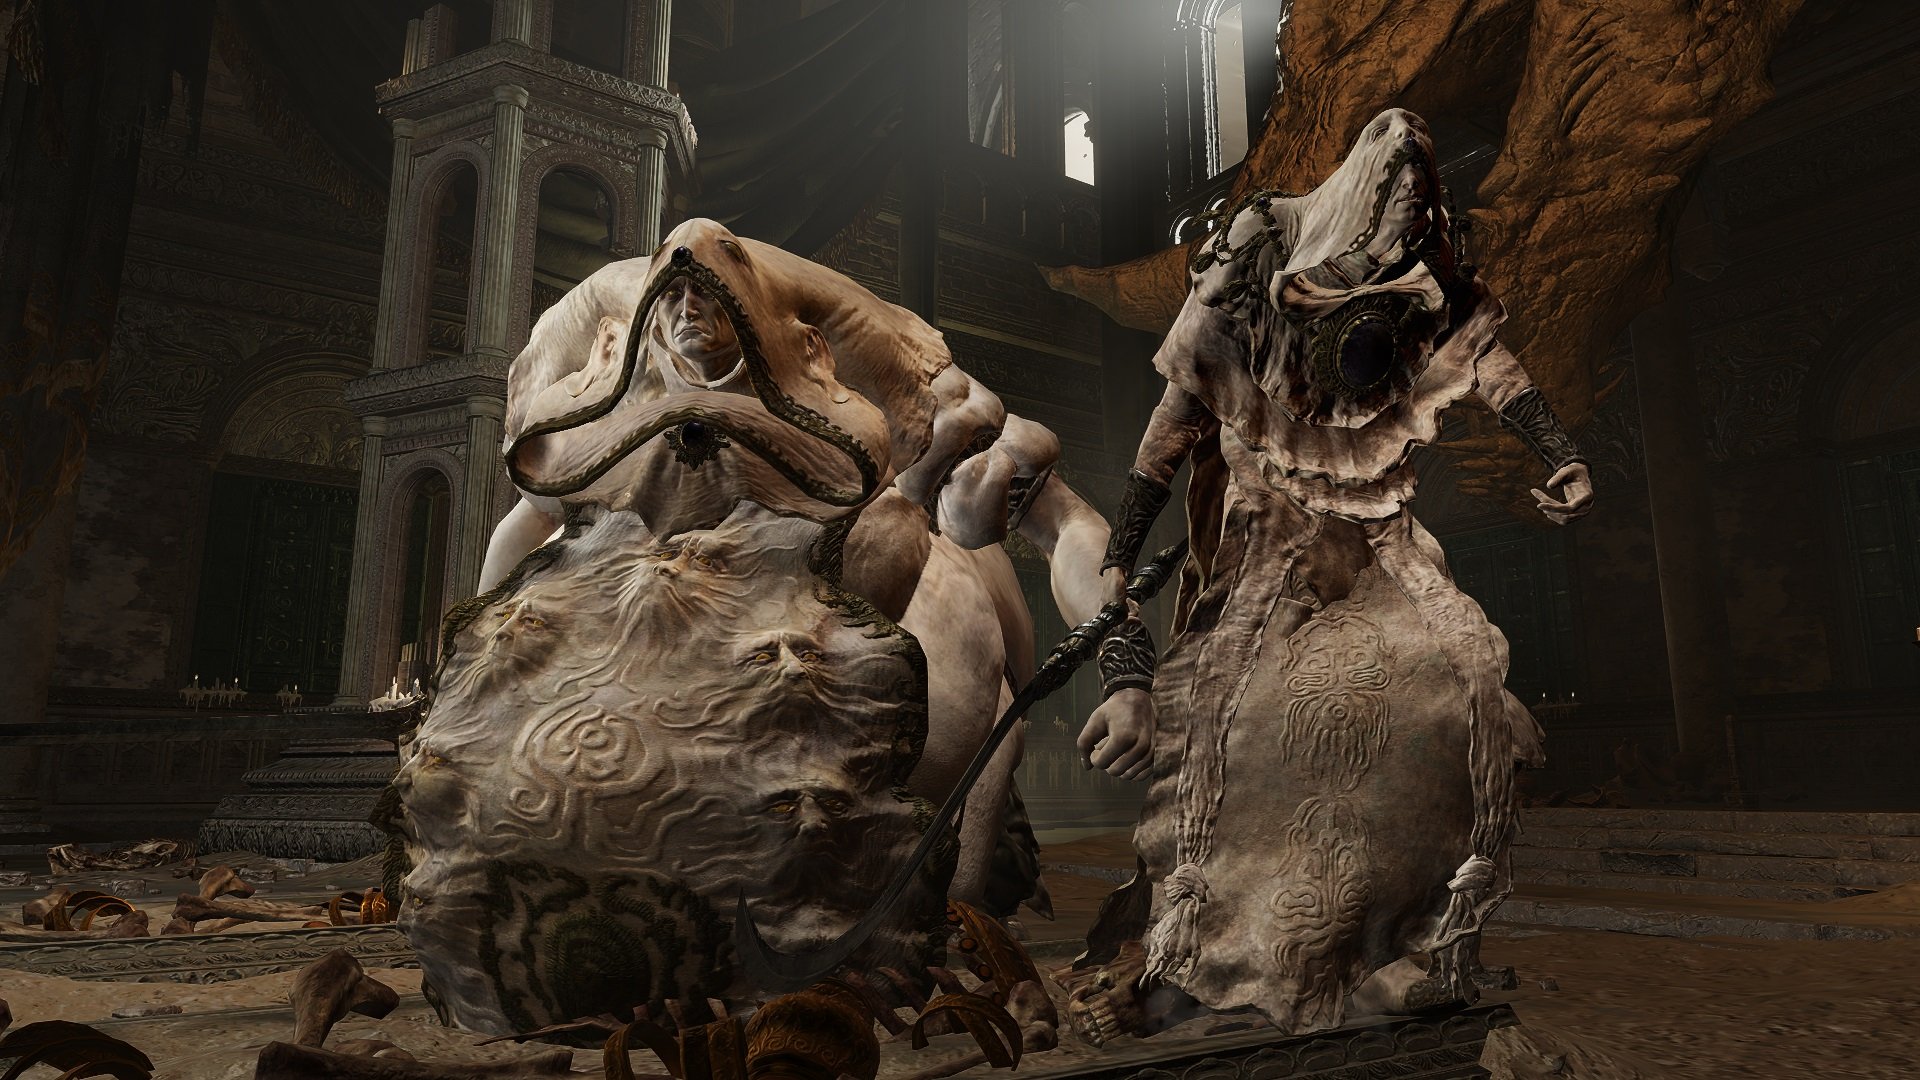
The Godskin Duo encounter presents a unique multi-target processing challenge, requiring users to manage two distinct enemy algorithms simultaneously. The Godskin Apostle, characterized by its rapid, stretching attacks and evasive maneuvers, operates on a high-agility protocol. Its counterpart, the Godskin Noble, employs a heavy-set, rolling attack pattern and boasts a higher damage absorption rate, embodying a resilient defense algorithm. Understanding their independent and synchronized attack sequences is paramount for successful system navigation.
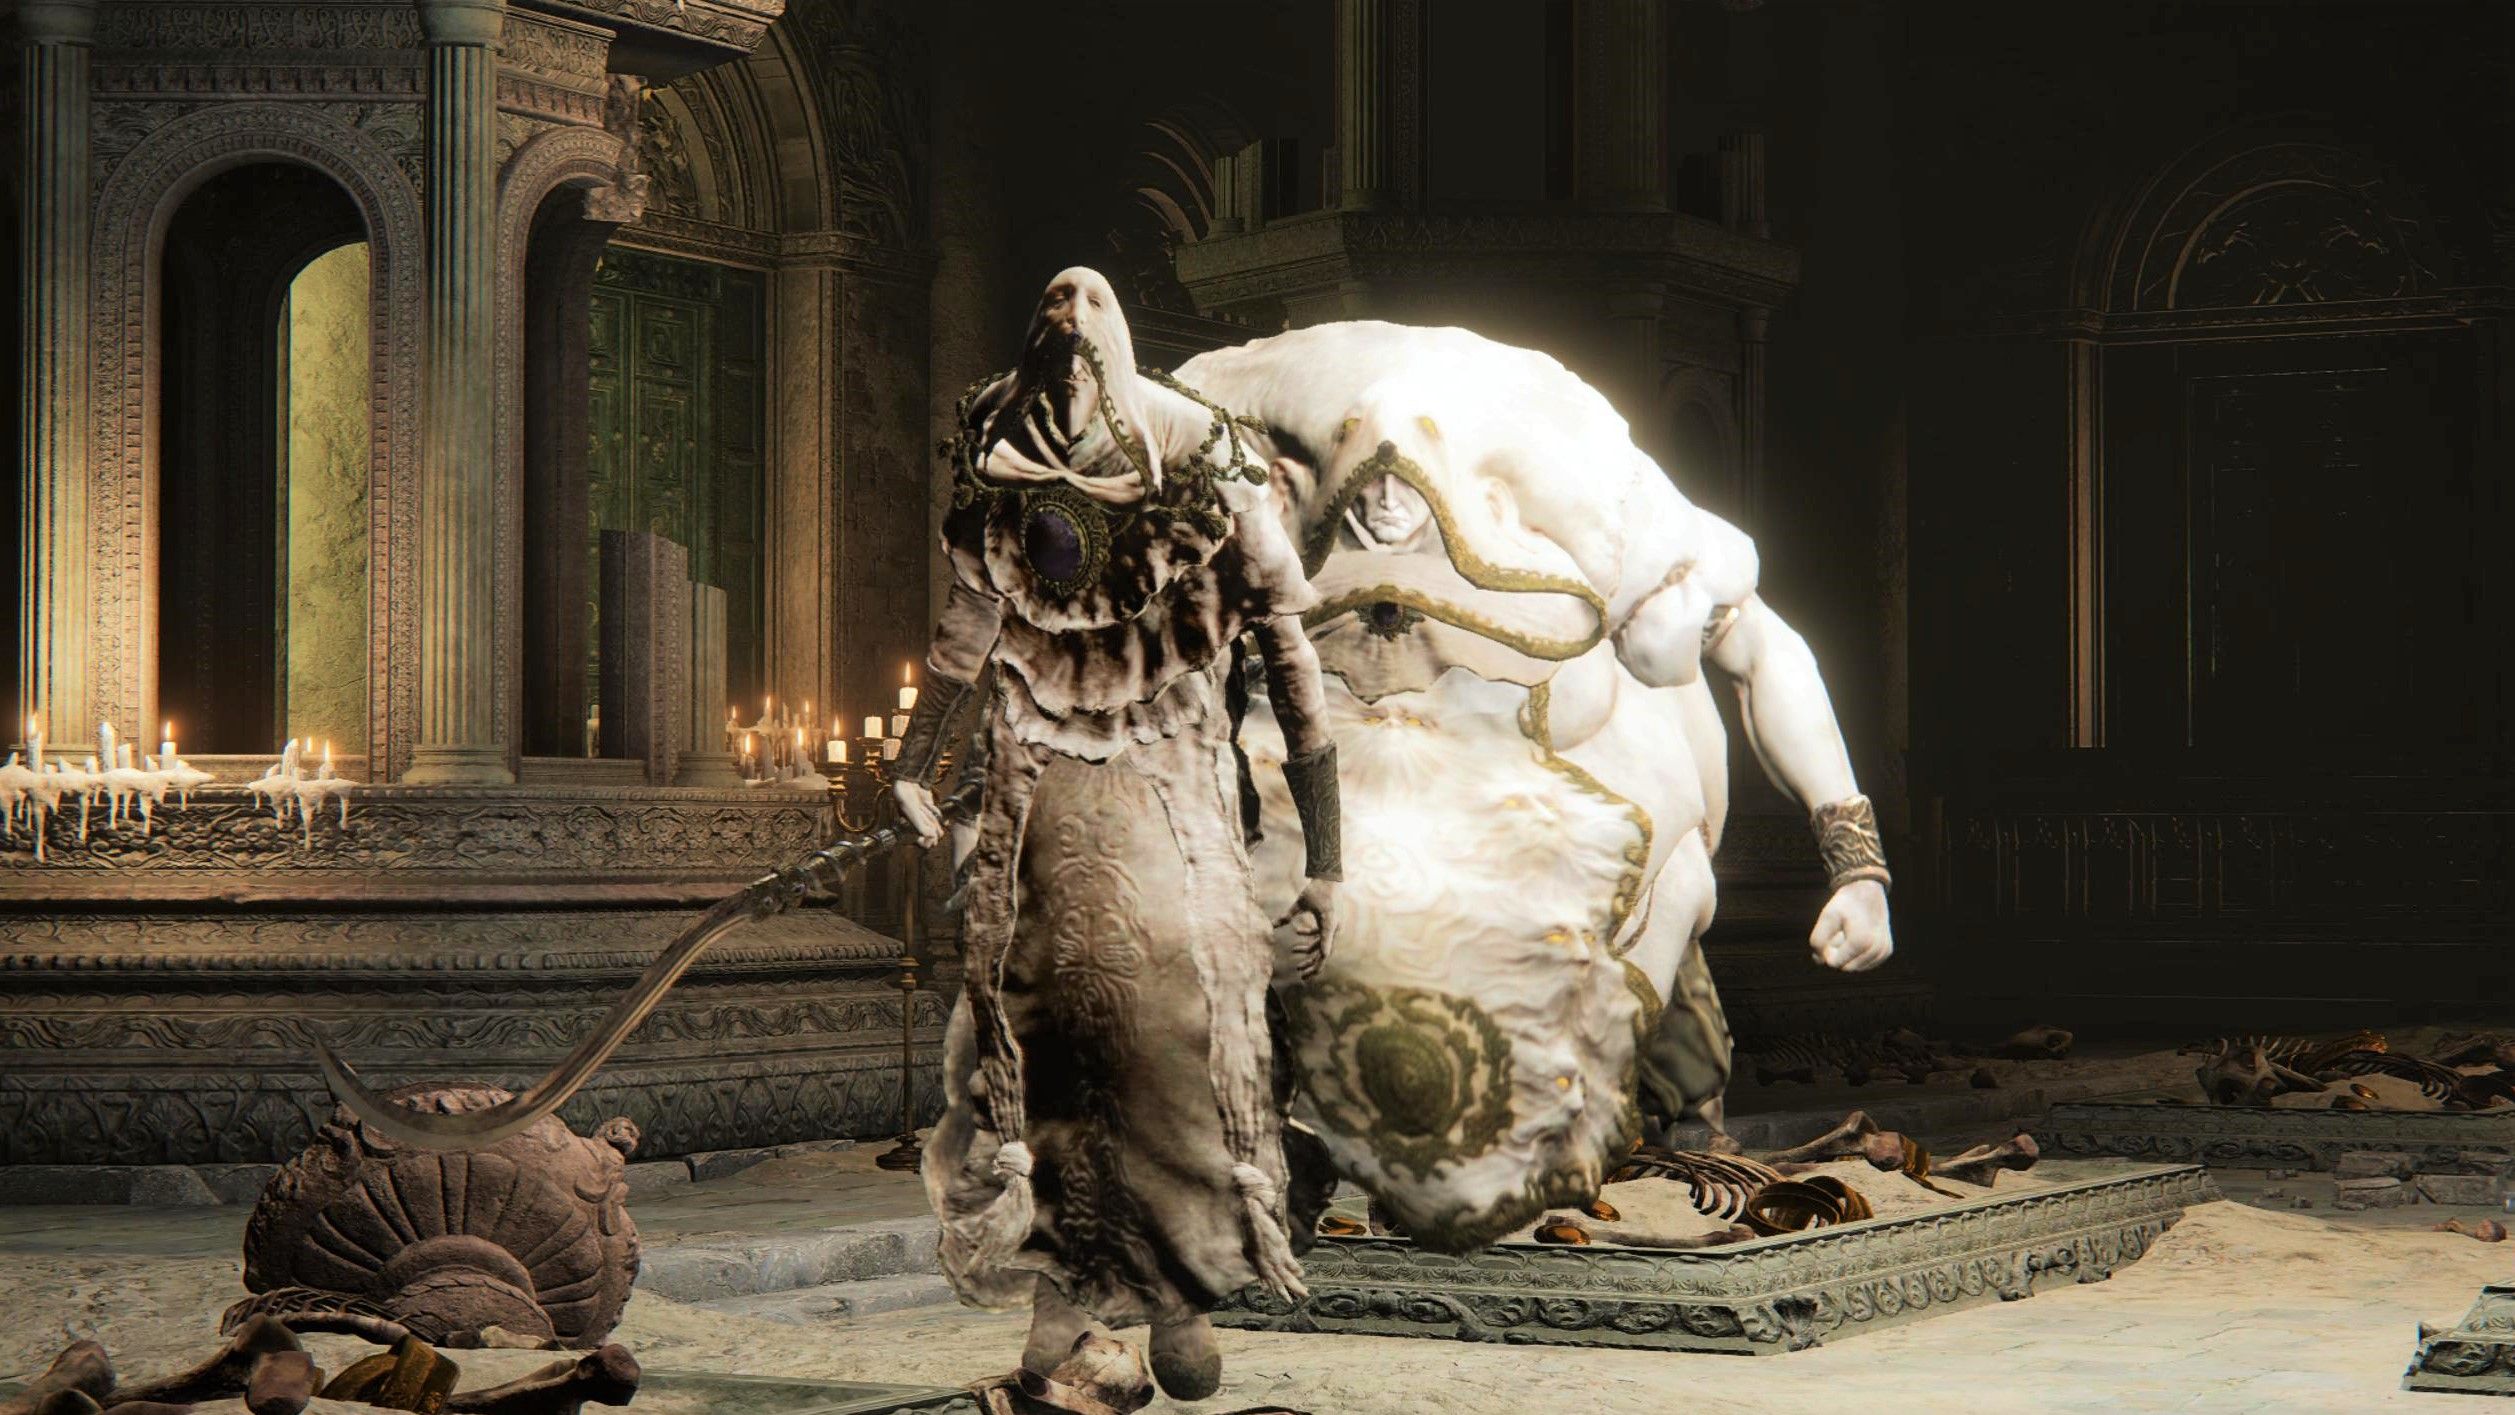
A key mechanic within this module is the shared health bar. While two distinct entities are present, their combined health pool signifies that damage to either contributes to the overall reduction. However, a critical design feature is their revival protocol: once one of the duo is defeated, a brief respawn timer initiates, after which the entity returns to the active battle state. This necessitates a strategy focused on simultaneous health degradation or efficient single-target elimination followed by rapid re-engagement.
Their primary attack patterns are designed to punish over-aggression and lack of spatial awareness. The Apostle often initiates ranged Black Flame attacks, while the Noble can transition into an area-of-effect (AoE) rolling attack that covers significant distances. Both possess potent melee combos that demand precise timing for evasion or blocking. A thorough understanding of their individual attack telegraphs is the foundational step in developing an effective counter-strategy.
Strategic Resource Allocation: Optimizing Your System Configuration
Effective engagement with the Godskin Duo module demands meticulous optimization of your character’s system configuration, encompassing attributes, equipment, and consumable inventory. This is akin to fine-tuning hardware and software resources for peak performance in a demanding application.
Attribute Prioritization
While specific attribute allocations will vary based on user preference and build archetype (e.g., melee, ranged, arcane), certain universal principles apply:
- Vigor (HP Pool): This is your primary buffer against unexpected damage spikes. A sufficiently high Vigor stat (typically 40-60, depending on overall build level) allows for greater error tolerance, enabling you to withstand more hits and extend engagement duration.
- Endurance (Stamina/Equip Load): Critical for maintaining mobility, executing attack sequences, and utilizing defensive actions (blocking/rolling). A higher endurance pool permits more consecutive actions, reducing vulnerability windows. Moreover, sufficient endurance for a medium equip load (under 70% of max) is essential for efficient dodge-rolling.
- Primary Damage Attribute: Whether Strength, Dexterity, Intelligence, Faith, or Arcane, invest heavily into your build’s core damage attribute. This ensures your offensive output is optimized to quickly reduce the duo’s shared health pool and manage their respawn timers effectively.
Equipment Optimization
Selecting the correct tools can drastically alter the difficulty of this encounter.
- Weapons: Consider weapons with strong crowd control capabilities or high single-target burst damage. Weapons capable of inflicting status effects, particularly Sleep, are exceptionally potent (detailed further below). Weapons with long reach can also be beneficial for hitting both targets or maintaining distance. Ash of War selection is crucial; abilities like “Blasphemous Blade’s Taker’s Flames” or “Mohgwyn’s Sacred Spear’s Bloodboon Ritual” offer excellent AoE or sustained damage.
- Armor: Prioritize armor that offers a balance of physical and elemental (Black Flame) damage negation. Maintaining a medium equip load is generally more beneficial than heavy armor for the agility it provides.
- Talismans:
- Radagon’s Soreseal/Marika’s Soreseal: While boosting attributes, they increase damage taken, which can be risky for this prolonged fight. Use with caution.
- Erdtree’s Favor: Provides a flat increase to HP, Stamina, and Equip Load, offering broad utility.
- Lord of Putrefaction’s Exultation/Kindred of Rot’s Exultation: If using poison/rot, these enhance damage output.
- Godfrey Icon/Marika’s Soreseal: For charged spells or skills.
- Dragoncrest Greatshield Talisman: Offers significant physical damage negation.
- Pearldrake Talisman: Boosts non-physical damage negation (useful against Black Flame).
Consumable Inventory Management
Efficient use of consumables is a hallmark of advanced software interaction.
- Flasks of Crimson Tears/Cerulean Tears: Ensure your flask distribution supports your build. If reliant on abilities, allocate more Cerulean; otherwise, prioritize Crimson. Upgrading them via Golden Seeds and Sacred Tears is non-negotiable.
- Status Effect Pots (Sleep Pots): This is arguably the single most impactful consumable for this encounter. Crafted from Trina’s Lily, Sleep Pots can temporarily incapacitate one of the duo, effectively turning the fight into a series of one-on-one engagements. Stocking 5-10 pots is highly recommended.
- Perfumes (Uplifting Aromatic, Bloodboil Aromatic): These can provide temporary buffs to damage or defense, tipping the scales in critical moments.
- Throwing Daggers/Kukris: Useful for drawing aggro or finishing off a low-health enemy from a distance.
Exploiting Behavioral Algorithms: Tactics for Control and Damage Phases
Approaching the Godskin Duo requires a dynamic strategy that adapts to their synchronized and independent actions. The goal is to control the operational parameters of the encounter, minimizing concurrent threats.
Initial Engagement and Prioritization
Upon entering the module, the immediate priority is to separate the duo or incapacitate one.
- Sleep First: The most effective opening strategy involves immediately using a Sleep Pot on one of the duo. The Godskin Noble is often an easier target due to its slower movement. Once one is asleep, focus all offensive output on the awake target. This effectively reduces the encounter to a series of more manageable 1v1 engagements.
- Aggro Management: If not using sleep, try to draw one away from the other. The pillars in the arena can be used to break line of sight and manage aggro, though they are destructible.
- Target Selection: Generally, targeting the Godskin Apostle first is advisable due to its lower health pool and higher agility, making it a more consistent threat. However, if the Noble is proving disruptive with its rolling attacks, taking it out first may be a better option for spatial control.
Leveraging Status Effect Protocols
As mentioned, Sleep is their primary exploitable vulnerability. Both Godskin Apostle and Godskin Noble are highly susceptible to sleep status.
- Sleep Pot Application: When one awakens, quickly reapply a Sleep Pot to incapacitate it again. This allows you to chain sleeps and maintain a significant advantage.
- Sleep-inducing Weapons/Spells: Weapons imbued with the Sleep status effect (e.g., St. Trina’s Torch) or spells that induce sleep can also be highly effective, offering a renewable source of crowd control.
Bleed, Frostbite, and Scarlet Rot are also effective damage-over-time (DoT) protocols that can significantly contribute to their health degradation. Weapons with these effects, especially those that build up quickly, are valuable additions to your arsenal.
Positional Play and Environmental Interaction
The environment itself offers strategic opportunities. The arena features several large pillars.
- Pillar Utilization: These pillars can be used to momentarily block incoming ranged attacks, interrupt the Noble’s rolling attack, or create distance for healing. However, be aware that the pillars are destructible and will eventually break down. Do not rely on them as permanent cover.
- Creating Space: Maintaining a safe distance from both targets when necessary is key. Avoid getting cornered or flanked. The duo often attacks in tandem, making awareness of your surroundings crucial.
Dealing with Reinforcement Protocols
When one of the duo is defeated, it will respawn after a short delay. This “reinforcement protocol” demands quick action.
- Damage Focus: During this window, focus intently on dealing as much damage as possible to the remaining active target.
- Preparation: As the respawn animation begins, prepare to re-apply crowd control (e.g., another Sleep Pot) or reposition to manage the re-engaged threat.
Advanced System Overrides: Specific Strategies and Tools
Beyond general tactics, certain advanced tools and strategies can provide a decisive edge.
Parrying Mechanics
Both Godskin Apostle and Godskin Noble attacks can be parried, opening them up for critical hits. This high-skill maneuver, when executed consistently, can significantly accelerate their deactivation. Practice their attack timings to master this override.
Summoning Auxiliary Units (Spirit Ashes)
Leveraging Spirit Ashes can provide invaluable assistance.
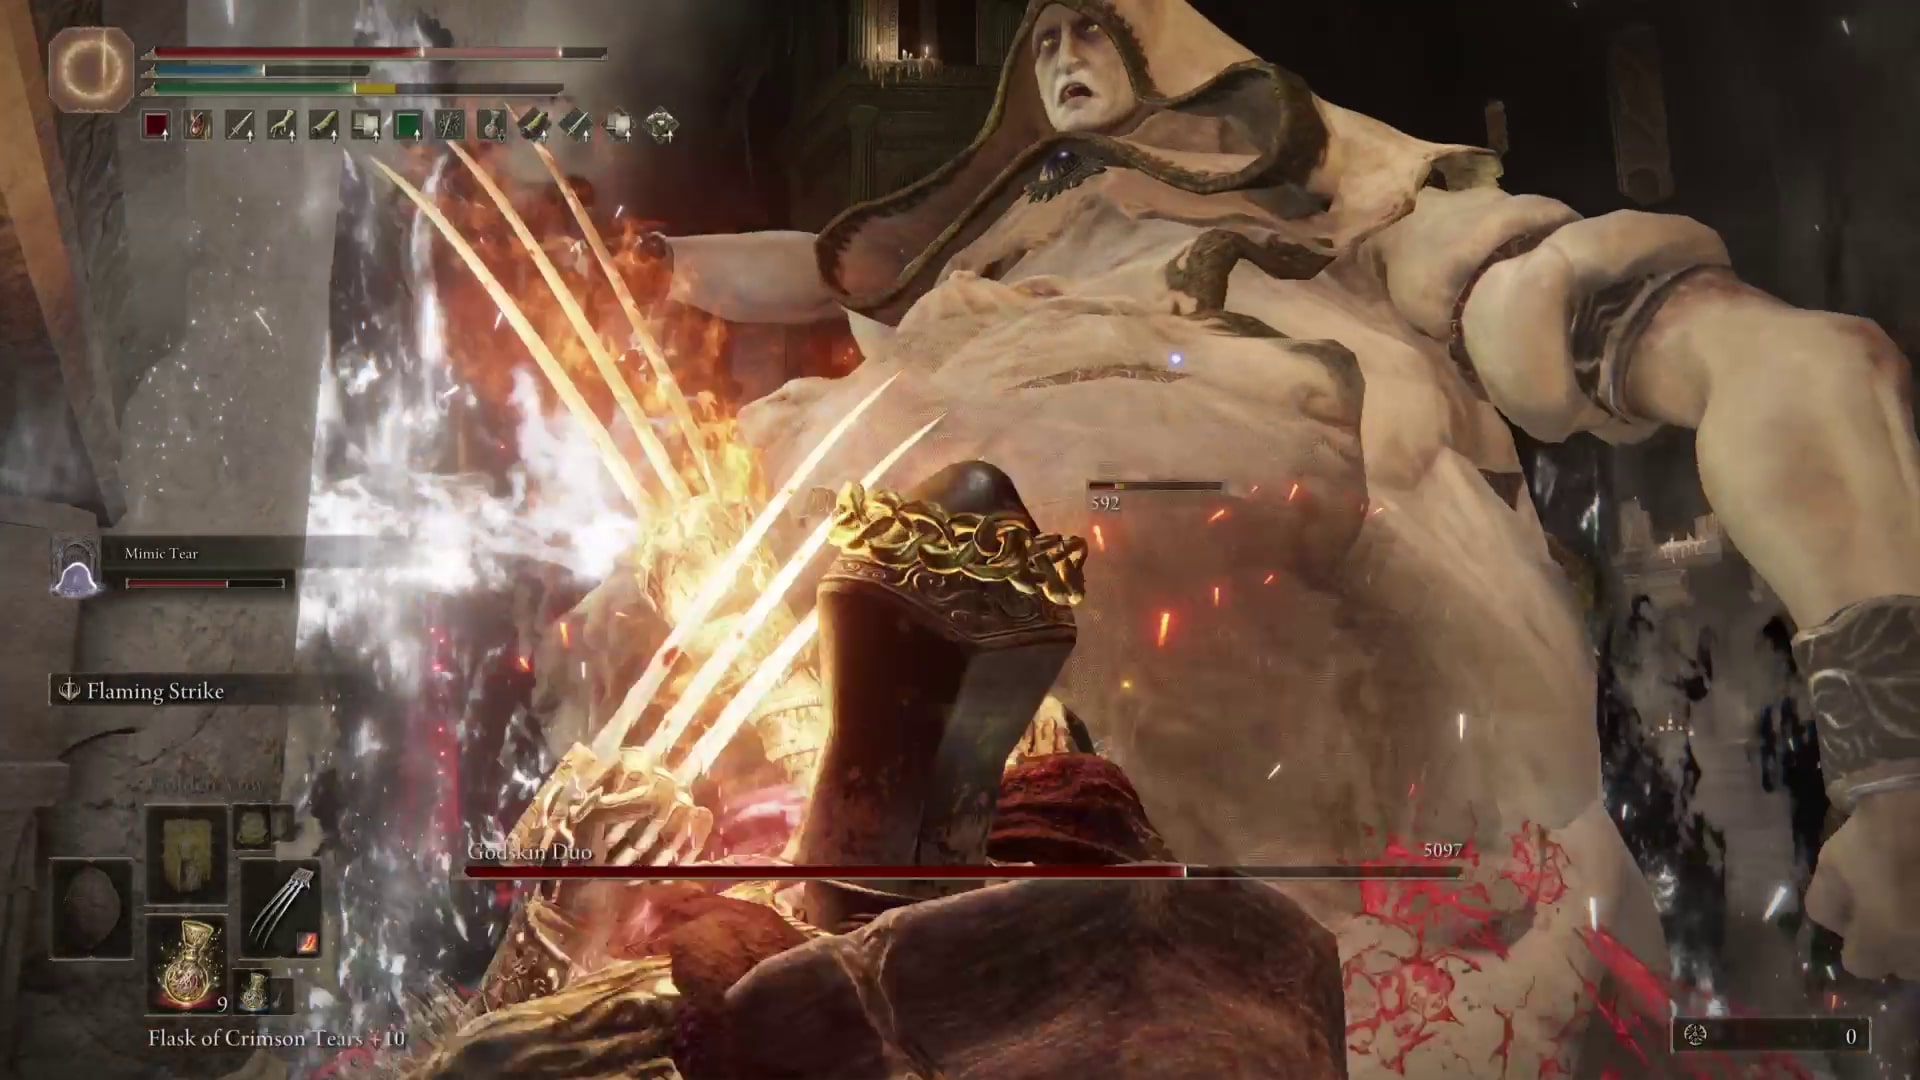
- Tanking/Distraction: Summons like the Mimic Tear or Black Knife Tiche can draw aggro, providing a crucial window to focus damage or heal.
- Damage Support: Certain Spirit Ashes also contribute significant damage, helping to accelerate the health pool reduction. Choose a summon that complements your build (e.g., Tiche for fast damage and bleed, Mimic for mirroring your build, or Lhutel the Headless for tanking and teleportation).
Weapon Arts and Spell Synergies
Many powerful Weapon Arts (Skills) and Spells are designed for multi-target engagement or high burst damage.
- AoE Skills: Skills like Hoarfrost Stomp (pre-nerf), Waves of Darkness, or Taker’s Flames can hit both targets, contributing to overall health reduction efficiently.
- Projectiles with Pierce: Certain spells or incantations that pierce through enemies can hit both targets if they align.
- Buffs: Incantations like Golden Vow or various consumable buffs (e.g., Bloodboil Aromatic) can significantly amplify your damage or defense for critical periods.
Iterative Refinement: Post-Mortem and Adaptation
Failure in a complex software challenge is not an endpoint but an opportunity for iterative refinement. After each attempt, conduct a post-mortem analysis:
- Identify Failure Points: Did you mistime a dodge? Run out of stamina? Fail to apply sleep?
- Adjust Configuration: Did your attributes need tweaking? Was your weapon choice suboptimal? Should you reallocate your flasks?
- Refine Execution: Focus on improving specific aspects of your execution – better dodge timing, more precise Sleep Pot throws, or more efficient damage rotations.
The Godskin Duo module, while demanding, is ultimately a test of your ability to understand, adapt to, and exploit the underlying mechanics of the Elden Ring software. By systematically deconstructing their behavior, optimizing your resource allocation, and strategically applying the appropriate tools, you can successfully deactivate this formidable challenge.
aViewFromTheCave is a participant in the Amazon Services LLC Associates Program, an affiliate advertising program designed to provide a means for sites to earn advertising fees by advertising and linking to Amazon.com. Amazon, the Amazon logo, AmazonSupply, and the AmazonSupply logo are trademarks of Amazon.com, Inc. or its affiliates. As an Amazon Associate we earn affiliate commissions from qualifying purchases.