The world of digital entertainment, particularly gaming, is constantly evolving. While official game updates and expansions bring new content, a vibrant community of creators often extends the life and possibilities of our favorite titles through modifications, or “mods.” From subtle visual enhancements to entirely new gameplay mechanics, mods offer a unique way to personalize your digital experiences. But for many, the question of “how do you install a mod?” can seem daunting. This guide aims to demystify the process, drawing upon the core principles of technology and providing actionable steps for both beginners and the more adventurous.
Understanding the Modding Landscape: From Humble Beginnings to Advanced Customization
At its heart, modding is about Tech – the intelligent application of technology to alter or enhance existing software. It’s a testament to the accessibility of digital tools and the ingenuity of users. The concept of modifying software isn’t new; it dates back to the early days of computing when users would tweak code to achieve specific outcomes. In the gaming sphere, this evolved into a sophisticated ecosystem where players can change everything from character skins and weapon models to the fundamental rules and stories of a game.
The evolution of modding has been closely tied to the evolution of technology itself. As games became more complex, so did the tools and techniques required to mod them. Early mods might have involved simple file replacements, while modern mods can utilize advanced scripting languages, custom asset creation tools, and even AI-generated content. This rapid advancement means that while the core principles remain the same, the specific methods can vary significantly.
The Power of the Community and Its Impact on Brand Loyalty
While this article is primarily focused on the technical aspects of installing mods, it’s impossible to ignore the significant impact this phenomenon has on the Brand of games and game developers. A strong modding community can significantly enhance a game’s longevity and foster a loyal player base. Developers who embrace and even support modding often see their games thrive for years beyond their initial release. This symbiotic relationship creates a positive feedback loop: players mod, share their creations, attract new players, and further solidify the game’s brand identity.
The open nature of modding, where players contribute to the game’s ecosystem, builds a sense of ownership and investment. This is a powerful form of Reputation building for developers, demonstrating their commitment to their player base and fostering a sense of shared creativity. When a game is known for its robust modding scene, it automatically garners a certain appeal, attracting players who value customization and long-term engagement.
The Practicalities: Navigating the Technical Hurdles of Mod Installation
The core of our discussion lies in the practical steps involved in how do you install a mod? This process generally falls into a few categories, depending on the game and the type of mod. It’s crucial to approach this with a methodical mindset, akin to troubleshooting any technical issue.
Essential Prerequisites: Preparing Your Digital Environment
Before diving into the actual installation, a few preparatory steps are essential for a smooth experience. Think of this as setting up your workspace before undertaking a complex project.
Ensuring Game Stability and Backups: The Digital Safety Net
The most critical step before installing any mod is to ensure the stability of your game installation and create backups. Mods are created by third parties, and while many are well-tested, there’s always a risk of them causing conflicts, crashing your game, or even corrupting save files.
- Backup Your Game Files: Locate your game’s installation directory. The exact location varies depending on the platform (Steam, Epic Games Store, GOG, etc.) and the operating system. Copying this entire folder to a safe, external location is a good first step. This allows you to revert to a clean, unmodded state if anything goes wrong.
- Backup Your Save Files: Similarly, your game’s save files are precious. Locate these (again, their location varies by game and OS) and back them up separately. This is especially important for single-player games where your progress is paramount.
- Verify Game Files: Most digital game launchers (like Steam) have a feature to “verify integrity of game files.” This checks for any corrupted or missing game files and redownloads them, ensuring you’re starting with a pristine game.
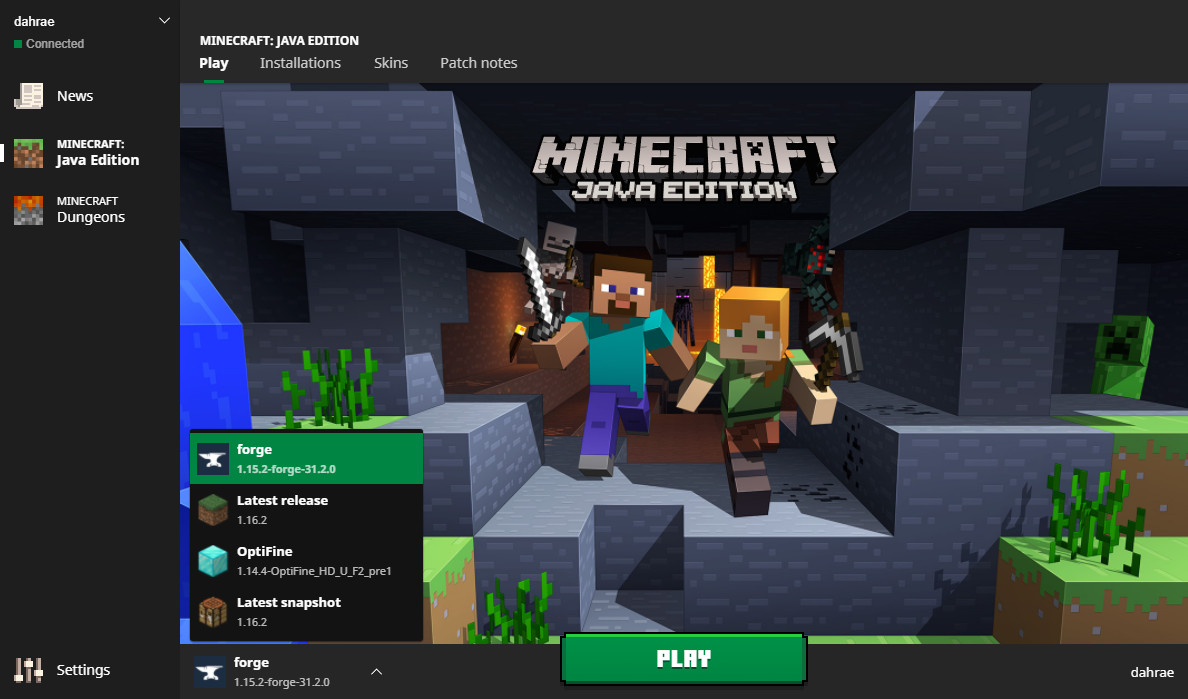
Understanding Mod Managers and Their Role in Streamlining the Process
For many popular games, the modding community has developed specialized Mod Managers. These are software tools designed to simplify the process of installing, managing, and uninstalling mods. They act as an intermediary between you and the game’s files, automating many of the manual steps and reducing the likelihood of errors.
- Popular Mod Managers: Examples include Nexus Mod Manager (often used for Bethesda games like Skyrim and Fallout), Vortex (a more modern manager from Nexus Mods), and Mod Organizer 2 (another powerful tool for Bethesda titles). For other games, you might find specific managers like Frosty Mod Manager (for EA games like Star Wars Battlefront II) or tools tailored to specific game engines.
- How Mod Managers Work: Generally, you point the mod manager to your game’s installation directory. Then, you download mods (often directly through the manager or from dedicated modding websites like Nexus Mods) and “install” them through the manager. The manager handles placing the mod files in the correct locations, often creating virtual file systems or patching game files in a way that can be easily reversed.
Manual Installation: For the Adventurous and the Unmanaged

While mod managers are highly recommended, some mods, especially for less mainstream games or those with simpler modification structures, might require manual installation. This process involves directly manipulating game files. It’s essential to proceed with extreme caution and follow instructions precisely.
Locating Game Directories and Identifying Mod File Structures
This is arguably the most critical and often confusing part of manual modding. You need to understand where the game expects to find its assets and how the mod is structured.
- Game Installation Directory: As mentioned before, this is the root folder where your game is installed.
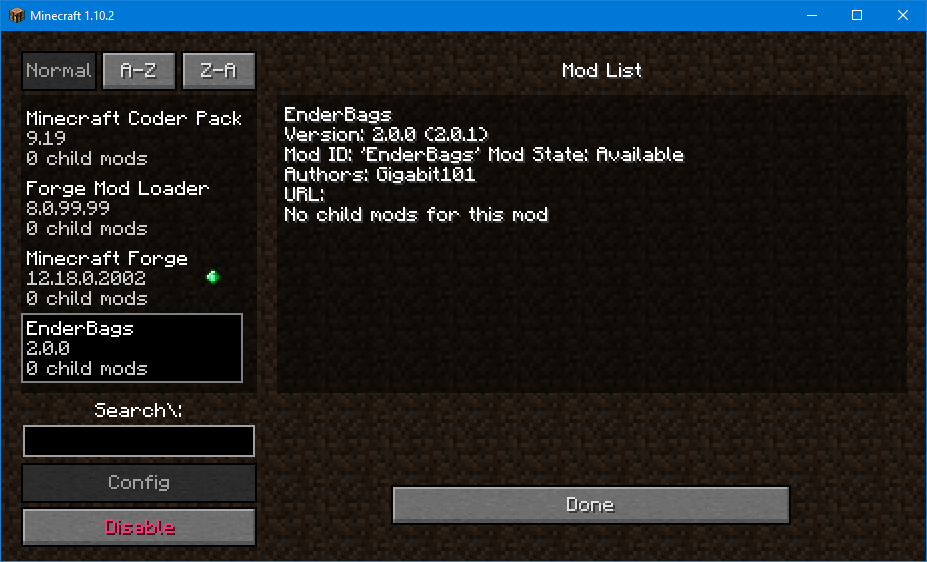
- Game Data Folders: Within the installation directory, games often have subfolders like “Data,” “Mods,” “Assets,” or similar. These are where you’ll typically place mod files. Sometimes, mods will specify exactly which subfolders they need to go into.
- Mod File Types: Mods can come in various file formats:
- Archives (.zip, .rar, .7z): These need to be extracted.
- Loose files (e.g., .dll, .ini, .pak, .dds, .esp/.esm for Bethesda games): These are the actual files that modify the game.
- Executable installers (.exe): Some mods come with their own installers.
The Step-by-Step Process: Replacing and Copying Files
Once you’ve identified the necessary directories and the mod’s file structure, the manual installation process usually involves:
- Download the Mod: Obtain the mod files from a reputable source (e.g., Nexus Mods, ModDB, the game’s official forums).
- Extract the Mod Archive: If the mod is in a compressed archive, extract its contents to a temporary location.
- Read the Installation Instructions: This is paramount. Mod creators will almost always provide specific instructions on where to place their files. Do not skip this step!
- Copy and Paste Files: Based on the instructions, copy the extracted mod files and paste them into the designated folders within your game’s installation directory. This often involves overwriting existing files. Ensure you’ve backed up the original files you are overwriting!
- Configuration (if applicable): Some mods might require minor configuration changes. This could involve editing .ini files or running a small configuration tool provided with the mod.
- Launch the Game: Start your game to see if the mod is working.
Troubleshooting Common Modding Issues: When Things Don’t Go as Planned
Even with the best preparation, encountering issues is part of the modding journey. A calm, logical approach, much like debugging software, is key to resolving problems.
Identifying Conflicts and Dependencies: The Interplay of Mods
One of the most frequent issues is mod conflicts or missing dependencies.
- Mod Conflicts: This occurs when two or more mods attempt to modify the same game files or systems in incompatible ways. This can lead to crashes, visual glitches, or unexpected behavior.
- Resolution: Mod managers are excellent at helping to resolve conflicts by allowing you to prioritize which mod “wins” in case of overlap. If installing manually, you might need to identify the conflicting mods by disabling them one by one until the issue is resolved. Checking mod descriptions for known incompatibilities is also crucial.
- Missing Dependencies: Some mods require other mods or specific game features to be installed first. These are called dependencies.
- Resolution: Always read the mod’s description carefully for any mentioned dependencies. Install them before installing the mod that requires them.
Debugging and Seeking Help: Leveraging the Community and Technical Resources
When you encounter a problem that you can’t immediately solve, don’t despair. The modding community is a vast resource.
- Check Mod Pages and Forums: The download pages for mods on platforms like Nexus Mods often have dedicated comment sections or forums where users discuss issues and solutions.
- Consult Game-Specific Modding Guides: Many games have extensive wikis or dedicated websites with detailed guides on modding and troubleshooting.
- Provide Detailed Information: When asking for help, be specific. Include your game version, the mods you have installed, the exact error messages you’re receiving, and what steps you’ve already taken to resolve the issue. This helps others diagnose your problem more effectively.
The Financial and Brand Implications of Modding
While this guide focuses on the technical installation, it’s worth briefly touching on how modding intersects with Money and Brand.
- Monetization of Mods: While most mods are free, some creators engage in Patreon or other donation-based models to support their work. Rarely, some platforms might allow for paid mods, though this is a contentious issue within the community. Understanding the financial aspect means respecting creators’ efforts and recognizing that many modders are unpaid volunteers.
- Brand Value Enhancement: As discussed earlier, a robust modding scene significantly boosts a game’s Brand. It extends its life, creates new revenue streams through sustained interest, and fosters a passionate community that acts as organic marketing. Developers who understand this can strategically release games with modding in mind, potentially leading to increased Online Income through sustained player engagement and merchandise.
In conclusion, the question of “how do you install a mod?” is a gateway to a richer, more personalized digital experience. By understanding the technical underpinnings, preparing your system diligently, and approaching the process with patience and a willingness to learn, you can unlock a universe of new content and gameplay possibilities. Whether you’re a seasoned tech enthusiast or a curious newcomer, the world of modding awaits, offering endless opportunities for exploration and enjoyment.
aViewFromTheCave is a participant in the Amazon Services LLC Associates Program, an affiliate advertising program designed to provide a means for sites to earn advertising fees by advertising and linking to Amazon.com. Amazon, the Amazon logo, AmazonSupply, and the AmazonSupply logo are trademarks of Amazon.com, Inc. or its affiliates. As an Amazon Associate we earn affiliate commissions from qualifying purchases.