The digital landscape is constantly evolving, and with it, our operating systems. Microsoft’s Windows 11 represents a significant leap forward from its predecessor, Windows 10, offering a fresh interface, enhanced security features, and improved performance. For many users, the question arises: “How do I upgrade to this newer, shinier operating system?” This guide will walk you through the process of installing Windows 11 on your existing Windows 10 system, ensuring a smooth and successful transition.
Understanding the Transition: Why Upgrade to Windows 11?
Before diving into the installation process, it’s crucial to understand what Windows 11 brings to the table. Microsoft has designed Windows 11 with a focus on productivity, creativity, and security, making it an attractive upgrade for many. The most immediate change you’ll notice is the revamped user interface. Gone is the sharp, angular design of Windows 10; in its place is a softer, more rounded aesthetic with a centered Start menu and taskbar, reminiscent of macOS.
Beyond the visual overhaul, Windows 11 introduces several key features:
- New Start Menu and Taskbar: The redesigned Start menu prioritizes pinned apps and provides quick access to recent files. The centered taskbar offers a cleaner, more organized look.
- Snap Layouts and Snap Groups: These features significantly enhance multitasking capabilities. Snap Layouts allow you to quickly arrange multiple windows into predefined layouts, while Snap Groups remember your window arrangements, making it effortless to return to your previous workspace.
- Widgets: A dedicated Widgets panel brings personalized information, such as news, weather, and calendar events, directly to your desktop.
- Microsoft Teams Integration: Teams is now deeply integrated into the taskbar, making it easier to connect with friends, family, and colleagues.
- Enhanced Gaming Features: For gamers, Windows 11 offers features like DirectStorage for faster game loading and Auto HDR for improved visual fidelity on compatible displays.
- Improved Security: Windows 11 mandates TPM 2.0 and Secure Boot, strengthening the platform’s security posture against modern threats. This focus on hardware-based security is a significant differentiator.
- Android App Support: While still rolling out and with some limitations, Windows 11’s ability to run Android apps through the Amazon Appstore promises to expand the functionality of your PC.
While the allure of these new features is strong, it’s essential to ensure your hardware meets the minimum system requirements for Windows 11. This is a critical first step that can prevent installation issues down the line.
Checking Your System Compatibility: The Foundation of a Smooth Upgrade
Microsoft has established specific hardware requirements for Windows 11, primarily to ensure the security and performance benefits are realized. The most commonly discussed requirement is the presence of a Trusted Platform Module (TPM) version 2.0. TPM is a security chip that helps secure your system at a fundamental level.
Here’s a breakdown of the key requirements:
- Processor: 1 GHz or faster with 2 or more cores on a compatible 64-bit processor or System on a Chip (SoC).
- RAM: 4 GB or more.
- Storage: 64 GB or larger storage device.
- System Firmware: UEFI, Secure Boot capable.
- TPM: Trusted Platform Module (TPM) version 2.0.
- Graphics Card: Compatible with DirectX 12 or later with WDDM 2.0 driver.
- Display: High definition (720p) display that is greater than 9” diagonally, 8 bits per color channel.
How to check if your PC is compatible:
Microsoft provides a dedicated application to simplify this process: PC Health Check.
- Download PC Health Check: You can download the PC Health Check application directly from the official Microsoft website. Search for “PC Health Check download” on your preferred search engine, and ensure you are on a legitimate Microsoft domain.
- Run the Application: Once downloaded, install and run the PC Health Check application.
- Perform the Compatibility Check: Within the app, you’ll find an option to “Check now” under the “Introducing Windows 11” banner. Click this button.
- Review the Results: The PC Health Check will analyze your system and provide a clear report on whether your PC meets the Windows 11 requirements. It will highlight any specific components that are not compatible.
Troubleshooting Common Compatibility Issues:
- TPM 2.0 Not Enabled: This is perhaps the most common hurdle. TPM is often disabled by default in the BIOS/UEFI settings. You’ll need to restart your computer and enter your BIOS/UEFI setup (usually by pressing keys like Del, F2, F10, or F12 during boot-up). Navigate to the security settings and look for an option related to TPM, “Security Chip,” or “PTT” (Platform Trust Technology for Intel). Enable it. Note: The exact location and naming of this setting can vary significantly between motherboard manufacturers. Consult your motherboard’s manual if you’re unsure.
- Secure Boot Not Enabled: Similar to TPM, Secure Boot is a UEFI feature that helps prevent malicious software from loading during the boot process. It’s usually found in the same BIOS/UEFI section as TPM settings. Ensure it’s enabled.
- Older Processor: If your CPU is not on Microsoft’s supported list, your PC may not officially be eligible for Windows 11. While there are workarounds to bypass this requirement, they are not recommended by Microsoft and could lead to future update issues or performance problems.
If your PC fails the compatibility check, it’s generally advisable to stick with Windows 10, which will continue to receive security updates until October 14, 2025. Investing in newer hardware that meets Windows 11 requirements might be a better long-term solution if you’re eager to experience the latest operating system.
The Upgrade Paths: How to Install Windows 11
Once you’ve confirmed your system is compatible, you have several methods to install Windows 11. The most straightforward approach for most Windows 10 users is the in-place upgrade, which preserves your files, apps, and settings.
Option 1: In-Place Upgrade via Windows Update (Recommended)
This is the simplest and most recommended method for upgrading from Windows 10 to Windows 11. If your PC meets the requirements and Microsoft deems your system ready, Windows 11 will appear as an optional update in Windows Update.
- Navigate to Windows Update: Go to Settings > Update & Security > Windows Update.
- Check for Updates: Click the “Check for updates” button.
- Download and Install: If Windows 11 is available for your device, you will see an option to “Download and install” it. Click this option.
- Follow On-Screen Instructions: Your computer will begin downloading the necessary files. Once the download is complete, you’ll be prompted to restart your PC to begin the installation. The installation process can take anywhere from 30 minutes to a few hours, depending on your hardware. Your PC will restart multiple times during this process.
- Initial Setup: After the installation, you’ll go through a brief Out-of-Box Experience (OOBE) similar to when you first set up Windows 10, where you’ll confirm privacy settings and sign in to your Microsoft account.
Benefits of this method:
- Easiest: No need for external media or complex procedures.
- Preserves Data: Your files, apps, and settings are retained.
- Reversible: If you’re unhappy with Windows 11, you have a 10-day window to roll back to Windows 10 through the recovery options in Settings.
Option 2: Using the Windows 11 Installation Assistant

If Windows Update isn’t offering the upgrade, or if you want to initiate the process manually, the Windows 11 Installation Assistant is another excellent tool. This tool is designed to help you install the latest version of Windows 11 on your current Windows 10 PC.
- Download the Installation Assistant: Visit the official Microsoft Windows 11 download page and look for the “Windows 11 Installation Assistant.” Download the tool.
- Run the Assistant: Execute the downloaded file. You will be presented with the End User License Agreement; accept it to proceed.
- Initiate the Download and Installation: The assistant will check your PC for compatibility. If compatible, it will proceed to download the Windows 11 files.
- Restart to Install: Once the download is complete, you will be prompted to restart your computer to begin the installation. Similar to the Windows Update method, the installation will take time, and your PC will restart several times.
- Complete Setup: After installation, you’ll complete the OOBE.
Benefits of this method:
- Manual Control: Allows you to start the upgrade on your schedule.
- Preserves Data: Also retains your files, apps, and settings.
- Good for Prompting Updates: Useful if Windows Update is slow to offer the upgrade.
Option 3: Creating Bootable Media (USB Drive or DVD)
This method is more involved but offers the most flexibility. It’s ideal if you want to perform a clean installation (wiping your drive and starting fresh) or if you need to install Windows 11 on multiple machines.
- Download the Media Creation Tool: Go to the Microsoft Windows 11 download page and download the “Create Windows 11 Installation Media” tool.
- Run the Tool: Execute the downloaded tool. Accept the license terms.
- Select Language and Edition: Choose your language, edition (Windows 11), and architecture (64-bit).
- Choose Media Type: Select “USB flash drive.” Ensure you have a USB drive with at least 8GB of storage available. All data on the USB drive will be erased.
- Create the Bootable Media: The tool will download the Windows 11 files and create a bootable USB drive. This process can take a significant amount of time.
- Boot from the USB Drive:
- Insert the USB drive into your PC.
- Restart your computer.
- During the boot process, you’ll need to enter your BIOS/UEFI settings (as described earlier for TPM).
- Change the boot order to prioritize booting from the USB drive.
- Save your changes and exit the BIOS/UEFI.
- Install Windows 11: Your PC will now boot from the USB drive and the Windows 11 setup will begin.
- Select your language, time, and keyboard input.
- Click “Install now.”
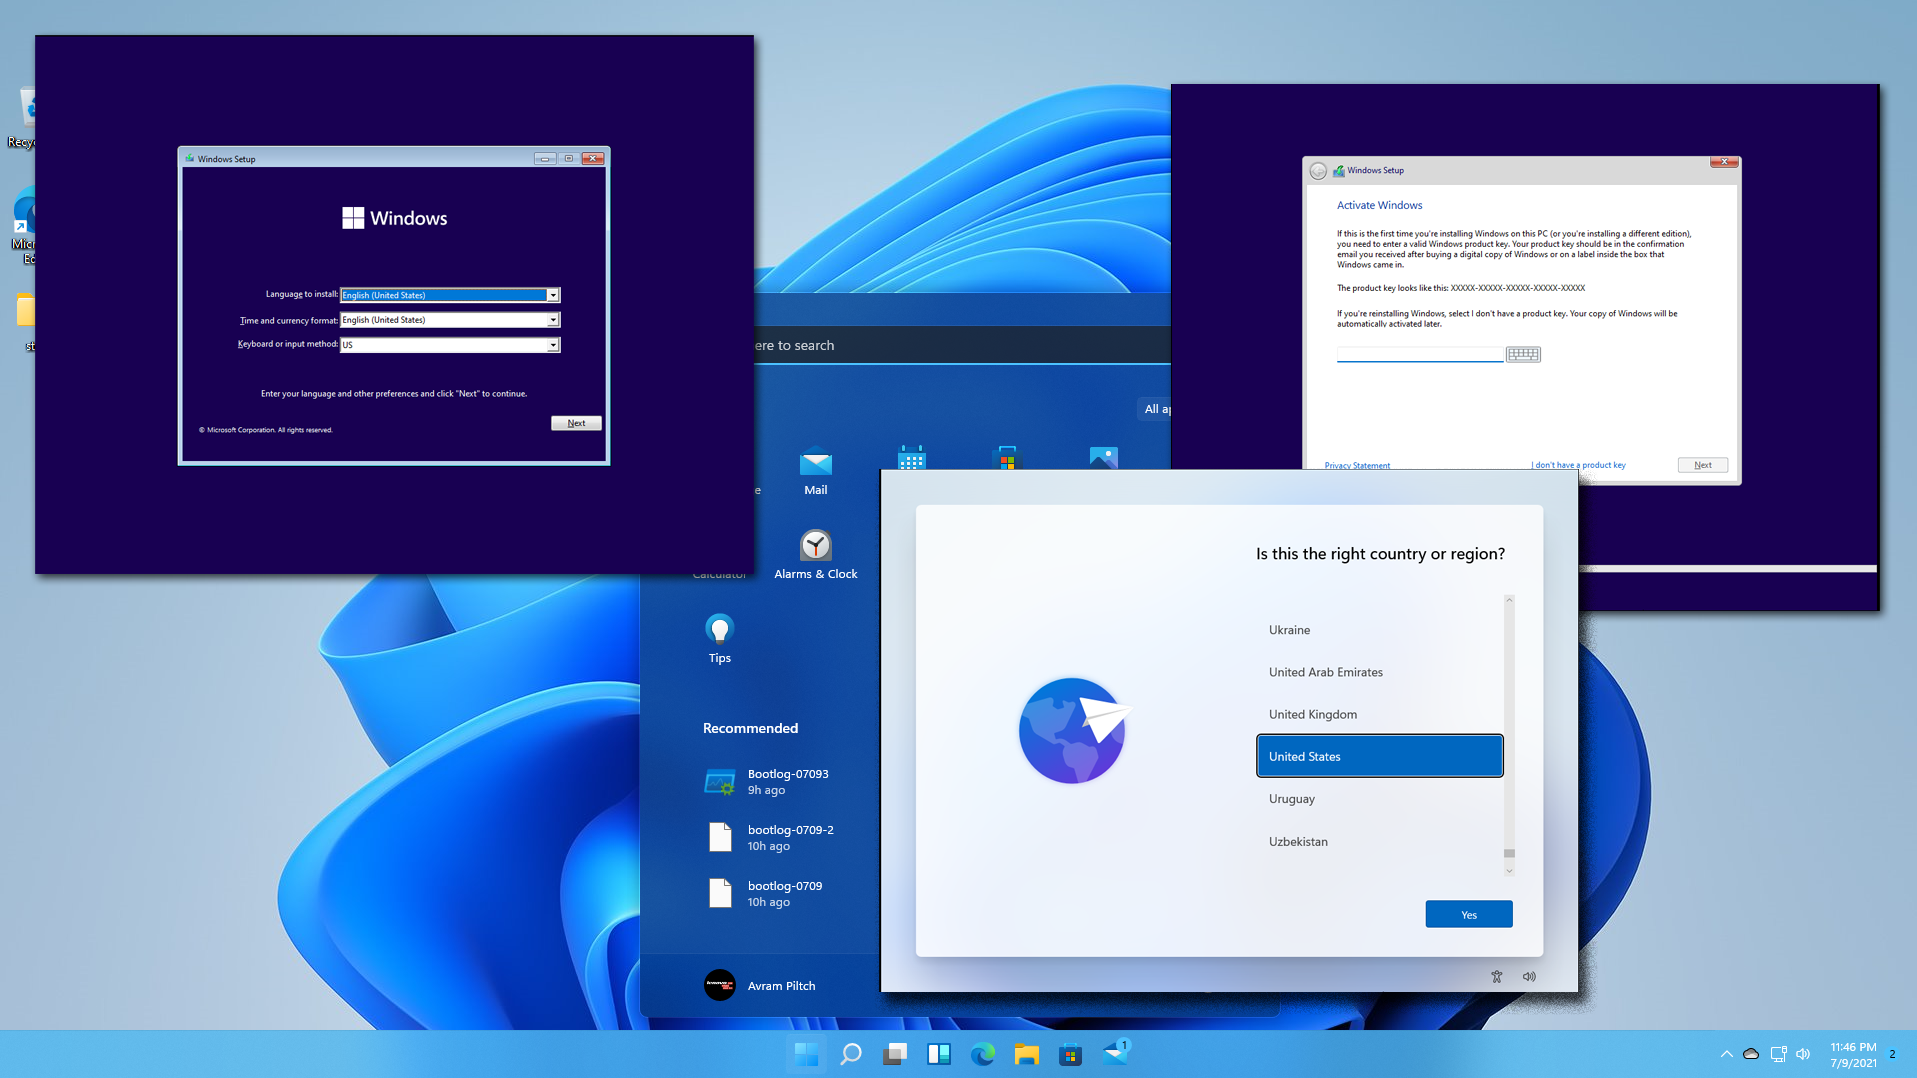
- If prompted for a product key, you can enter it or click “I don’t have a product key” if you’re upgrading from a licensed Windows 10 PC (it will activate automatically later).
- Select the edition of Windows 11 you want to install (e.g., Windows 11 Home, Windows 11 Pro).
- Crucially, when asked “Which type of installation do you want?”, choose “Custom: Install Windows only (advanced)”.
- For an in-place upgrade: Select your existing Windows 10 partition (usually Drive 0 Partition X, which is the largest one where Windows is currently installed) and click “Next.” This will perform an in-place upgrade, keeping your files and apps.
- For a clean install: You would delete existing partitions and create new ones, which will erase all data on that drive. This is a more drastic measure and should only be done if you have backed up all your important data.
- Follow Setup Prompts: Proceed with the remaining setup steps, which will include creating user accounts, configuring privacy settings, and signing in with your Microsoft account.
Benefits of this method:
- Flexibility: Allows for both in-place upgrades and clean installations.
- Offline Installation: Can be useful if you have limited internet access.
- Troubleshooting: Can be used to repair or reinstall Windows.
Post-Installation: Optimizing Your Windows 11 Experience
Congratulations! You’ve successfully installed Windows 11. Now, it’s time to ensure everything is running smoothly and to personalize your new operating system.
Updating and Drivers
The first thing you should do after installation is to check for any pending updates.
- Run Windows Update: Go to Settings > Windows Update and click “Check for updates.” Install all available updates, including optional ones, which may include driver updates.
- Update Graphics Drivers: For optimal performance, especially in gaming or graphics-intensive tasks, it’s highly recommended to download the latest drivers directly from your graphics card manufacturer’s website (NVIDIA, AMD, or Intel).
- Check Manufacturer Support: Visit your PC or motherboard manufacturer’s website to download any specific drivers or utilities for Windows 11 that might not have been automatically installed.
Personalization and Settings
Windows 11 offers a highly customizable experience. Take some time to explore and adjust settings to your liking:
- Taskbar Alignment: If you prefer the Windows 10-style left-aligned taskbar, go to Settings > Personalization > Taskbar and change the “Taskbar alignment” to “Left.”
- Desktop Background and Themes: Explore new themes or set your own wallpapers.
- Widgets: Customize the Widgets panel to display the information most relevant to you.
- Start Menu Pinned Apps: Pin your most frequently used applications to the Start menu for quick access.
- App Settings: Explore the settings for individual apps to configure them to your preferences.
Reinstalling Apps and Transferring Data (if needed)
If you performed a clean installation, you’ll need to reinstall your applications. If you performed an in-place upgrade, most of your apps should be present. However, it’s a good time to:
- Check for App Updates: Open your Microsoft Store or the application’s own update mechanism to ensure you have the latest versions.
- Organize Files: Ensure your important files are in their correct locations. Consider using cloud storage services like OneDrive for seamless file syncing and backup.
The 10-Day Rollback Option
It’s important to remember that Microsoft provides a 10-day window to roll back to Windows 10 if you encounter significant issues or decide Windows 11 isn’t for you.
- Go to Settings > System > Recovery.
- Under “Go back,” you’ll find the option to revert to your previous version of Windows.
Important Note: This rollback option is only available for 10 days after the upgrade. After this period, you would need to perform a clean installation of Windows 10 to go back.

Conclusion
Upgrading to Windows 11 from Windows 10 is a process that has become increasingly user-friendly. By understanding the system requirements, choosing the appropriate installation method, and performing essential post-installation checks, you can confidently make the switch to Microsoft’s latest operating system. Windows 11 offers a modern, secure, and feature-rich experience that can enhance your productivity and digital life. Whether you opt for the seamless Windows Update, the efficient Installation Assistant, or the flexibility of bootable media, the path to Windows 11 is well-defined and achievable for most Windows 10 users. Embrace the future of Windows and enjoy the enhanced capabilities it brings to your computing experience.
aViewFromTheCave is a participant in the Amazon Services LLC Associates Program, an affiliate advertising program designed to provide a means for sites to earn advertising fees by advertising and linking to Amazon.com. Amazon, the Amazon logo, AmazonSupply, and the AmazonSupply logo are trademarks of Amazon.com, Inc. or its affiliates. As an Amazon Associate we earn affiliate commissions from qualifying purchases.